2016-10-20更新
今天的这篇文章还是一篇“Hello World”,只不过开发环境有所改变——Visual Studio Code+Angular2+Webapck,也算是正式的开篇了。
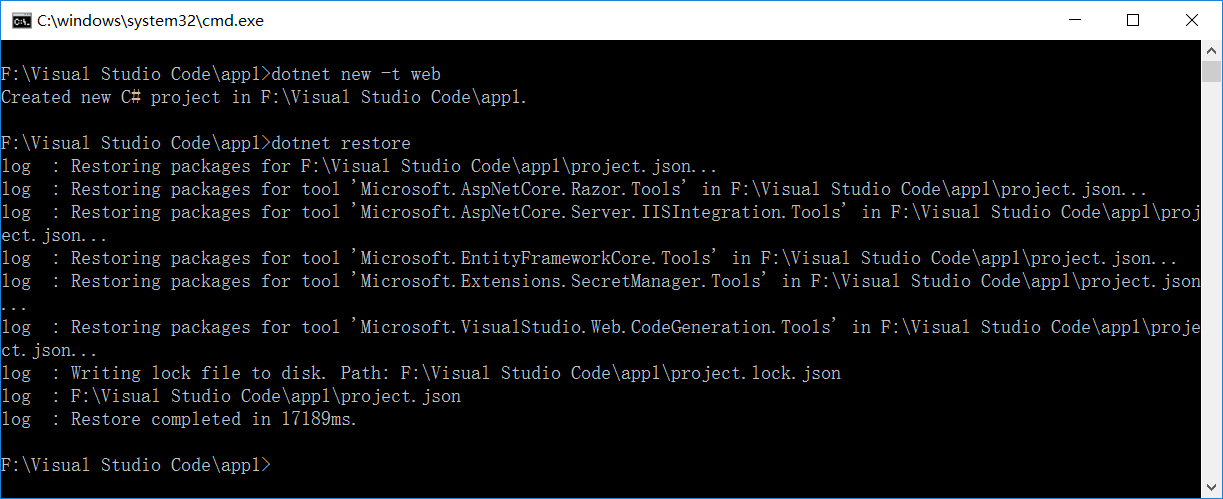
一、新建一个文件夹作为此次Demo的根目录,这里为:“F:Visual Studio Codeapp1”,并在“命令提示符中打开”,键入:dotnet new -t web 如下图:

说明:这不是一个空项目,作为一个demo,太罗嗦了!但是还不清楚如何如何创建空项目,如果有知道的,请不吝赐教!,这里对“Startup.cs”中的带代码做如下调整:


 1 // This method gets called by the runtime. Use this method to configure the HTTP request pipeline.
 2         public void Configure(IApplicationBuilder app, IHostingEnvironment env, ILoggerFactory loggerFactory)
 3         {
 4             loggerFactory.AddConsole(Configuration.GetSection("Logging"));
 5             loggerFactory.AddDebug();
 6
 7             if (env.IsDevelopment())
 8             {
 9                 app.UseDeveloperExceptionPage();
10                 app.UseDatabaseErrorPage();
11                 app.UseBrowserLink();
12             }
13             else
14             {
15                 app.UseExceptionHandler("/Home/Error");
16             }
17
18             app.Use(async (context, next) =>
19             {
20                 await next();
21
22                 if (context.Response.StatusCode == 404
23                     && !System.IO.Path.HasExtension(context.Request.Path.Value))
24                 {
25                     context.Request.Path = "/index.html";
26                     await next();
27                 }
28             });
29
30             app.UseStaticFiles();
31
32             app.UseIdentity();
33
34             // Add external authentication middleware below. To configure them please see https://go.microsoft.com/fwlink/?LinkID=532715
35
36             app.UseMvc();
37         }
然后在命令行键入:dotnet restore 如下图
二、修改package.json,代码如下:
 1 {
 2   "name": "webapplication",
 3   "version": "0.0.0",
 4   "private": true,
 5    "scripts": {
 6     "postinstall": "typings install",
 7     "build": "webpack",
 8     "start": "webpack-dev-server"
 9   },
10   "license": "ISC",
11   "dependencies": {
12     "@angular/common": "2.1.0",
13     "@angular/compiler": "2.1.0",
14     "@angular/core": "2.1.0",
15
16     "@angular/platform-browser": "2.1.0",
17     "@angular/platform-browser-dynamic": "2.1.0",
18
19     "reflect-metadata": "^0.1.3",
20     "rxjs": "5.0.0-beta.12",
21     "zone.js": "^0.6.23"
22   },
23   "devDependencies": {
24     "angular2-template-loader": "^0.4.0",
25     "awesome-typescript-loader": "^2.2.4",
26     "typescript": "^2.0.3",
27     "typings": "^1.3.2",
28     "webpack": "^1.13.0",
29     "webpack-dev-server": "^1.14.1"
30   }
31 }
三、在根目录下依次新建tsconfig.json、typings.json、webpack.config.js三个文件,代码如下:
 1 {
 2   "compilerOptions": {
 3     "target": "es5",
 4     "module": "commonjs",
 5     "moduleResolution": "node",
 6     "sourceMap": true,
 7     "emitDecoratorMetadata": true,
 8     "experimentalDecorators": true,
 9     "removeComments": false,
10     "noImplicitAny": false
11   }
12 }
1 {
2   "globalDependencies": {
3     "es6-shim": "github:DefinitelyTyped/DefinitelyTyped/es6-shim/es6-shim.d.ts#7de6c3dd94feaeb21f20054b9f30d5dabc5efabd"
4   }
5 }
 1 var webpack = require("webpack");
 2
 3 module.exports = {
 4   entry: {
 5     "vendor": "./typescript/vendor.ts",
 6     "app": "./typescript/main.ts"
 7   },
 8   output: {
 9     path: __dirname,
10     filename: "./wwwroot/js/[name].bundle.js"
11   },
12   resolve: {
13     extensions: ['', '.ts', '.js']
14   },
15   devtool: 'source-map',
16   module: {
17     loaders: [
18       {
19         test: /.ts/,
20         loaders: ['awesome-typescript-loader', 'angular2-template-loader'],
21         exclude: /node_modules/
22       }
23     ]
24   },
25   plugins: [
26     new webpack.optimize.CommonsChunkPlugin({
27       name: ['app', 'vendor']
28     })
29   ]
30 }
四、在根目录下新建目录“typescript”(用户存放ts文件),并依次新建app.component.ts、app.module.ts、main.ts和vendor.ts四个个文件,代码如下:
1 import {Component} from '@angular/core';
2
3 @Component({
4     selector: 'my-app',
5     template: `<h1>My First Angular 2 App</h1>`
6 })
7
8 export class AppComponent {}
 1 import {NgModule}      from '@angular/core';
 2 import {BrowserModule} from '@angular/platform-browser';
 3
 4 import {AppComponent}  from './app.component';
 5
 6 @NgModule({
 7     imports:        [BrowserModule],
 8     declarations:   [AppComponent],
 9     bootstrap:      [AppComponent]
10 })
11
12 export class AppModule {}
1 import {platformBrowserDynamic} from '@angular/platform-browser-dynamic';
2 import {AppModule} from './app.module'
3
4 platformBrowserDynamic().bootstrapModule(AppModule);
 1 // Angular
 2 import '@angular/platform-browser';
 3 import '@angular/platform-browser-dynamic';
 4 import '@angular/core';
 5 import '@angular/common';
 6
 7 // RxJS
 8 import 'reflect-metadata';
 9 import 'rxjs';
10 import 'zone.js/dist/zone';
11
12 // Other vendors for example jQuery, Lodash or Bootstrap
13 // You can import js, ts, css, sass, ...
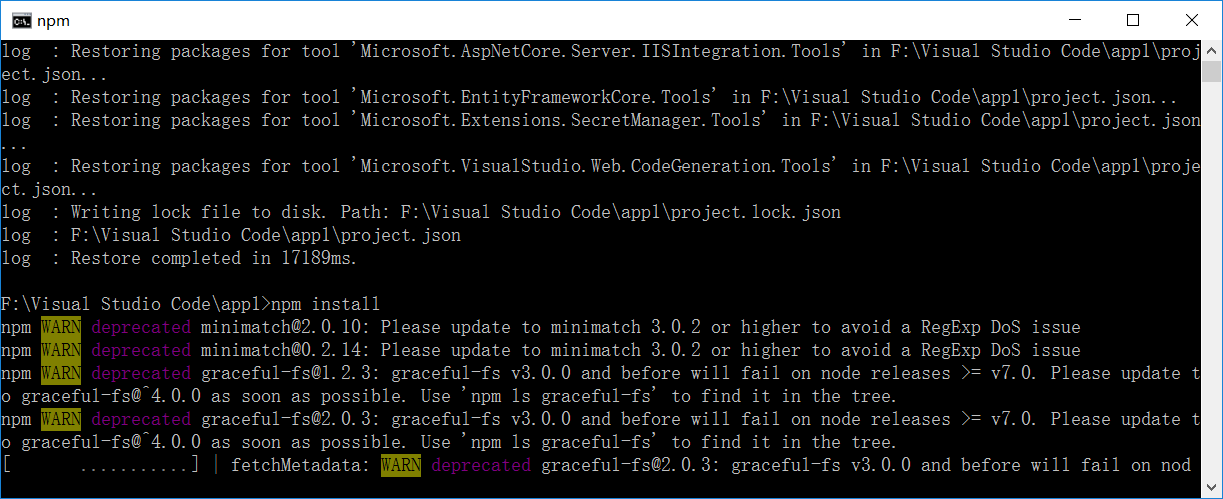
五、在命令行中键入“npm install”,安装文件包(安装了好多),如下图:
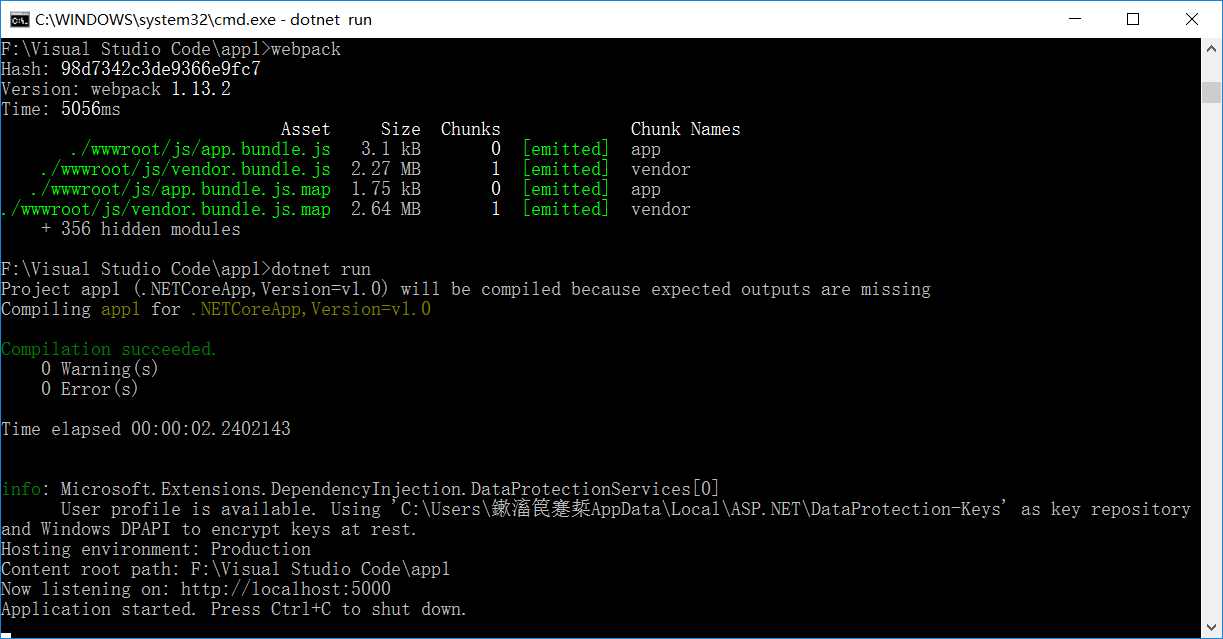
六、在命令行键入webpack 执行webpack任务,如下图:

七、在wwwroot目录下新建index.html,代码如下:
 1 <!DOCTYPE html>
 2 <html>
 3   <head>
 4     <base href="/">
 5     <title>Angular With Webpack</title>
 6     <meta charset="UTF-8">
 7     <meta name="viewport" content="width=device-width, initial-scale=1">
 8   </head>
 9   <body>
10     <my-app>Loading...</my-app>
11   <script type="text/javascript" src="js/vendor.bundle.js"></script>
12   <script type="text/javascript" src="js/app.bundle.js"></script></body>
13 </html>
八、在命令行键入dotnet run,如下图:
九、最后在浏览器键入:http://localhost:5000/ 如下图:
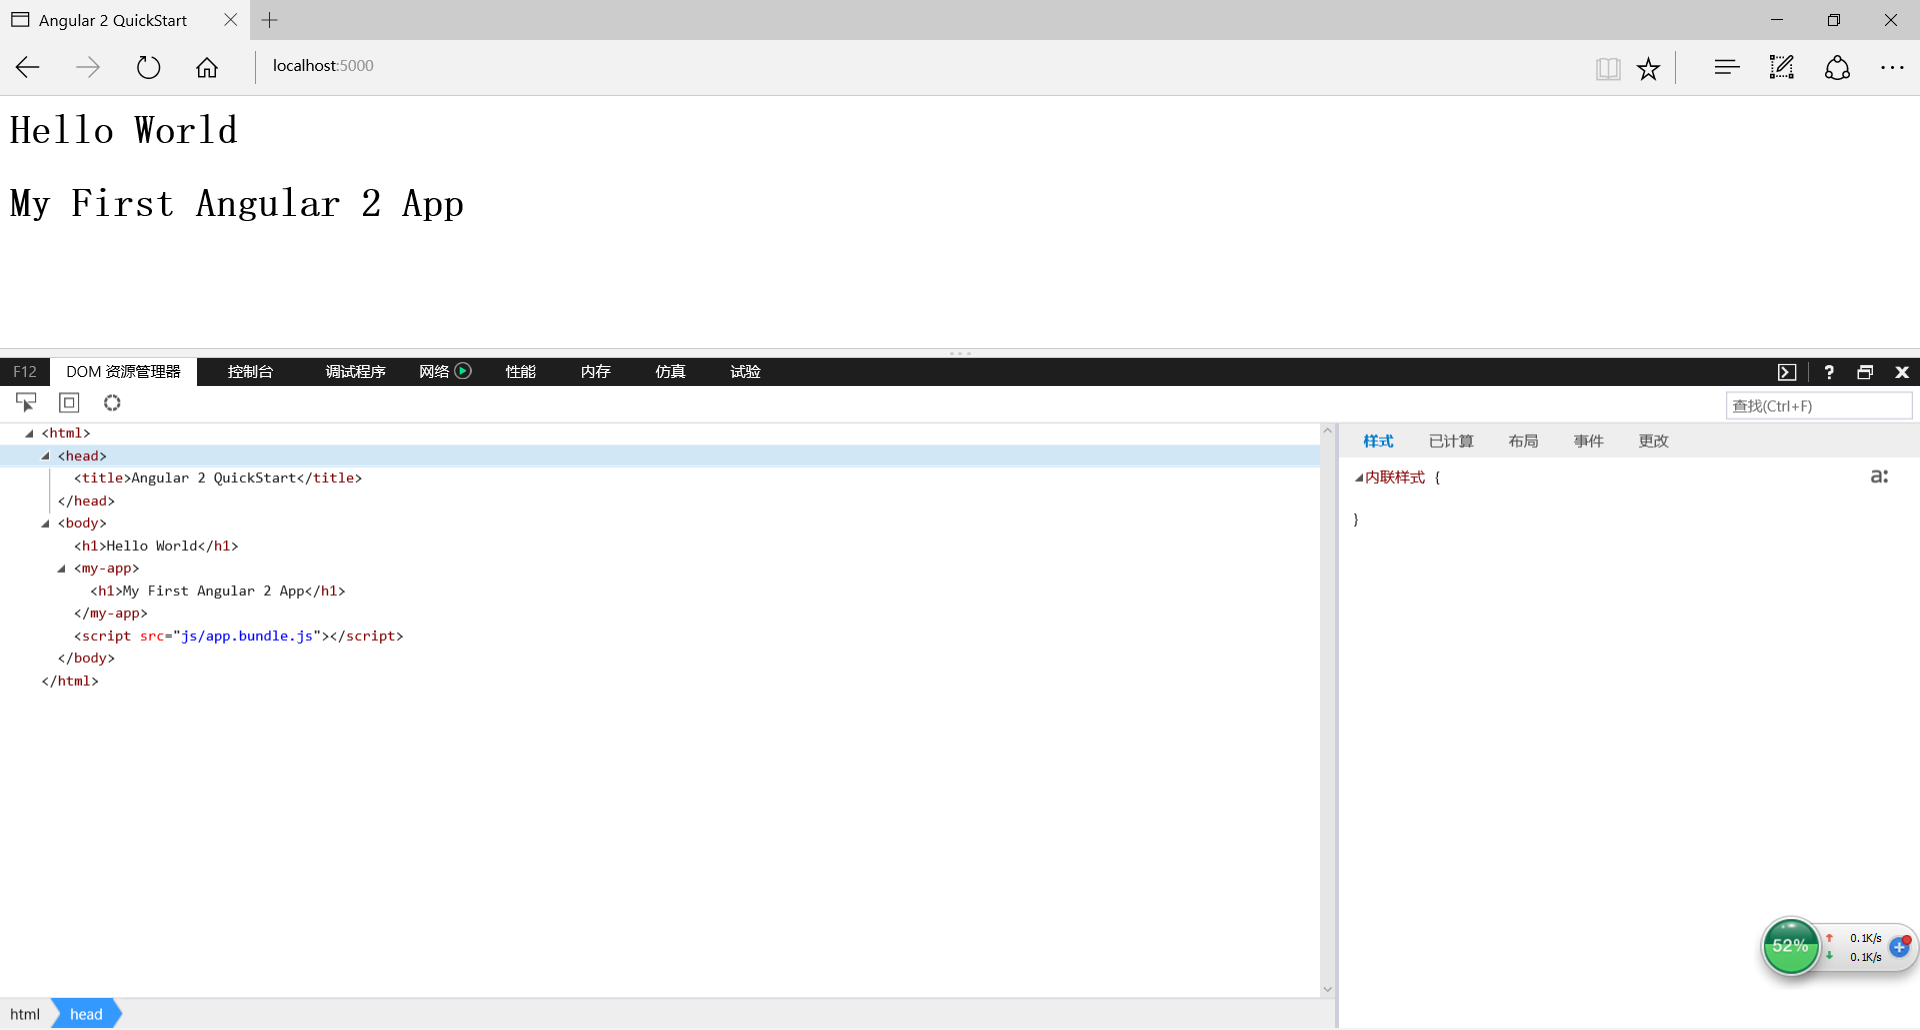
至此又一个Hello World结束了,哈哈!
更新:2016-10-17
今天在公司测试的时候,发现了一个问题,Hello World出不来,再次说明一下,回去再看看是什么问题!惭愧啊!