调试渲染进程
调试渲染进程使用 Chrome 开发者工具,打开方式:
-
Ctr+Shift+I
-
使用代码打开:
   // Open the DevTools.
   mainWindow.webContents.openDevTools()
可能的问题:
- 开发者工具提示:
Electron Security Warning (Insecure Content-Security-Policy) This renderer process has either no Content Security
    Policy set or a policy with "unsafe-eval" enabled. This exposes users of
    this app to unnecessary security risks.

For more information and help, consult
https://electronjs.org/docs/tutorial/security.
This warning will not show up
once the app is packaged.
(anonymous) @ security-warnings.ts:180
在main.js 中添加
process.env['ELECTRON_DISABLE_SECURITY_WARNINGS'] = 'true'
调试主进程
Node Inspector
(略)
Visual Studio Code 中调试主进程
1 创建Build
在VSC中顶部菜单栏中选择"终端配置任务",在弹出框中,选择“npm:start”,这时,VSC自动生成 tasks.json文件:
{
	"version": "2.0.0",
	"tasks": [
		{
			"type": "npm",
			"script": "start",
			"problemMatcher": [],
			"label": "npm: start",
			"detail": "electron ."
		}
	]
}
2 创建 launch任务
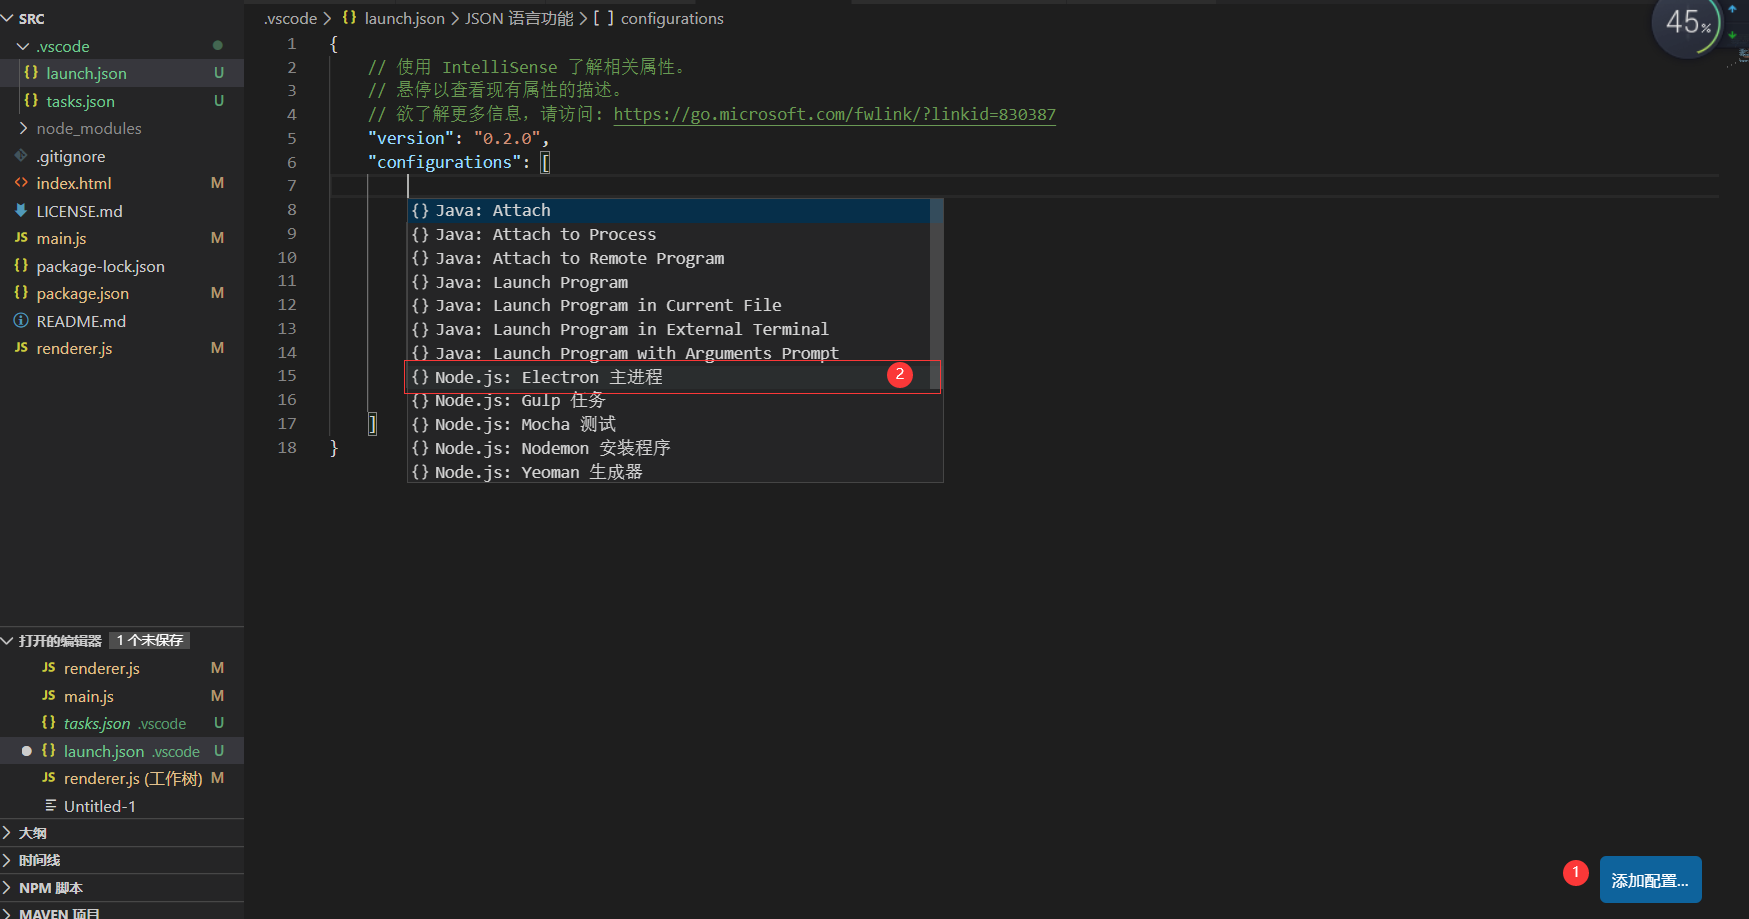
在VSC左侧Debug栏,点击‘创建launch.json’文件,在弹出框中选择‘Node.js’,这时,VSC自动生成launch.json文件:
{
    // 使用 IntelliSense 了解相关属性。
    // 悬停以查看现有属性的描述。
    // 欲了解更多信息,请访问: https://go.microsoft.com/fwlink/?linkid=830387
    "version": "0.2.0",
    "configurations": [
        {
            "type": "node",
            "request": "launch",
            "name": "启动程序",
            "skipFiles": [
                "<node_internals>/**"
            ],
            "program": "${workspaceFolder}\main.js"
        }
    ]
}
把上面的文件清空。
修改为:
{
  // 使用 IntelliSense 了解相关属性。
  // 悬停以查看现有属性的描述。
  // 欲了解更多信息,请访问: https://go.microsoft.com/fwlink/?linkid=830387
  "version": "0.2.0",
  "configurations": [
    {
      "type": "node",
      "request": "launch",
      "name": "启动程序",
      "runtimeExecutable": "${workspaceRoot}/node_modules/.bin/electron",
      "windows": {
        "runtimeExecutable": "${workspaceRoot}/node_modules/.bin/electron.cmd"
      },

      "args": ["."]
    }
  ]
}
或者
自动生成:
{
    // 使用 IntelliSense 了解相关属性。
    // 悬停以查看现有属性的描述。
    // 欲了解更多信息,请访问: https://go.microsoft.com/fwlink/?linkid=830387
    "version": "0.2.0",
    "configurations": [
        {
            "type": "node",
            "request": "launch",
            "name": "Electron Main",
            "runtimeExecutable": "${workspaceFolder}/node_modules/.bin/electron",
            "program": "${workspaceFolder}/main.js",
            "skipFiles": [
                "<node_internals>/**"
            ]
        }
    ]
}
3 调试主进程(main.js)
在主进程(main.js)中打一个断点,然后按F5,即可运行调试了