Centos 7.x 安装 gitlab-ce-8.8.0-ce
一、安装配置依赖项
yum -y install curl unzip policycoreutils git wget # 依赖包
systemctl start postfix   # 启动邮件服务器
systemctl enable postfix  # 开机启动
二、安装gitlab-ce-8.8.0-ce
1. 下载安装包
cd /tmp
wget https://mirrors.tuna.tsinghua.edu.cn/gitlab-ce/yum/el6/gitlab-ce-8.8.0-ce.0.el6.x86_64.rpm
yum localinstall gitlab-ce-8.8.0-ce.0.el6.x86_64.rpm
2. 配置gitlab服务
vim /etc/gitlab/gitlab.rb
修改:
external_url 'http://本地IP地址'

3. 启动 gitlab 服务
# 每次修改配置文件,都要运行以下命令,让配置生效

gitlab-ctl reconfigure

# gitlab-ctl start   # 启动

# gitlab-ctl start   # 重新启动命令
4. 查看状态
gitlab-ctl status
5. 修改 root 管理员的默认密码
使用浏览器访问 gitlab 地址
http://10.0.0.101 # 注意填写的是你服务器的IP地址
三、 汉化 gitlab
1. 查看当前安装版本
cat /opt/gitlab/embedded/service/gitlab-rails/VERSION
版本号: 8.8.0
2. 下载汉化的代码
cd /tmp
git clone https://gitee.com/qiai365/gitlab-L-zh.git
cd gitlab-L-zh
git tags --list |grep 8.8.0 # 查看所有的小版本
git checkout v8.8.0.zh1  # 选哪个无所谓了,前面的版本号对得上是关键

3. 停服务器
gitlab-ctl stop
4. 汉化包覆盖
cp -r /opt/gitlab/embedded/service/gitlab-rails{,.bak}  # 备份

yes|cp -fr ./gitlab-L-zh/* /opt/gitlab/embedded/service/gitlab-rails/  # 覆盖
5. 启动gitlab并使配置生效
gitlab-ctl start && gitlab-ctl reconfigure
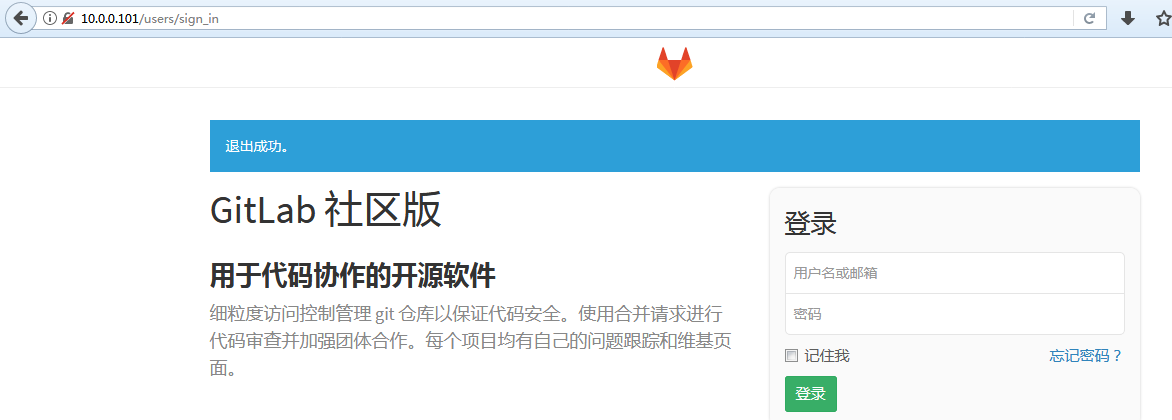
6. 再次访问 gitlab 首页就是中文的了
使用浏览器访问 gitlab 地址
http://10.0.0.101 # 注意填写的是你服务器的IP地址