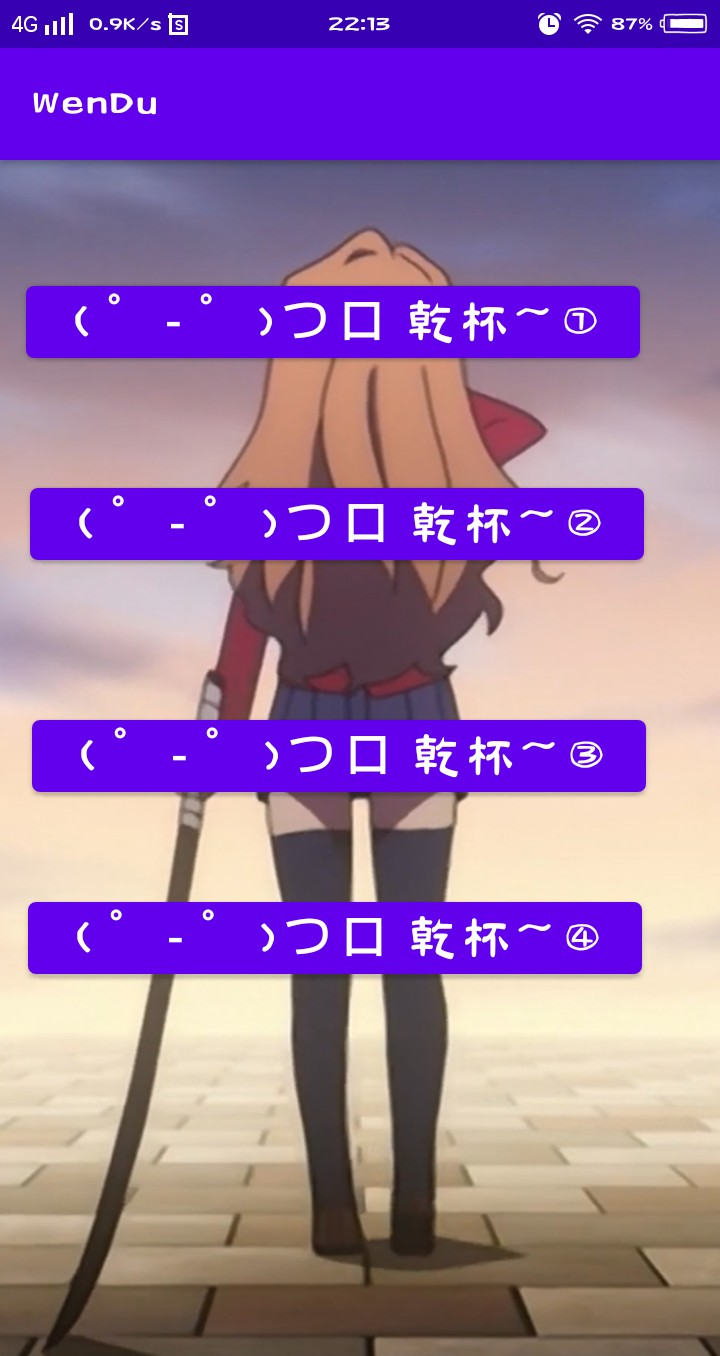
今日学习了Fragment的一些基本内容:
Fragment嵌套在Activity中,把Activity分解为更小一块,方便管理多个控件。
1.静态加载Fragment 定义布局文件 继承Fragment实现onCreateView
要加载Fragment的Activity对应文件中的fragment的name为全限定类名
在Activity中调用setContentView
2.动态加载 获取FragmentManager对象,用getFragmentManager
获取FragmentManagerTransaction对象用beginTransaction
加载fragment用add或replace 用commit提交
下面为实例,利用Fragment点击第四个按钮使背景改变:


主要代码:
public class MyFragment extends Fragment {
    @Override
    public View onCreateView(@NonNull LayoutInflater inflater, @Nullable ViewGroup container,
                             @Nullable Bundle savedInstanceState) {
        View view=inflater.inflate(R.layout.fragment,container,false);
        return view;
    }
}
    public void onClick4(View view) {
        Button button4 = findViewById(R.id.button4);
        MyFragment fragment1=new MyFragment();
        getSupportFragmentManager().beginTransaction().replace(R.id.relativeLayout,fragment1).commit();
    }
<?xml version="1.0" encoding="utf-8"?>
<RelativeLayout xmlns:android="http://schemas.android.com/apk/res/android" android:layout_width="match_parent"
    android:layout_height="match_parent"
    android:background="@drawable/xi">

</RelativeLayout>
    <fragment
        android:id="@+id/fragment1"
        android:name="com.example.wendu.MyFragment"
        android:layout_width="match_parent"
        android:layout_height="0dp"
        android:layout_weight="1" />
    <Button
        android:id="@+id/button4"
        android:layout_width="wrap_content"
        android:layout_height="wrap_content"
        android:layout_alignParentEnd="true"
        android:layout_alignParentRight="true"
        android:layout_alignParentBottom="true"
        android:layout_marginEnd="39dp"
        android:layout_marginRight="39dp"
        android:layout_marginBottom="185dp"
        android:onClick="onClick4"
        android:text=" ( ゜- ゜)つロ 乾杯~④"
        android:textSize="26dp"></Button>