最近的项目要用到快速全文检索,经过前期的调研,最后选用Elasticsearch搭建搜索服务器。以前做的项目中没用过这个搜索引擎,这是第一次使用。
主要是参照 《如何用 Node.js 和 Elasticsearch 构建搜索引擎》这篇文章学习的,这篇文章翻译得很好,整个过程都走下来了很流畅。
下面记录一下本人按照这篇文章的学习过程:
1、学习Elasticsearch概述。
了解Elasticsearch是什么?能做什么?可以查一下elasticsearch、lucene等的相关介绍,另外也可以查查资料比较一下其它的搜索引擎sphinx、reds等。
2、学习Elasticsearch术语。
上面参考文章中只列了几个核心术语,其它更多的术语可以自己查找资料。
3、安装Elasticsearch并运行。
a、下载Elasticsearch: https://www.elastic.co/downloads/elasticsearch
本人下载的v5.3.0版本zip包,下载后解压到本地mac系统的/usr/local/elasticsearch目录下.
这个版本需要java1.8以上(包含)支持,这个可以在命令行用java -version查看,达不到要求的就自己升级去。
b、启动Elasticsearch,出现下面类似的界面就说明启动成功了。默认9200是http访问端口,是9300是各节点间彼此通信的端口。
>cd /usr/local/elasticsearch
>bin/elasticsearch
[2017-03-31T16:32:40,477][INFO ][o.e.n.Node               ] [] initializing ...
[2017-03-31T16:32:40,571][INFO ][o.e.e.NodeEnvironment    ] [iXZpFuL] using [1] data paths, mounts [[/ (/dev/disk1)]], net usable_space [57.7gb], net total_space [232.6gb], spins? [unknown], types [hfs]
[2017-03-31T16:32:40,571][INFO ][o.e.e.NodeEnvironment    ] [iXZpFuL] heap size [1.9gb], compressed ordinary object pointers [true]
[2017-03-31T16:32:40,590][INFO ][o.e.n.Node               ] node name [iXZpFuL] derived from node ID [iXZpFuL9TUa2_I43LJUQDg]; set [node.name] to override
[2017-03-31T16:32:40,590][INFO ][o.e.n.Node               ] version[5.3.0], pid[5772], build[3adb13b/2017-03-23T03:31:50.652Z], OS[Mac OS X/10.12/x86_64], JVM[Oracle Corporation/Java HotSpot(TM) 64-Bit Server VM/1.8.0_121/25.121-b13]
[2017-03-31T16:32:41,642][INFO ][o.e.p.PluginsService     ] [iXZpFuL] loaded module [aggs-matrix-stats]
[2017-03-31T16:32:41,642][INFO ][o.e.p.PluginsService     ] [iXZpFuL] loaded module [ingest-common]
[2017-03-31T16:32:41,642][INFO ][o.e.p.PluginsService     ] [iXZpFuL] loaded module [lang-expression]
[2017-03-31T16:32:41,642][INFO ][o.e.p.PluginsService     ] [iXZpFuL] loaded module [lang-groovy]
[2017-03-31T16:32:41,643][INFO ][o.e.p.PluginsService     ] [iXZpFuL] loaded module [lang-mustache]
[2017-03-31T16:32:41,643][INFO ][o.e.p.PluginsService     ] [iXZpFuL] loaded module [lang-painless]
[2017-03-31T16:32:41,643][INFO ][o.e.p.PluginsService     ] [iXZpFuL] loaded module [percolator]
[2017-03-31T16:32:41,643][INFO ][o.e.p.PluginsService     ] [iXZpFuL] loaded module [reindex]
[2017-03-31T16:32:41,643][INFO ][o.e.p.PluginsService     ] [iXZpFuL] loaded module [transport-netty3]
[2017-03-31T16:32:41,643][INFO ][o.e.p.PluginsService     ] [iXZpFuL] loaded module [transport-netty4]
[2017-03-31T16:32:41,644][INFO ][o.e.p.PluginsService     ] [iXZpFuL] no plugins loaded
[2017-03-31T16:32:43,969][INFO ][o.e.n.Node               ] initialized
[2017-03-31T16:32:43,969][INFO ][o.e.n.Node               ] [iXZpFuL] starting ...
[2017-03-31T16:32:44,209][INFO ][o.e.t.TransportService   ] [iXZpFuL] publish_address {127.0.0.1:9300}, bound_addresses {[fe80::1]:9300}, {[::1]:9300}, {127.0.0.1:9300}
[2017-03-31T16:32:47,392][INFO ][o.e.c.s.ClusterService   ] [iXZpFuL] new_master {iXZpFuL}{iXZpFuL9TUa2_I43LJUQDg}{2FmpVTkEQwKUy9eHEv26qg}{127.0.0.1}{127.0.0.1:9300}, reason: zen-disco-elected-as-master ([0] nodes joined)
[2017-03-31T16:32:47,412][INFO ][o.e.h.n.Netty4HttpServerTransport] [iXZpFuL] publish_address {127.0.0.1:9200}, bound_addresses {[fe80::1]:9200}, {[::1]:9200}, {127.0.0.1:9200}
[2017-03-31T16:32:47,415][INFO ][o.e.n.Node               ] [iXZpFuL] started
[2017-03-31T16:32:47,553][INFO ][o.e.g.GatewayService     ] [iXZpFuL] recovered [1] indices into cluster_state
[2017-03-31T16:32:47,806][INFO ][o.e.c.r.a.AllocationService] [iXZpFuL] Cluster health status changed from [RED] to [YELLOW] (reason: [shards started [[library][2]] ...]).
c、在浏览器中打开http://localhost:9200/ ,将会显示一些关于你运行的实例的基本信息。
{
  "name" : "iXZpFuL",
  "cluster_name" : "elasticsearch",
  "cluster_uuid" : "inoWXI3_QsGfG8xG4YHOAA",
  "version" : {
    "number" : "5.3.0",
    "build_hash" : "3adb13b",
    "build_date" : "2017-03-23T03:31:50.652Z",
    "build_snapshot" : false,
    "lucene_version" : "6.4.1"
  },
  "tagline" : "You Know, for Search"
}
4、图形化用户界面。
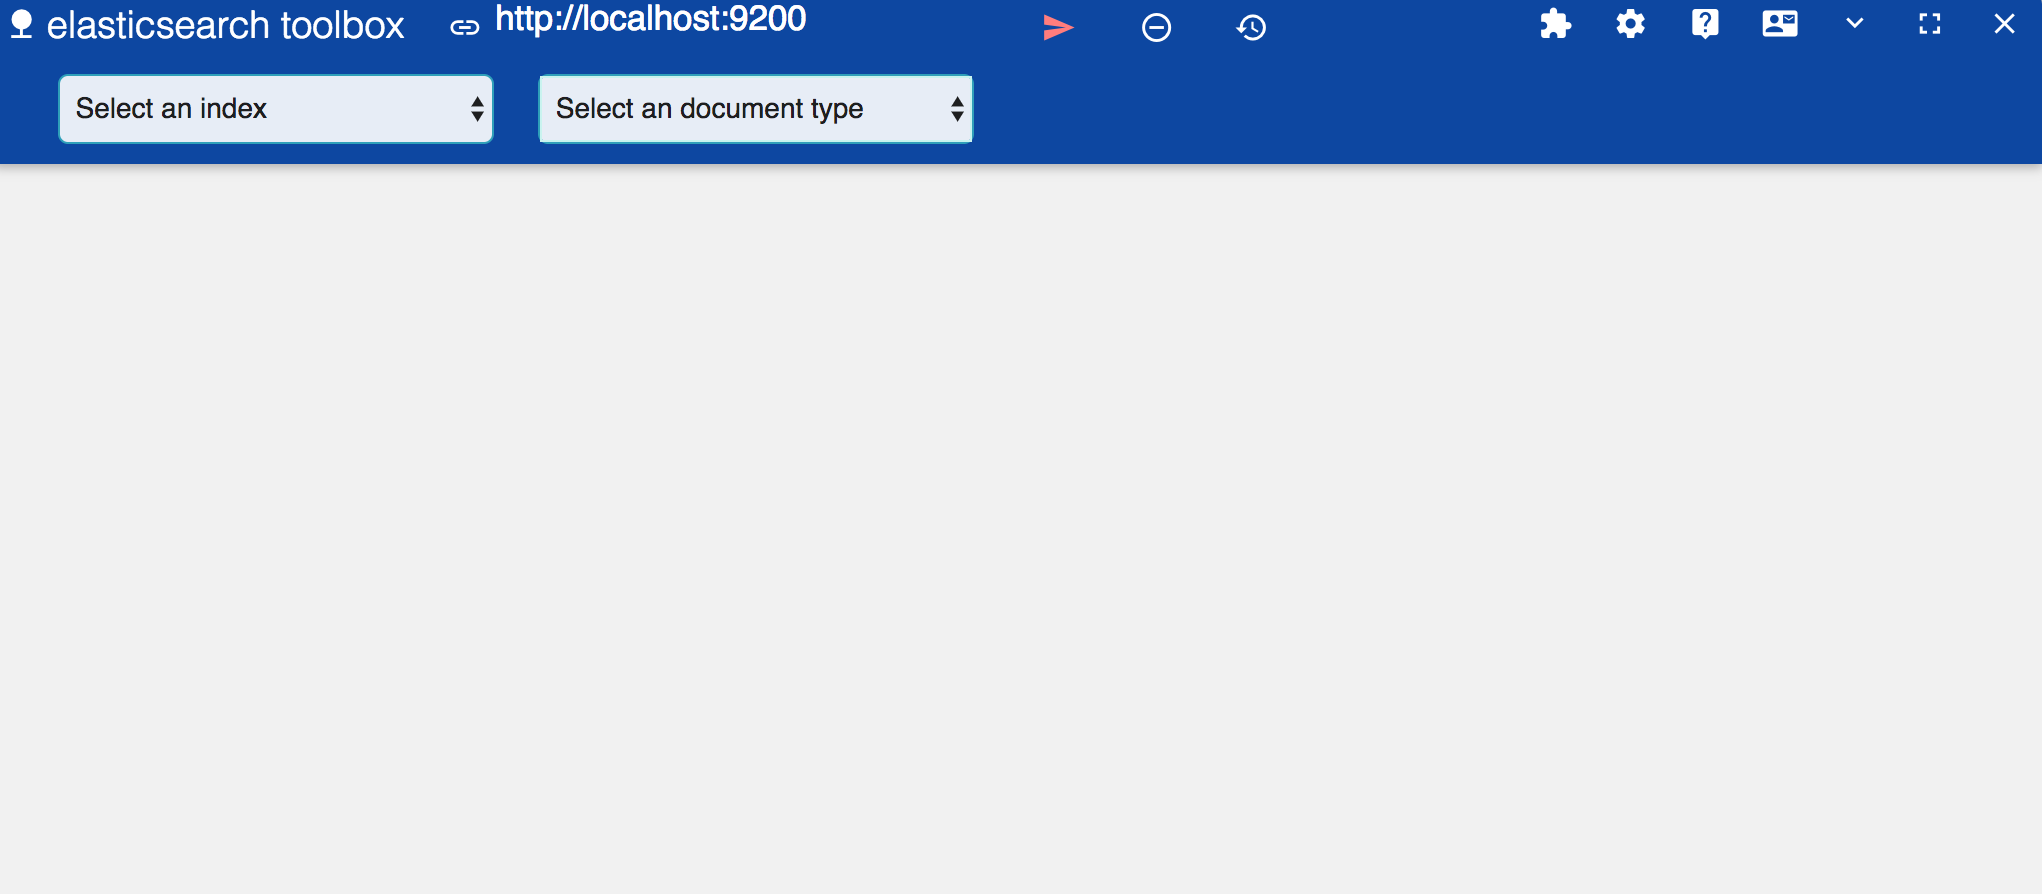
按照文章中提供的选择,我安装了谷歌浏览器的扩展组件ElasticSearch Toolbox.界面如下。
第一个select加载可选索引,第二个select加载可选类型。因为还没有导入任何数据,暂时没得选。
其实另外一个插件也挺好,地址:https://github.com/mobz/elasticsearch-head 感兴趣的同学可以下载下来试试。
5、基于Node的elasticsearch客户端。
elasticsearch为Node.js提供一个官方模块,称为elasticsearch。可以通过这个模块编码与elasticsearch通讯。
我直接下载的示例代码运行。示例要求node版本0.11.0及以上。
>git clone https://github.com/sitepoint-editors/node-elasticsearch-tutorial.git  #下载示例
>cd node-elasticsearch-tutorial #切换目录
>npm install #安装依赖
示例中的文件解释可以看到 https://github.com/sitepoint-editors/node-elasticsearch-tutorial 上去看。
我们目前只需要知道:
1、data.json是测试数据文件,1000条数据。
2、index.js文件的例子就是导入data.json文件中的数据到elasticsearch。使用node index.js运行。
$ node index.js
1000 items parsed from data file
Successfully indexed 1000 out of 1000 items
3、indices.js用于检查索引信息的准确性。
4、其它的elasticsearch测试文件都是检索数据的例子。有各种写法,以后慢慢研究就可以了。
先弄个简单查询的在先前安装的ElasticSearch Toolbox上试试。
由于导入了数据。现在可以在工具中选择索引library,类型article.然后直接点击查询可以看到如下结果:
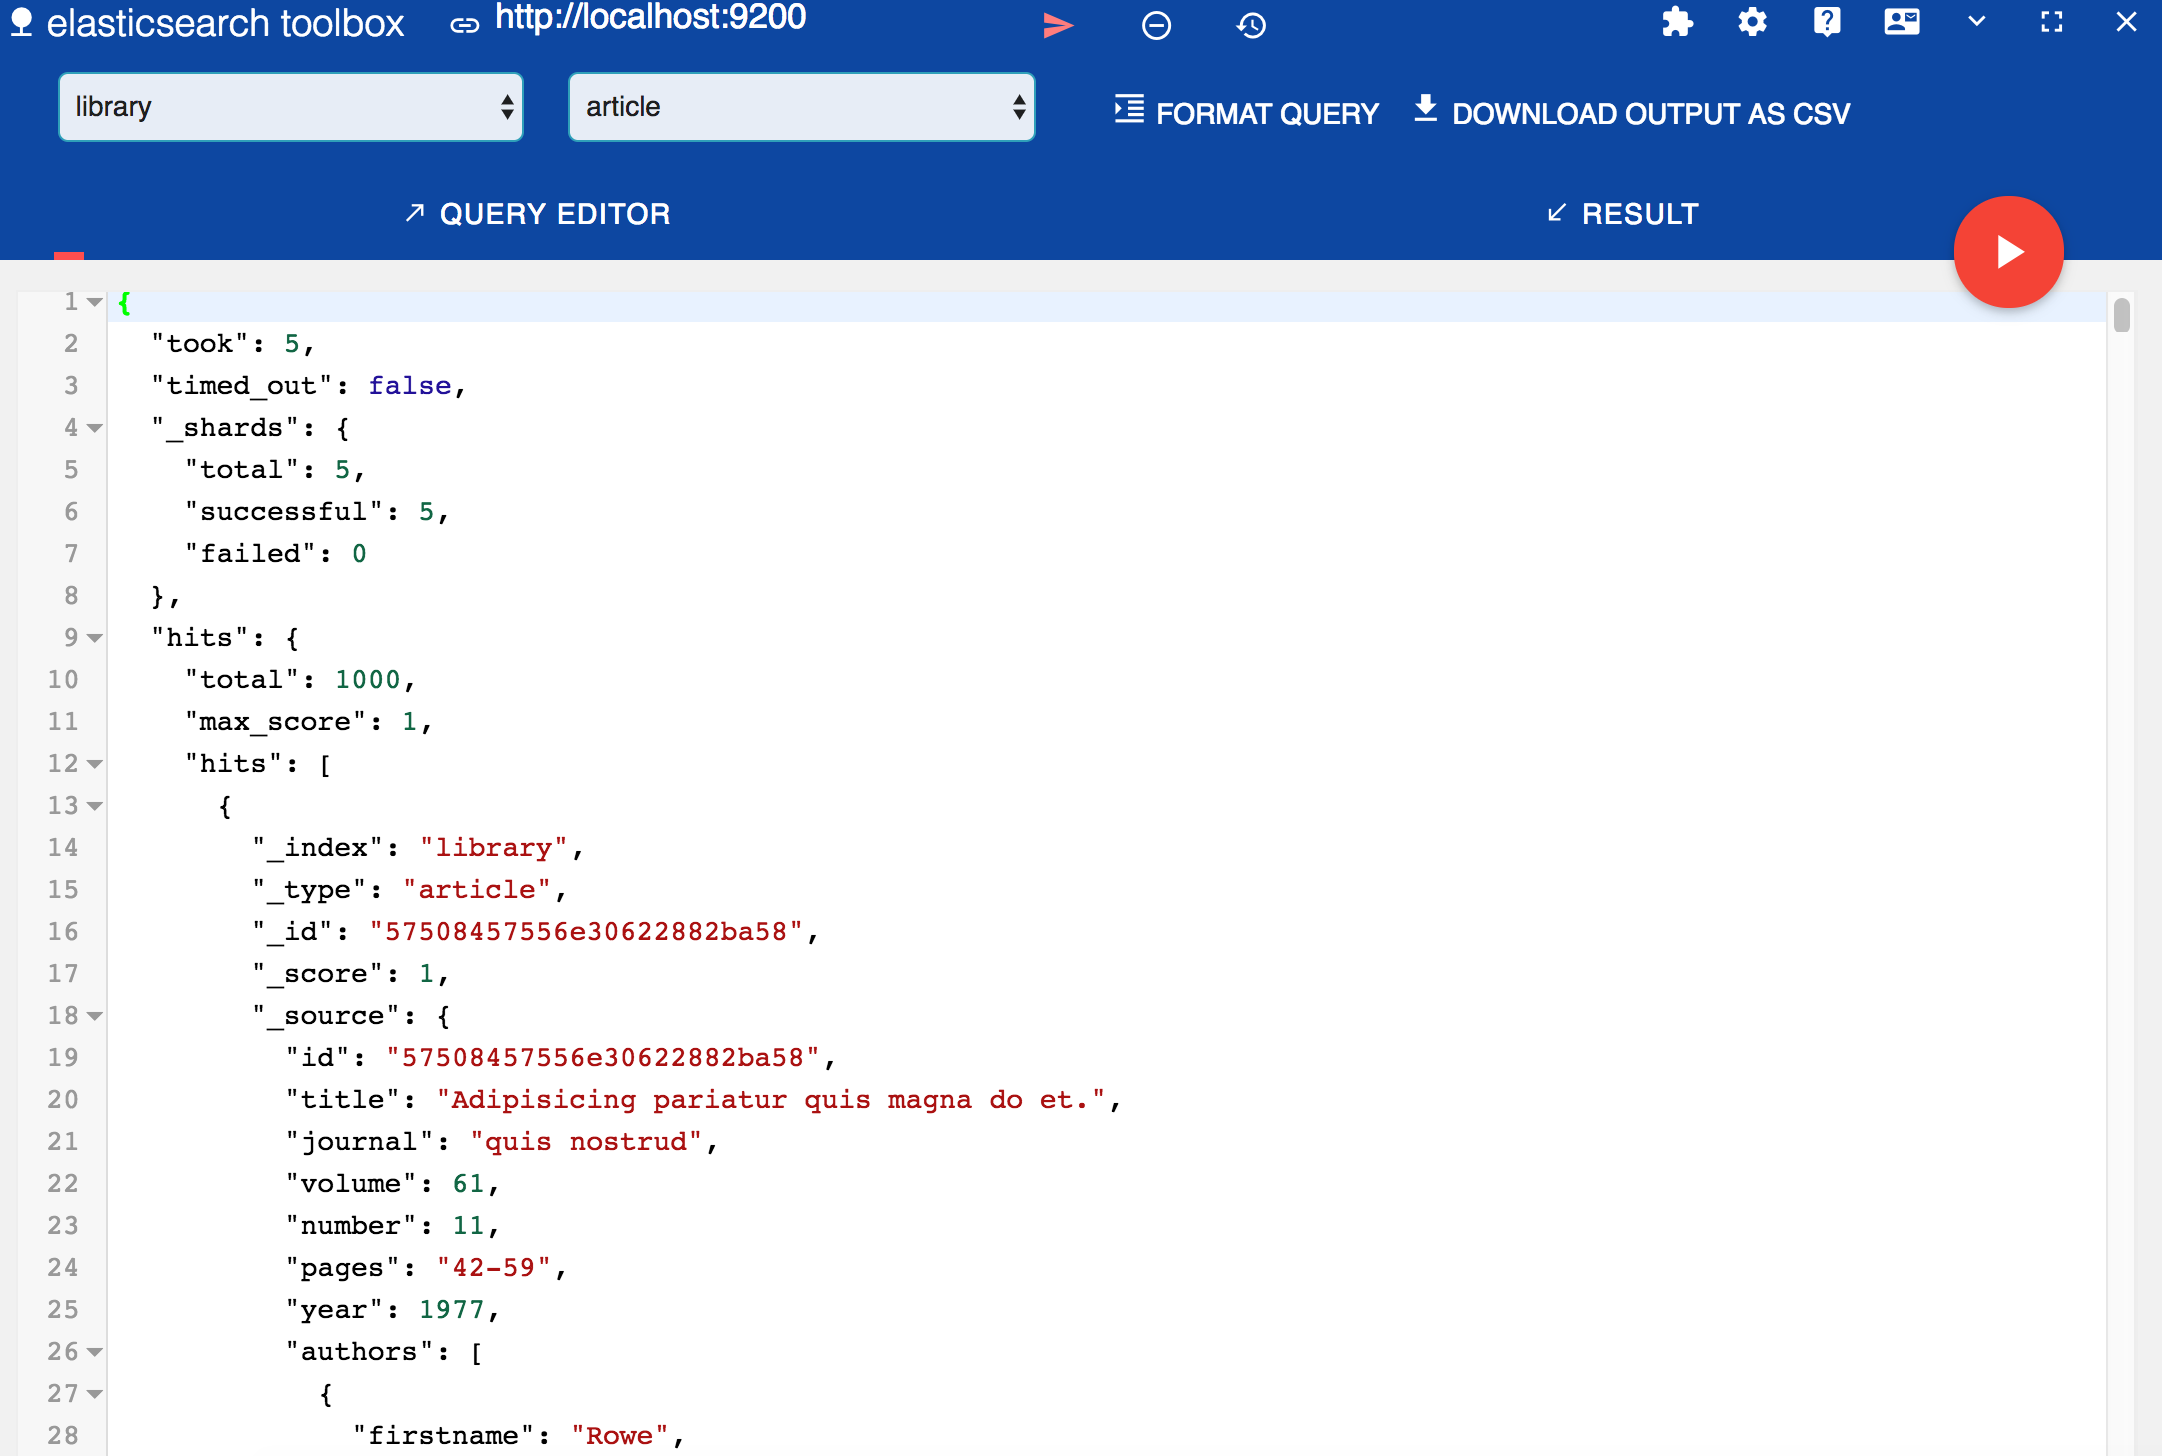
上面结果是查询所有的,我们可以点击QUERY DEITOR编辑查询条件,比如查询作者名为Rowe的数据,条件如下:
{
  "query": {
    "match": {
      "authors.firstname": "Rowe"
    }
  },
  "from": 0,
  "size": 10
}
可以查到一条记录。
关于Elasticsearch数据检索知识下一篇文章再说。