1.首说RestTemplate
RestTemplate 是从 Spring3.0 开始支持的一个 HTTP 请求工具,它提供了常见的REST请求方案的模版,例如 GET 请求、POST 请求、PUT 请求、DELETE 请求以及一些通用的请求执行方法 exchange 以及 execute。RestTemplate 继承自 InterceptingHttpAccessor 并且实现了 RestOperations 接口,其中 RestOperations 接口定义了基本的 RESTful 操作,这些操作在 RestTemplate 中都得到了实现。接下来我们就来看看这些操作方法的使用。
2.RestTemplate用法实践
2.1 创建配置类
创建ApplicationContextConfig类
package com.gh.config;

import org.springframework.context.annotation.Bean;
import org.springframework.context.annotation.Configuration;
import org.springframework.web.client.RestTemplate;

/**
 * @Author Eric
 * @Date 2021/7/28 21:29
 * @Version 1.0
 */
@Configuration
public class ApplicationContextConfig {
    @Bean
    public RestTemplate getRestTemplate(){
        return new RestTemplate();
    }
}
2.1 编写controller
新建controller进行restTemplate调用对应的接口
package com.gh.controller;

import com.gh.entity.CommonResult;
import com.gh.entity.Payment;
import lombok.extern.slf4j.Slf4j;
import org.springframework.beans.factory.annotation.Autowired;
import org.springframework.http.ResponseEntity;
import org.springframework.web.bind.annotation.GetMapping;
import org.springframework.web.bind.annotation.PathVariable;
import org.springframework.web.bind.annotation.RestController;
import org.springframework.web.client.RestTemplate;

/**
 * @Author Eric
 * @Date 2021/7/28 21:21
 * @Version 1.0
 */
@RestController
@Slf4j
public class OrderController {

    public static final String PAYMENT_URL="http://localhost:8001";

    @Autowired
    private RestTemplate restTemplate;

    @GetMapping("consumer/payment/create")
    public CommonResult<Payment> create(Payment payment){
        ResponseEntity<CommonResult> commonResultResponseEntity = restTemplate.postForEntity(PAYMENT_URL + "/payment/create", payment, CommonResult.class);
        CommonResult commonResult = commonResultResponseEntity.getBody();
        return commonResult;
    }

    @GetMapping("consumer/payment/get/{id}")
    public CommonResult<Payment> getPayment(@PathVariable Long id){
        return restTemplate.getForObject(PAYMENT_URL+"/payment/get/"+id,CommonResult.class);
    }

}
3.eureka快速入门
3.1 eureka server服务端安装
1) 安装依赖
    <dependency>
            <groupId>org.springframework.cloud</groupId>
            <artifactId>spring-cloud-starter-netflix-eureka-server</artifactId>
        </dependency>

        <!-- https://mvnrepository.com/artifact/org.springframework.boot/spring-boot-starter-web -->
        <dependency>
            <groupId>org.springframework.boot</groupId>
            <artifactId>spring-boot-starter-web</artifactId>
        </dependency>

        <!-- https://mvnrepository.com/artifact/org.springframework.boot/spring-boot-starter-web  -->
        <dependency>
            <groupId>org.springframework.boot</groupId>
            <artifactId>spring-boot-starter-actuator</artifactId>
        </dependency>
2) 编写application.yml
server:
  port: 7001

eureka:
  instance:
    hostname: localhost  #eureka服务端的实例名称
  client:
    #false 表示不向注册中心注册自己
    register-with-eureka: false
    #false 表示自己端就是注册中心 我的职责就是维护服务实例,并不需要去检索服务
    fetch-registry: false
    service-url:
      #设置与eureka server交互的地址查询服务和注册服务都需要依赖这个地址
      defaultZone: http://localhost/eureka/
3) 编写主启动类
@SpringBootApplication
@EnableEurekaServer
public class EurekaMain7001 {
    public static void main(String[] args) {
        SpringApplication.run(EurekaMain7001.class,args);
    }
}
4) 访问http://localhost:7001/
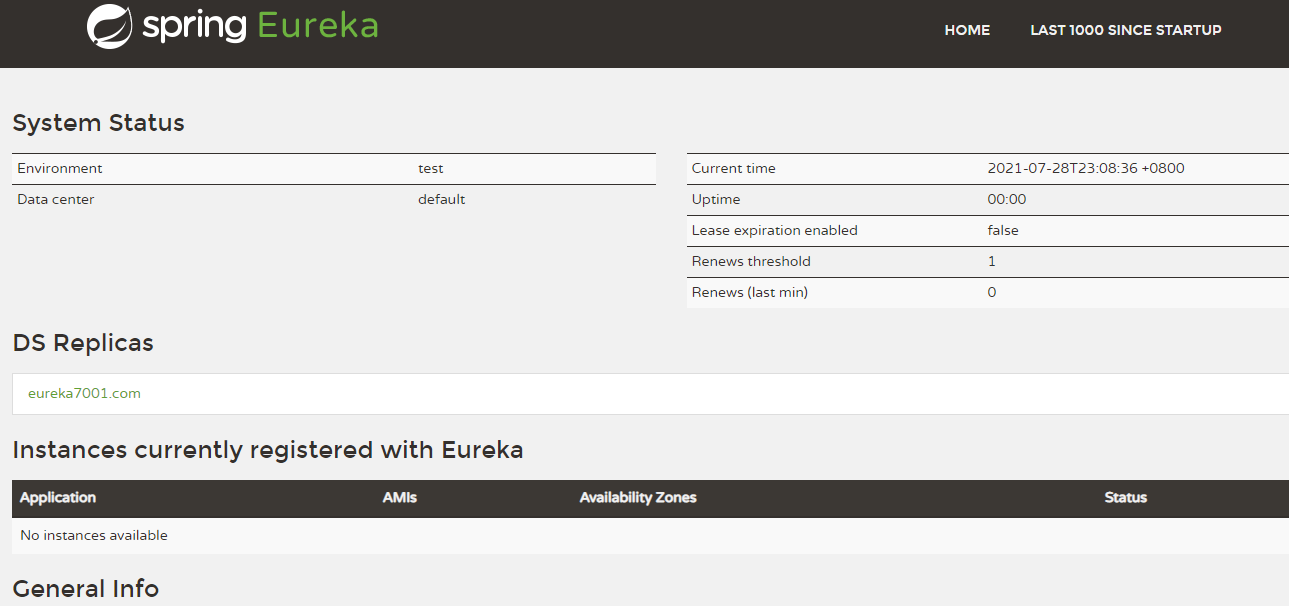
3.2 eureka client 客户端安装
1) 安装依赖
        <dependency>
            <groupId>org.springframework.cloud</groupId>
            <artifactId>spring-cloud-starter-netflix-eureka-client</artifactId>
        </dependency>
2) 修改yml
添加eureka的相关配置
eureka:
  client:
    #ture 表示将自己注册进eureka
    register-with-eureka: true
    #表示是否从eurekaServer中抓取已有的注册中心,默认为true,单节点无所谓,集群必须设置为true才能配合ribbon使用负载均衡
    fetch-registry: true
    service-url:
      defaultZone: http://localhost:7001/eureka
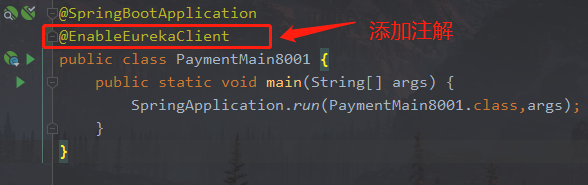
3) 修改主启动类
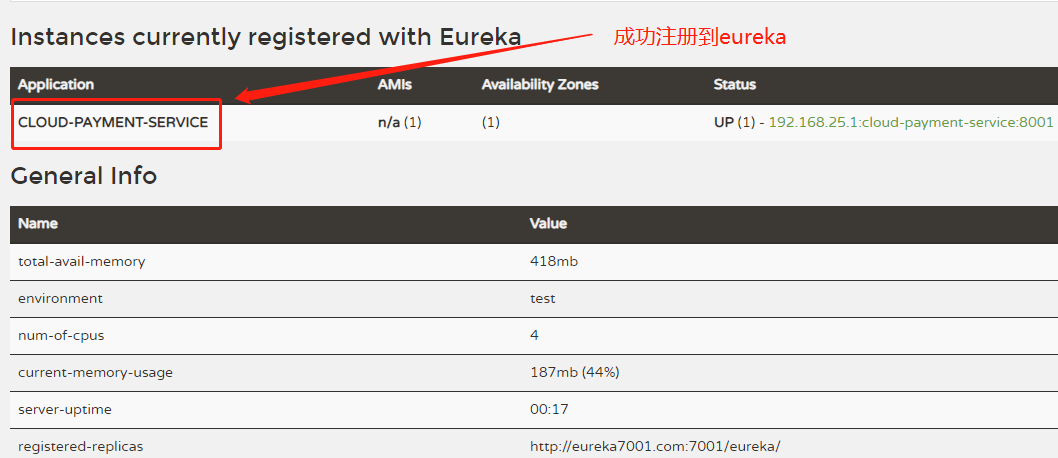
4) 访问http://localhost:7001/
4.eureka集群
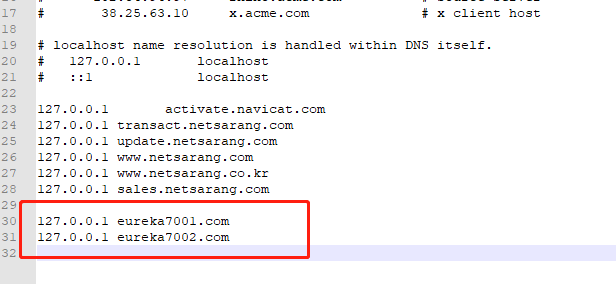
第一步:修改c盘目录C:WindowsSystem32driversetc 下的hosts文件
添加如下两行
127.0.0.1 eureka7001.com
127.0.0.1 eureka7002.com
eureka集群体现相互注册,相互守望
4.1 修改7001的yml
server:
  port: 7001

eureka:
  instance:
    hostname: eureka7001.com  #eureka服务端的实例名称
  client:
    #false 表示不向注册中心注册自己
    register-with-eureka: false
    #false 表示自己端就是注册中心 我的职责就是维护服务实例,并不需要去检索服务
    fetch-registry: false
    service-url:
      #设置与eureka server交互的地址查询服务和注册服务都需要依赖这个地址
      defaultZone: http://eureka7002.com:7002/eureka/
4.2 修改7002的yml
server:
  port: 7002

eureka:
  instance:
    hostname: eureka7002.com  #eureka服务端的实例名称
  client:
    #false 表示不向注册中心注册自己
    register-with-eureka: false
    #false 表示自己端就是注册中心 我的职责就是维护服务实例,并不需要去检索服务
    fetch-registry: false
    service-url:
      #设置与eureka server交互的地址查询服务和注册服务都需要依赖这个地址
      defaultZone: http://eureka7001.com:7001/eureka/
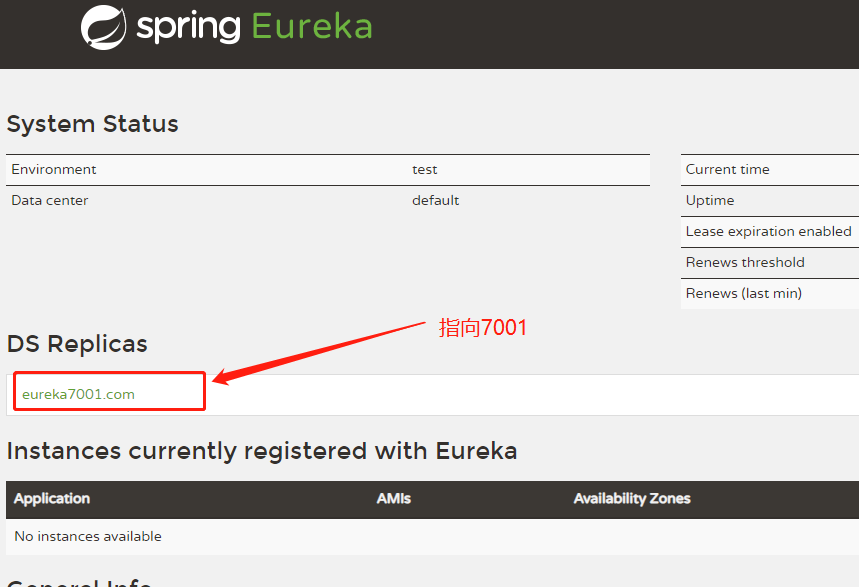
4.3 测试运行
启动两个服务,输入http://eureka7002.com:7002/ 能看到以下界面代表集群搭建成功
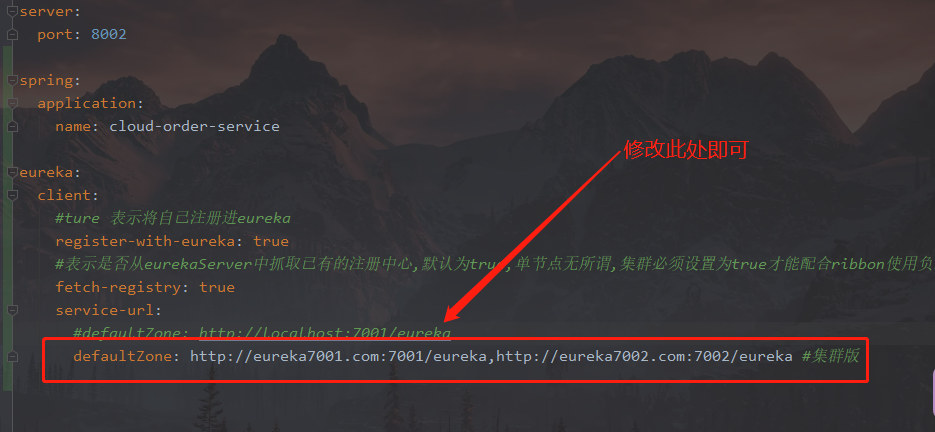
4.4 将服务注册进集群
修改yml配置文件
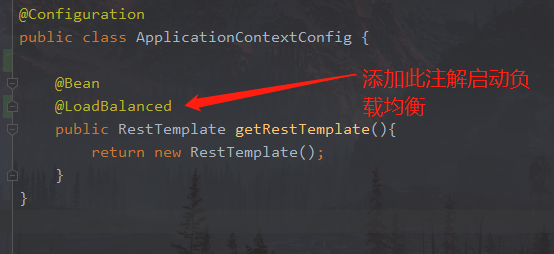
4.5 服务端集群
1) 添加负载均衡注解
2) 修改url
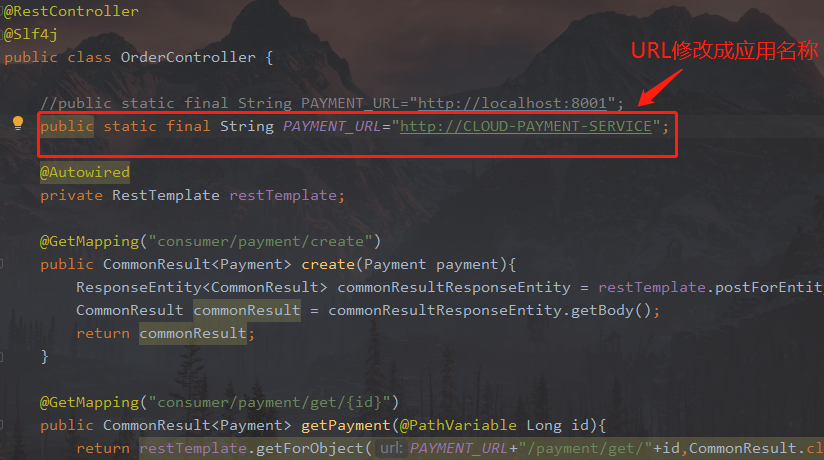
然后启动服务 访问 http://localhost:8080/consumer/payment/get/31 即可看到8001和8002交替出现