系统是centos7.5 python2.75
yum install -y ansible
ssh-keygen -t rsa
vim /etc/ansible/hosts
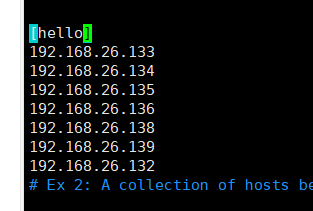
定义的一个hello组:
下面是主机节点
把/root/.ssh/id_rsa.pub分发到各节点authorized_key中
ansible hello -m authorized_key -a "user=root key='{{ lookup('file','/root/.ssh/id_rsa.pub') }}'" -k
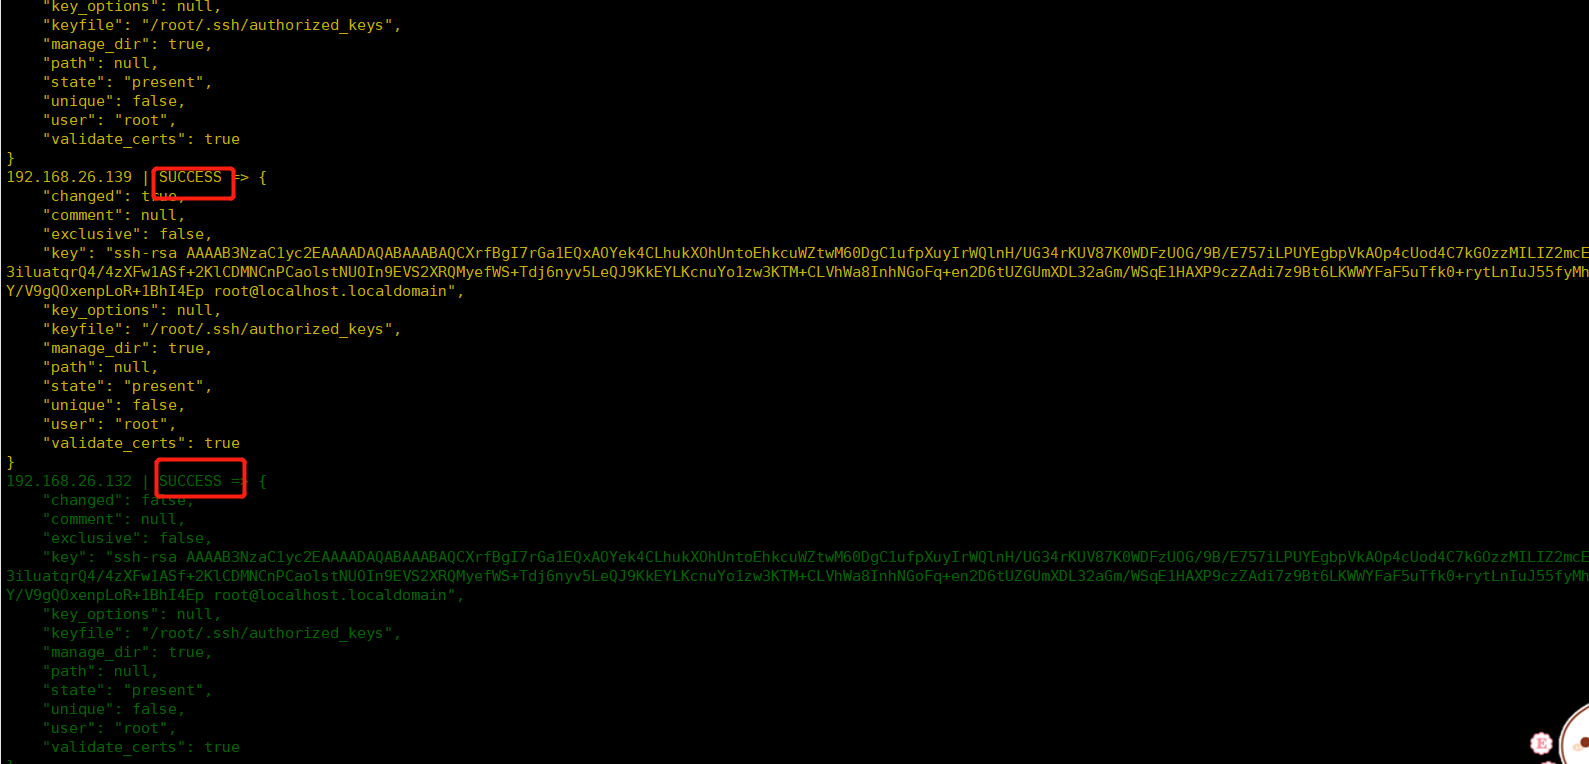
导入成功!
一、安装 Ansible
shell > yum -y install ansible
二、配置 Ansible
shell > ls /etc/ansible   # ansible.cfg 是 Ansible 工具的配置文件;hosts 用来配置被管理的机器;roles 是一个目录,playbook 将使用它
ansible.cfg hosts roles
1、Ansible 管理机与被管理机做秘钥认证

shell > ssh-keygen        # 生成秘钥
Generating public/private rsa key pair.
Enter file in which to save the key (/root/.ssh/id_rsa):
Created directory '/root/.ssh'.
Enter passphrase (empty for no passphrase):
Enter same passphrase again:
Your identification has been saved in /root/.ssh/id_rsa.
Your public key has been saved in /root/.ssh/id_rsa.pub.
The key fingerprint is:
ea:11:72:ea:d2:d1:fa:1c:e0:df:4f:b0:98:31:be:fe root@localhost.localdomain
The key's randomart image is:
+--[ RSA 2048]----+
| |
| |
| |
| |
| o.= S |
| ..*.B o |
| .ooB . . |
| ..o+ = . |
| ..oB.E.. |
+-----------------+

shell > ssh-copy-id -i ~/.ssh/id_rsa.pub "-p 22 root@192.168.12.129"     # 将公钥写入被管理机
The authenticity of host '192.168.12.129 (192.168.12.129)' can't be established.
RSA key fingerprint is f0:9e:01:73:a4:bf:14:10:ac:46:a9:48:cd:c5:d8:1c.
Are you sure you want to continue connecting (yes/no)? yes
Warning: Permanently added '192.168.12.129' (RSA) to the list of known hosts.
root@192.168.12.129's password:
Now try logging into the machine, with "ssh '-p 22 root@192.168.12.129'", and check in:

.ssh/authorized_keys

to make sure we haven't added extra keys that you weren't expecting.
2、hosts 文件添加被管理机
shell > > /etc/ansible/hosts
shell > vim /etc/ansible/hosts

[Client]

192.168.12.129
三、测试 Ansible
shell > ansible Client -m ping     # 操作 Client 组 ( all 为操作 hosts 文件中所有主机 ),-m 指定执行 ping 模块,下面是返回结果
192.168.12.129 | SUCCESS => {
"changed": false,
"ping": "pong"
}

# -i          指定 hosts 文件位置
# -u username 指定 SSH 连接的用户名
# -k          指定远程用户密码
# -f          指定并发数
# -s          如需要 root 权限执行时使用 ( 连接用户不是 root 时 )
# -K          -s 时,-K 输入 root 密码
四、附加
1、/etc/ansible/hosts 文件
## Ansible 定义主机、组规则的配置文件
shell > vim /etc/ansible/hosts

www.abc.com     # 定义域名

192.168.1.100   # 定义 IP

192.168.1.150:37268   # 指定端口号

[WebServer]           # 定义分组

192.168.1.10
192.168.1.20
192.168.1.30

[DBServer]            # 定义多个分组

192.168.1.50
192.168.1.60

Monitor ansible_ssh_port=12378 ansible_ssh_host=192.168.1.200   # 定义别名

# ansible_ssh_host 连接目标主机的地址

# ansible_ssh_port 连接目标主机的端口,默认 22 时无需指定

# ansible_ssh_user 连接目标主机默认用户

# ansible_ssh_pass 连接目标主机默认用户密码

# ansible_ssh_connection 目标主机连接类型,可以是 local 、ssh 或 paramiko

# ansible_ssh_private_key_file 连接目标主机的 ssh 私钥

# ansible_*_interpreter 指定采用非 Python 的其他脚本语言,如 Ruby 、Perl 或其他类似 ansible_python_interpreter 解释器

[webservers]         # 主机名支持正则描述

www[01:50].example.com

[dbservers]

db-[a:f].example.com
2、Ansible 常用模块学习
shell > ansible-doc -l    # 列出 Ansible 支持的模块

shell > ansible-doc ping  # 查看该模块帮助信息
>> 远程命令模块( command / script / shell )
command 作为 Ansible 的默认模块,可以运行远程权限范围所有的 shell 命令,不支持管道符。
例:
shell > ansible Client -m command -a "free -m" # 查看 Client 分组主机内存使用情况
script 的功能是在远程主机执行主控端存储的 shell 脚本文件,相当于 scp + shell 组合。
例:
shell > ansible Client -m script -a "/home/test.sh 12 34" # 远程执行本地脚本
shell 的功能是执行远程主机上的 shell 脚本文件,支持管道符。
例:
shell > ansible Client -m shell -a "/home/test.sh" # 执行远程脚本
>> copy 模块(实现主控端向目标主机拷贝文件,类似于 scp 功能)
例:
shell > ansible Client -m copy -a "src=/home/test.sh desc=/tmp/ owner=root group=root mode=0755" # 向 Client 组中主机拷贝 test.sh 到 /tmp 下,属主、组为 root ,权限为 0755
>> stat 模块(获取远程文件状态信息,atime/ctime/mtime/md5/uid/gid 等信息)
例:
shell > ansible Client -m stat -a "path=/etc/syctl.conf"
>> get_url 模块(实现在远程主机下载指定 URL 到本地,支持 sha256sum 文件校验)
例:
shell > ansible Client -m get_utl -a "url=http://www.baidu.com dest=/tmp/index.html mode=0440 force=yes"
>> yum 模块(软件包管理)
例:
shell > ansible Client -m yum -a "name=curl state=latest"
>> cron 模块(远程主机 crontab 配置)
例:
shell > ansible Client -m cron -a "name='check dirs' hour='5,2' job='ls -alh > /dev/null'"
效果:
#Ansible: check dirs
* 5,2 * * * ls -alh > /dev/null
>> mount 模块(远程主机分区挂载)
例:
shell > ansible Client -m mount -a "name=/mnt/data src=/dev/sd0 fstype=ext4 opts=ro state=present"
>> service 模块(远程主机系统服务管理)
例:
shell > ansible Client -m service -a "name=nginx state=stoped"
shell > ansible Client -m service -a "name=nginx state=restarted"
shell > ansible Client -m service -a "name=nginx state=reloaded"
>> user 服务模块(远程主机用户管理)
例:
shell > ansible Client -m user -a "name=wang comment='user wang'"

shell > ansible Client -m user -a "name=wang state=absent remove=yes"    # 添加删除用户
五、Ansible-playbook
# 使用 Ansible-playbook 可以完成一组复杂的动作,例如部署环境、搭建服务、修改配置等。
简单示例:
shell > vim /etc/ansible/playbook.yml    # 将远程主机IP地址写入文件中保存

---
- hosts: Client
remote_user: root
tasks:
- name: Save IP To info.txt
shell: "ifconfig eth0 | awk -F '[ :]'+ '/inet addr/{print $4}' > ~/info.txt"

# hosts        指定执行操作主机
# remote_user  指定执行用户
# tasks        指明有哪些动作
# name         动作描述
# shell        模块,后面为具体指令
Playbook 实战:
一、目录结构
shell > cd /etc/ansible/ ; tree .
.
├── ansible.cfg
├── delete_zabbix_agent.yml
├── hosts
├── install_zabbix_agent.yml
└── roles
    ├── delete_zabbix_agent
    │   ├── tasks
    │   │   └── main.yml
    │   └── vars
    │       └── main.yml
    └── install_zabbix_agent
        ├── files
        │   └── zabbix-2.4.5.tar.gz
        ├── tasks
        │   └── main.yml
        ├── templates
        │   ├── zabbix_agentd
        │   └── zabbix_agentd.conf
        └── vars
             └── main.yml

## ansible.cfg  此文件为 ansible 的主配置文件
## hosts        用于定义主机组
## roles        定义不同的角色
## install_zabbix_agent.yml  用于安装 zabbix_agent 的引导文件
## delete_zabbix_agent.yml   删除已安装的 zabbix_agent 的引导文件

    └── install_zabbix_agent
        ├── files
        │   └── zabbix-2.4.5.tar.gz
        ├── tasks
        │   └── main.yml
        ├── templates
        │   ├── zabbix_agentd
        │   └── zabbix_agentd.conf
        └── vars
             └── main.yml

## 其中,install_zabbix_agent 为一个角色,用于安装 zabbix_agent

## file      目录:用于存放将要拷贝到远程主机的安装包等
## tasks     目录:将要执行的所有任务,如果比较复杂,可以单独定义不同的任务,最后在 main.yml 文件中引用即可
## templates 目录:模板目录,这里存放着一些可变的文件,即:每台主机上的这些文件中的内容都不完全相同
## vars      目录:用于存放变量

## 这是一个比较简单的结构,其实一个角色中还可以有 meta 、handlers 等
二、Playbook 安装软件需要的步骤
1、定义 hosts( 给哪些主机安装软件 )
shell > vim /etc/ansible/hosts

[mini]

129.139.153.78:16283
155.139.190.94:12573
2、定义入口文件 install_zabbix_agent.yml
shell > vim /etc/ansible/install_zabbix_agent.yml

---
- hosts: mini
  roles:
  - install_zabbix_agent

## 可以看到将要安装的主机组为 mini 组,角色为 install_zabbix_agent
3、定义角色 install_zabbix_agent
shell > tree /etc/ansible/roles/install_zabbix_agent/

├── files
│    └── zabbix-2.4.5.tar.gz
├── tasks
│    └── main.yml
├── templates
│    ├── zabbix_agentd
│    └── zabbix_agentd.conf
└── vars
      └── main.yml

## 建立 files     目录,存放编译安装过的 zabbix_agent 目录的压缩文件,用于拷贝到远程主机
## 建立 tasks     目录,用于编写将要执行的任务
## 建立 templates 目录,用于存放可变的模板文件
## 建立 vars      目录,用于存放变量信息