1. Eclipse 创建 maven project
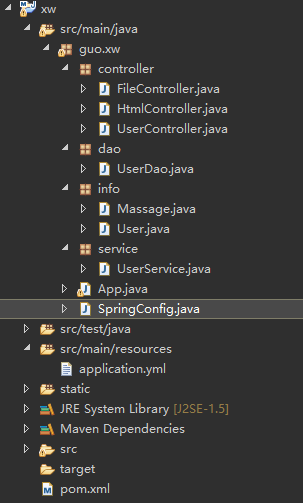
项目目录如下:
2. pom.xml 配置文件
<project xmlns="http://maven.apache.org/POM/4.0.0" xmlns:xsi="http://www.w3.org/2001/XMLSchema-instance"
	xsi:schemaLocation="http://maven.apache.org/POM/4.0.0 http://maven.apache.org/xsd/maven-4.0.0.xsd">
	<modelVersion>4.0.0</modelVersion>

	<groupId>guo</groupId>
	<artifactId>xw</artifactId>
	<version>0.0.1-SNAPSHOT</version>
	<packaging>jar</packaging>
	<name>xw</name>
	<url>http://maven.apache.org</url>

	<properties>
		<project.build.sourceEncoding>UTF-8</project.build.sourceEncoding>
	</properties>

	<dependencies>

		<dependency>
			<groupId>org.springframework.boot</groupId>
			<artifactId>spring-boot-starter-web</artifactId>
			<version>1.3.3.RELEASE</version>
		</dependency>

		<dependency>
			<groupId>junit</groupId>
			<artifactId>junit</artifactId>
			<version>3.8.1</version>
			<scope>test</scope>
		</dependency>
	</dependencies>
</project>
application.yml (放置在resources 下面)
8080端口被占用,在yml文件中修改端口为 8092 。不能有tab键值,缩进 用空格键
server:
      port: 8092
3.SpringConfig.java (放置在包最外层)
@Configuration //通过该注解来表明该类是一个Spring的配置,相当于一个xml文件
@ComponentScan(basePackages = "guo.xw")
public class SpringConfig {

    @Bean         // 通过该注解来表明是一个Bean对象,相当于xml中的<bean>
    public UserDao getUserDAO(){
        return new UserDao();    // 直接new对象做演示
    }

}
4. 主入口App.java (放置在包最外层)
@SpringBootApplication
public class App
{
    public static void main( String[] args )
    {
        System.out.println( "Hello World!" );
        SpringApplication.run(App.class, args);
        AnnotationConfigApplicationContext context = new AnnotationConfigApplicationContext(SpringConfig.class);
        UserService userService = context.getBean(UserService.class);
        List<User> list = userService.queryUserList();
        for (User user : list) {
            System.out.println(user.getName()+ ", " + user.getAge());
        }

        context.destroy();

    }
}
5. Controller
@RestController
public class UserController {
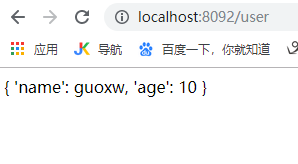
@RequestMapping(path="/user" ,method=RequestMethod.GET)
public String testUser(){
return "{ 'name': guoxw, 'age': 10 }";
}
@RequestMapping(path="/userUpdate" , method=RequestMethod.POST)
public User userPost(@RequestBody User user ) {
int age=user.getAge()*2;
String name=user.getName()+"_update";
User user2=new User();
user2.setAge(age);
user2.setName(name);
return user2;
}
}
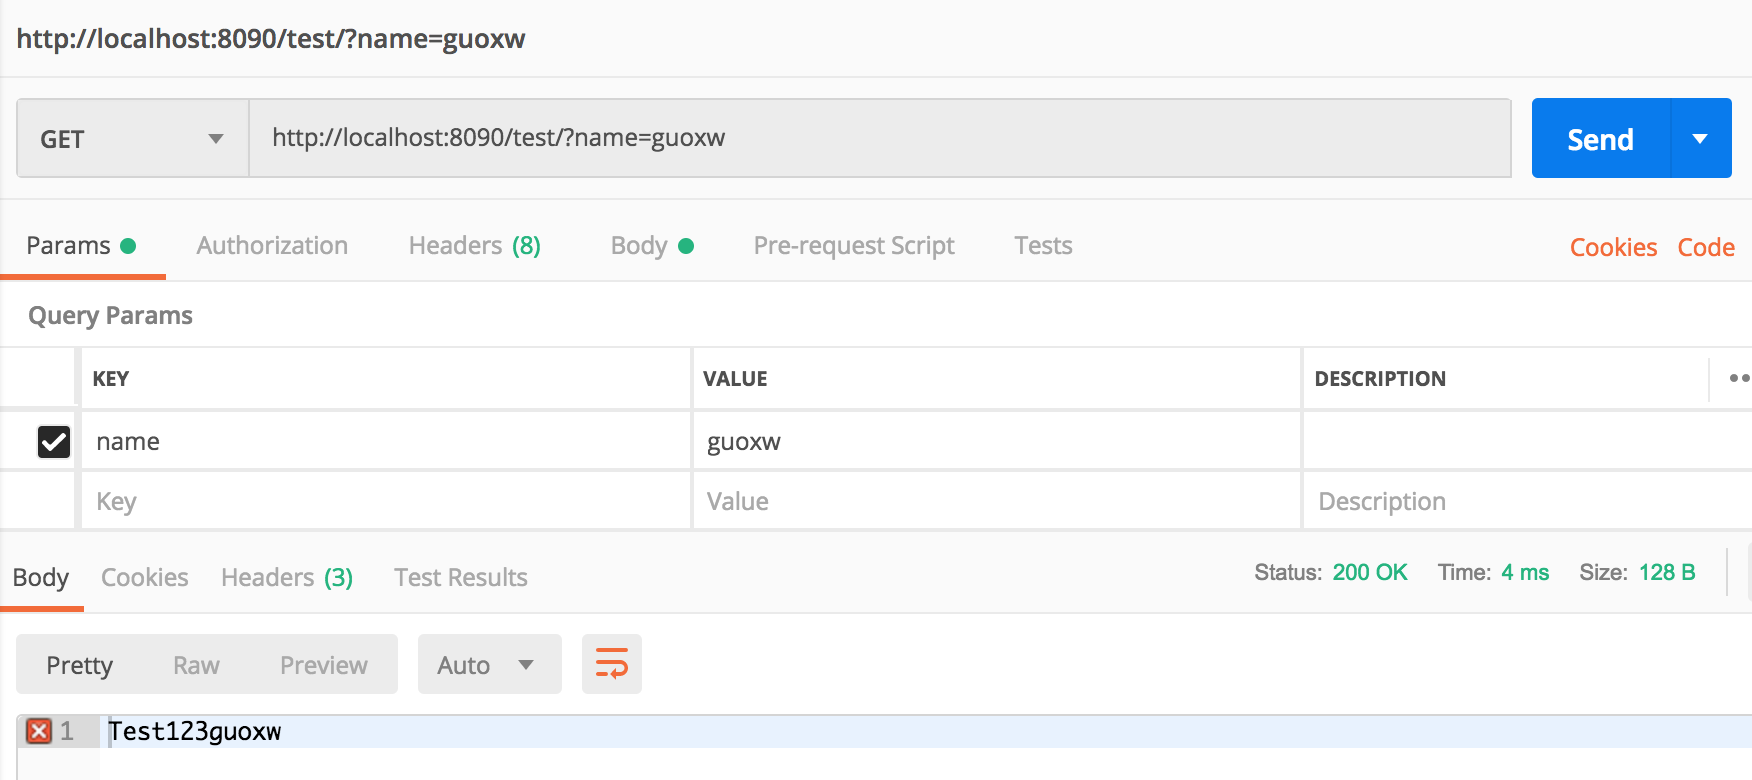
6. get 方法
get带参数的:
	@RequestMapping(path="/", method=RequestMethod.GET)
	public String Test(@RequestParam(name="name", required=true) String name) {
		logger.debug("Parameter is: {}", name);
		return "Test123" + name;
	}
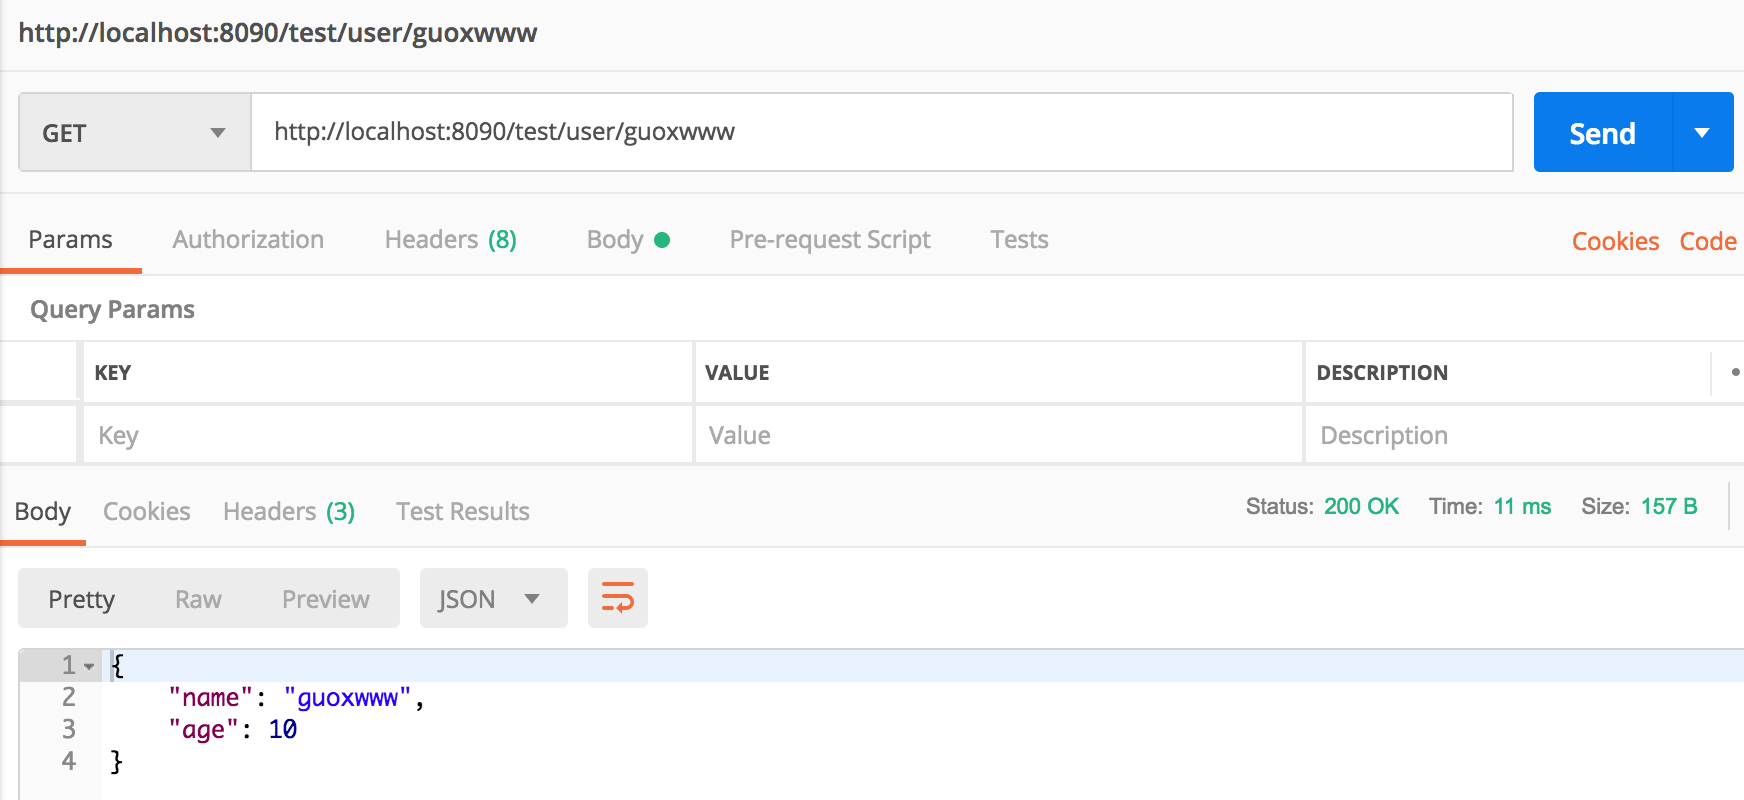
// http://localhost:8092/test/user/guoxw_parameter
@RequestMapping(path="/user/{name}", method=RequestMethod.GET)
	public User TestUser(@PathVariable String name) {
		logger.debug("Parameter is: {}", name);
		User user = new User();
		user.setName(name);
		user.setAge(10);
		return user;
	}
post 方法

7. 上传图片
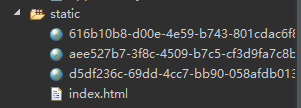
static 文件下放置html 以及 上传保存的图片。(static 目录应该在resources 下面 。上图中位置是不对,不过也不影响运行)
html文件
<!DOCTYPE HTML>
<html>
    <head>
        <title>pictureUploading</title>
        <meta http-equiv="Content-Type" content="text/html;charset=UTF-8 ">
    </head>
    <body>
     <form enctype="multipart/form-data" method="post" action="/upload">
            文件:<input type="file" name="fileUpload"/>
            <input type="submit" value="上传"/>
        </form>

    </body>
</html>
FileController
@RestController
public class FileController {
@RequestMapping(path="/upload" , method=RequestMethod.POST)
public Object upload(MultipartFile fileUpload){
//获取文件名
String fileName = fileUpload.getOriginalFilename();
//获取文件后缀名
String suffixName = fileName.substring(fileName.lastIndexOf("."));
//重新生成文件名
fileName = UUID.randomUUID()+suffixName;
//指定本地文件夹存储图片
String filePath = "D:/eclipseWorkSpace/SpringTestOne/xw/static/";
try {
//将图片保存到static文件夹里
fileUpload.transferTo(new File(filePath+fileName));
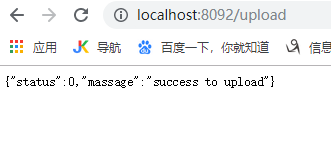
return new Massage(0,"success to upload");
} catch (Exception e) {
e.printStackTrace();
return new Massage(-1,"fail to upload");
}
}
}
运行如:
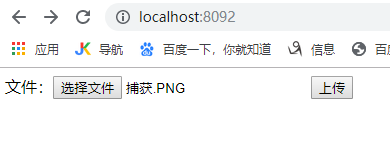
选择文件后,点击上传,则返回上传结果信息。
可以看到上传的图片
8.
只是熟悉下Spring boot框架,其中的具体原理和细节都不太清楚,后续再整理学习。
code:(Spring boot 初步接触 (1) )
链接: https://pan.baidu.com/s/1_qNHW3qwxnXMMmiKg4hJ7A 提取码: gjjj