一.首先下载ueditor的文件
链接:https://pan.baidu.com/s/16fGsenCJHyxptYEToczyVA
提取码:zvyj
复制这段内容后打开百度网盘手机App,操作更方便哦
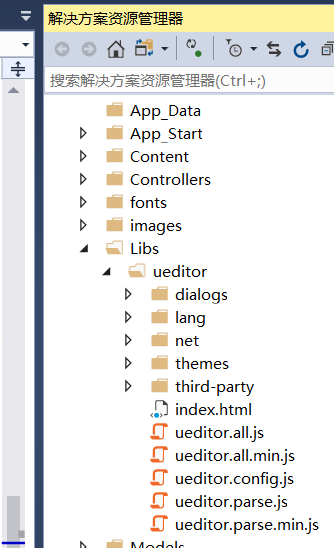
在项目里创建一个Libs的文件夹,把整个文件拉入里面
引用脚本
<script src="~/Scripts/jquery-3.3.1.js"></script>
<script src="~/Content/jquery.unobtrusive-ajax.js"></script>
<!-- 配置文件 -->
<script type="text/javascript" src="/Libs/ueditor/ueditor.config.js"></script>
<!-- 编辑器源码文件 -->
<script type="text/javascript" src="/Libs/ueditor/ueditor.all.js"></script>
<!-- 实例化编辑器 -->
<script src="~/Libs/ueditor/lang/zh-cn/zh-cn.js"></script>
代码:
@Html.BeginForm("进入帖子", "WuDi")
{
<textarea id="editor" name="editor"></textarea> //实例化百度编辑器
<input type="submit" id="btnBaidu" value="提交" />
}
<script>
var ue = UE.getEditor("editor", {
toolbars: [
['redo', 'snapscreen', 'bold', 'horizontal', 'cleardoc',
'fontfamily', 'forecolor', 'fontsize', 'simpleupload', 'insertimage'
, 'emotion', 'map', 'insertvideo', 'attachment']
],
iframeCssUrl: '/ueditor/utf8-jsp/themes/iframe.css',// 引入css
autoHeightEnabled: false,
autoFloatEnabled: true,
initialFrameWidth: 700,
initialFrameHeight: 150
});
</script>
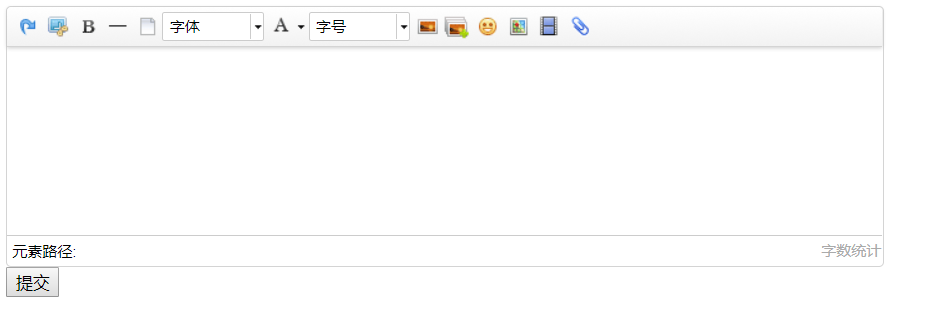
效果图:

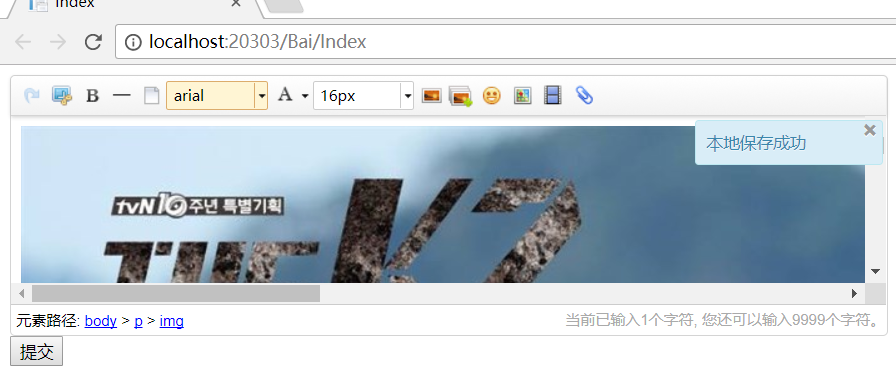
找到config.json,修改路径,图片就会显示在百度编辑器的编辑框里

效果图:
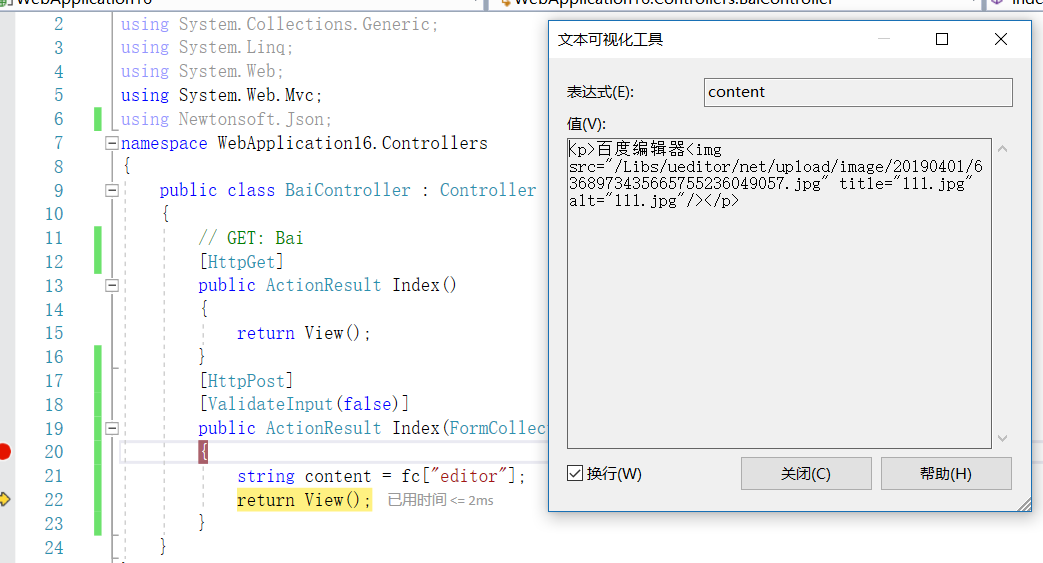
然后点击提交,就可以把文本框的输入的文本以及图片传到后台
后台代码:
[HttpPost]
[ValidateInput(false)] //这个必写,不写会报错
public ActionResult Index(FormCollection fc)
{
string content = fc["editor"];
//下面就是把content保存到数据库操作,不详细些;
return View();
}
效果图:
显示在页面上,就先把数据从数据库拿过来,然后把值输出就可以显示对应的文本以及图片
@Html.Raw(@item.PingLun_nei) 括号里面是存放保存图片及文本的字段名字;