理解BRDF:
BRDF 就是最直观的描述 你camera ray(wo) 与 light ray(wi) 在 一个表面上P点 的关系。

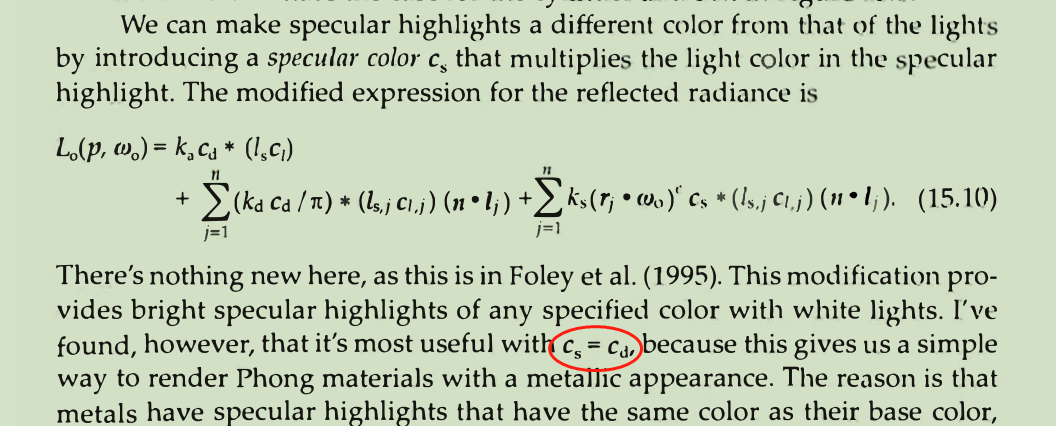
最后一项即是对phong材质的贡献。可以理解为phong高光。
phong:
修正的高光色: 其实就是cs = cd
Blinn BRDF也比较简单,直接抛弃r向量了:
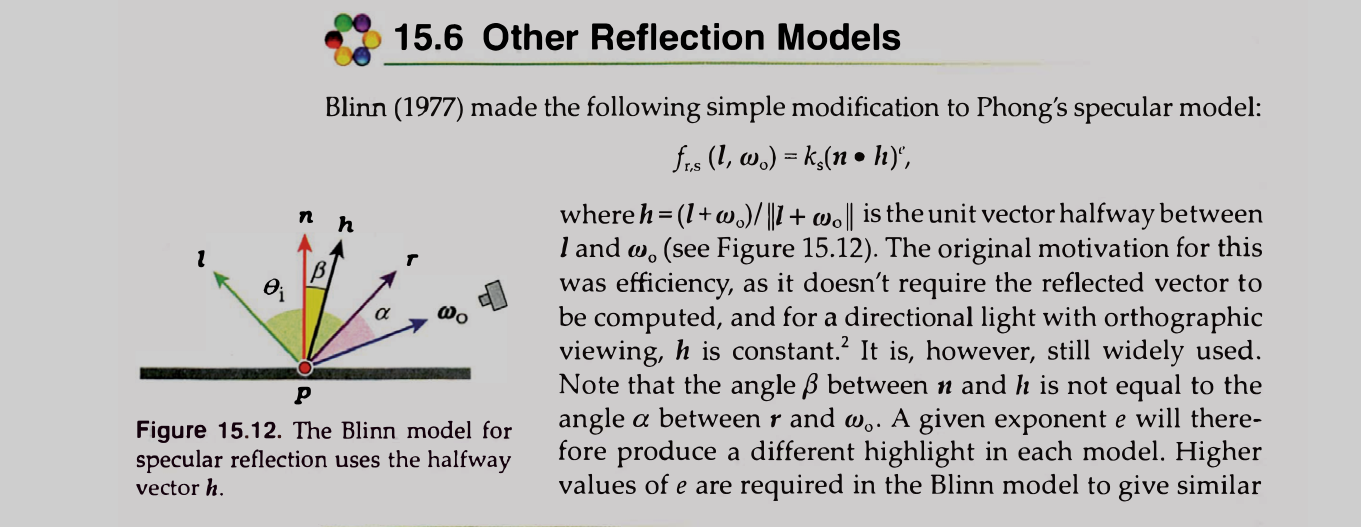
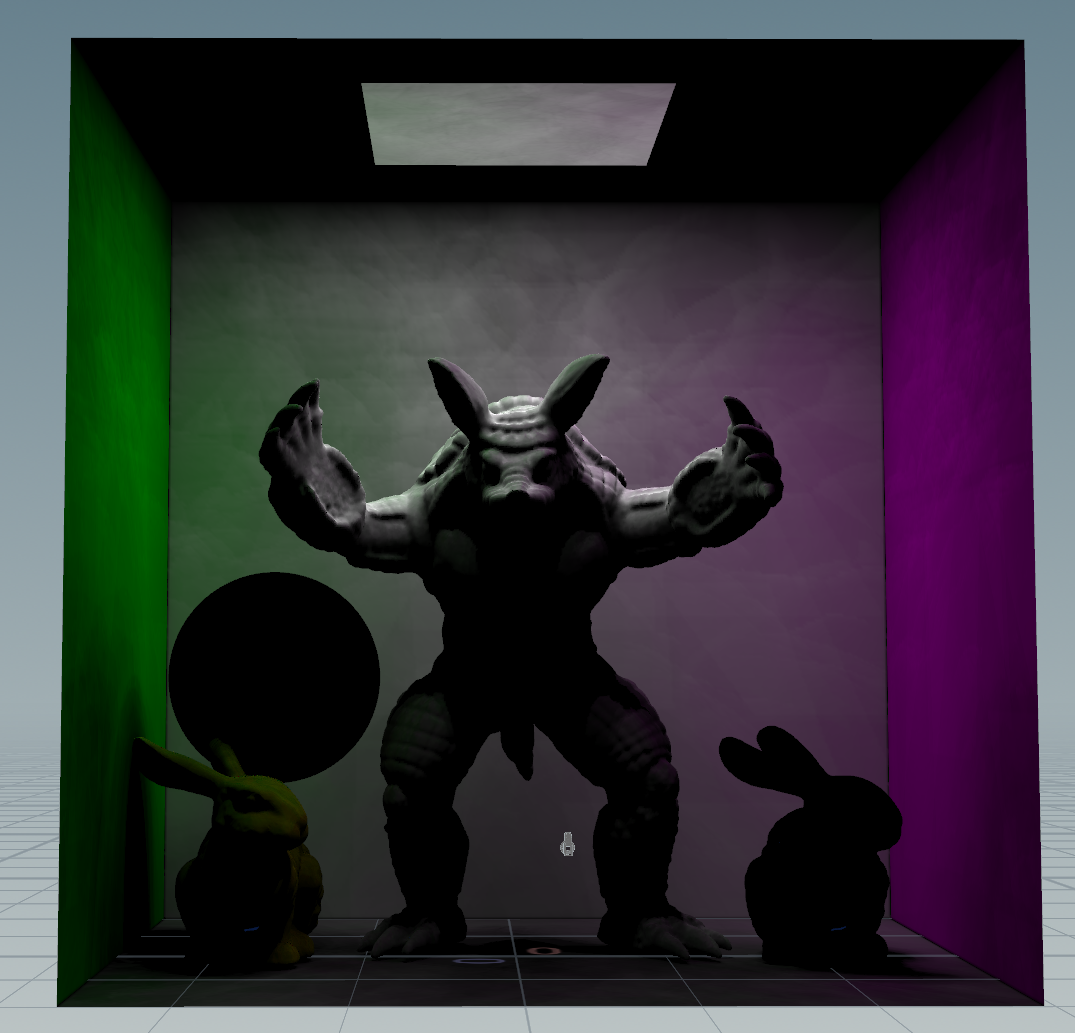
加入点阴影和 PHONG:
OCC:
occ里最重要的是这个可见项怎么构造。
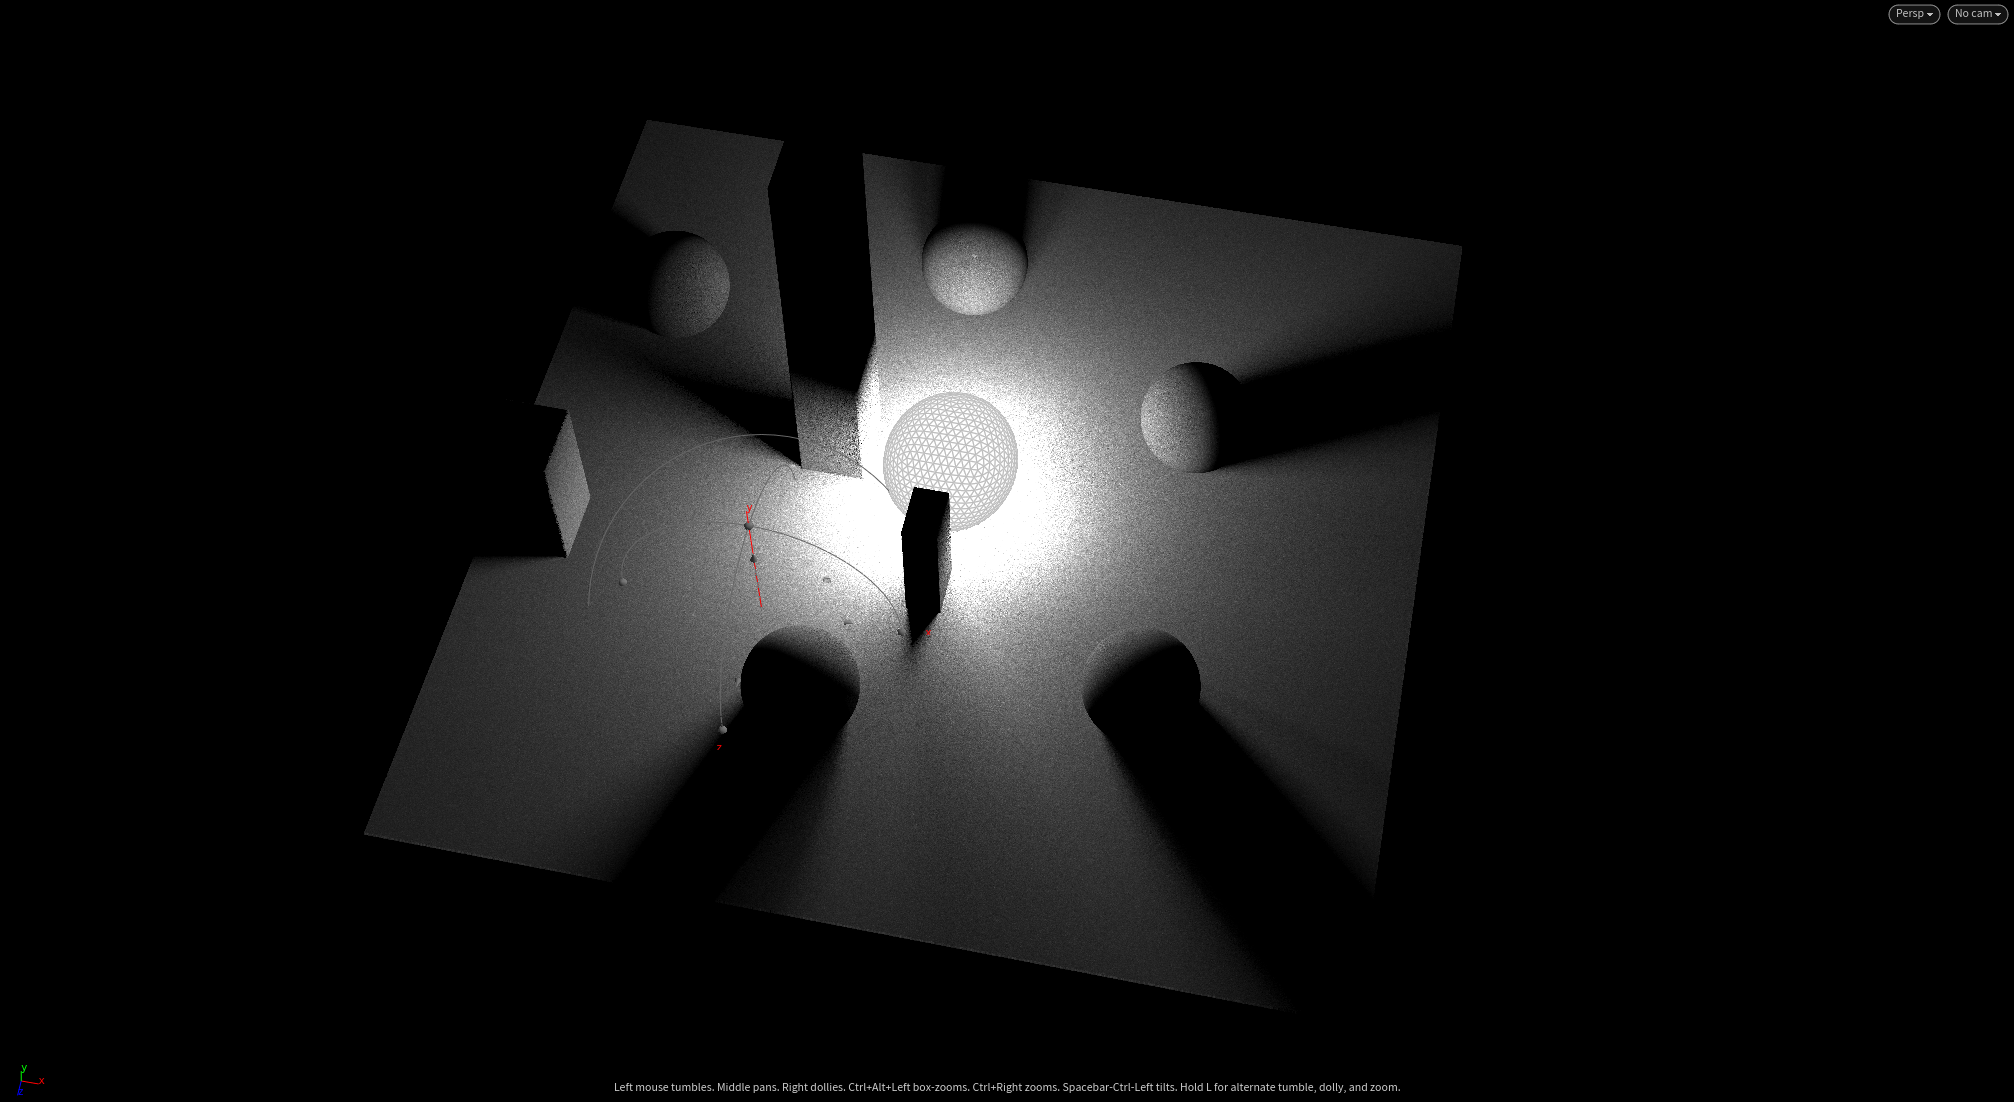
剩下的就是个在每个ray_hit point 构造一个正交基,然后将半球采样点通过正交基 线性组合 得出方向dir,这个dir将会是shadow_ray的方向。
书中的制作是放到灯光上。也就是灯光occ,这个方法牛逼在渲染器上的pixel samples 就可以控制occ精度.
但是由于Houdini太尼玛的灵活,直接用当前的点作为ray_hit point,直接蒙特卡罗算法走起来.....都不用ray_hit point,缺点是需要大量的点
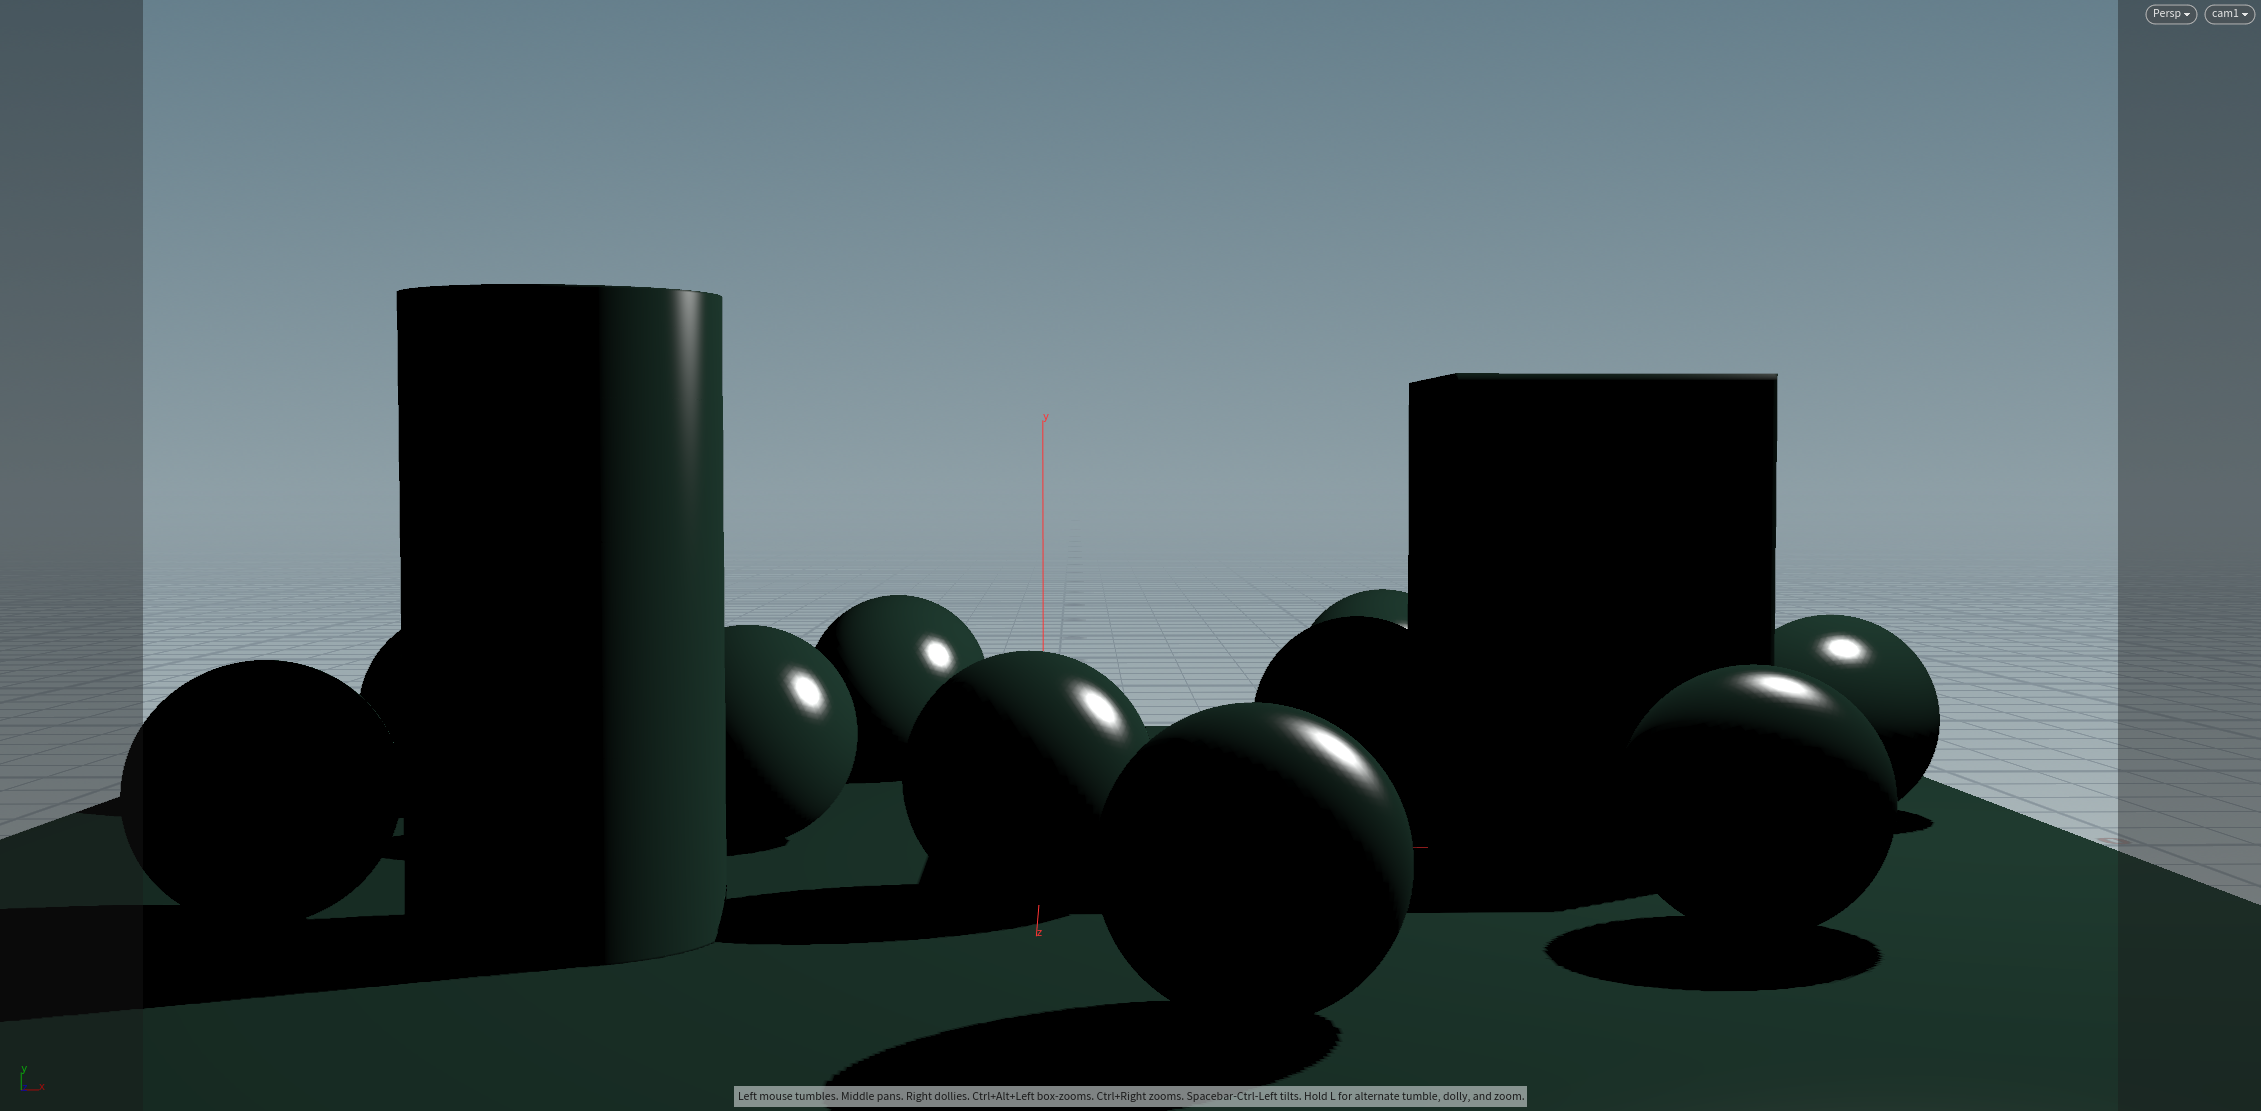
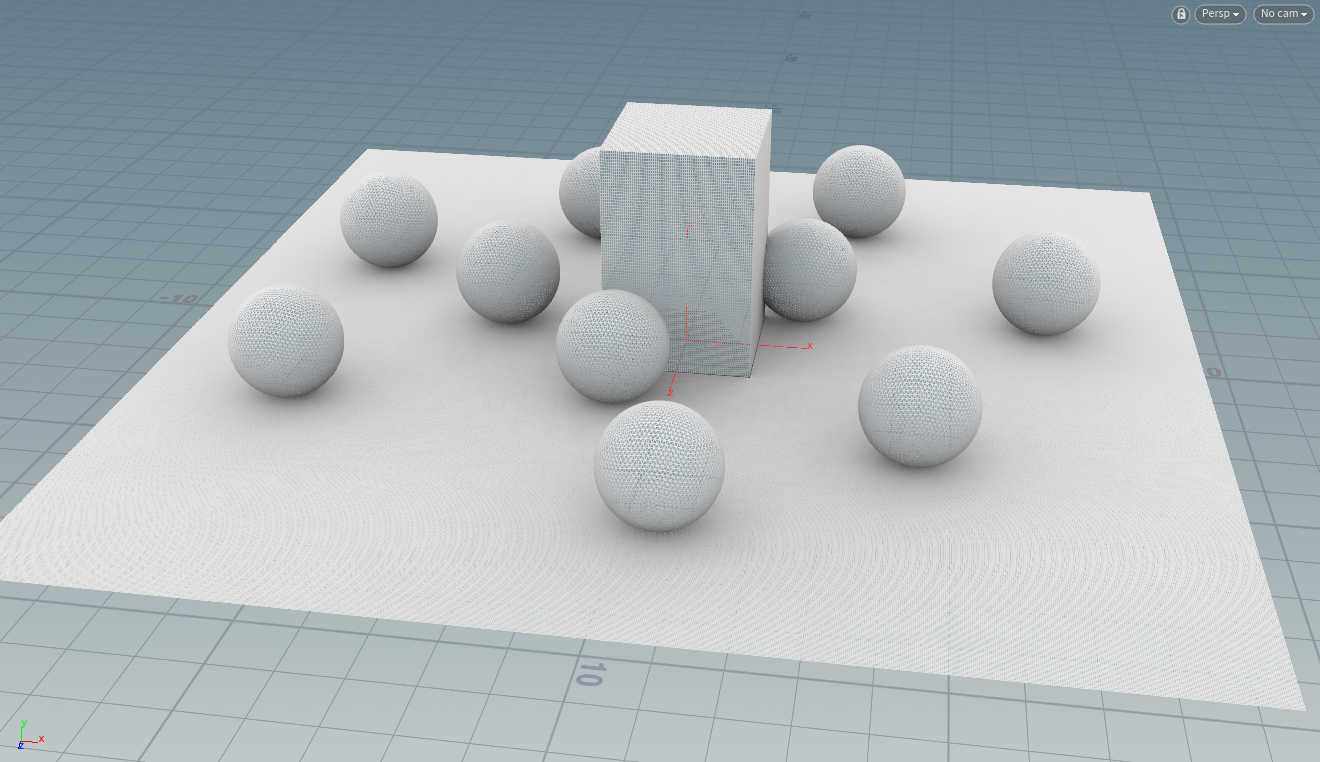
直接在sop(材质方法)测试了下:


采用cos-weighted 分布的半球:
float e = chf("e");
float cos_phi = cos(2.0f * PI * @P.x);
float sin_phi = sin(2.0f * PI * @P.x);
float cos_theta = pow((1.0f - @P.y) , 1.0f / (e+1.0));
float sin_theta = sqrt(1.0f - cos_theta * cos_theta);
float pu = sin_theta * cos_phi;
float pv = sin_theta * sin_phi;
float pw = cos_theta;
@P.x = pu;
@P.y = pv;
@P.z = pw;
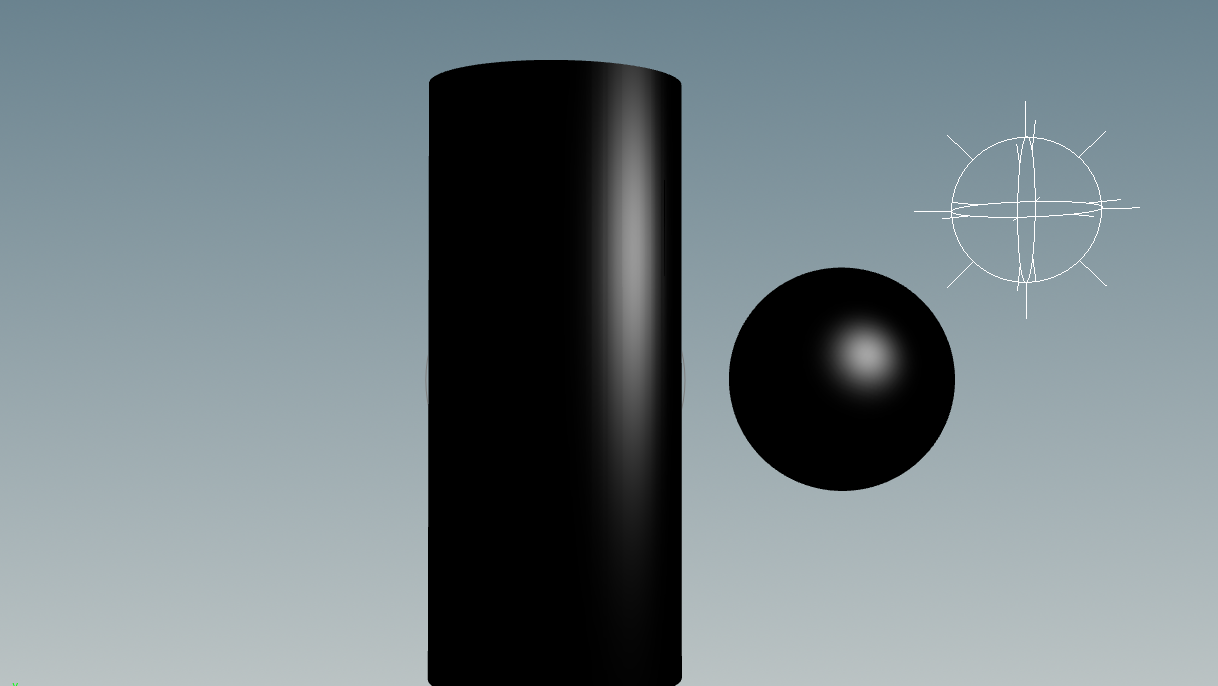
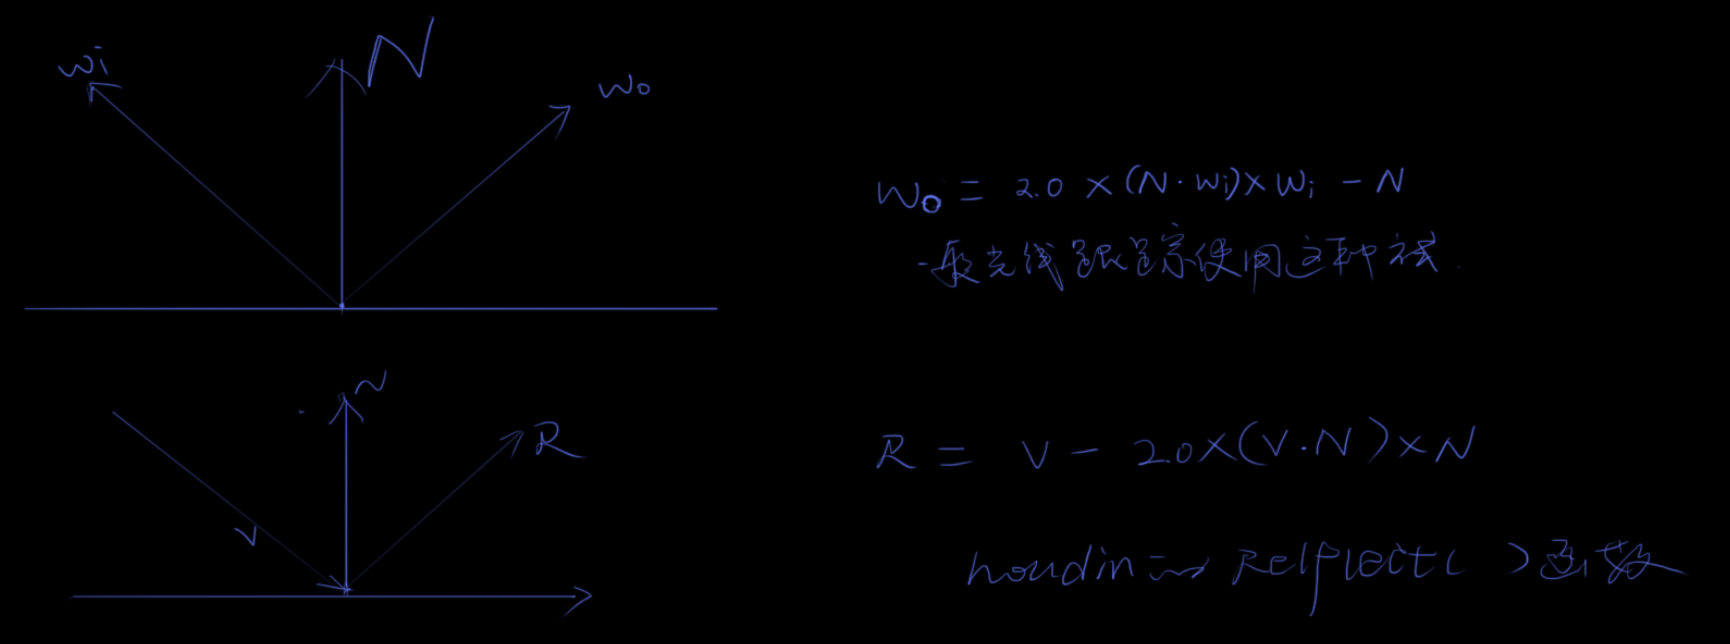
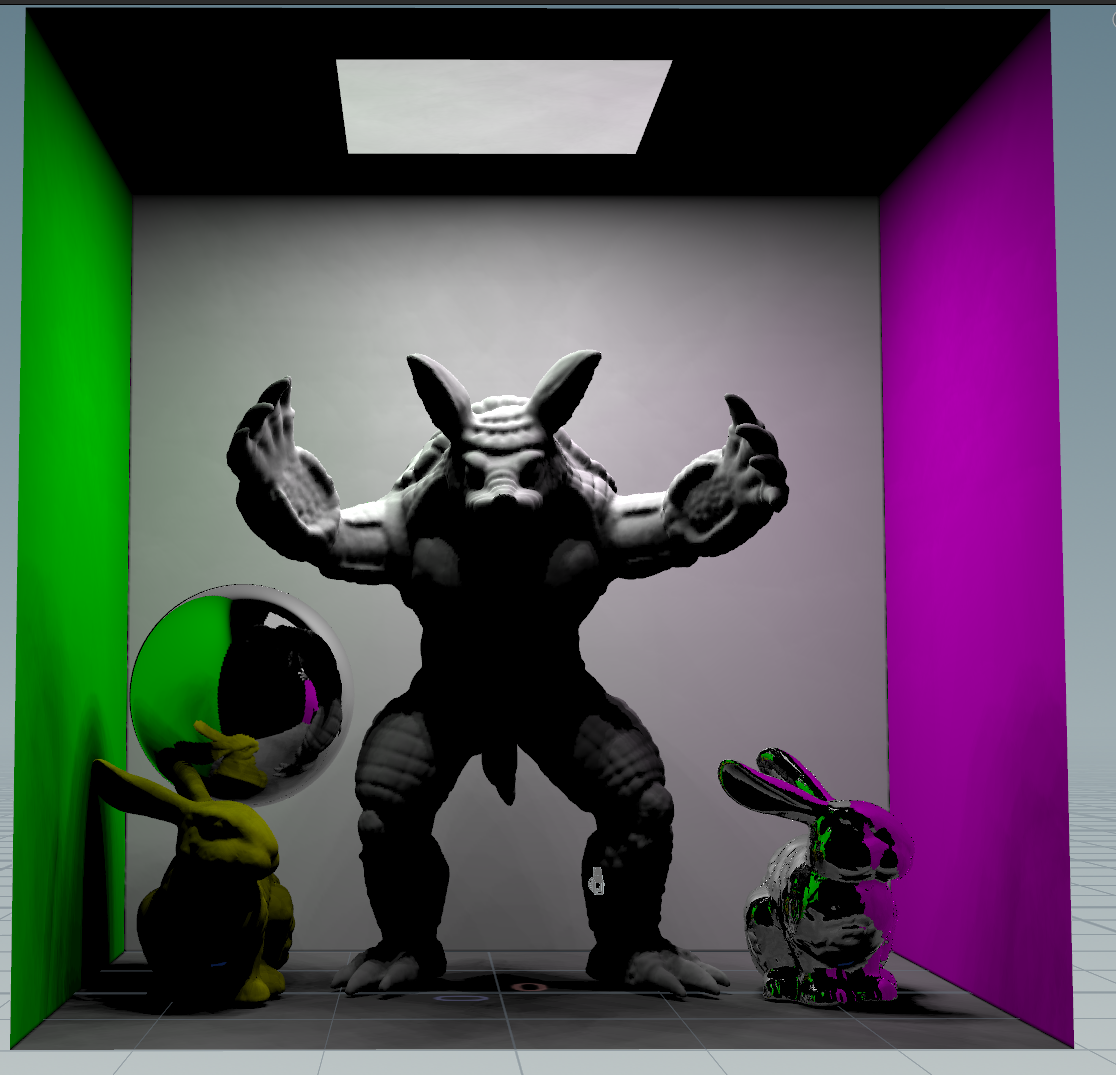
Mirror reflection:
在这里不能用houdini的反射函数
地面是纯颜色
occ + 递归镜面反射
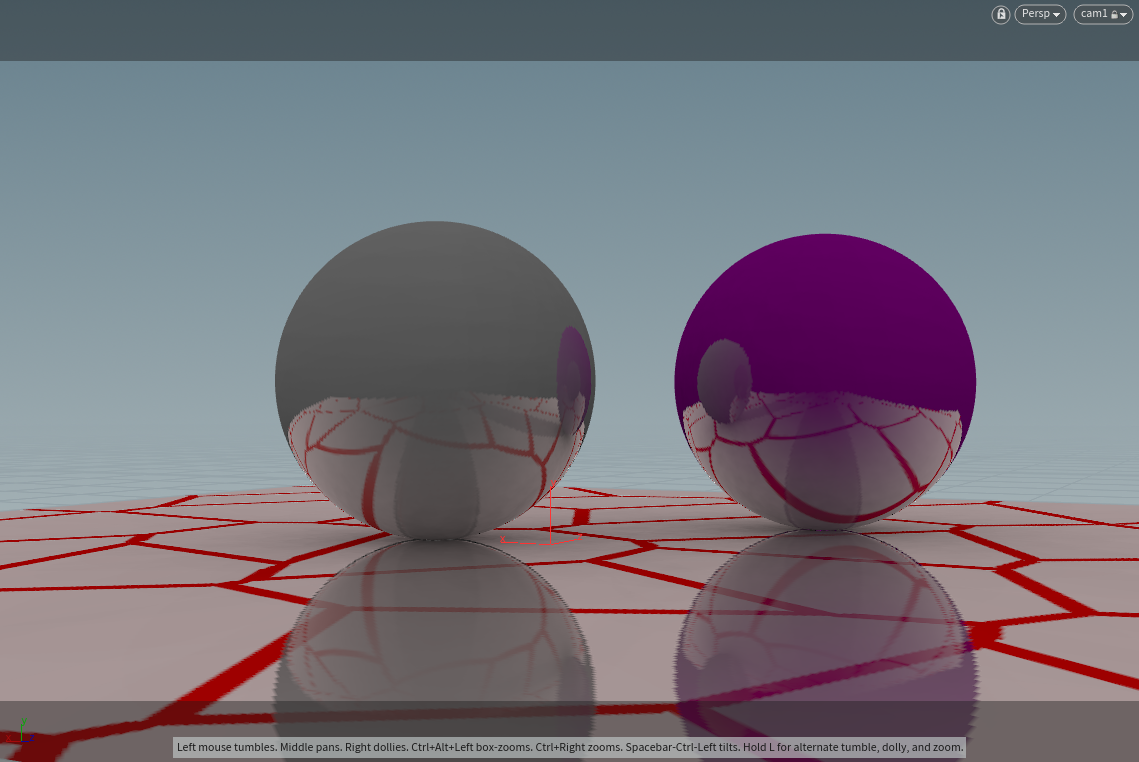
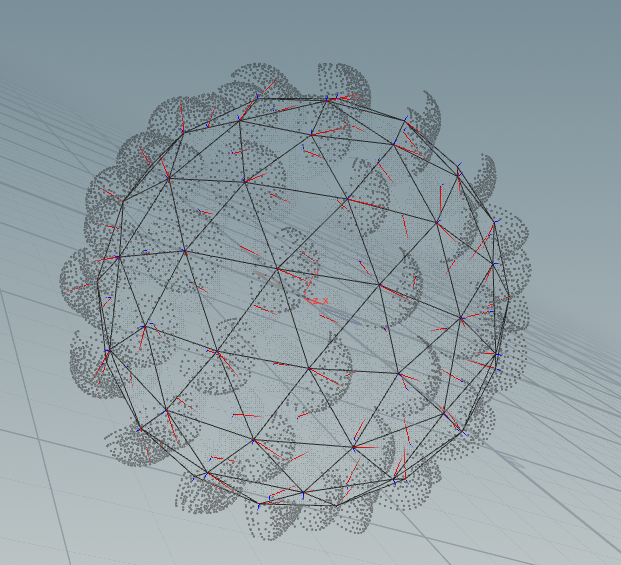
Glossy Reflection的半球分布就是cos-weigted,但是有个问题,半球在根据ray_hit_normal 的反射向量生成时候,会造成半球进入物体内部:
vector r = point(1,"r",0);
vector getP = point(1,"P",0);

vector up = set(0,1.0f,0.0f);
vector w = r;
vector u = cross(up,w);
u = normalize(u);
vector v = cross(u,w);
v = normalize(v);

@P = getP + u*@P.x + w*@P.y + v*@P.z;
红色向量是reflect vector,有的半球点已经塞入物体了....
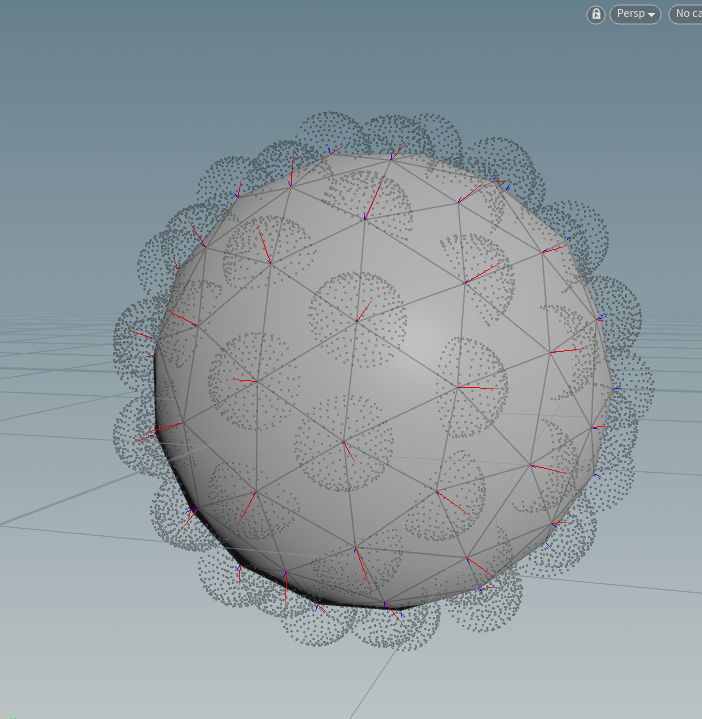

修正方法:


vector r = point(1,"r",0);
vector getP = point(1,"P",0); // ray point P
vector getN = point(1,"N",0); // ray point N

vector up = set(0,1.0f,0.0f);
vector w = r;
vector u = cross(up,w);
u = normalize(u);
vector v = cross(u,w);
v = normalize(v);

vector wi = u*@P.x + w*@P.y + v*@P.z;

if(dot(@N,wi) >0.0f){
    wi = u * -@P.x - w * -@P.y + v* @P.z;
}

@P = getP + wi;
Area Light面积光照:
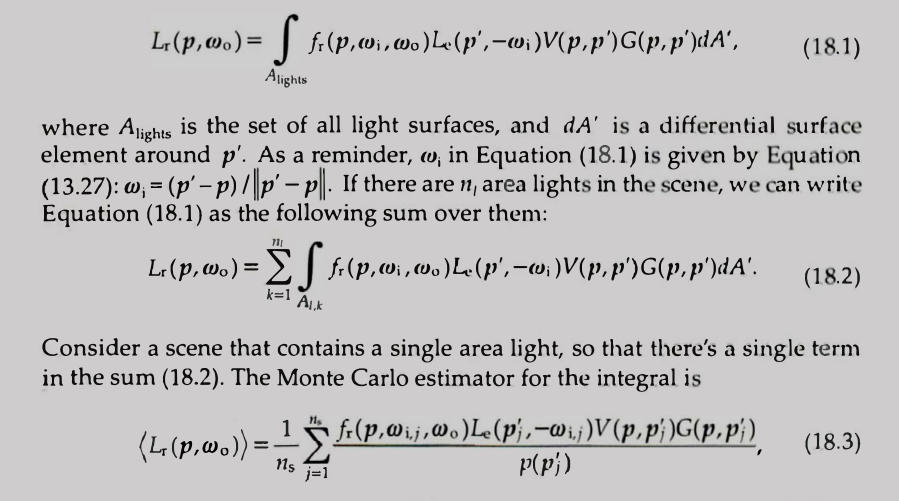
这里使用的依然不存在wo情况下制作的,假设射线的交点是@P情况下。
不过依然要模拟一个per pixel samples:
下面都是每像素采样24:

path tracing from ground up to give up:
Init 01:
diffuse + indirect diffuse k1 + metallic reflection
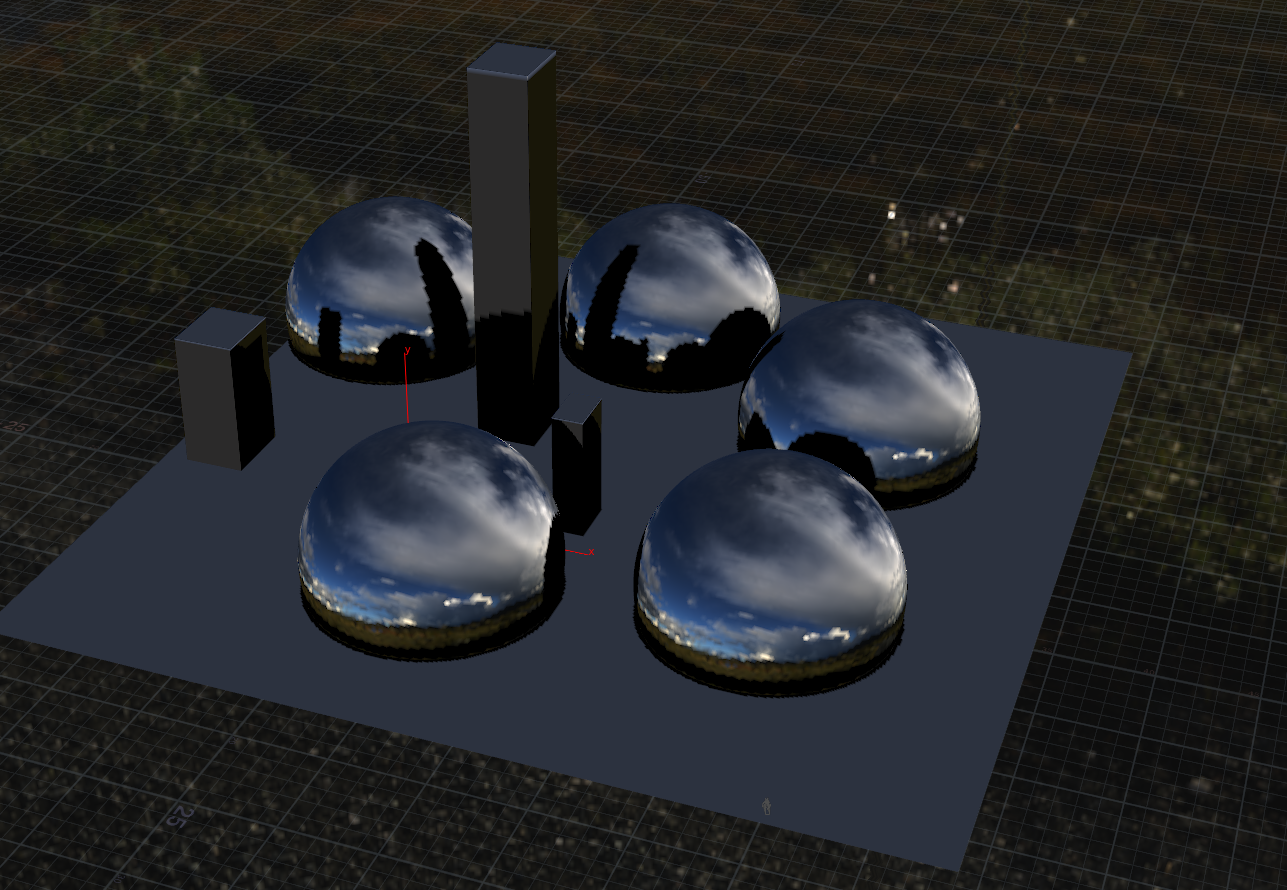
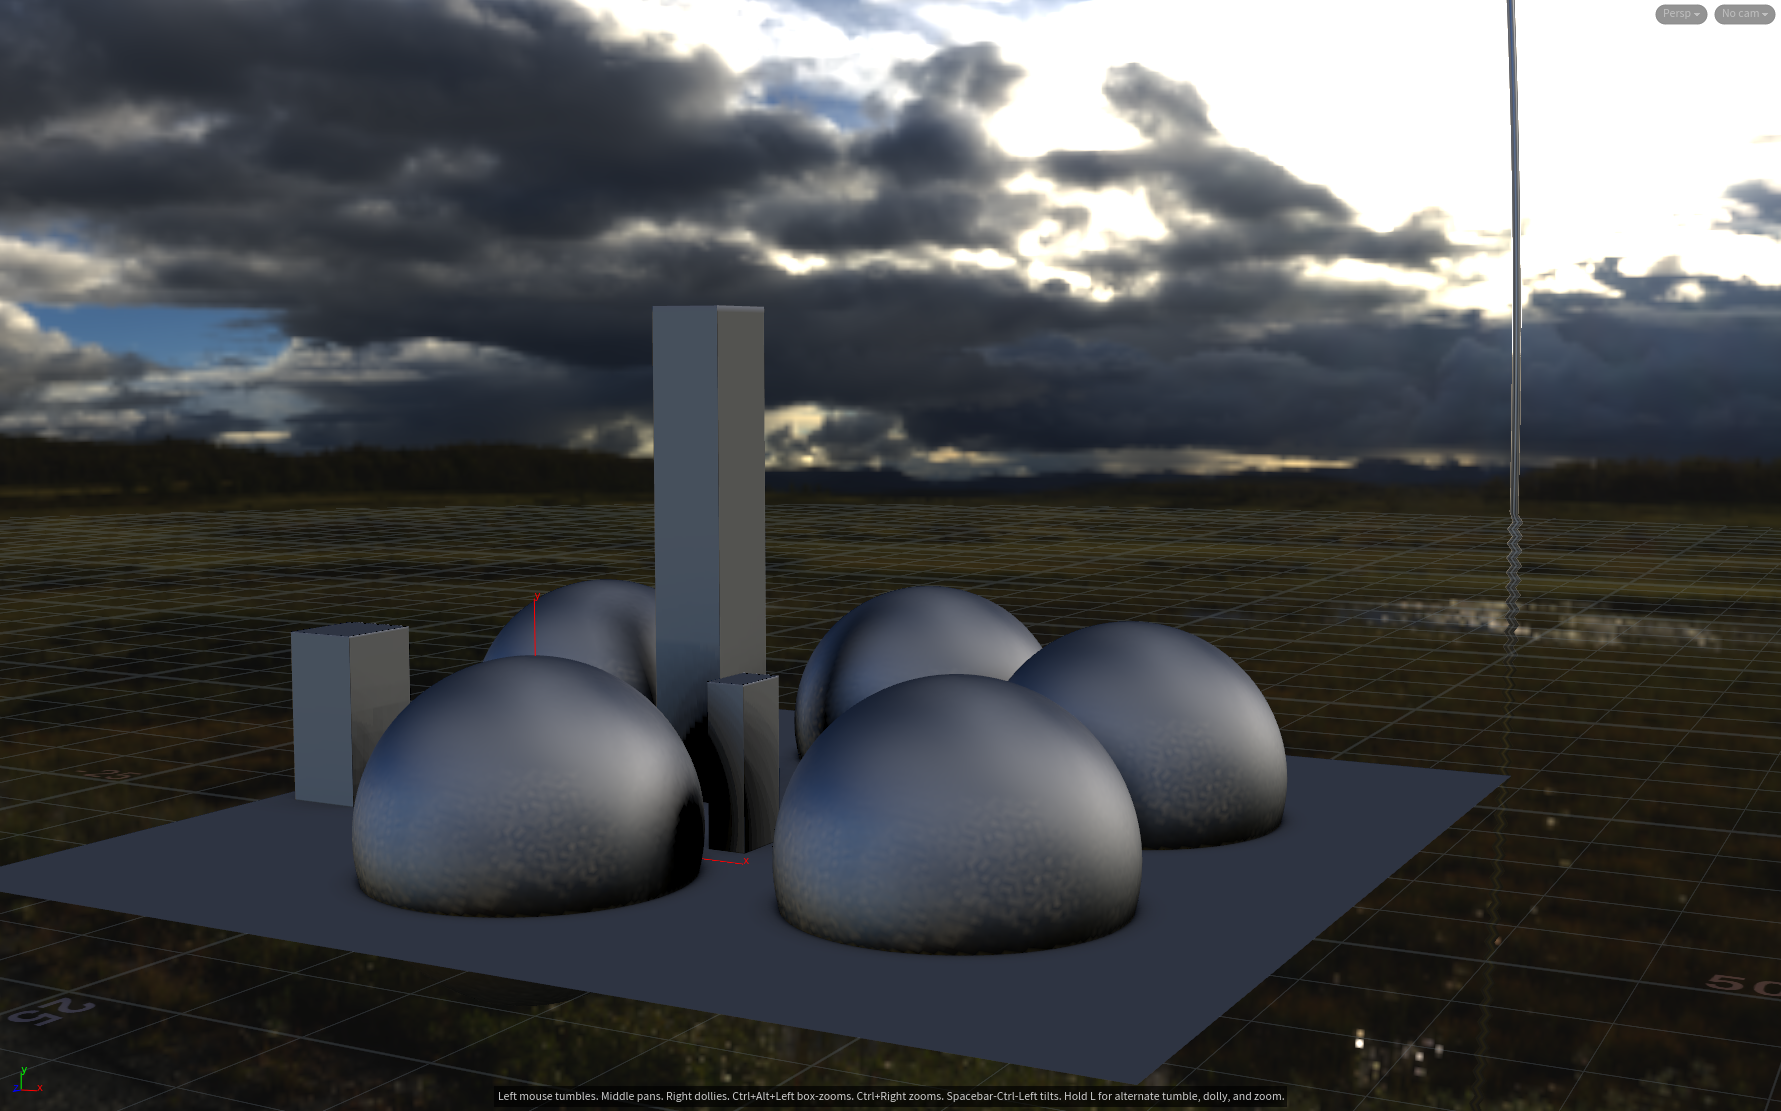
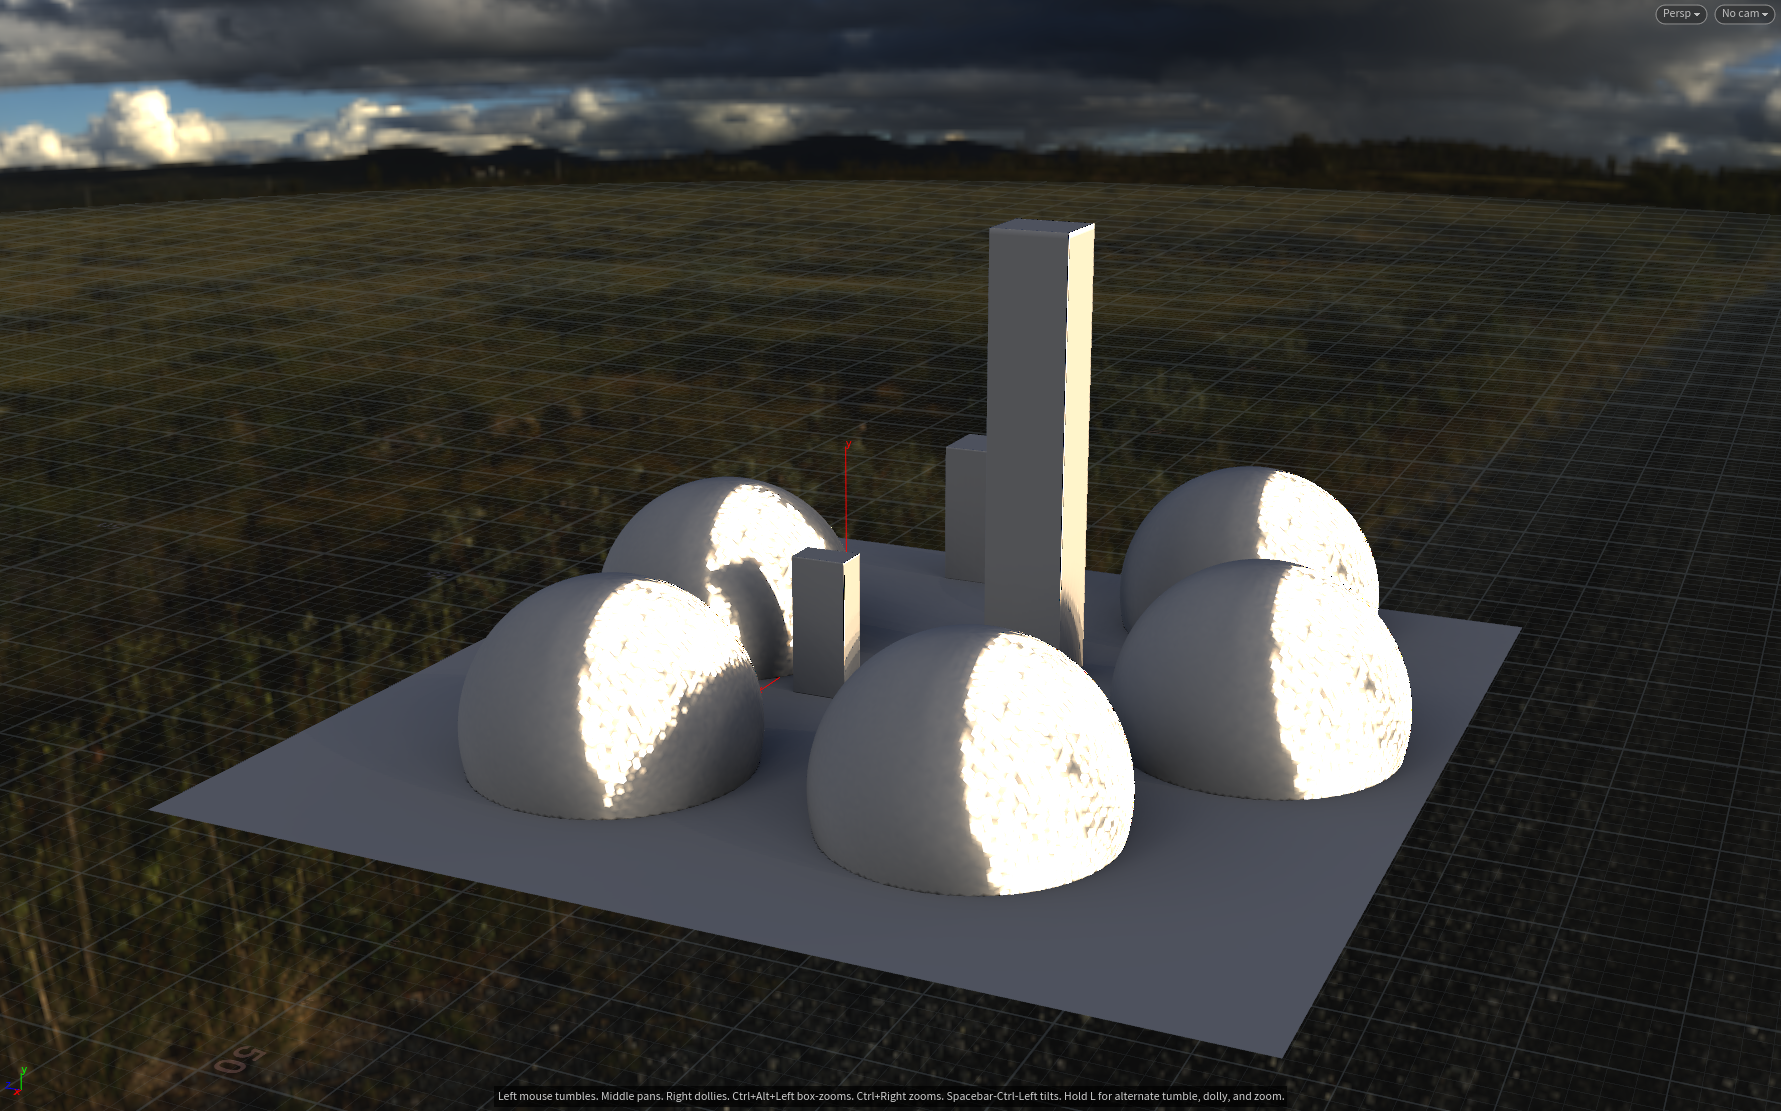
ENVLightTest:
完全镜面的:采样1
均匀采样半径到0.15
0.3的半球半径无法使用普通的蒙特卡洛法收敛了:
如果要做Diffuse BRDF 的半球基本没法。。。
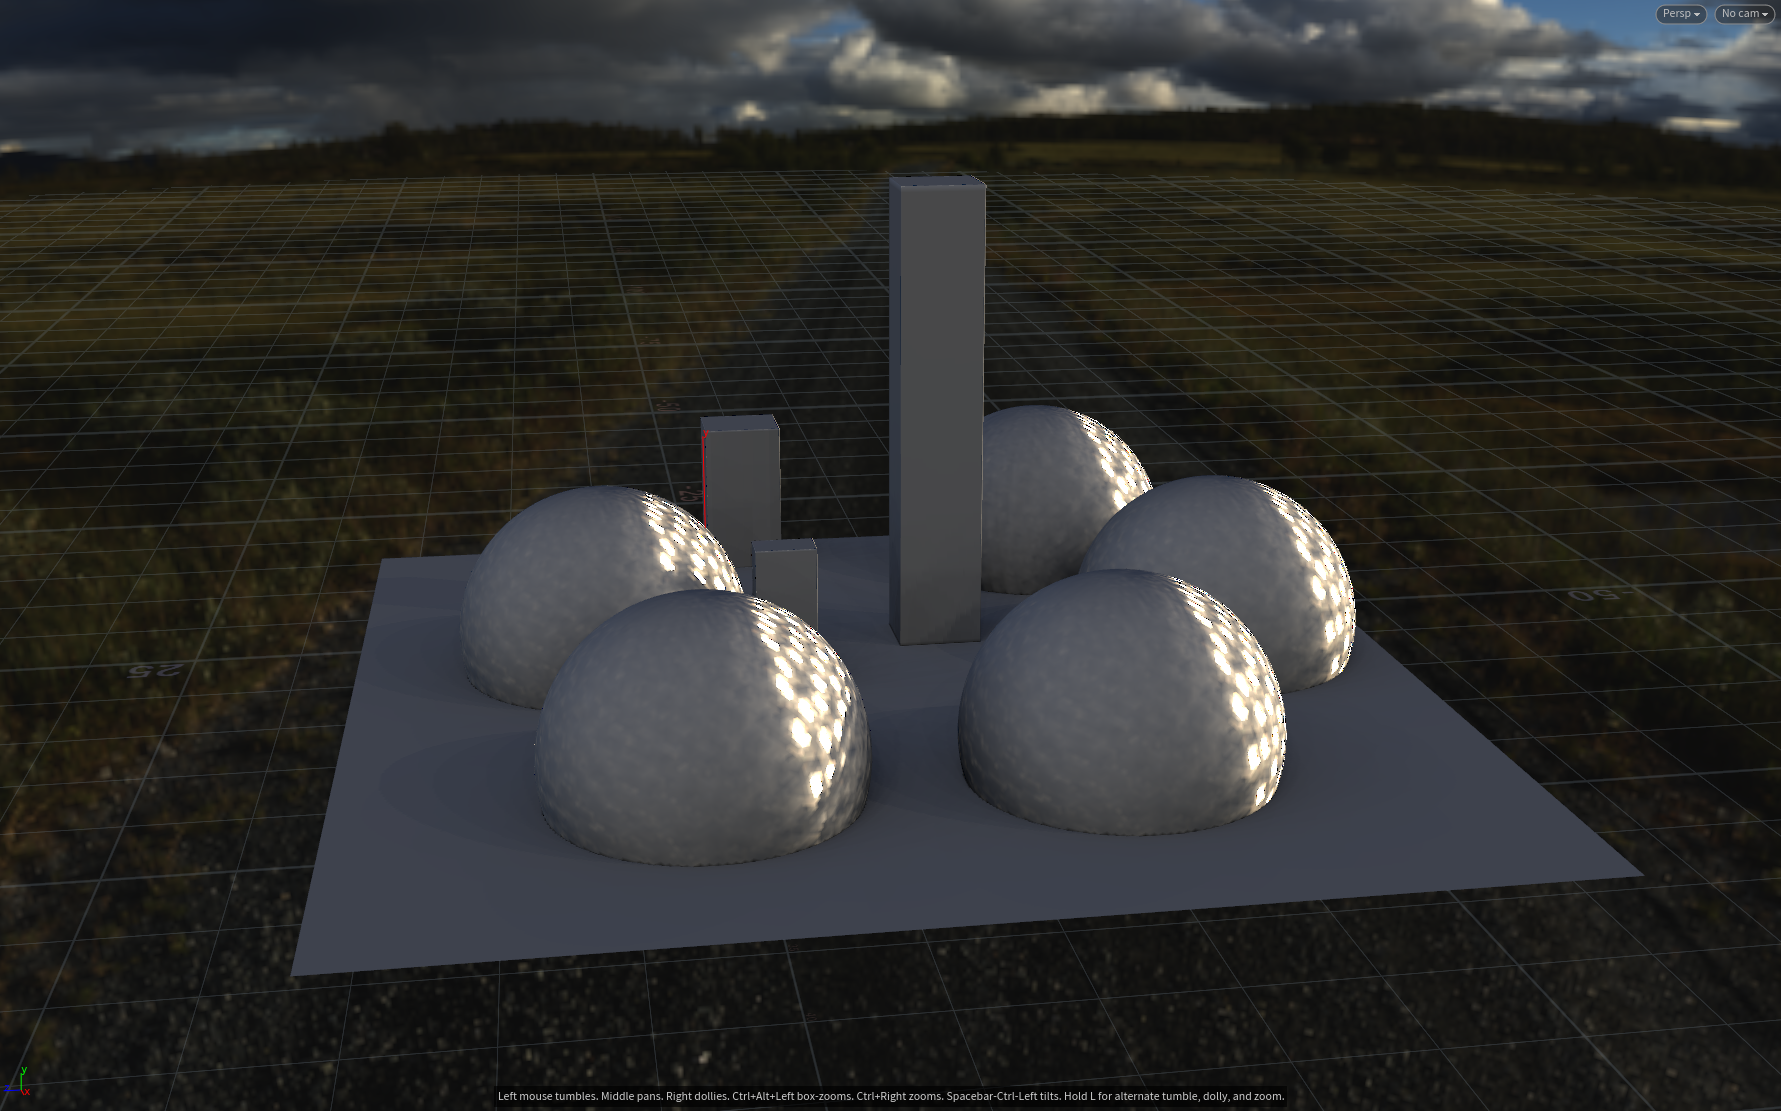
1000 samples, 0.35半径,基本废,收敛太慢
IS 实现过程:
对于一个平面上u,v其实是图像的坐标。并不是u和v在0-1区间.
那么对于一张二维图片: 1280 * 720 ,注意是sizex = 1280 sizey = 720

应用这个公式,及其
float theta = 2.00f * PI  / 1280.00f * @P.x;
float phi = PI  / 720.00f * @P.y;
float r = 1.000f;
float x = r * sin(theta) * cos(phi);
float y = r * sin(theta) * sin(phi);
float z = r * cos(theta);
@P = set(x,y,z);
会得到:
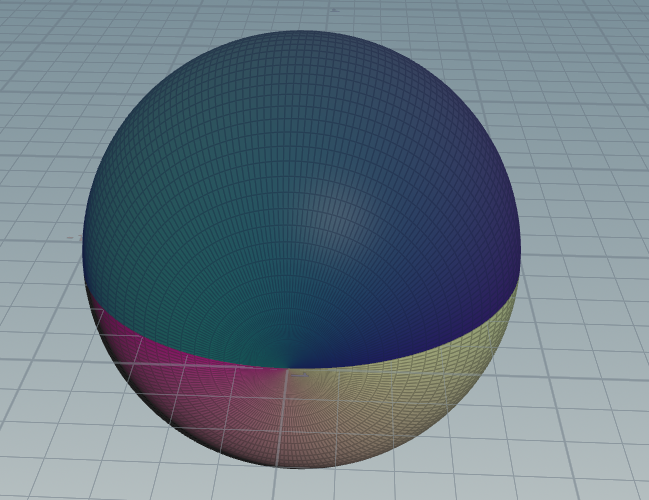
一张图片球映射:
float phi = atan2(z,x) / (2 * PI);
float theta = 1 - acos(y) / PI;
float u = phi;
float v = theta;
@Cd = texture(chs("map"),u,v );
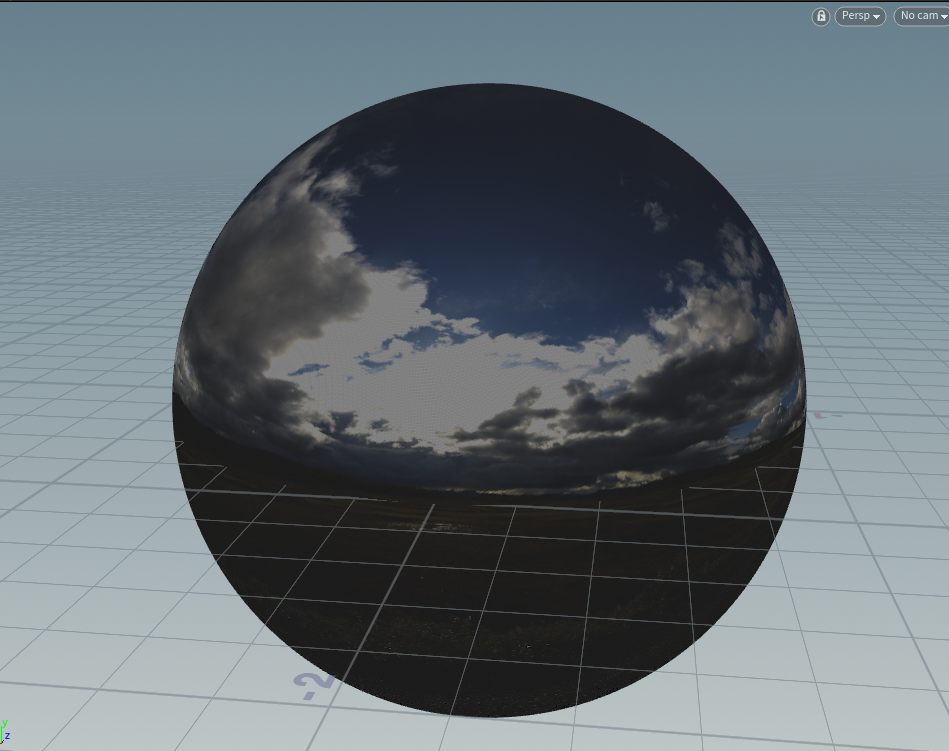
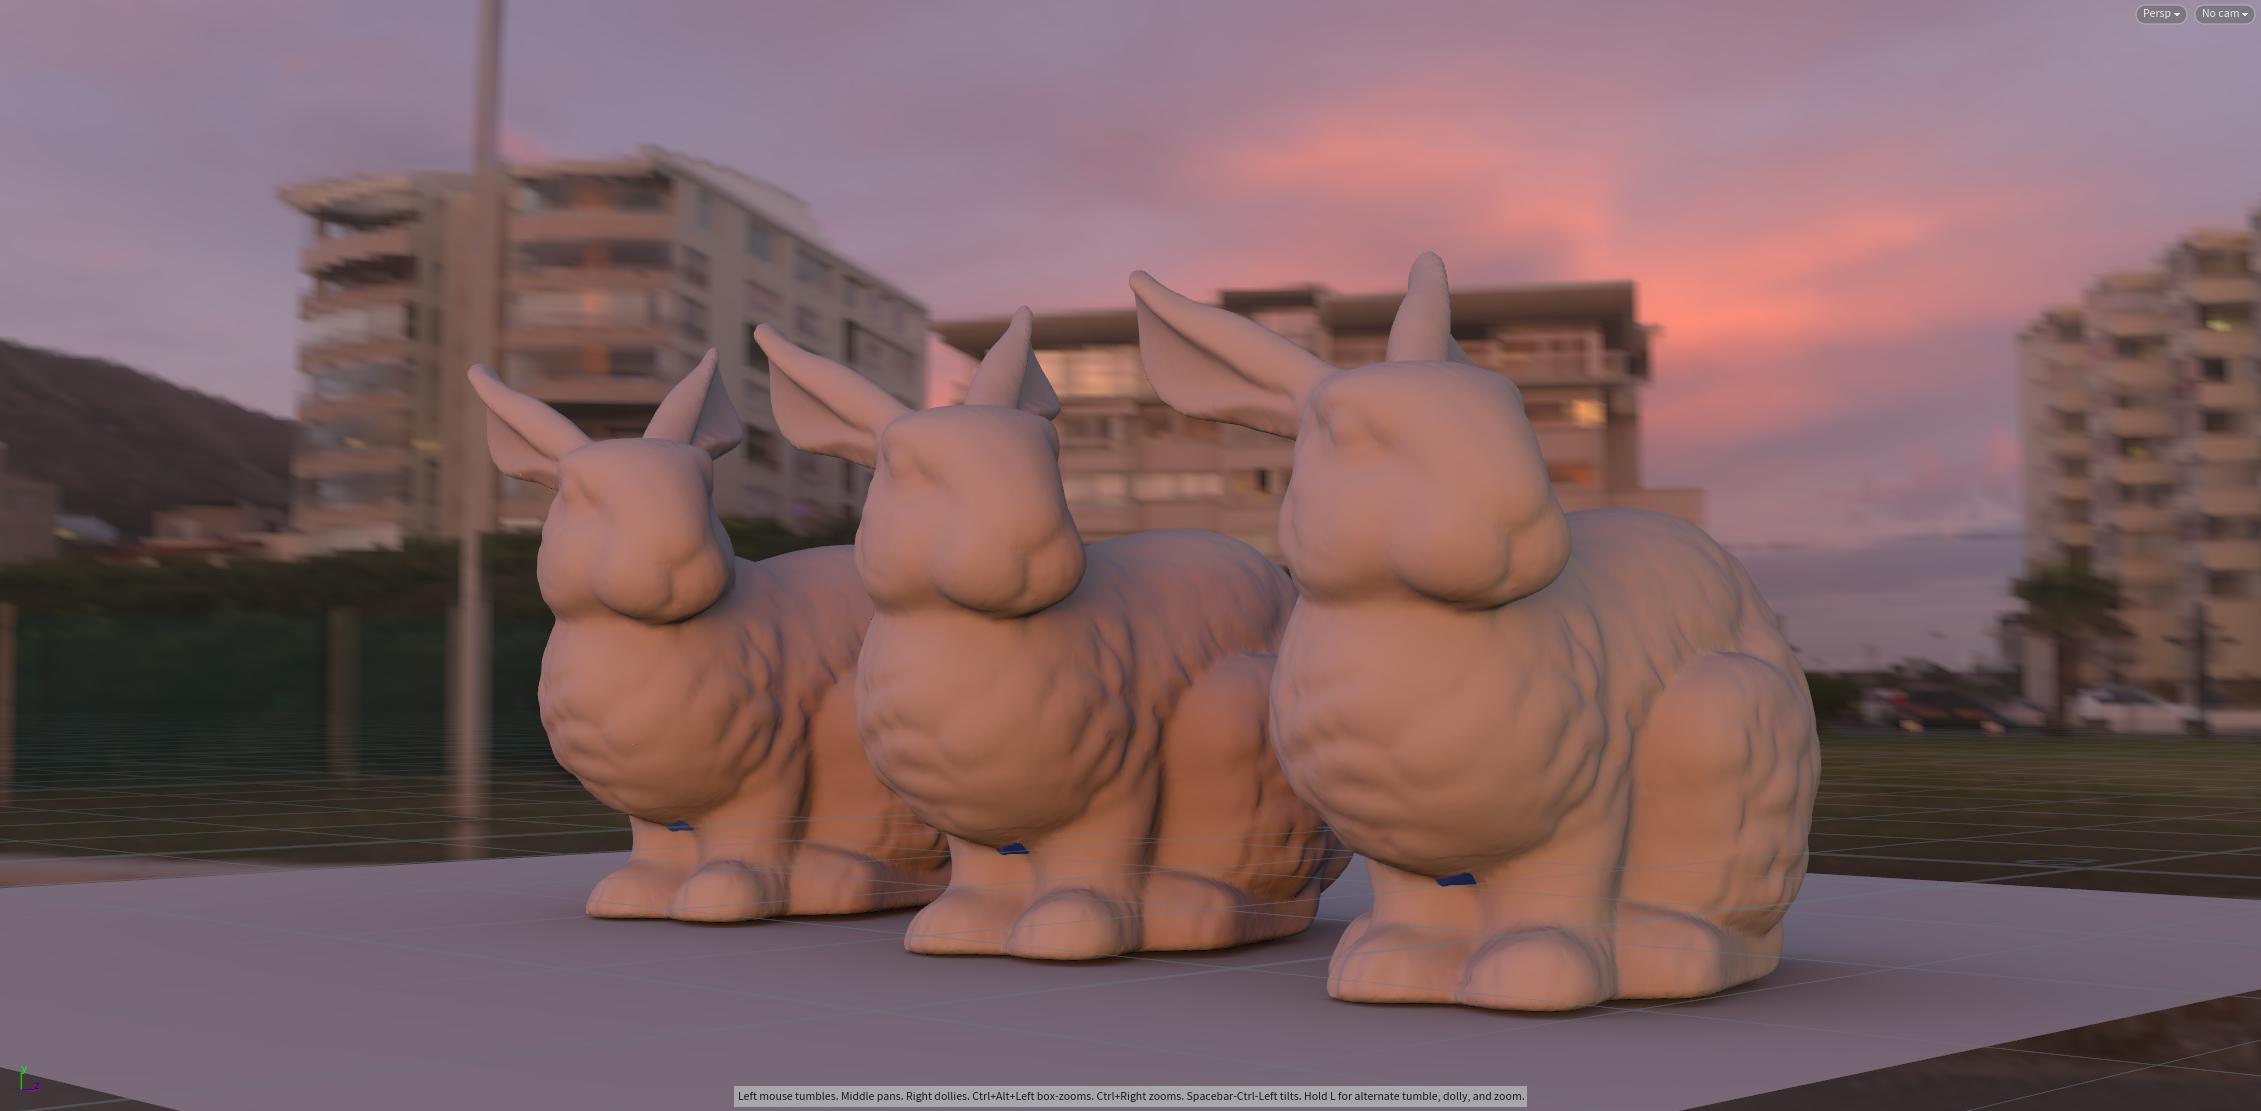
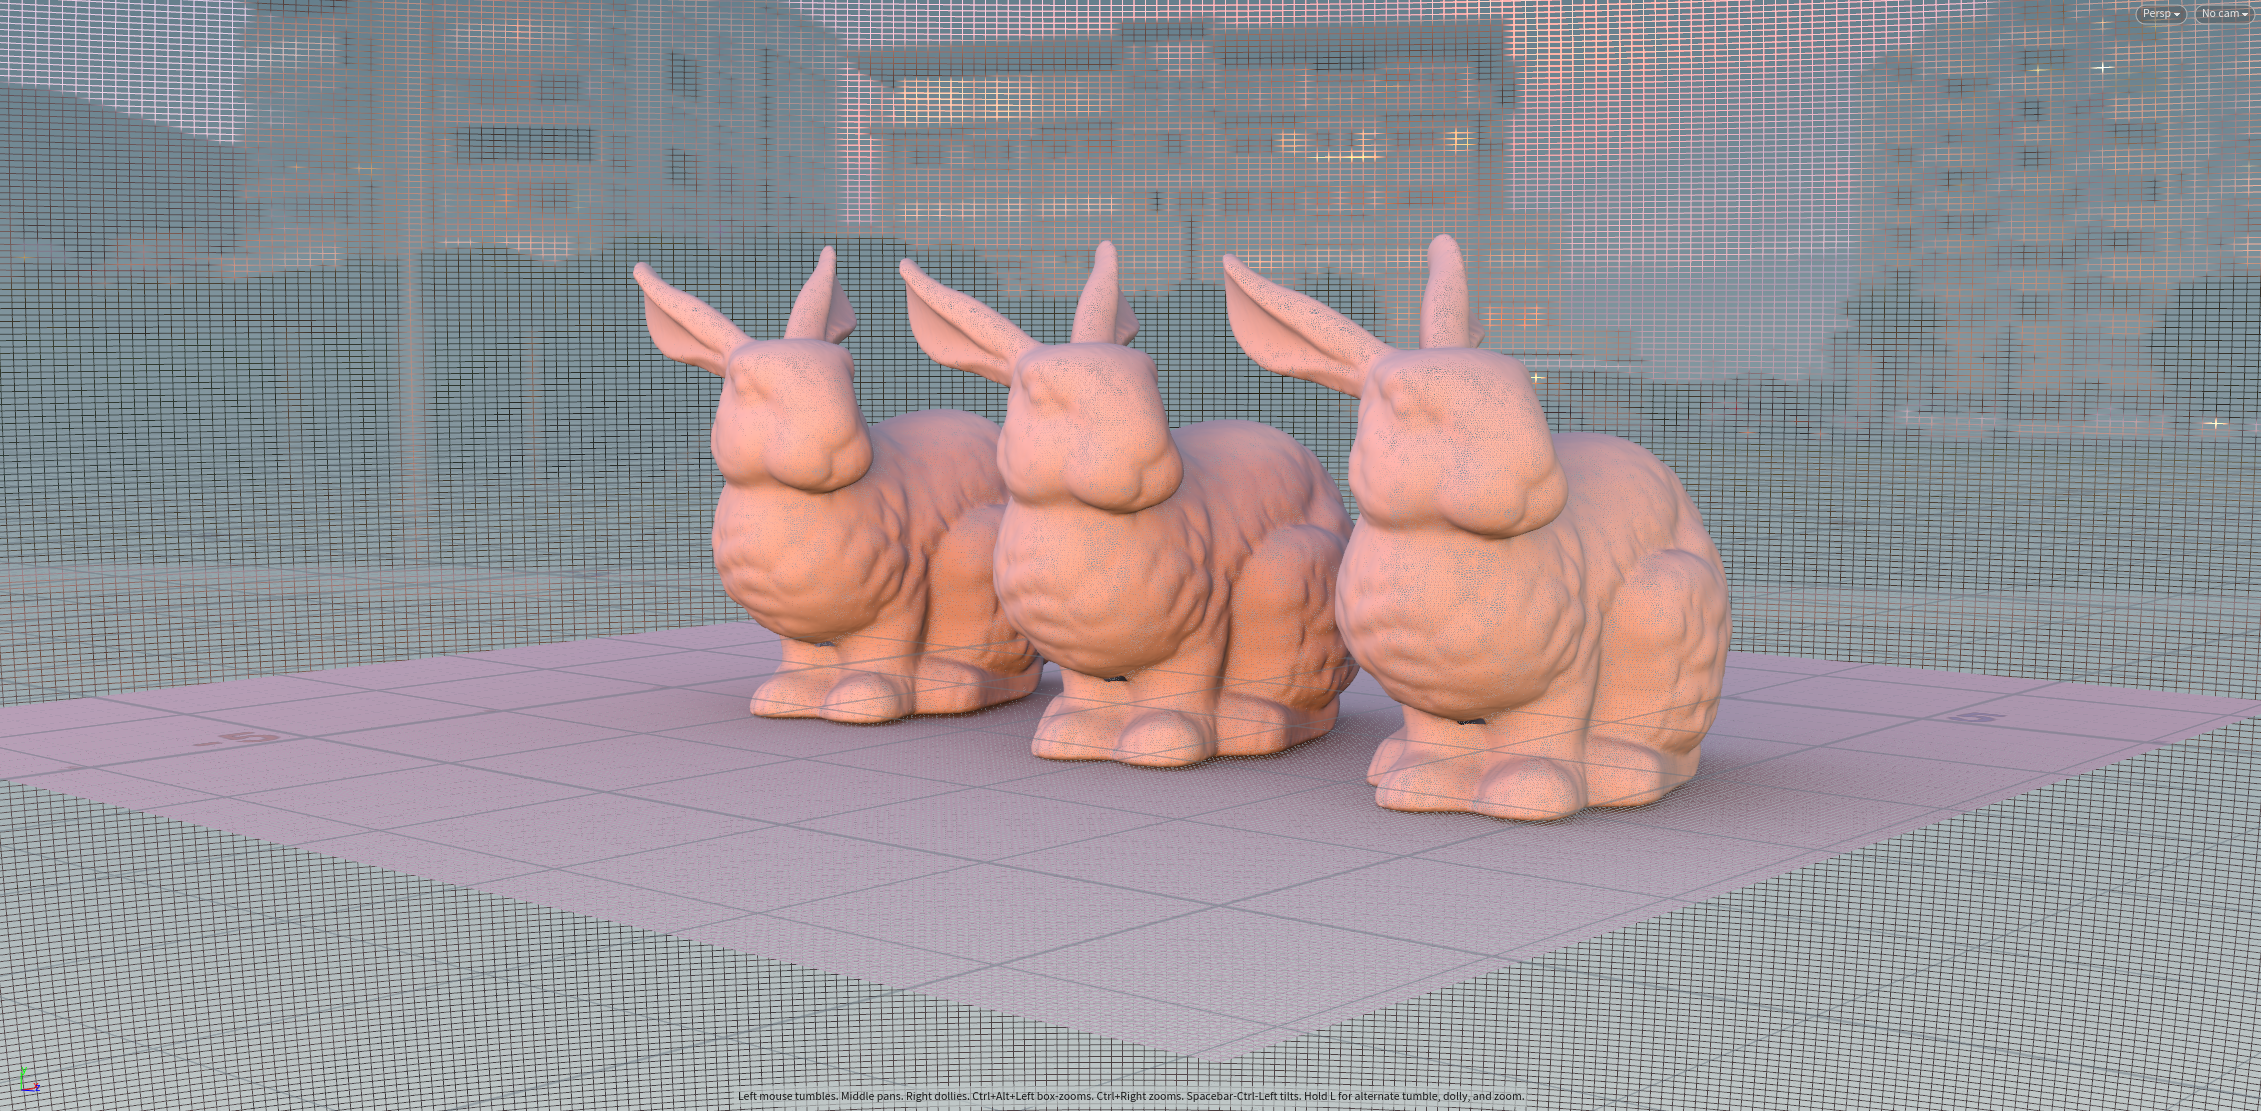
可不可爱?