本文章主要是记录虚拟机安装Centos,并在windows使用xshell执行命令的过程,供自己和需要之人学习和使用。
难点主要在于windows和centos网络的设置,实现window连接centos并执行shell命令
1、VMware WorkStation 12(安装过程略)
2、Centos 6.5
3、XShell 5(安装过程略)
一、VMware安装虚拟机
虚拟机配置如图

二、配置Windows7和Centos网络
1、设置windows网络参数
1.1 右键选择属性
1.2 设置自动获得IP地址

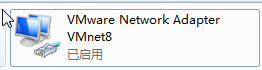
1.3 windows7中启动服务
VMware DHCP Service
VMware NAT Service
2、设置虚拟机
2.1 设置虚拟机网络适配器为NAT

2.2 设置虚拟网络编辑器


3、设置centos网络参数
3.1 确认网络是连接状态

3.2 打开centos终端
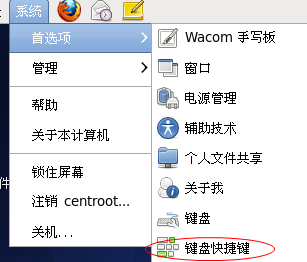

3.3 在终端执行命令查看centos ip地址
Ctrl+T打开终端并执行命令:ifconfig eth0

三、使用Xshell连接Centos执行Shell命令
1、配置连接属性

2、执行shell命令,连接成功

四、参考资料