利用Ant Design pro开发的项目,如何用Nginx部署呢?
第一步:把项目打包,打包命令如下:
npm run build
运行完毕会在项目目录下生成dist文件夹。
第二步:想要测试打包好的代码是否可以正常运行,安装serve,如下命令
npm i serve -g
serve安装完毕,利用serve运行打包好的代码,运行命令:
serve dist

测试完毕,代码可以正常运行。
第三步:用Nginx进行部署。
1.下载Nginx:http://nginx.org/en/download.html
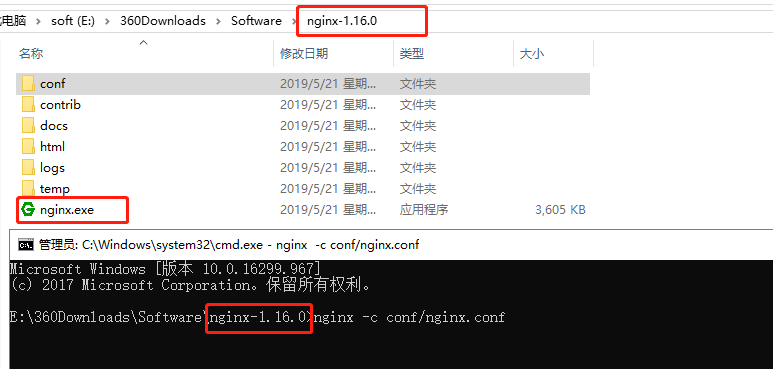
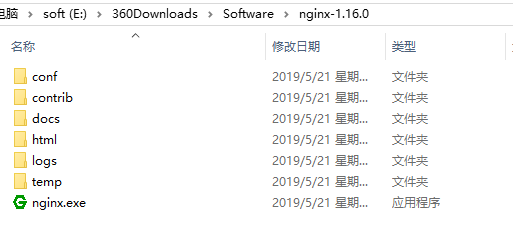
我的部署在windows系统上,所以下载的windows 版本 nginx-1.16.0,下载完毕解压,如下图
2.把打包好的dist文件夹复制到html文件夹下。

3.打开conf文件夹,找到nginx.conf文件,打开编辑里面的内容如下,并保存
#user  nobody;
worker_processes  1;

#error_log  logs/error.log;
#error_log  logs/error.log  notice;
#error_log  logs/error.log  info;

#pid        logs/nginx.pid;


events {
    worker_connections  1024;
}


http {
    include       mime.types;
    default_type  application/octet-stream;

    #log_format  main  '$remote_addr - $remote_user [$time_local] "$request" '
    #                  '$status $body_bytes_sent "$http_referer" '
    #                  '"$http_user_agent" "$http_x_forwarded_for"';

    #access_log  logs/access.log  main;

    sendfile        on;
    #tcp_nopush     on;

    #keepalive_timeout  0;
    keepalive_timeout  65;

    #gzip  on;

    server {
    #前端访问接口
    listen 5000;
    # gzip config
    gzip on;
    gzip_min_length 1k;
    gzip_comp_level 9;
    gzip_types text/plain application/javascript application/x-javascript text/css application/xml text/javascript application/x-httpd-php image/jpeg image/gif image/png;
    gzip_vary on;
    gzip_disable "MSIE [1-6].";

    root /usr/share/nginx/html;

    location / {
        # 用于配合 browserHistory使用
        root html/dist;
        index index.html index.htm;
        try_files $uri $uri/ /index.html;

        # 如果有资源,建议使用 https + http2,配合按需加载可以获得更好的体验
        # rewrite ^/(.*)$ https://preview.pro.ant.design/$1 permanent;

    }
    location /api {
        # proxy_pass  http://127.0.0.1:3999;   后台服务地址
        proxy_pass  http://127.0.0.1:3999;
        proxy_set_header   X-Forwarded-Proto $scheme;
        proxy_set_header   Host              $http_host;
        proxy_set_header   X-Real-IP         $remote_addr;
    }
}

}
4.在nginx.exe目录下打开cmd窗口,运行命令:nginx -c conf/nginx.conf 如下图,nginx服务就开启成功了,现在可以在浏览器打开地址:http://localhost:5000/,查看我们部署的网站了