搭建过程
注意防火墙和selinux的影响可以先关闭。
一、安装nginx
# 1、更改nginx源安装nginx
[root@web01 ~]# vi /etc/yum.repos.d/nginx.repo
[nginx-stable]
name=nginx stable repo
baseurl=http://nginx.org/packages/centos/$releasever/$basearch/
gpgcheck=1
enabled=1
gpgkey=https://nginx.org/keys/nginx_signing.key
module_hotfixes=true

# 2、开启缓存,安装nginx,备份安装过的包。
[root@web01 ~]# vi /etc/yum.conf
[main]
cachedir=/var/cache/yum/$basearch/$releasever
keepcache=1

[root@web01 ~]# yum -y install nginx
二、安装php
默认使用9000端口,


# 1、安装php
其它版本的系统可能有自带的php5.4;需要手动卸载下。
yum remove php-mysql-5.4 php php-fpm php-common

#配置php的第三方源
[root@nginx ~]# vim /etc/yum.repos.d/php.repo
[php-webtatic]
name = PHP Repository
baseurl = http://us-east.repo.webtatic.com/yum/el7/x86_64/
gpgcheck = 0

# 安装依耐,需要有epel源
yum install libmcrypt-devel

[root@web01 ~]# yum -y install php71w php71w-cli php71w-common php71w-devel php71w-embedded php71w-gd php71w-mcrypt php71w-mbstring php71w-pdo php71w-xml php71w-fpm php71w-mysqlnd php71w-opcache php71w-pecl-memcached php71w-pecl-redis php71w-pecl-mongodb

#  3、统一php和nginx的用户。
## 先创建
[root@web01 ~]# groupadd www -g 666
[root@web01 ~]# useradd www -u666 -g666 -s /sbin/nologin -M

# 4、让nginx使用www用户
[root@web01 ~]# vi /etc/nginx/nginx.conf

user  www;

## 启动nginx,并开机自启。
[root@web01 ~]# systemctl start nginx
[root@web01 ~]# systemctl enable nginx

# 5、修改php的启动用户,找到相应的配置用户和组的字段配置即可
## 有两个配置文件php-fpm.conf管理php进程的配置文件。
## php.ini管理php程序的相关配置文件。
[root@web01 ~]# vi /etc/php-fpm.d/www.conf
; Start a new pool named 'www'.
[www]

; Unix user/group of processes
; Note: The user is mandatory. If the group is not set, the default user's group
;       will be used.
; RPM: apache Choosed to be able to access some dir as httpd
user = www
; RPM: Keep a group allowed to write in log dir.
group = www

## 启动php,开机自启
[root@web01 ~]# systemctl start php-fpm
[root@web01 ~]# systemctl enable php-fpm
三、安装数据库
# 1、安装数据库
[root@web01 ~]# yum install -y mariadb-server

# 2、启动服务,开机自启。
[root@web01 ~]# systemctl start mariadb
[root@web01 ~]# systemctl enable mariadb

# 33、设置连接数据库的密码。
[root@web01 ~]# mysqladmin -uroot password '123'

# 4、链接数据库
[root@web01 ~]# mysql -u root -p123

# 5、创建数据库
MariaDB [(none)]> create database wp;

# 6、查看数据库
MariaDB [(none)]> show database;

# 7、创建WordPress连接数据库的用户和密码
MariaDB [(none)]> grant all on wp.* to wp_user@'localhost' identified by '111';

	[root@web01 ~]# vi /etc/my.cnf
	[mysqld]
	datadir=/var/lib/mysql
	socket=/var/lib/mysql/mysql.sock
	skip_name_resolve

# 8、给站点目录授权
[root@web01 ~]# chown www.www /code/php/ -R

## 测试是否可以连接数据库的方法。
# 把默认页的代码改成这样访问网站可直接测试:
[root@web02 /code/php]# vi index.php
<?php
    $servername = "localhost";
    $username = "wp_user";
    $password = "111";

    // 创建连接
    $conn = mysqli_connect($servername, $username, $password);

    // 检测连接
    if (!$conn) {
        die("Connection failed: " . mysqli_connect_error());
    }
    echo "小哥哥,php可以连接MySQL...";
?>
端口:ftp:21、ssh:22、telnet:23、rsync:873、http:80、php:9000、mysql:3306
四、使用nginx连接php
ngx_http_fastcgi_module
# 1、使用nginx的ngx_http_fastcgi_module连接php,编辑配置文件。
[root@web01 /etc/nginx/conf.d]# vi php.conf
server {
#监听80端口
        listen 80;
#指定域名
        server_name php.gong.com;

#当输入域名,没有接任何uri的时候,会走location /
        location / {
#站点目录:/code/php
                root /code/php;
#index.php的代码,如果没有index.php,那么就找index.html页面
                index index.php index.html;
        }

#当访问到区分大小写,以php结尾的url时
        location ~ .php$ {
                root /code/php;
                # 代理后端的php服务
                fastcgi_pass 127.0.0.1:9000;
                # 默认页面时index.php
                fastcgi_index index.php;
#当请求过来之后,会看这一行,  在/code/php目录下,找到index.php,交给php解析
                fastcgi_param  SCRIPT_FILENAME  $document_root$fastcgi_script_name;
#包含fastcgi 变量解析文件
                include        fastcgi_params;
        }
}

# 2、建立网站目录
[root@web01 ~]# mkdir /code/php -p

# 检测php是否可以连接的方法。
## 在默认路径下配置一个 index.php

[root@web01 ~]# vi /code/php/index.php
<?php
        phpinfo();
?>

# 浏览器在输入hosts解析之后的域名,可以看到php的INFO页面。
报错一定要看日志。
五、部署wordpress
1、把wordpress的包解压到网站的主目录下 /code/php/,在wordpress的官网上面可以下载。
[root@web01 /code/php]# tar xf wordpress-5.4-zh_CN.tar.gz
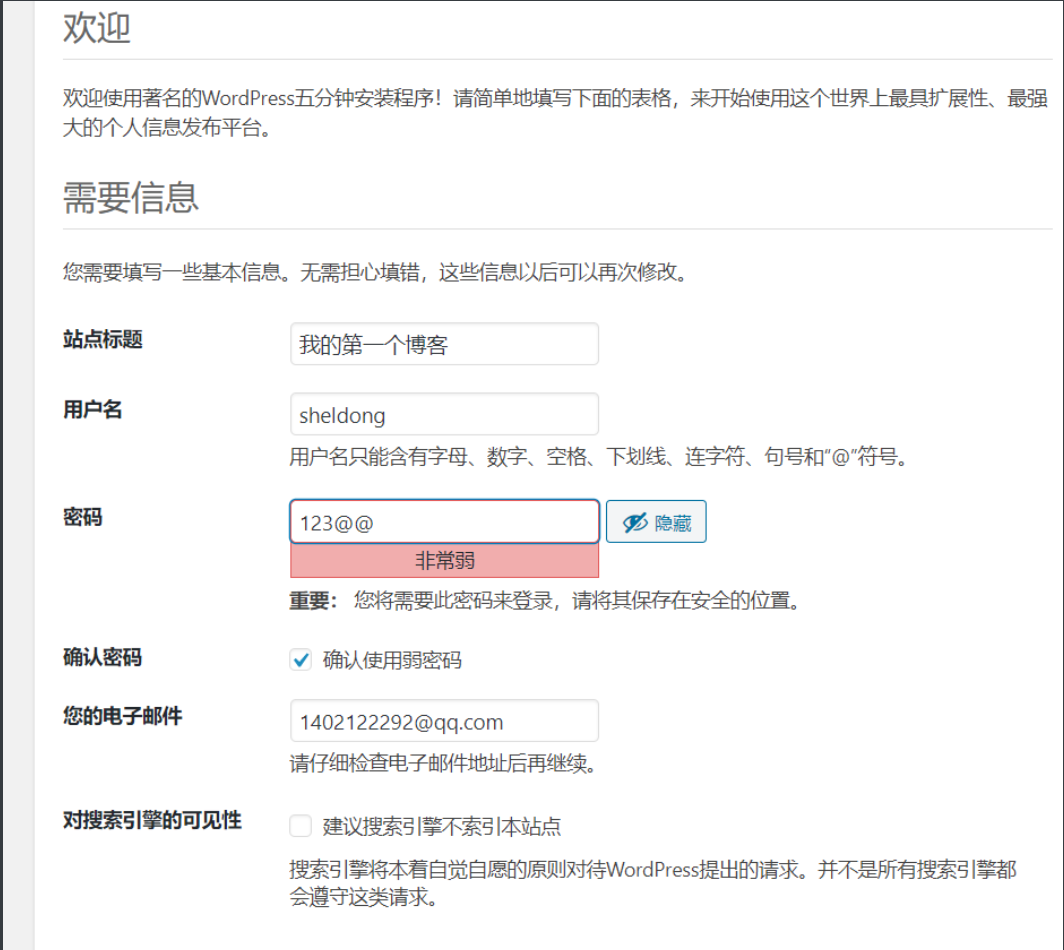
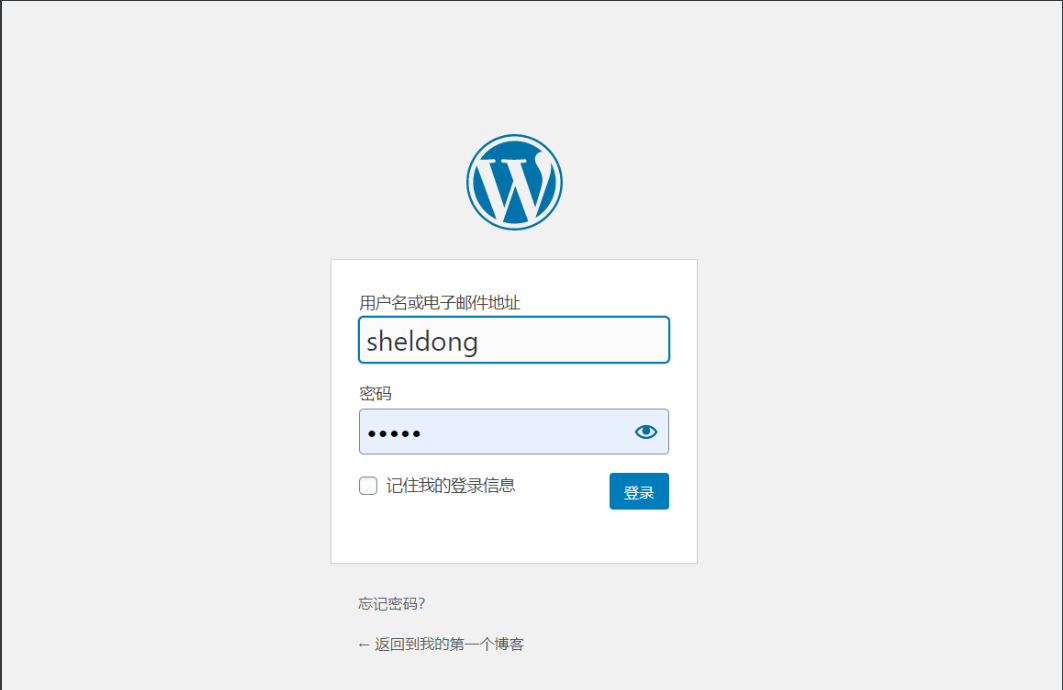
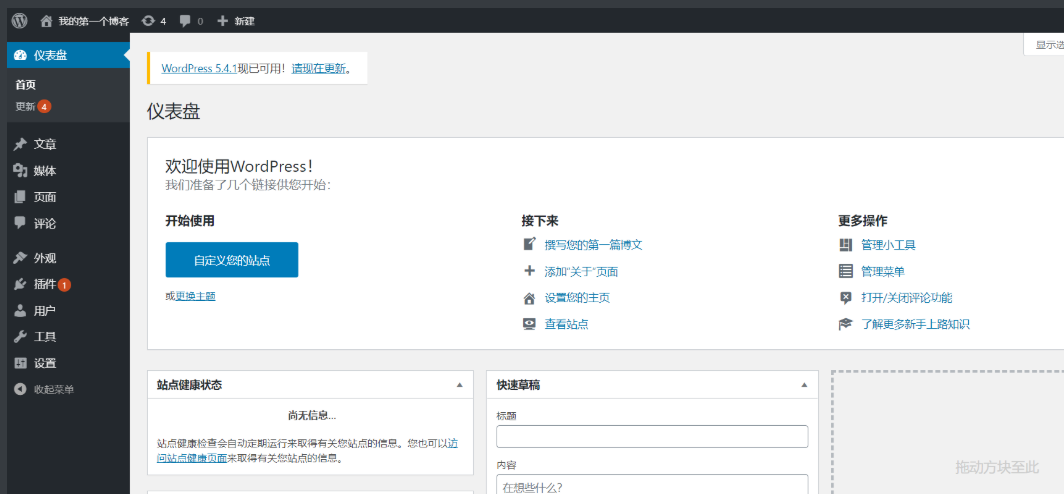
2、浏览器输入php.gong.com会自动跳转。记得做hosts解析

输入刚才配置数据库是相应授权的用户名和密码即可。


FBI WARNING
QQ:1402122292 认准原创sheldon 别人叫我晓东