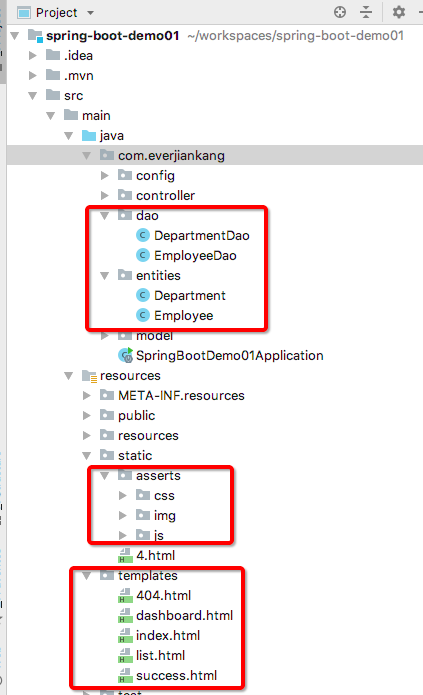
SpringBoot静态页路径,可直接通过URL访问的:
- /META-INF/resources
- /resources
- /static
- /public
而 5. /template 只和模板引擎有关,加载了模板引擎才能用
welcome页面的设置默认为index.html
按照1,2,3,4,5的顺序寻找index.html,先找到的先解析,但是一般都放到templates目录下。
SpringBoot CRUD开发
1.将页面文件和类文件:SpringBoot_crud_页面.tar 加入到项目相应路径下:

实现方式
1. 只在/templates目录下创建index.html页面,什么也不配智,根据SpringBoot的自动配置自动匹配上
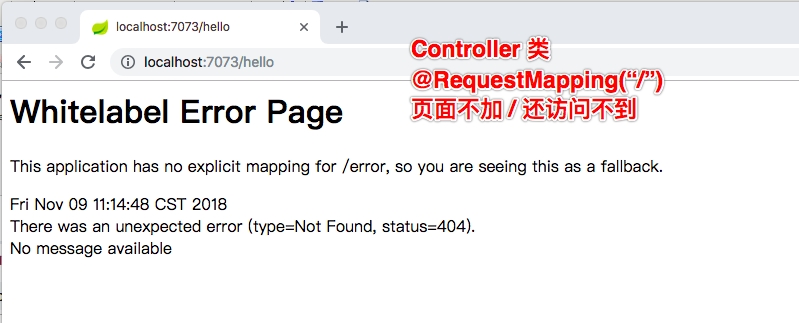
2. 在Controller中指定,但是此时Controller的类上不能配置@RequestMapping("/somePath"),因为页面引用的静态文件默认是在当前路径下,也会被加上/somePath,以至于找不到静态资源文件而无法渲染
-
@RequestMapping("/hello")
@Controller
public class HelloWorldController
{
    /**
     * 这里会被模板引擎解析而走/templates/index.html
     * @return
     */
    @RequestMapping({"/","/index","/index.html"})
    public String index() {
      return "index";
    }
}
3. 自定义配置SpringBoot web的配置类
@Configuration
public class MyConfig implements WebMvcConfigurer {
    /**
     * 浏览器发送addViewTest请求,来到success页面
     * 发请求到页面,就没有必要在Controller里写空方法了,直接来做视图映射
     */
    @Override
    public void addViewControllers(ViewControllerRegistry registry) {
        registry.addViewController("/addViewTest").setViewName("success");
        registry.addViewController("/").setViewName("index");
    }
}
即等同于SpringMvc的如下配置
<mvc:view-controller path="/" view-name="success"/><!-- 配置文件设置页面跳转,发一个请求到页面,就没必要写空方法了,配一下即可 -->
4. 配置文件类中@Bean注册WebMvcConfigurer对象实例
@Configuration
public class MyConfig implements WebMvcConfigurer {

    @Bean
    public WebMvcConfigurer webMvcConfigurer() {
        WebMvcConfigurer configurer = new WebMvcConfigurer() {
            @Override
            public void addViewControllers(ViewControllerRegistry registry) {
                registry.addViewController("/").setViewName("index");
            }
        };
        return configurer;
    }

}
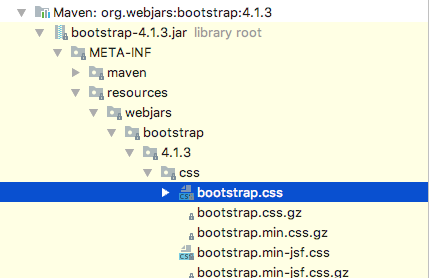
二、引入BootStrap的webjars取代本地文件
1.maven依赖
<dependency>
       <groupId>org.webjars</groupId>
       <artifactId>bootstrap</artifactId>
       <version>4.1.3</version>
</dependency>
2. 在yml文件中加入配种:
server:
  servlet:
    context-path: /crud  //注意,值前面必须带斜杠
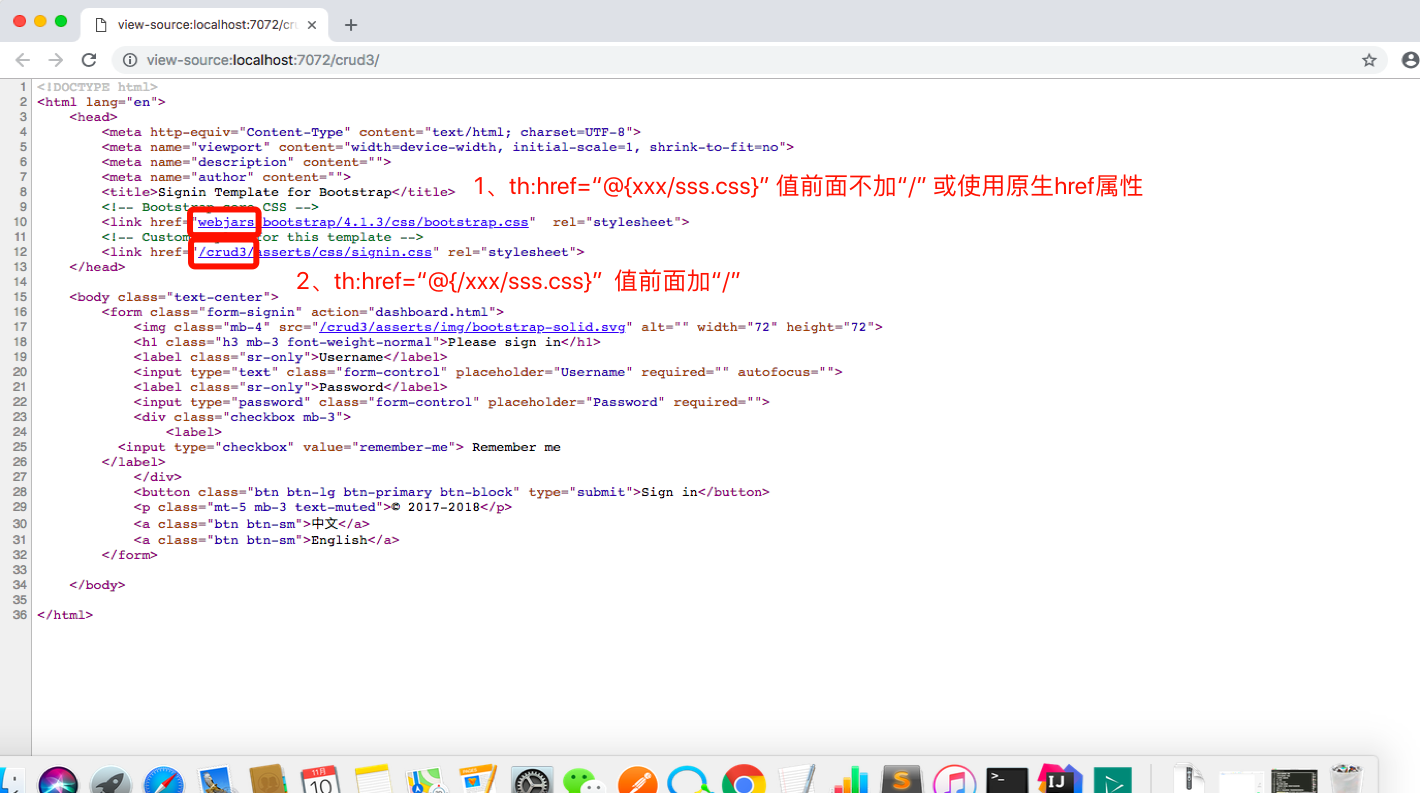
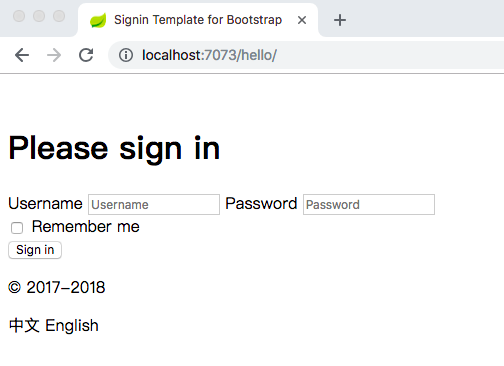
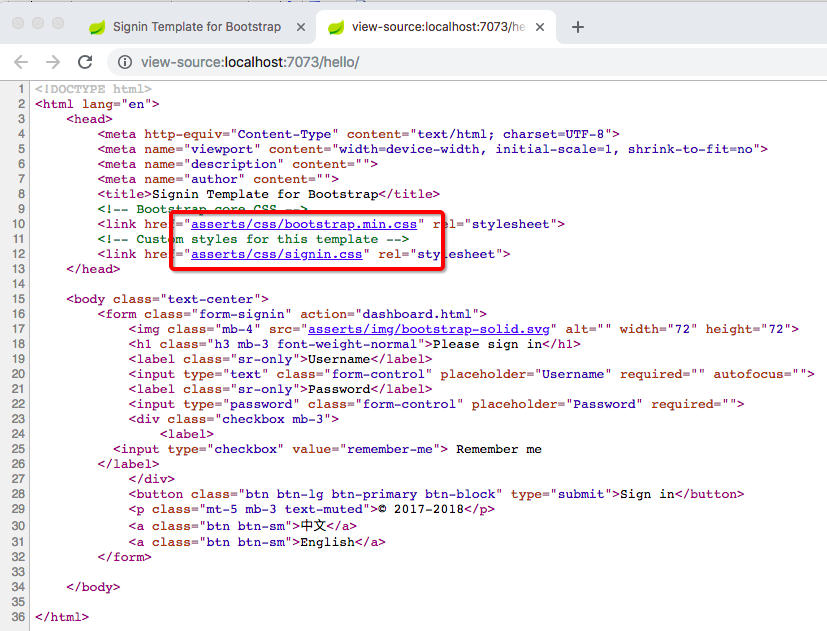
3.在页面源码中加入thymeleaf模板元素
<!DOCTYPE html>
<html lang="en" xmlns:th="http://www.thymeleaf.org">
    <head>
        <meta http-equiv="Content-Type" content="text/html; charset=UTF-8">
        <meta name="viewport" content="width=device-width, initial-scale=1, shrink-to-fit=no">
        <meta name="description" content="">
        <meta name="author" content="">
        <title>Signin Template for Bootstrap</title>
        <!-- Bootstrap core CSS -->
        <!--
             1.原生的href标签
                 引用值前面不能加斜杠:"/",表示相对路径,以下路径皆可识别
                     1)项目的/resources/static/路径
                     2)webjars的jar包中的/META-INF/resources/ 路径下,
              2.thymeleaf模板引擎标签
                  2.1 值前面不➕斜杠,效果与原生的href无异,都是取相对路径
                2.2 值前面➕斜杠,thymeleaf会在斜杠前自动加上系统的根路径
                          即配置文件中:server.servlet.context-path=/crud3 指定的值,不指定则默认为空
         -->
        <link href="webjars/bootstrap/4.1.3/css/bootstrap.css" th:href="@{/webjars/bootstrap/4.1.3/css/bootstrap.css}"  rel="stylesheet">
        <!-- Custom styles for this template -->
        <link href="asserts/css/signin.css" th:href="@{/asserts/css/signin.css}" rel="stylesheet">
    </head>

    <body class="text-center">
        <form class="form-signin" action="dashboard.html">
            <img class="mb-4" th:src="@{/asserts/img/bootstrap-solid.svg}" src="asserts/img/bootstrap-solid.svg" alt="" width="72" height="72">
            <h1 class="h3 mb-3 font-weight-normal">Please sign in</h1>
            <label class="sr-only">Username</label>
            <input type="text" class="form-control" placeholder="Username" required="" autofocus="">
            <label class="sr-only">Password</label>
            <input type="password" class="form-control" placeholder="Password" required="">
            <div class="checkbox mb-3">
                <label>
          <input type="checkbox" value="remember-me"> Remember me
        </label>
            </div>
            <button class="btn btn-lg btn-primary btn-block" type="submit">Sign in</button>
            <p class="mt-5 mb-3 text-muted">© 2017-2018</p>
            <a class="btn btn-sm">中文</a>
            <a class="btn btn-sm">English</a>
        </form>

    </body>

</html>