jQuery Uploadify开发使用的语言是java。
详细的相关文档,可以参考官网的doc:http://www.uploadify.com/documentation/
官网的讲解还是很详细的,关键是要耐心看。虽说是英文,单有百度翻译。
看官网jQuery uploadify有基于flash和html5 的2个版本。我使用的是基于flash的。
Jsp页面引用的文件有:
<!-- 转诊单的附件商场页面 -->
<script type="text/javascript" src="${ctx}/res/skin/default/js/jquery-1.8.3.min.js"></script>
<link rel="stylesheet" type="text/css" href="${ctx}/res/skin/default/plugin/uploadify/js/uploadify.css">
<script type="text/javascript" src="${ctx}/res/skin/default/plugin/uploadify/js/jquery.uploadify.min.js"></script>
关于这个引用的js和css文件,个人建议使用官网给出的版本。
相关的jQuery Uploadify的代码:
<script type="text/javascript">
    $(function() {

        $('#uploadify').uploadify({
            'auto'     : false,//是否选择文件后就上传,默认true。false有按钮触发
            'swf'      : '${ctx}/res/skin/default/plugin/uploadify/js/uploadify.swf',//引用的adobe flash player插件的文件
            'uploader' : '${ctx}/ReferralInterface/saveAttachment?truntreatmentId=${truntreatmentId}',//访问后台的处理方法的路径${truntreatmentId}准备好的转诊单ID
            'buttonText':'选择文件',//选择文件按钮的显示文字
            'fileSizeLimit':'10MB',//允许最大文件上传的大小,可以是KB,MB,GB等。
            'queueID':'fileQueue',//上传文件的队列存放dome的ID,一般为DIV
            'multi':true,//设置adobe flash player插件一次选择多个文件,默认为true。false一次选择一个
            'queueSizeLimit':10,//队列的demo中一次最大存放的文件数,不影响上传的数量,demo为queueID的div
            'uploadLimit':100,//可以上传的最大文件数,超出触发事件:onuploaderror
            'fileTypeExts':'*.png;*.jgp;*.pdf;*.doc;*.docx',//可以上传的文件类型
            'onUploadSuccess':function(file,data,response){
            //onUploadSuccess文件上传成功的事件,
            //参数:file上传文件的对象,data服务器返回的参数,response执行的状态
            //因为data返回的数据类型为string,所以使用eval函数转换为json
            var json=eval("("+data+")");

            $("#filelist").append("<tr><td>"+file.name+"</td><td><img src='${ctx}/res/skin/default/plugin/uploadify/image/cancel.png'/></td><td>下载</td></tr>");


            }

        });
    });
    </script>
相关的标签代码:
<input type="file" name="uploadify" id="uploadify" />
    <a href="javascript:$('#uploadify').uploadify('upload','*')">上传</a>
    <div id="fileQueue"></div><br/>
注意:id="fileQueue"对应的是'queueID':'fileQueue'. ${ctx}是el表达式设置的基础路径变量。
后台代码是基于spring mvc,后台处理上传的代码:
/**
     * 保存附件
     * @param request
     * @param response
     * @throws ServletException
     * @throws IOException
     */
    @ResponseBody
    @RequestMapping(value="/saveAttachment")
    public Map<String,String> saveAttachment(HttpServletRequest request, HttpServletResponse response) throws ServletException, IOException {
        Map<String,String> map = new HashMap<String,String>();
        //转诊单ID
        String truntreatmentId=request.getParameter("truntreatmentId");
        request.setCharacterEncoding("utf-8");
        DiskFileItemFactory factory = new DiskFileItemFactory();
        @SuppressWarnings("deprecation")
        String path = request.getRealPath("/AttachmentUpload/"+truntreatmentId);
        //判断文件夹是否存在不存在就创建文件夹
        File file=new File(path);
        if(!file.exists()){
            file.mkdir();
        }
        factory.setRepository(new File(path));
        factory.setSizeThreshold(1024 * 1024);
        ServletFileUpload upload = new ServletFileUpload(factory);
        try {
            // 可以上传多个文件
            List<FileItem> list = (List<FileItem>) upload.parseRequest(request);

            for (FileItem item : list) {

                if (!item.isFormField()) {
                    String name = item.getName();
                    OutputStream out = new FileOutputStream(new File(path, name));
                    InputStream in = item.getInputStream();
                    int length = 0;
                    byte[] buf = new byte[1024];
                    while ((length = in.read(buf)) != -1) {
                        out.write(buf, 0, length);
                    }
                    in.close();
                    out.close();
                    //将附件的数据添加到数据库下面部分代码是针对我当前的项目,请不要作为参考,到break位置
                    /** 将上传处理后的数据返回 **/
                    map.put("fileName", name);

                    //实例化附件类
                    SAttachment sAttachment=new SAttachment();

                    //文件的转诊单ID
                    sAttachment.settruntreatmentId(truntreatmentId);
                    //文件的名称
                    sAttachment.setattachmentName(name);
                    //文件保存路径
                    sAttachment.setattachmentUrl(path+"\"+name);
                    sAttachment=referrallInterfaceService.saveSAttachment(sAttachment);
                    //获取附件ID
                    map.put("attachmentId", sAttachment.getattachmentId());
                    //获取附件的服务器保存路径
                    map.put("attachmentUrl", sAttachment.getattachmentUrl());
                    break;

                }
            }
        } catch (Exception e) {
            e.printStackTrace();
            System.out.println("出错了:" + e.getMessage());
        }

            return map;
    }
效果图:

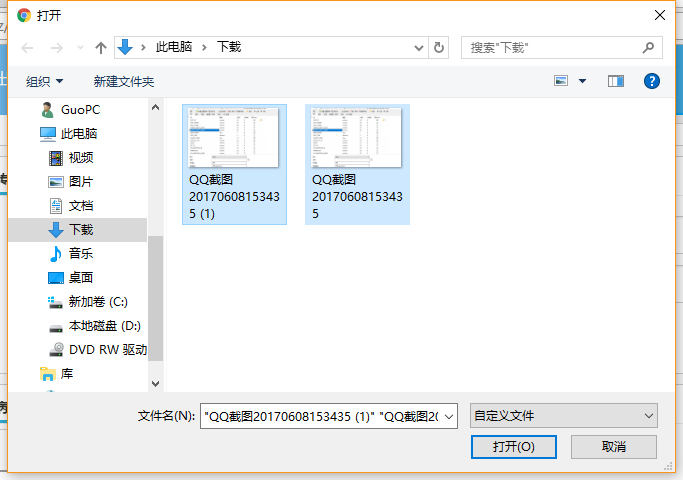
选择文件图:
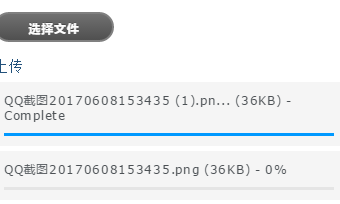
上传文件添加到列表:

上传图片: