三个虚拟主机通过一张网卡添加三个IP来实现
一、安装nginx
1.解决依赖
[root@xuegod1 ~]# yum groupinstall "Development Tools" "Development Libraries" -y
[root@xuegod1 ~]# yum install gcc gcc-c++ autoconf automake zlib zlib-devel openssl openssl-devel pcre* pcre-devel -y
Zlib:Nginx提供gzip模块,需要zlib的支持
Openssl:Nginx提供SSL的功能
[root@xuegod1 ~]# tar xf pcre-8.37.tar.bz2 -C /usr/local/src/ //解压此安装包即可,不需要安装,Nginx需要指定pcre的源码不是安装后的路径,此包的功能是支持地址重写rewrite功能 pcre的依赖可以yum安装pcre和pcre-devel解决!
2.解压编译安装
[root@xuegod1 nginx-1.8.0]# tar xvf nginx-1.8.0.tar.gz -C /usr/local/src/ ; cd /usr/local/src/nginx-1.8.0
[root@xuegod1 nginx-1.8.0]# ./configure --prefix=/usr/local/nginx --with-http_dav_module --with-http_stub_status_module --with-http_addition_module --with-http_sub_module --with-http_flv_module --with-http_mp4_module --with-pcre=/usr/local/src/pcre-8.37/
[root@xuegod1 ~]# make -j 4 ; make install ; cd
[root@xuegod1 ~]# useradd -M -u 8001 -s /sbin/nologin nginx //用于运行Nginx的用户
3.配置Nginx支持php文件
[root@xuegod1 ~]# vim /usr/local/nginx/conf/nginx.conf //Nginx主配置文件
#user nobody;
user nginx nginx; //添加此行
并在所支持的主页面格式中添加php格式的主页,类似如下:
location / {
root html;
index index.php index.html index.htm;
}
#location ~ \.php$ {
# root html;
# fastcgi_pass 127.0.0.1:9000;
# fastcgi_index index.php;
# fastcgi_param SCRIPT_FILENAME /scripts$fastcgi_script_name;
# include fastcgi_params;
#} #找到上面这段内容,将这段内容复制,去掉#且修改为如下
location ~ \.php$ {
root html;
fastcgi_pass 127.0.0.1:9000;
fastcgi_index index.php;
fastcgi_param SCRIPT_FILENAME /usr/local/nginx/html$fastcgi_script_name; #将scripts修改为nginx的html,即Nginx页面目录,因为要处理的php文件也在这个目录下
include fastcgi_params;
}
4.启动Nginx
[root@xuegod1 ~]# /usr/local/nginx/sbin/nginx
[root@xuegod1 ~]# netstat -tlnp|grep nginx
tcp 0 0 0.0.0.0:80 0.0.0.0:* LISTEN 11786/nginx
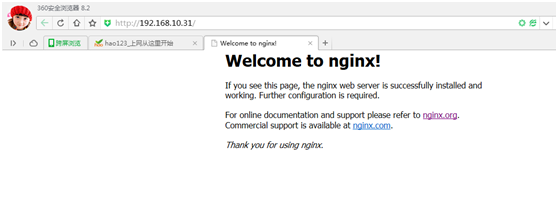
使用浏览器测试 http://192.168.10.31
二、安装apache和php
[root@xuegod44 conf]# yum install php httpd -y
1.配置网卡
[root@xuegod44 network-scripts]# cp ifcfg-eth0 ifcfg-eth0:1
[root@xuegod44 ~]# cd /etc/sysconfig/network-scripts/
[root@xuegod44 network-scripts]#ifcfg-eth0:1
DEVICE=eth0:1
TYPE=Ethernet
ONBOOT=yes
NM_CONTROLLED=yes
BOOTPROTO=none
IPADDR=192.168.10.51
NETMASK=255.255.255.0
[root@xuegod44 network-scripts]# cp ifcfg-eth0:1 ifcfg-eth0:2
[root@xuegod44 network-scripts]# cp ifcfg-eth0:1 ifcfg-eth0:3
[root@xuegod44 network-scripts]# vim ifcfg-eth0:2
DEVICE=eth0:2
TYPE=Ethernet
ONBOOT=yes
NM_CONTROLLED=yes
BOOTPROTO=none
IPADDR=192.168.10.52
NETMASK=255.255.255.0
[root@xuegod44 network-scripts]# vim ifcfg-eth0:3
DEVICE=eth0:3
TYPE=Ethernet
ONBOOT=yes
NM_CONTROLLED=yes
BOOTPROTO=none
IPADDR=192.168.10.53
NETMASK=255.255.255.0
[root@xuegod44 network-scripts]# service network restart
[root@xuegod44 network-scripts]# ifconfig
eth0 Link encap:Ethernet HWaddr 00:0C:29:BA:FD:EF
inet addr:192.168.10.44 Bcast:192.168.10.255 Mask:255.255.255.0
inet6 addr: fe80::20c:29ff:feba:fdef/64 Scope:Link
UP BROADCAST RUNNING MULTICAST MTU:1500 Metric:1
RX packets:59171 errors:0 dropped:0 overruns:0 frame:0
TX packets:36411 errors:0 dropped:0 overruns:0 carrier:0
collisions:0 txqueuelen:1000
RX bytes:68548149 (65.3 MiB) TX bytes:3833239 (3.6 MiB)
eth0:1 Link encap:Ethernet HWaddr 00:0C:29:BA:FD:EF
inet addr:192.168.10.51 Bcast:192.168.10.255 Mask:255.255.255.0
UP BROADCAST RUNNING MULTICAST MTU:1500 Metric:1
eth0:2 Link encap:Ethernet HWaddr 00:0C:29:BA:FD:EF
inet addr:192.168.10.52 Bcast:192.168.10.255 Mask:255.255.255.0
UP BROADCAST RUNNING MULTICAST MTU:1500 Metric:1
eth0:3 Link encap:Ethernet HWaddr 00:0C:29:BA:FD:EF
inet addr:192.168.10.53 Bcast:192.168.10.255 Mask:255.255.255.0
UP BROADCAST RUNNING MULTICAST MTU:1500 Metric:1
lo Link encap:Local Loopback
inet addr:127.0.0.1 Mask:255.0.0.0
inet6 addr: ::1/128 Scope:Host
UP LOOPBACK RUNNING MTU:65536 Metric:1
RX packets:0 errors:0 dropped:0 overruns:0 frame:0
TX packets:0 errors:0 dropped:0 overruns:0 carrier:0
collisions:0 txqueuelen:0
RX bytes:0 (0.0 b) TX bytes:0 (0.0 b)
2.配置apache
[root@xuegod44 ~]# cd /var/www/html/
[root@xuegod44 html]# mkdir a
[root@xuegod44 html]# mkdir b
[root@xuegod44 html]# mkdir c
[root@xuegod44 html]# echo "192.168.10.51" > a/index.html
[root@xuegod44 html]# echo "192.168.10.52" > b/index.html
[root@xuegod44 html]# echo "192.168.10.53" > c/index.html
[root@xuegod44 ~]# vim /etc/httpd/conf/httpd.conf
Listen 81
<VirtualHost 192.168.10.51:81>
ServerAdmin webmaster@dummy-host.example.com
DocumentRoot /var/www/html/a
ServerName xuegod44
ErrorLog logs/dummy-host.example.com-error_log
CustomLog logs/dummy-host.example.com-access_log common
</VirtualHost>
<VirtualHost 192.168.10.52:81>
ServerAdmin webmaster@dummy-host.example.com
DocumentRoot /var/www/html/b
ServerName xuegod44
ErrorLog logs/dummy-host.example.com-error_log
CustomLog logs/dummy-host.example.com-access_log common
</VirtualHost>
<VirtualHost 192.168.10.53:81>
ServerAdmin webmaster@dummy-host.example.com
DocumentRoot /var/www/html/c
ServerName xuegod44
ErrorLog logs/dummy-host.example.com-error_log
CustomLog logs/dummy-host.example.com-access_log common
</VirtualHost>
三、配置nginx
[root@xuegod44 ~]# vim /usr/local/nginx/conf/nginx.conf
第二行添加
user nginx nginx;
server {
listen 80;
server_name localhost;
#charset koi8-r;
#access_log logs/host.access.log main;
location / { #添加
root html;
index index.html index.htm;
if ($request_uri ~* \.html$) {
proxy_pass http://htmlservers;
}
if ($request_uri ~* \.php$) {
proxy_pass http://phpservers;
}
proxy_pass http://pciservers;
}
#error_page 404 /404.html;
# redirect server error pages to the static page /50x.html
#
error_page 500 502 503 504 /50x.html;
location = /50x.html {
root html;
}
# proxy the PHP scripts to Apache listening on 127.0.0.1:80
#
#location ~ \.php$ {
# proxy_pass http://127.0.0.1;
#}
# pass the PHP scripts to FastCGI server listening on 127.0.0.1:9000
#
#location ~ \.php$ {
# root html;
# fastcgi_pass 127.0.0.1:9000;
# fastcgi_index index.php;
# fastcgi_param SCRIPT_FILENAME /scripts$fastcgi_script_name;
# include fastcgi_params;
#}
#location ~ \.php$ {
# # proxy_pass http://127.0.0.1;
# #}
#
# # pass the PHP scripts to FastCGI server listening on 127.0.0.1:9000
# #
location ~ \.php$ {
root html;
fastcgi_pass 127.0.0.1:9000;
fastcgi_index index.php;
fastcgi_param SCRIPT_FILENAME /usr/local/nginx/html$fastcgi_script_name;
include fastcgi_params;
}
}
upstream htmlservers { #server模块外添加
server 192.168.10.51:81;
server 192.168.10.52:81;
server 192.168.10.53:81;
}
upstream phpservers {
server 192.168.10.51:81;
server 192.168.10.52:81;
server 192.168.10.53:81;
}
upstream pciservers {
server 192.168.10.51:81;
server 192.168.10.52:81;
server 192.168.10.53:81;
}
# deny access to .htaccess files, if Apache's document root
# concurs with nginx's one
#
#location ~ /\.ht {
# deny all;
#}
4.测试
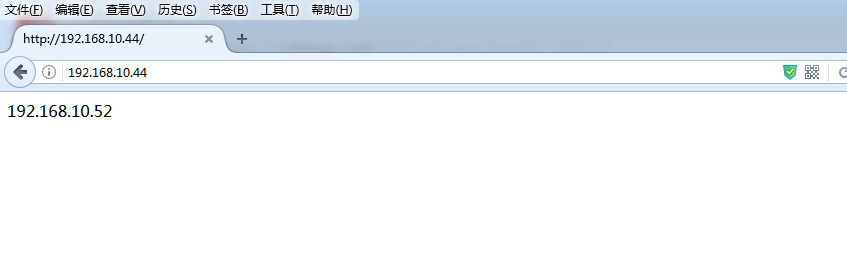
使用浏览器访问http://192.168.10.44

刷新一次
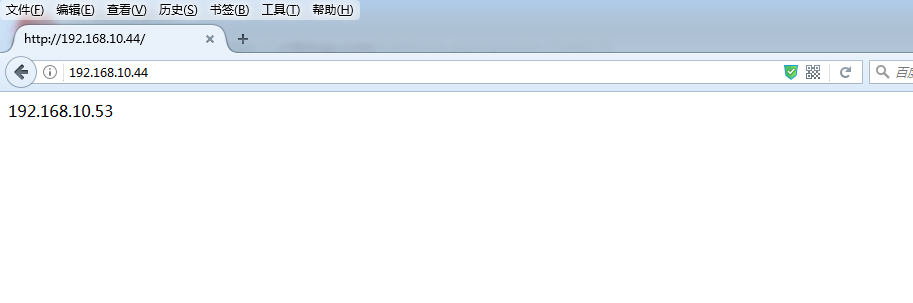
再刷新一次
备注:apache这里不能用80端口,否则会与nginx冲突,因为nginx先占用了80端口。如果apache用80端口会报如下错误
