Spring Boot官方提供了很多的Starter,每个Starter都有其各自的功能。我们用起来也爽歪歪。同时,我们也可以自定义一些Starter,提供出来给其他人用。
本文创建一个及其简单的Starter,这个Starter用来在启动的时候初始化Person对象。
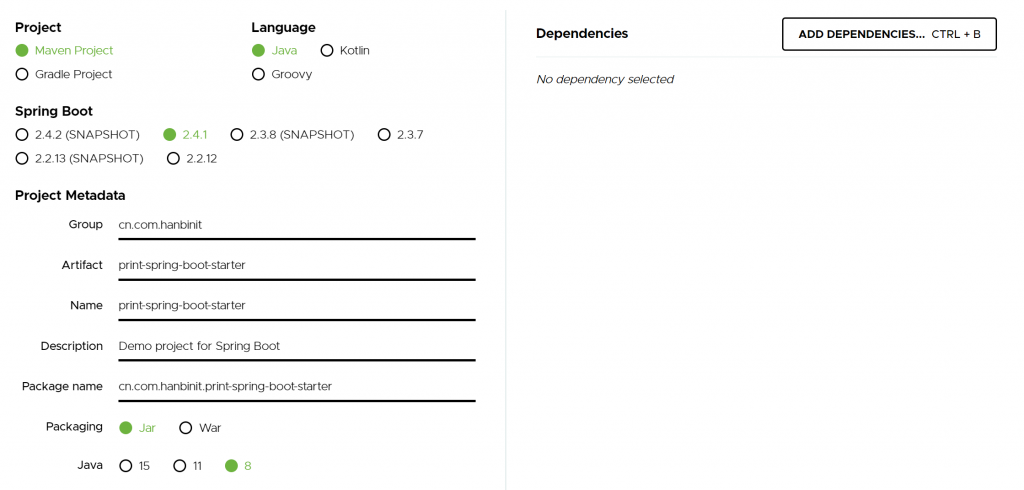
首先,去 Spring Initializr 创建一个Spring Boot的项目(Starter仍旧是一个Spring Boot Application),如下图1.
创建的过程中不需要添加依赖。同时,去掉生成的pom.xml中的下面代码:
<build>
    <plugins>
        <plugin>
            <groupId>org.springframework.boot</groupId>
            <artifactId>spring-boot-maven-plugin</artifactId>
        </plugin>
    </plugins>
</build>
这部分代码是用来打包的,他需要main方法,但是我们的Starter中是不需要main方法的。所以这个插件要去掉。
然后修改生成的启动类。修改后的代码如下:
package cn.com.hanbinit.printspringbootstarter;

import org.slf4j.Logger;
import org.slf4j.LoggerFactory;
import org.springframework.beans.factory.annotation.Value;
import org.springframework.context.annotation.Bean;
import org.springframework.context.annotation.Configuration;

@Configuration
public class PrintSpringBootStarterApplication {
    private static final Logger logger = LoggerFactory.getLogger(PrintSpringBootStarterApplication.class);

    @Value("${hanbin.name:}")
    private String name;

    @Bean
	public Person initPerson(){
        logger.info("我是自定义starter里面打印的,我只会在服务启动的时候初始化一下!");
        return new Person(name);
    }

}
在同目录下创建了Person类,内容如下:
package cn.com.hanbinit.printspringbootstarter;

public class Person {
    private String name;

    public Person(String name) {
        this.name = name;
    }

    public String getName() {
        return name;
    }

    public void setName(String name) {
        this.name = name;
    }
}
最后,还有一个很重要的事情,在resources下建立META-INF目录,在目录下创建spring.factories文件,在文件中添加如下配置:
org.springframework.boot.autoconfigure.EnableAutoConfiguration=
cn.com.hanbinit.printspringbootstarter.PrintSpringBootStarterApplication
到这里,这个Starter就创建完成了。这个时候我们就可以mvn clean install 或者 deploy给其他人用了。
下面创建一个demo application,引用了spring-boot-starter-web依赖,我们要在它中使用上面的Starter。
首先,在demo工程的pom.xml中添加依赖:
<dependency>
      <groupId>cn.com.hanbinit</groupId>
      <artifactId>print-spring-boot-starter</artifactId>
      <version>0.0.1-SNAPSHOT</version>
</dependency>
同时,修改启动类为下面的代码:
package cn.com.hanbinit.demo;

import cn.com.hanbinit.printspringbootstarter.Person;
import org.springframework.boot.SpringApplication;
import org.springframework.boot.autoconfigure.SpringBootApplication;
import org.springframework.web.bind.annotation.GetMapping;
import org.springframework.web.bind.annotation.RestController;

@RestController
@SpringBootApplication
public class DemoApplication {

    private final Person person;

    public DemoApplication(Person person) {
        this.person = person;
    }

    @GetMapping("/get_name")
    public String print(){
        return person.getName();
    }

    public static void main(String[] args) {
        SpringApplication.run(DemoApplication.class, args);
    }

}
在application.properties中配置 hanbin.name=wo shi hanbin
访问http://localhost:8080/get_name,可得图2所示结果:

关于Starter创建更多的可以多看看官方文档,也可以看看spring-boot-autoconfigure包的代码。Starter的技术基础还是Spring Boot的Auto-Configuration机制。