1.安装
https://www.cnblogs.com/rocky-AGE-24/p/7256800.html
安装expect命令 两种方式
yum安装
yum -y install expect
手动安装
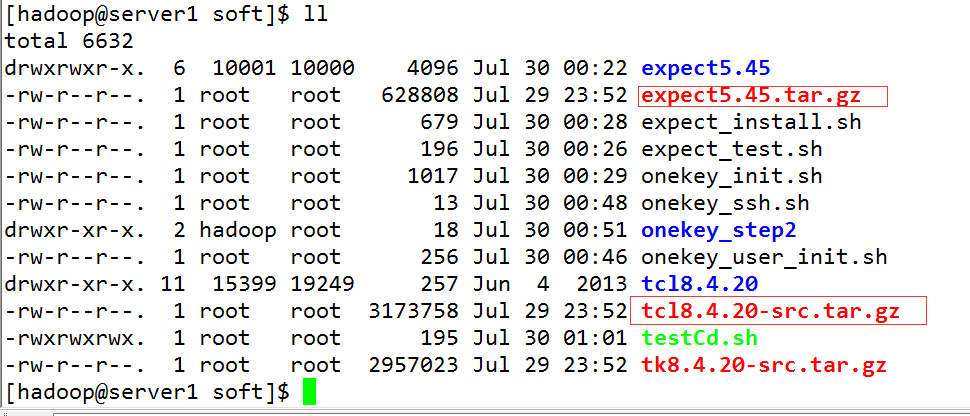
expect以及tcl版本
复制代码
#!/bin/bash
oldpath=`pwd`
tar -zxf tcl8.4.20-src.tar.gz
#3.安装配置
cd tcl8.4.20/unix
./configure --prefix=/usr/tcl --enable-shared
make
make install
#注意:
#1、安装完毕以后,进入tcl源代码的根目录,把子目录unix下面的tclUnixPort.h copy到子录generic中。
cp ./tclUnixPort.h ../generic/
#(二)expect 安装 (需Tcl的库)
#2.解压缩源码包
cd $oldpath
tar xzf expect5.45.tar.gz
#3.安装配置
cd expect5.45
./configure --prefix=/usr/expect --with-tcl=/usr/tcl/lib --with-tclinclude=../tcl8.4.20/generic
make
make install
ln -s /usr/tcl/bin/expect /usr/expect/bin/expect
ln -s /usr/tcl/bin/expect /usr/bin/expect
复制代码
testcase
复制代码
#!/bin/bash
#create hadoop user
user1=$1
useradd $user1
expect -c "
set timeout -1;
spawn passwd $user1;
expect {
*password:* {send -- hadoop
;exp_continue;}
eof {exit 0;}
}"
# 更改用户组为root
usermod -g root $user1
#test comand
# id $user1
2.使用
以拉取远程服务器mysql备份为例 总共2个文件,备份文件自己创建
vi mysqlbackup.sh
#!/bin/sh
source /etc/profile
DATE=`date +%Y%m%d`
mysqlfile=********项目名_${DATE}*.sql.gz
password=********
#传递密码和文件名到mysql文件
./mysql $password $mysqlfile
echo "pull mysqlfile end"
vi mysql
#!/usr/bin/expect
set password [lindex $argv 0]
set mysqlfile [lindex $argv 1]
#全部拉取
#spawn scp -r root@ip:/data/mysqlbackup/${BACK_DATA}.sql.gz /home/backup/mysqlbackup
#拉取指定的文件
spawn scp -r root@ip:/data/mysqlbackup/$mysqlfile /home/backup/mysqlbackup
expect {
"密码:"
{
send "$password
"
}
"password"
{
send "$password
"
}
"yes/no"
{
sleep 5
send_user "send yes"
send "yes
"
}
eof
{
sleep 5
send_user "eof
"
}
}
set timeout 3000
send "exit
"
expect eof