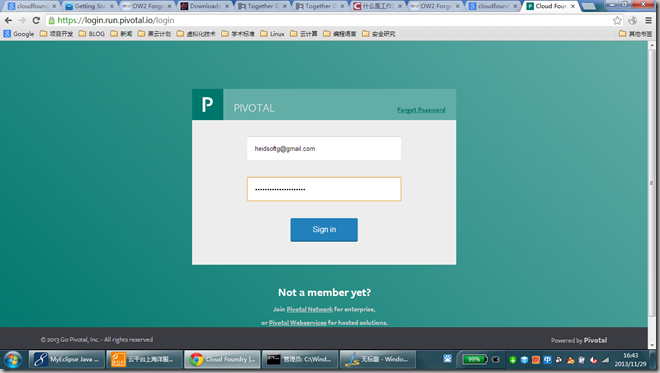
1、登陆cf
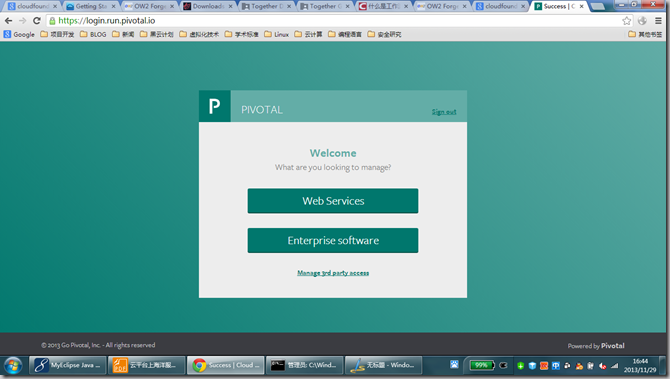
2、登陆进入webservice
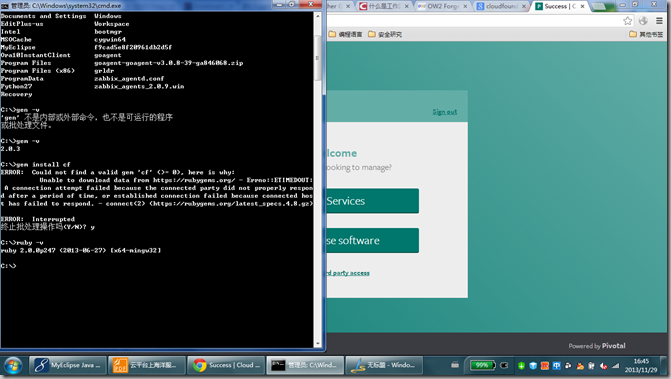
3、查看ruby版本
4、查看gem版本
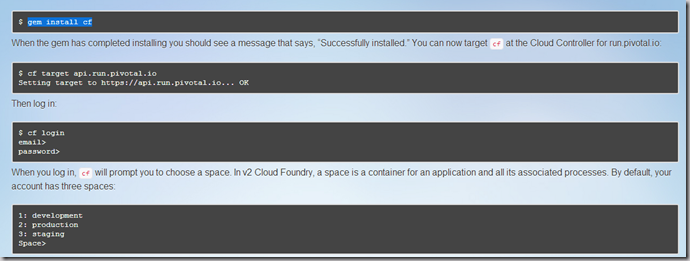
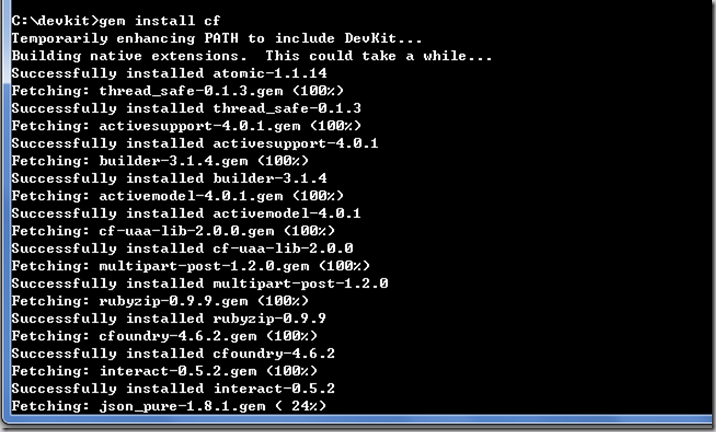
5、安装CF
6、配置cf
- Download the CLI from github: https://github.com/cloudfoundry/cli/releases
- Extract the zip file.
- Move
gcfto C:Program FilesCloud Foundry - Set your %PATH% to include C:Program FilesCloud Foundry (see instructions)
- Right-click My Computer > Properties
- Click on Advanced system settings
- Click on Environment Variables
- Click on "Path" in the System Variables list
- Click Edit
- Append C:Program FilesCloud Foundry to the Variable value separated by a semicolon
- Click OK
- Click OK
- Open up the command prompt and type
gcf - You should see the CLI help if everything is successful
gcf login [-a API_URL] [-u USERNAME] [-p PASSWORD] [-o ORG] [-s SPACE]
7.通过gem 安装cf
8、安装ruby devkit
先要初始化dk.rb
ruby dk.rb init
9、修改config.yml
10、安装dk.rb
11、开始顺利安装cf
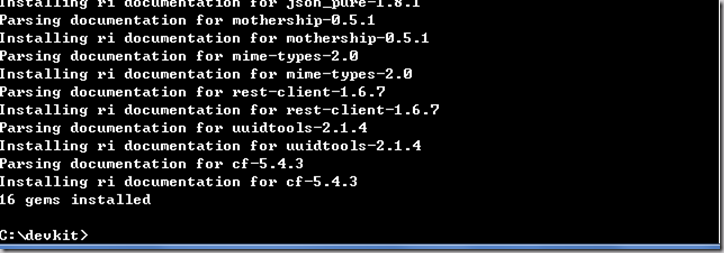
12、cf安装成功
13、查看cf版本
13、设置目标平台
14、直接登陆效果
15、cf登陆
16、输入用户名和密码
17、选择部署空间
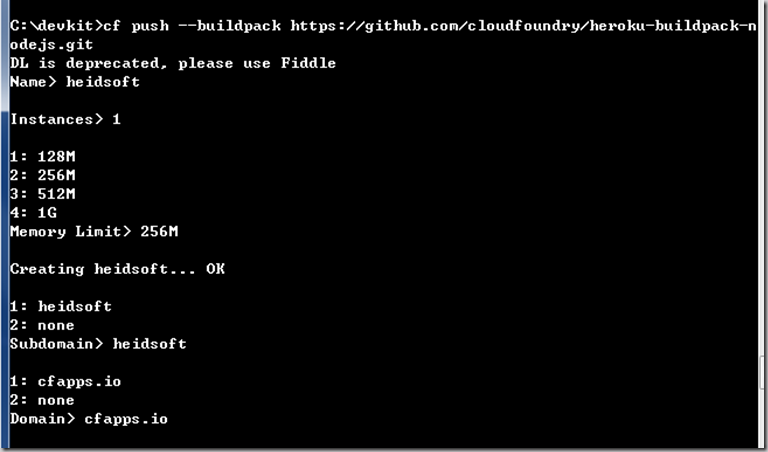
18、部署heidsoft应用
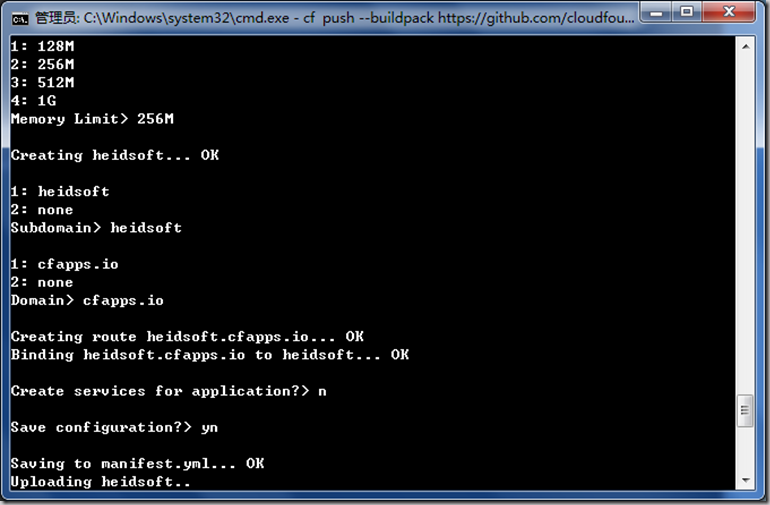
19、正在部署中
