本章学习内容
1.利用陕北吴旗娃的验证码控件实现验证码功能
2.利用kindeditor编辑器实现mvc3下的编辑器功能
验证码是软件或网站中比较常用的一种功能,无论是对于房租恶意注册登录还是刷票,灌水之类的,都有很大的作用,在webform里我们可以利用第三方控件很方便的实现这个功能,当然自己手写一个生成验证码的类也不是太难,今天我们介绍一个在mvc3下实现验证码的控件,毕竟是能简单一点对于自己编码来说是最好的。控件和上一章的分页控件来自同一个地方,在上一章提及的官网也可以下载到,或者点此下载验证码控件
下载验证码控件dll后,请添加引用到项目
修改UserInfo/Login.cshtml完整源代码如下:
@using Webdiyer.WebControls.Mvc
@model MyShopTest.Models.UserInfo
@{
    ViewBag.Title = "用户登录";
    Layout = "~/Views/Shared/MyMaster.cshtml";
}
<h2>
    用户登录</h2>
<script src="@Url.Content("~/Scripts/jquery.validate.min.js")" type="text/javascript"></script>
<script src="@Url.Content("~/Scripts/jquery.validate.unobtrusive.min.js")" type="text/javascript"></script>
<p>
    没有有帐号,<a href="Register">点此</a>注册
</p>
@using (Html.BeginForm())
{
    @Html.ValidationSummary(true)
    <fieldset>
        <legend>用户登录</legend>
        <div class="editor-label">
            @Html.LabelFor(model => model.UserName)
        </div>
        <div class="editor-field">
            @Html.EditorFor(model => model.UserName)
            @Html.ValidationMessageFor(model => model.UserName)
        </div>
        <div class="editor-label">
            @Html.LabelFor(model => model.UserPwd)
        </div>
        <div class="editor-field">
            @Html.PasswordFor(model => model.UserPwd)
            @Html.ValidationMessageFor(model => model.UserPwd)
        </div>
        <div class="editor-label">
            验证码:
        </div>
        <div class="editor-field">
            @Html.Raw(Html.MvcCaptcha(new MvcCaptchaOptions { ValidationInputBoxId = "captchaTextBox", CaptchaImageContainerId = "captchaImage", ReloadLinkText = "看不清?换一张" ,Width=100,Height=30}))
            <span id="captchaImage"></span>
            <br />

            <input type="text" name="captchaTextBox" id="captchaTextBox" />
        </div>
        <p>
            <input type="submit" value="登录" />
        </p>
    </fieldset>
}
我们来解析一下代码:
@Html.Raw(Html.MvcCaptcha(new MvcCaptchaOptions { ValidationInputBoxId = "captchaTextBox", CaptchaImageContainerId = "captchaImage", ReloadLinkText = "看不清?换一张" ,Width=100,Height=30}))
此段代码是用来创建验证码的,new MvcCaptchaOptions 表示初始化验证码设置项,依次是输入验证码的文本框id,包含验证码图片控件的父容器的客户端Id(ajax加载时用到,此处不涉及),刷新验证码的提示文本,验证码的高,宽,至于验证码的最外围,我们使用了Html.Raw是为了让验证码控件不被mvc进行html编码,原样输出html代码,否则我们只能看到是经过html编码后的字符串
修改UserInfo控制器里的Login的Action,代码如下:
 /// <summary>
        /// 登录处理
        /// </summary>
        /// <returns></returns>
        [HttpPost]
        [AcceptVerbs(HttpVerbs.Post), ValidateMvcCaptcha("captchaTextBox")]
        public ActionResult Login(string UserName, string UserPwd)
        {
            bool isOk = ModelState.IsValid;//会加入验证码验证
            var user = new UserInfo();
            if (!isOk)
            {
                user.UserName = UserName;
                user.UserPwd = UserPwd;
                ModelState.AddModelError("", "验证码错误!");
                return View(user);
            }
             user = db.UserInfos.SingleOrDefault(u => u.UserName == UserName && u.UserPwd == UserPwd);
            if (user != null)
            {
                Session["User"] = user;
                return RedirectToAction("Index");
            }
            else
            {
                user = new UserInfo();
                user.UserName = UserName;
                user.UserPwd = UserPwd;
                ModelState.AddModelError("", "用户名或密码错误!");
                return View(user);
            }

        }
代码略作解释:
[AcceptVerbs(HttpVerbs.Post), ValidateMvcCaptcha("captchaTextBox")]
此段代码表示让这个Action进行验证码验证,验证内容来自于captchaTextBox,ModelState.IsValid会将我们的验证码对比一并加入进去,我们只需要知道ModelState.IsValid是否通过即可
重新编译项目,运行:
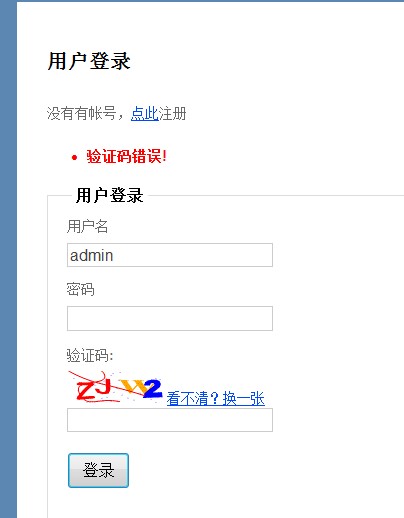
已经可以实现我们的验证码功能,当然这个验证码控件比我们目前使用的要强大的多,大家可以自行钻研实验一下。
2.利用kindeditor实现mvc3下的编辑器功能
之前的代码里我们实现了商品管理的增删改查,但是对于商品来说还缺少一个最重要的介绍功能,商品的介绍来所含信息丰富而且重要,可能会出现图片,文字,视频,表格等内容,为了适应这一需求,所见即所得的编辑器自然是最好的选择,在此系列教程中,我们使用kindeditor编辑器来实现,版本为4.1.5,可以点此下载,也可以去官网http://www.kindsoft.net/下载
下载后请添加dll引用,修改Models/Product.cs完整代码如下:
using System;
using System.Collections.Generic;
using System.Linq;
using System.Web;
using System.ComponentModel.DataAnnotations;

namespace MyShopTest.Models
{
    public class Product
    {
        public int Id { get; set; }
        [Display(Name = "商品名称")]
        [Required(ErrorMessage = "必须输入名称!")]
        public string Title { get; set; }
        [Display(Name = "价格")]
        [Required(ErrorMessage = "必须输入价格!")]
        [Range(0.01, 1000, ErrorMessage = "输入的价格必须是0.01到1000")]
        public double Price { get; set; }

        [Display(Name = "图片")]
        public string ImgUrl { get; set; }
        //类别Id
        public int CategoryId { get; set; }
        [Display(Name="描述")]
        public string Description { get; set; }
        private DateTime addTime;
        [Display(Name = "添加时间")]
        [Required()]
        public DateTime AddTime
        {
            get
            {
                if (addTime == null)
                {
                    return DateTime.Now;
                }
                return addTime;
            }
            set { addTime = value; }
        }
        //类别实体(主外键)
        public virtual Categeory Category { get; set; }
    }
}
修改InitData.cs完整代码如下:
using System;
using System.Collections.Generic;
using System.Linq;
using System.Web;
using System.Data.Entity;
using System.Data.Entity.Validation;

namespace MyShopTest.Models
{
    public class InitData : DropCreateDatabaseIfModelChanges<MyShopDataEntities>
    {
        //实体发生改变时,重新创建数据库,首次也会运行此处
        protected override void Seed(MyShopDataEntities context)
        {
            try
            {

                //初始化数据
                var users = new List<UserInfo>
            {
                 new UserInfo { UserName = "admin",UserPwd="admin",AddTime=DateTime.Now,Email="Qq@qq.com",Phone="13112345678" },
                 new UserInfo { UserName = "zhangsan",UserPwd="admin",AddTime=DateTime.Now,Email="Qq@qq.com",Phone="13112345678" },
                 new UserInfo { UserName = "lisi",UserPwd="admin",AddTime=DateTime.Now,Email="Qq@qq.com",Phone="13112345678" }

            };
                users.ForEach(user => context.UserInfos.Add(user));
                //类别数据
                var categorys = new List<Categeory>();
                categorys.Add(new Categeory { Name = "食品" });
                categorys.Add(new Categeory { Name = "宠物" });
                //产品数据
                var products = new List<Product>
                {
                    new Product{ AddTime=DateTime.Now,Category=categorys.Find(delegate(Categeory c){return c.Name=="食品"; }), ImgUrl="0", Price=8.8, Title="冰淇淋",Description="暂无描述"},
                     new Product{ AddTime=DateTime.Now,Category=categorys.Single(c=>c.Name=="宠物"), ImgUrl="0", Price=88.8, Title="大熊猫",Description="暂无描述"},
                     new Product{ AddTime=DateTime.Now,Category=categorys.Single(c=>c.Name=="宠物"), ImgUrl="0", Price=88.8, Title="北极熊",Description="暂无描述"}
                };
                products.ForEach(p => context.Products.Add(p));

            }
            catch (DbEntityValidationException dbEx)
            {
                string a = dbEx.Message;
            }

        }
    }
}
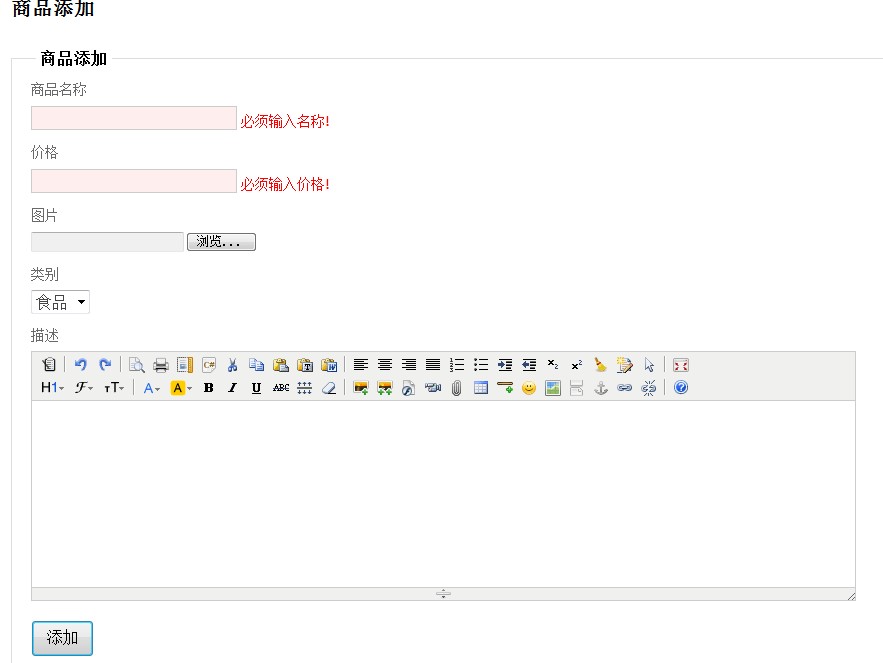
修改Product/Create.cshtml完整代码如下:
@model MyShopTest.Models.Product
@{
    ViewBag.Title = "商品添加";
}
<h2>
    商品添加</h2>
<script src="@Url.Content("~/Scripts/jquery.validate.min.js")" type="text/javascript"></script>
<script src="@Url.Content("~/Scripts/jquery.validate.unobtrusive.min.js")" type="text/javascript"></script>
<script src="../../kindeditor/kindeditor-all-min.js" type="text/javascript"></script>
<script type="text/javascript">
    KindEditor.ready(function (K) {
        var editor1 = K.create('#Description', {
            cssPath: '../../kindeditor/plugins/code/prettify.css',
            uploadJson: '/tools/upload_json.ashx',
            fileManagerJson: '/tools/file_manager_json.ashx',
            allowFileManager: true
        });
    });
</script>
@using (Html.BeginForm("Create", "Product", FormMethod.Post, new { enctype = "multipart/form-data" }))
{
@*@Html.ValidationSummary(true)*@
    @Html.ValidationMessage("error")
    <fieldset>
        <legend>商品添加</legend>
        <div class="editor-label">
            @Html.LabelFor(model => model.Title)
        </div>
        <div class="editor-field">
            @Html.EditorFor(model => model.Title)
            @Html.ValidationMessageFor(model => model.Title)
        </div>
        <div class="editor-label">
            @Html.LabelFor(model => model.Price)
        </div>
        <div class="editor-field">
            @Html.EditorFor(model => model.Price)
            @Html.ValidationMessageFor(model => model.Price)
        </div>
        <div class="editor-label">
            @Html.LabelFor(model => model.ImgUrl)
        </div>
        <div class="editor-field">
            <input type="file" name="filImgs" />
            <input type="hidden" name="ImgUrl" value="0" />
            @Html.ValidationMessageFor(model => model.ImgUrl)
        </div>
        <div class="editor-label">
            @Html.LabelFor(model => model.CategoryId, "类别")
        </div>
        <div class="editor-field">
            @Html.DropDownList("CategoryId")
            @Html.ValidationMessageFor(model => model.CategoryId)
            @Html.Hidden("AddTime", DateTime.Now)
        </div>
        <div class="editor-label">
            @Html.LabelFor(model => model.Description)
        </div>
        <div class="editor-field">
            @Html.TextAreaFor(model => model.Description, 15, 100, null)
        </div>
        <p>
            <input type="submit" value="添加" />
        </p>
    </fieldset>
}
<div>
    @Html.ActionLink("返回列表", "Index")
</div>
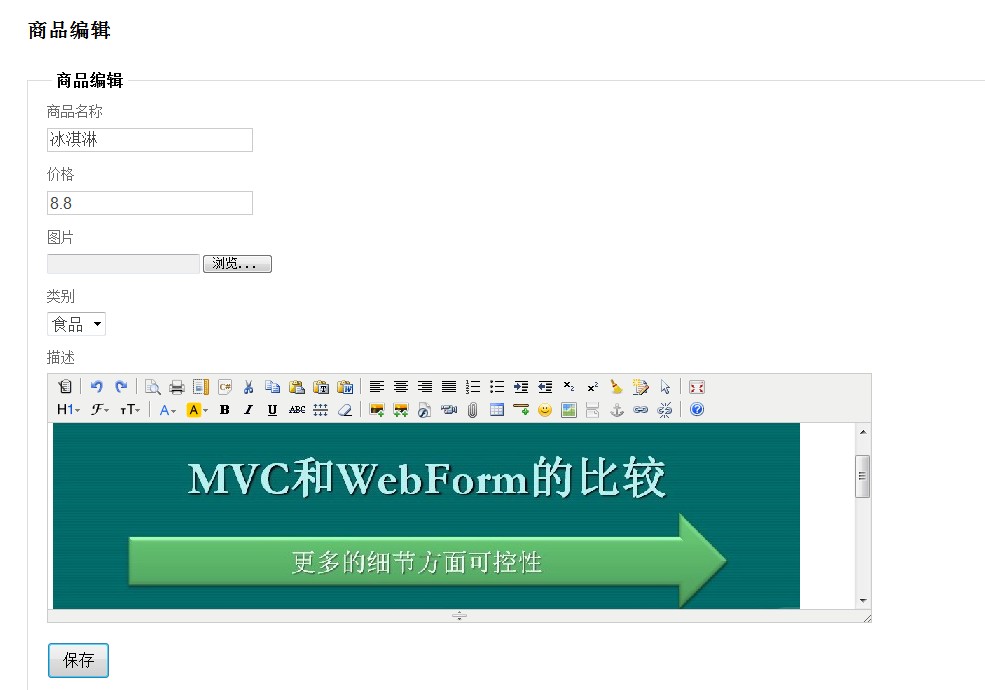
修改Edit.cshtml完整代码如下:
@model MyShopTest.Models.Product
@{
    ViewBag.Title = "商品编辑";
}
<h2>
    商品编辑</h2>
<script src="@Url.Content("~/Scripts/jquery.validate.min.js")" type="text/javascript"></script>
<script src="@Url.Content("~/Scripts/jquery.validate.unobtrusive.min.js")" type="text/javascript"></script>
<script src="../../kindeditor/kindeditor-all-min.js" type="text/javascript"></script>
<script type="text/javascript">
    KindEditor.ready(function (K) {
        var editor1 = K.create('#Description', {
            cssPath: '../../kindeditor/plugins/code/prettify.css',
            uploadJson: '/tools/upload_json.ashx',
            fileManagerJson: '/tools/file_manager_json.ashx',
            allowFileManager: true
        });
    });
</script>
@using (Html.BeginForm("Edit", "Product", FormMethod.Post, new { enctype = "multipart/form-data" }))
{
    @Html.ValidationSummary(true)
    <fieldset>
        <legend>商品编辑</legend>
        @Html.HiddenFor(model => model.Id)
        <div class="editor-label">
            @Html.LabelFor(model => model.Title)
        </div>
        <div class="editor-field">
            @Html.EditorFor(model => model.Title)
            @Html.ValidationMessageFor(model => model.Title)
        </div>
        <div class="editor-label">
            @Html.LabelFor(model => model.Price)
        </div>
        <div class="editor-field">
            @Html.EditorFor(model => model.Price)
            @Html.ValidationMessageFor(model => model.Price)
        </div>
        <div class="editor-label">
            @Html.LabelFor(model => model.ImgUrl)
        </div>
        <div class="editor-field">
           <input type="file" name="filImgs"/>
           <input type="hidden" name="ImgUrl" value="@Model.ImgUrl"/>
            @Html.ValidationMessageFor(model => model.ImgUrl)
        </div>
        <div class="editor-label">
            @Html.LabelFor(model => model.CategoryId, "类别")
        </div>
        <div class="editor-field">
            @Html.DropDownList("CategoryId")
            @Html.ValidationMessageFor(model => model.CategoryId)
        </div>
       <div class="editor-label">
            @Html.LabelFor(model => model.Description)
        </div>
        <div class="editor-field">
            @Html.TextAreaFor(model => model.Description, 15, 100, null)
        </div>
        <p>
            <input type="submit" value="保存" />
        </p>
    </fieldset>
}
<div>
    @Html.ActionLink("返回列表", "Index")
</div>
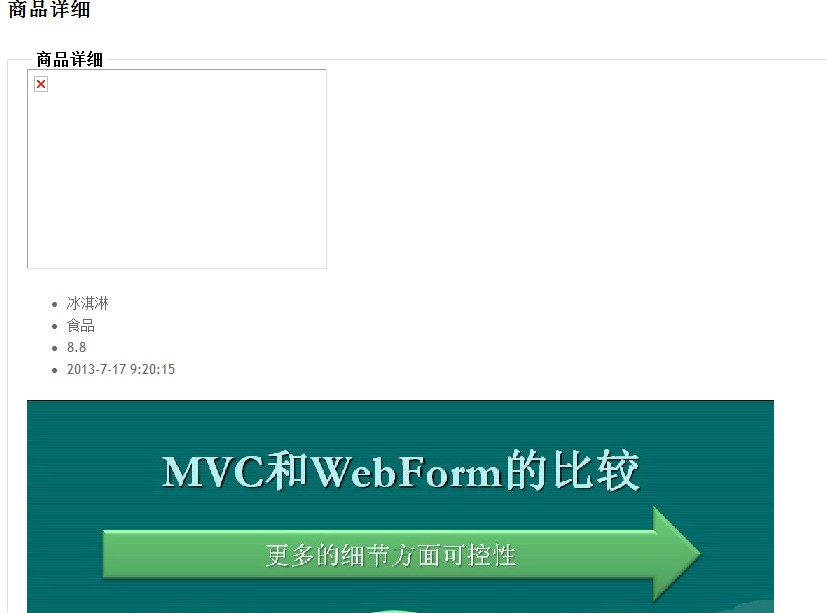
修改Details完整代码如下:
@model MyShopTest.Models.Product
@{
    ViewBag.Title = "商品详细";
    Layout = "~/Views/Shared/MyMaster.cshtml";
}
<h2>
    商品详细</h2>
<fieldset>
    <legend>商品详细</legend>
    <div style="margin: 0 auto;">
        <img src="@Model.ImgUrl" width="300px" height="200px"/>
        <br />
        <ul>
            <li>
                @Html.DisplayFor(model => model.Title)
            </li>
            <li>
                @Html.DisplayFor(model => model.Category.Name)
            </li>
            <li>
                @Html.DisplayFor(model => model.Price)
            </li>
            <li>
                @Html.DisplayFor(model => model.AddTime)
            </li>
        </ul>
        @Html.Raw(Model.Description)
    </div>
</fieldset>
<p>
    @Html.ActionLink("返回列表", "Index") |
</p>
为ProductController的添加处理和编辑处理方法的HttpPost标识头修改为:
[HttpPost,ValidateInput(false)]
重新编译项目,运行,先看一下测试效果:
现在在我们来简单看一下关键代码:
Edit.cshtml
<script src="../../kindeditor/kindeditor-all-min.js" type="text/javascript"></script>
<script type="text/javascript">
    KindEditor.ready(function (K) {
        var editor1 = K.create('#Description', {
            cssPath: '../../kindeditor/plugins/code/prettify.css',
            uploadJson: '/tools/upload_json.ashx',
            fileManagerJson: '/tools/file_manager_json.ashx',
            allowFileManager: true
        });
    });
</script>
引入kindeditor的js和绑定编辑器,Create也是一样;
ProductController.cs,Cteate和Edit处理方法头部加上了下方标识:
ValidateInput(false)
主要是为了取消页面的ValidateRequest验证,以免当我们提交由html字符时当作敏感字符处理出现错误,在webform里可以在web.config里pages节点配置,经测试mvc3下此做法不生效
至此,在MVC3下已完成验证码和编辑器功能