一、webpack简介
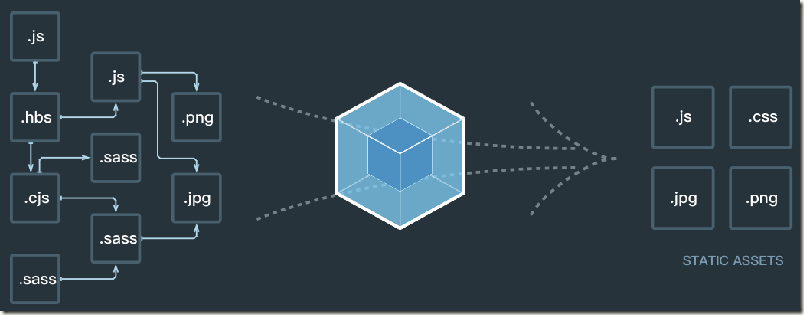
At its core, webpack is a static module bundler for modern JavaScript applications.
从本质上来讲,webpack是一个现代的JavaScript应用的静态模块打包工具。
二、webpack安装
安装webpack首先需要安装Node.js,Node.js自带了软件包管理工具npm
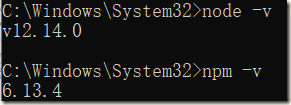
1)查看node版本
2)全局安装webpack
先指定版本号3.6.0,因为vue cli2依赖该版本
npm install webpack@3.6.0 -g
3)局部安装
--save-dev是开发时依赖,项目打包后不需要继续使用的
cd 对应目录
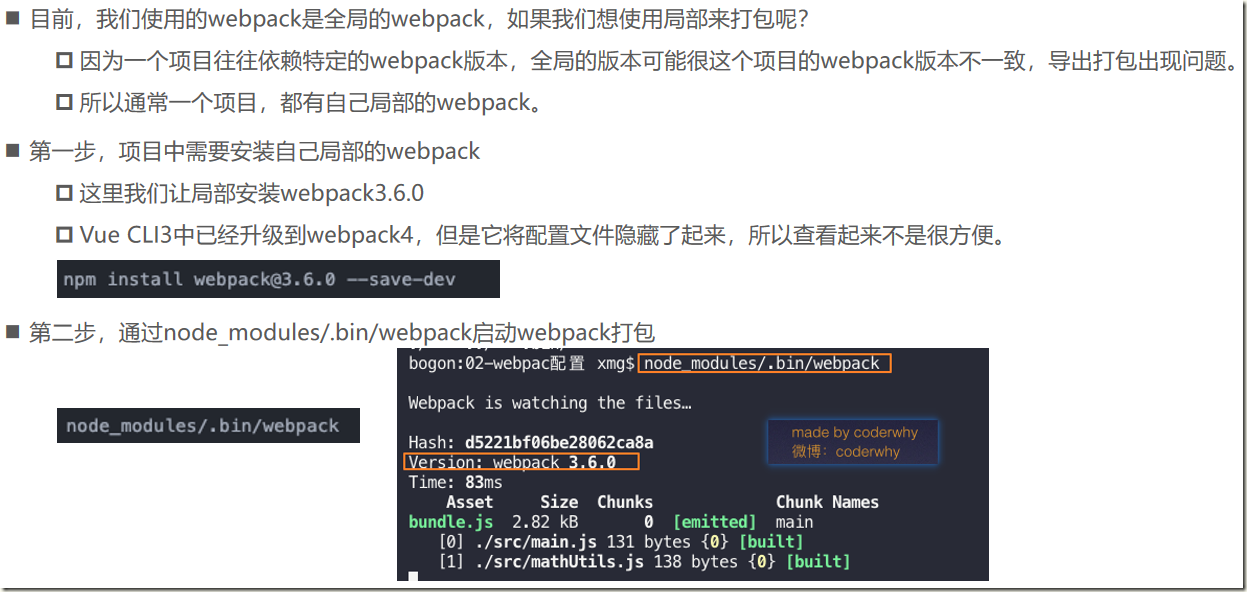
npm install webpack@3.6.0 --save-dev
4)为什么全局安装后,还需要局部安装呢?
- 在终端直接执行webpack命令,使用的全局安装的webpack
- 当在package.json中定义了scripts时,其中包含了webpack命令,那么使用的是局部webpack
5)查看webpack版本
webpack –version
三、webpack起步
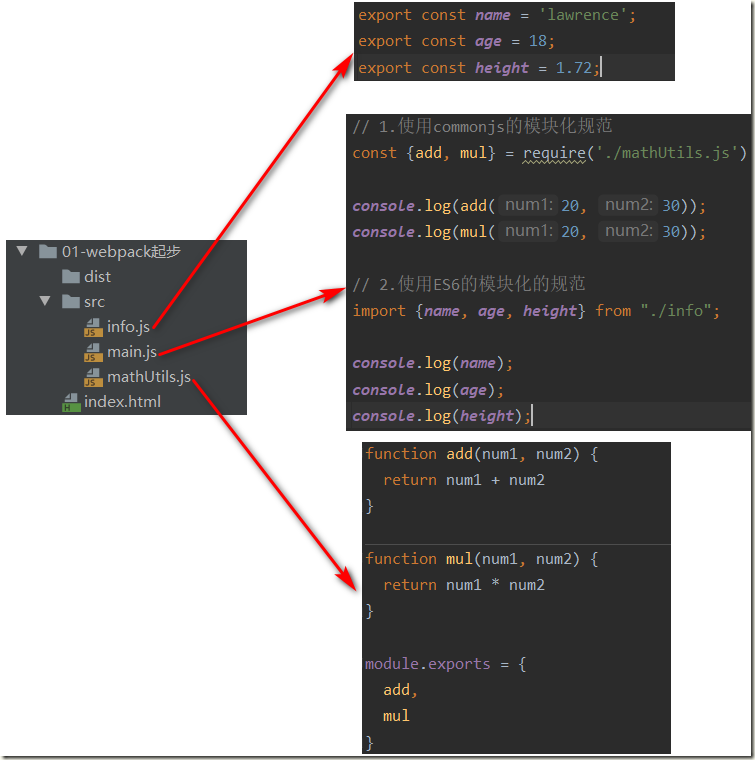
1)创建相关文件及文件夹
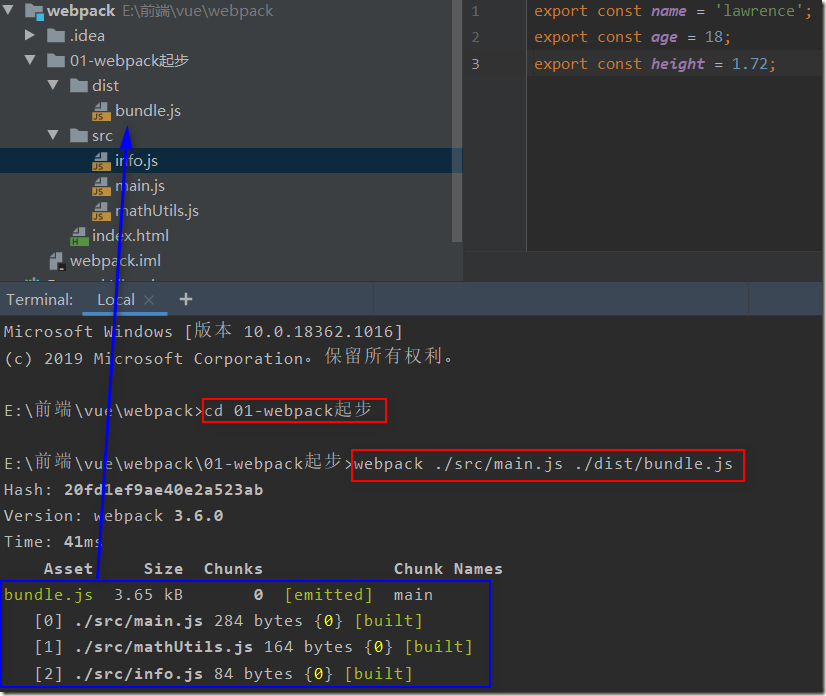
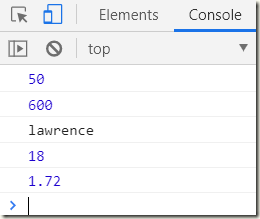
2)使用webpack工具,对多个js文件进行打包
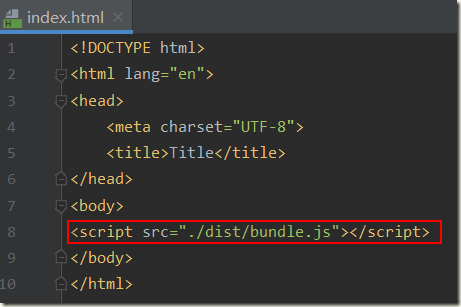
3)index.html中引入
bundle.js文件,是webpack处理了项目直接文件依赖后生成的一个js文件,我们只需要将这个js文件在index.html中引入即可
四、webpack配置
4.1、入口与出口
如果每次使用webpack的命令都需要写上入口和出口作为参数,就非常麻烦,有没有一种方法可以将这两个参数写到配置中,在运行时,直接读取呢?当然可以,就是创建一个webpack.config.js文件
const path = require('path')

module.exports = {
  //入口: 可以是字符串/数组/对象
  entry: './src/main.js',
  output: {
    //出口:通常是一个对象
    path: path.resolve(__dirname, 'dist'), //绝对路径
    filename: 'bundle.js'
  },
}
4.2、局部安装webpack
4.3、package.json中定义启动
1)生成package.json文件
cd  对应目录
npm init
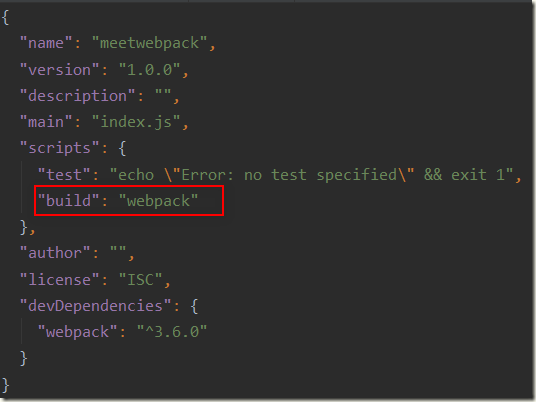
2)修改package.json
package.json中的scripts的脚本在执行时,会按照一定的顺序寻找命令对应的位置。首先,会寻找本地的node_modules/.bin路径中对应的命令。如果没有找到,会去全局的环境变量中寻找
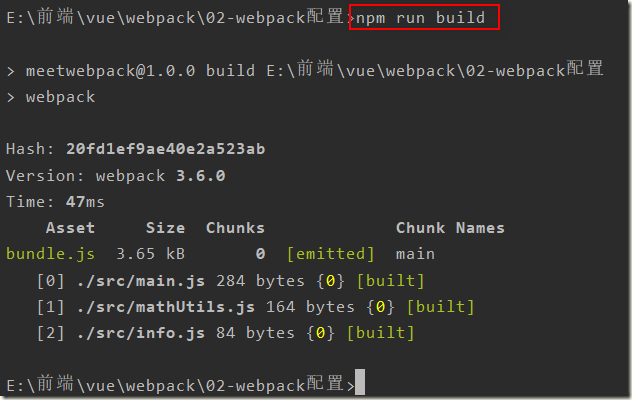
3)使用npm run build启动
五、webpack的loader
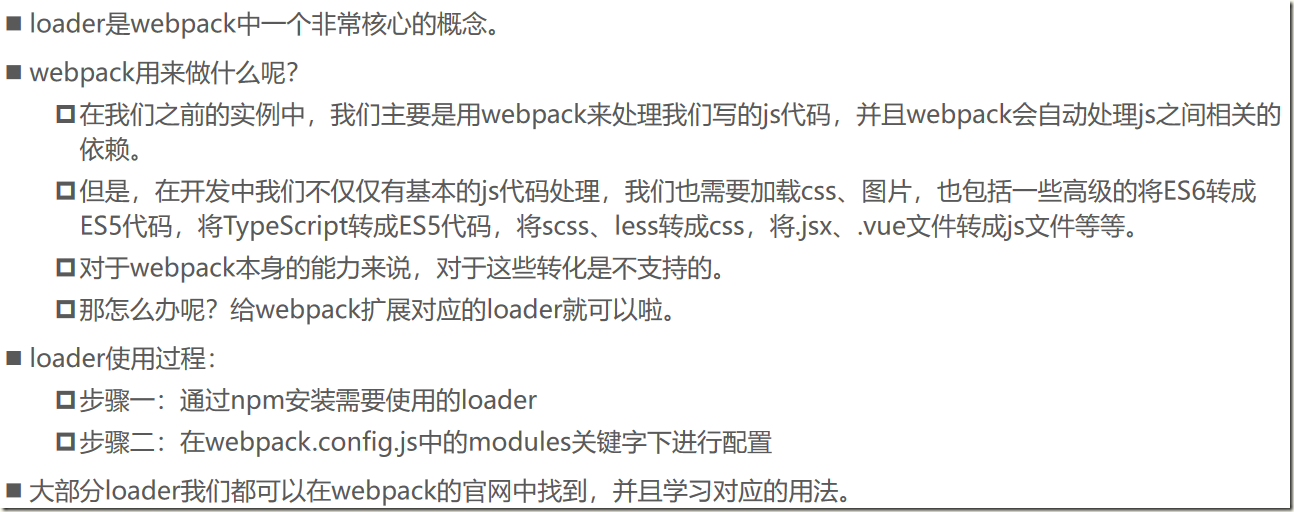
5.1、什么是loader
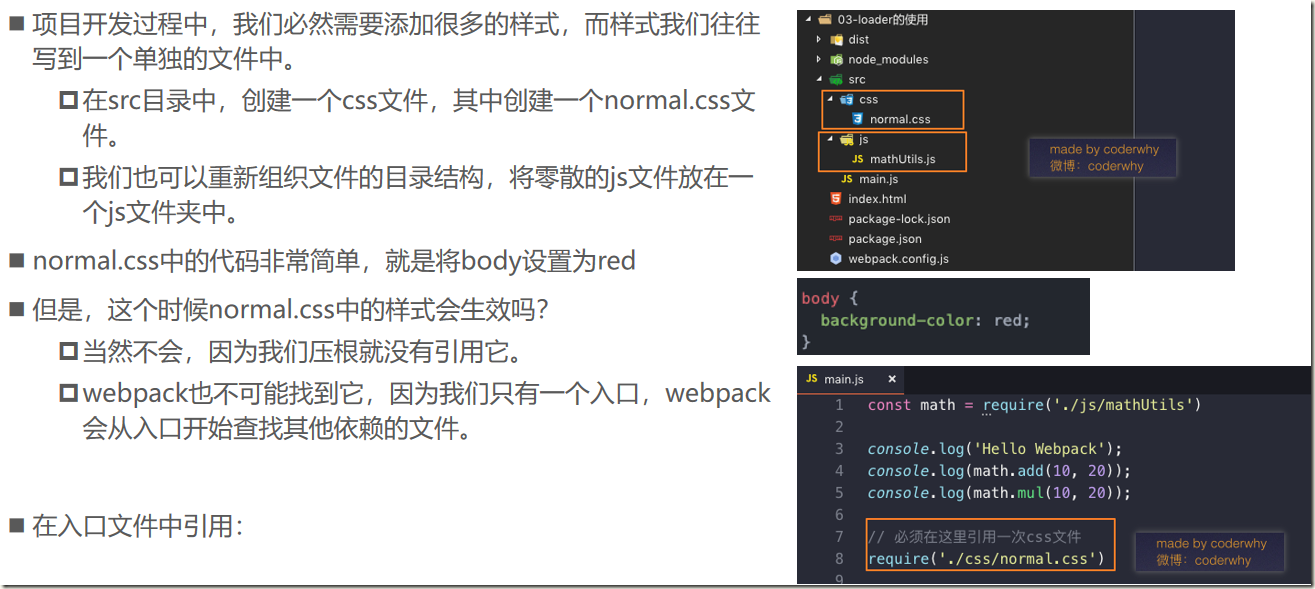
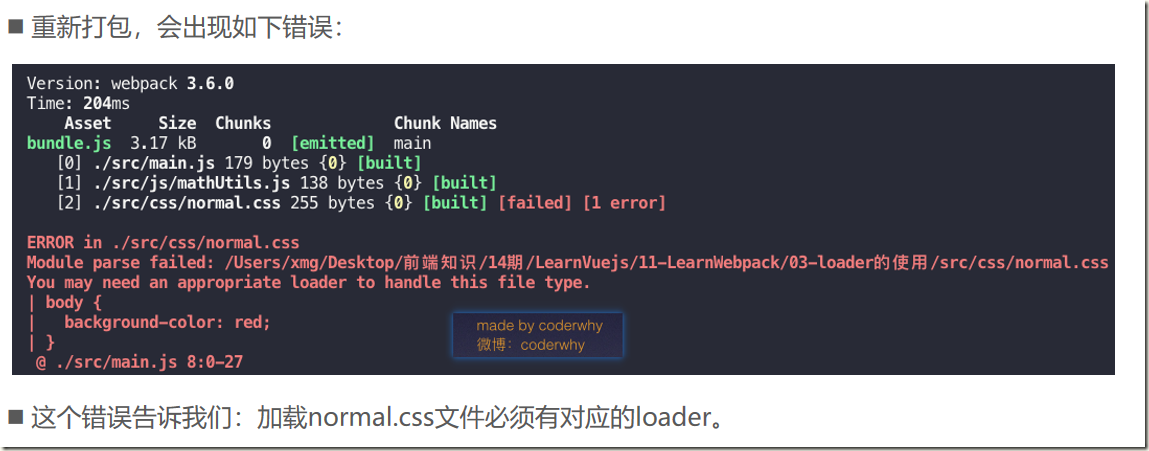
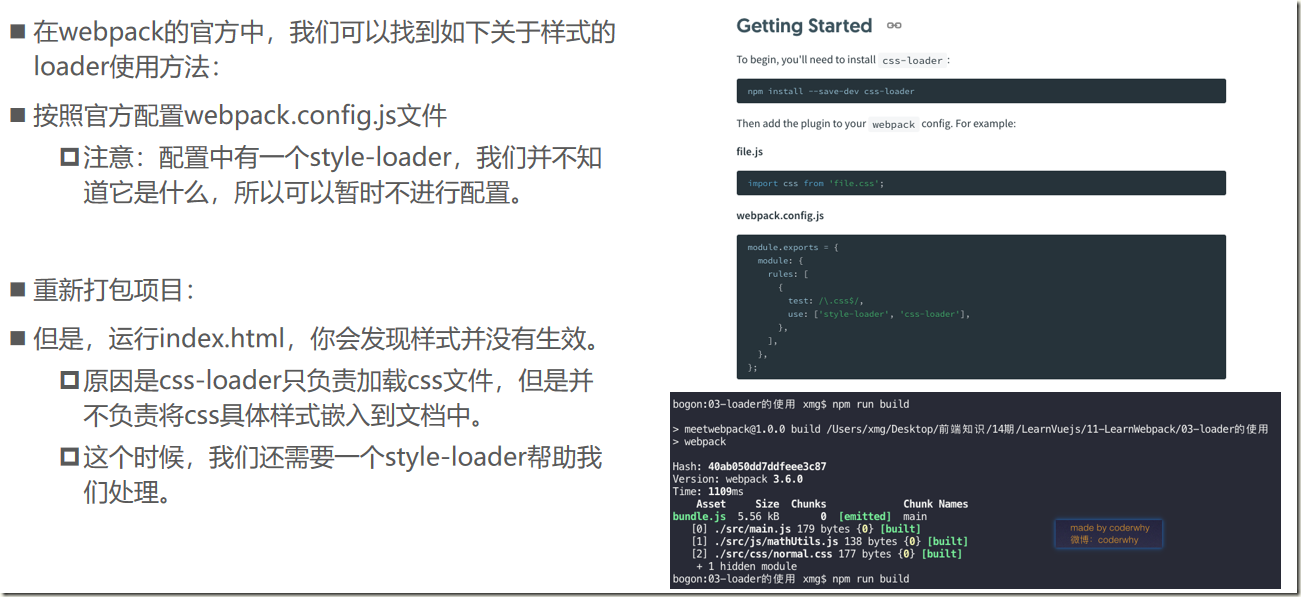
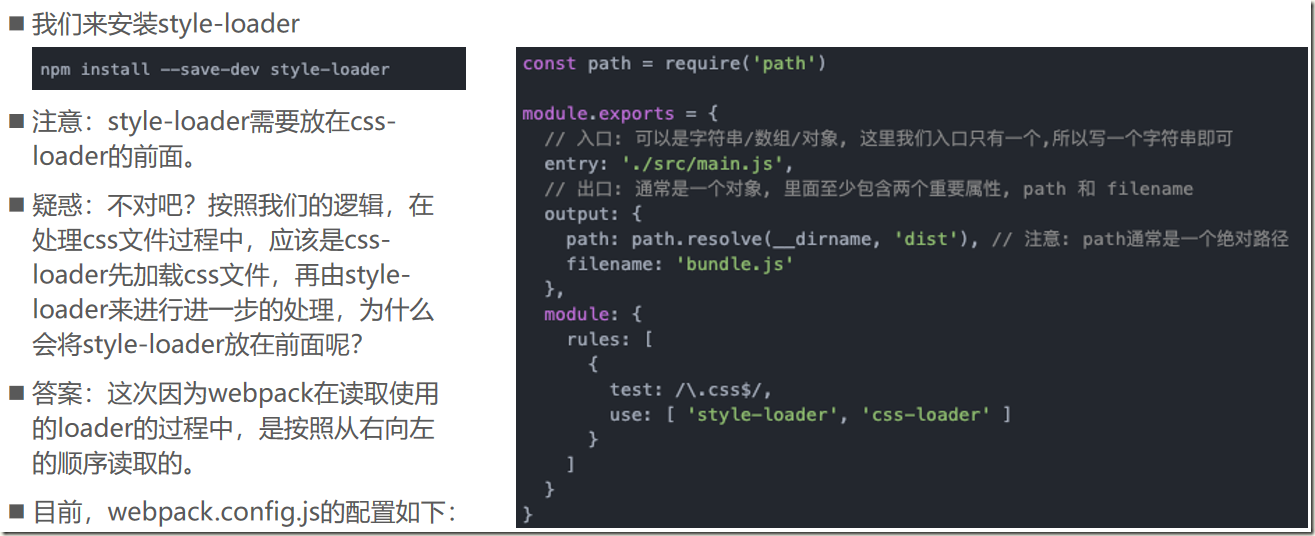
5.2、css loader
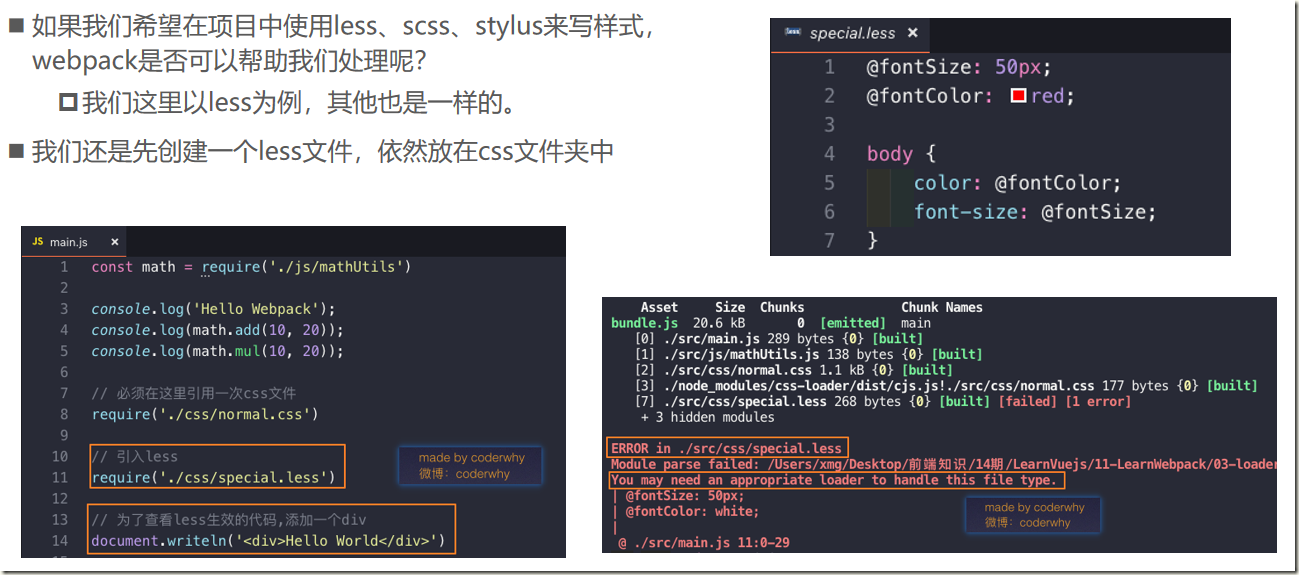
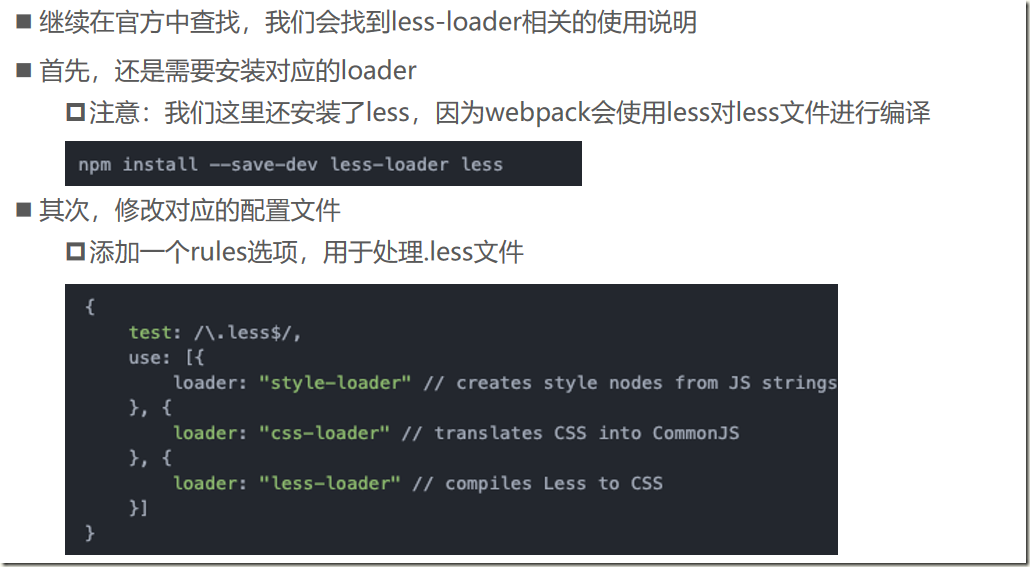
5.3、less-loader
5.4、图片文件处理
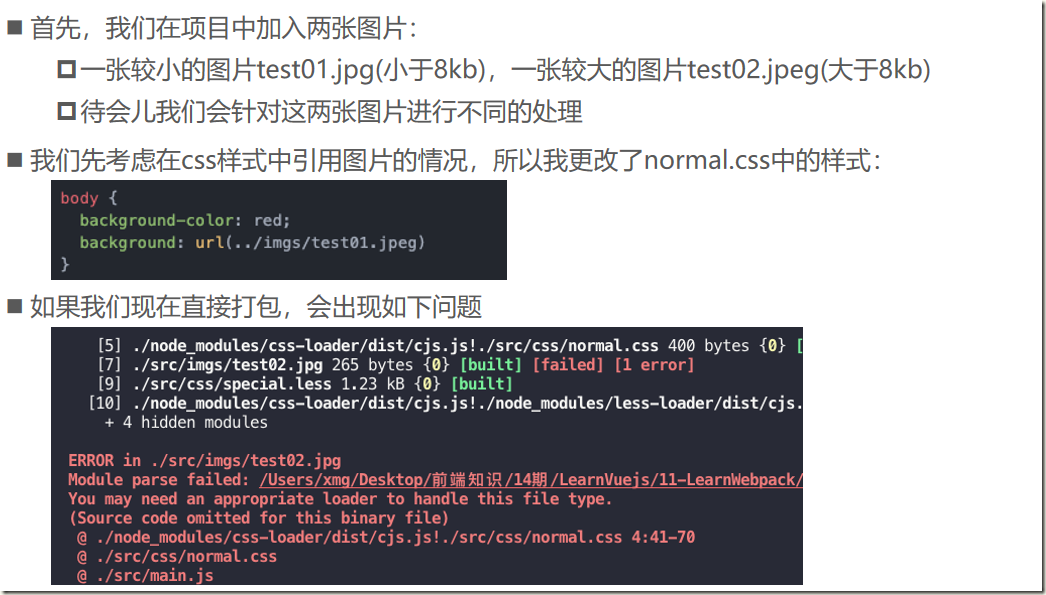
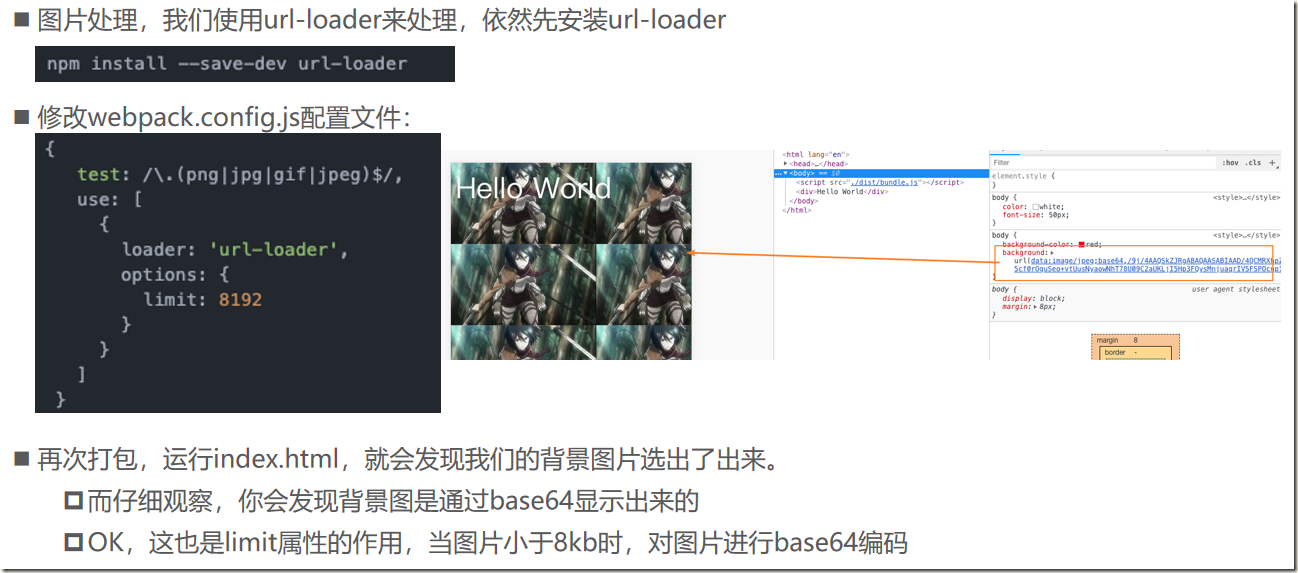
1)url-loader
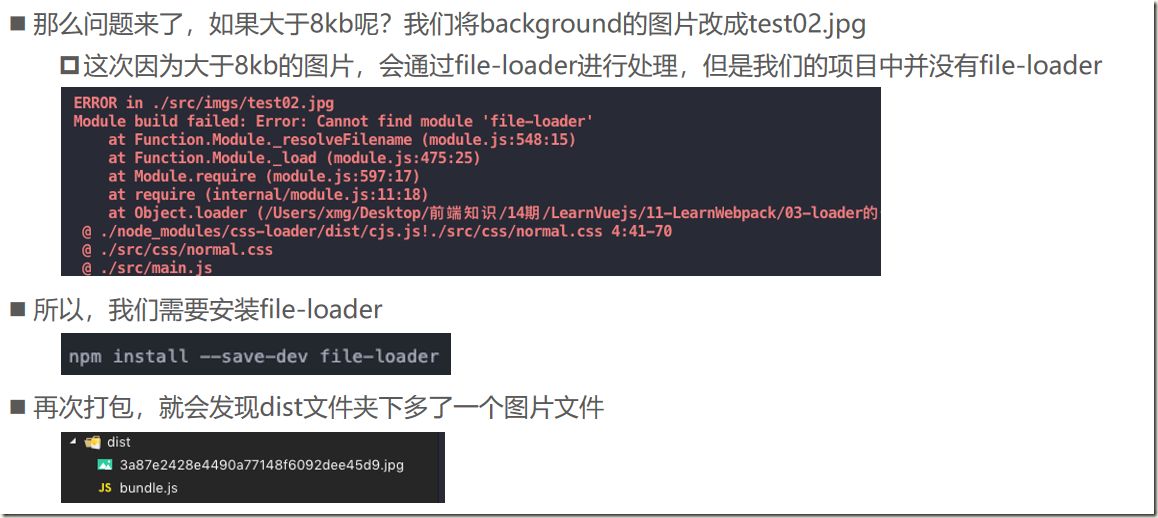
2)file-loader
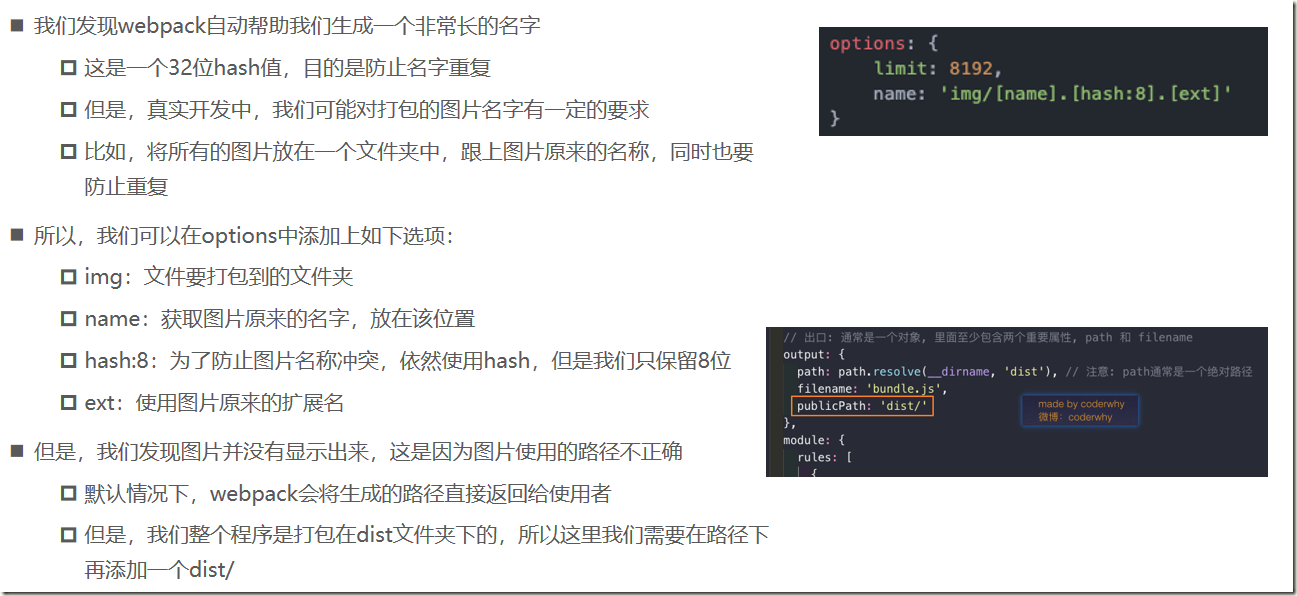
3)修改文件名称
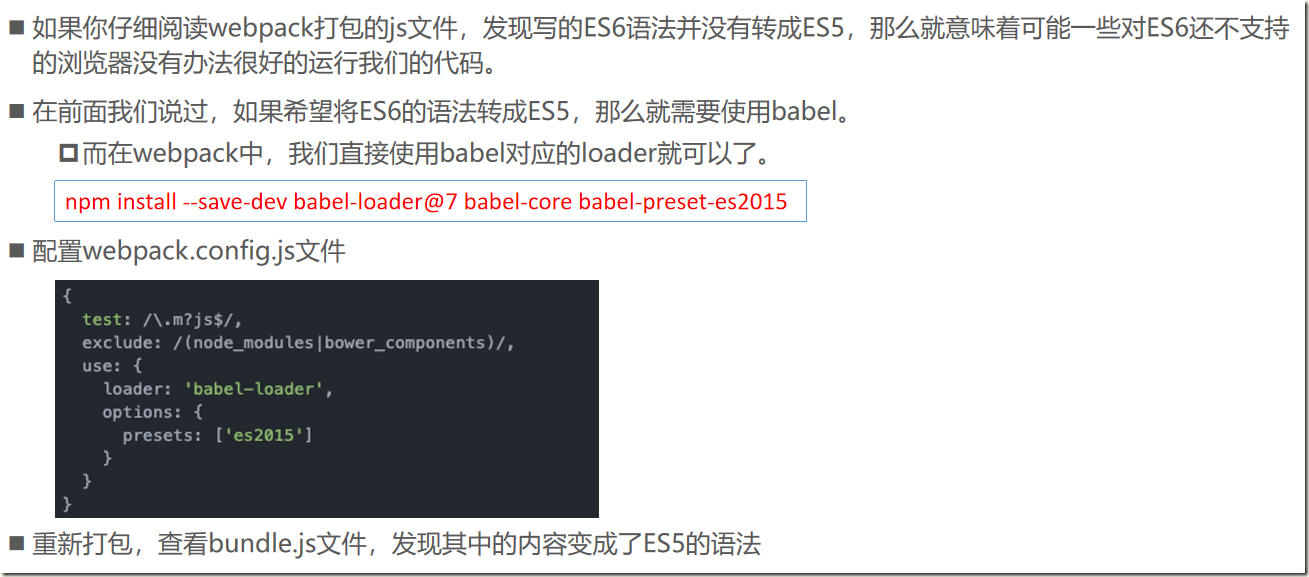
5.5、ES6语法处理
六、webpack配置vue
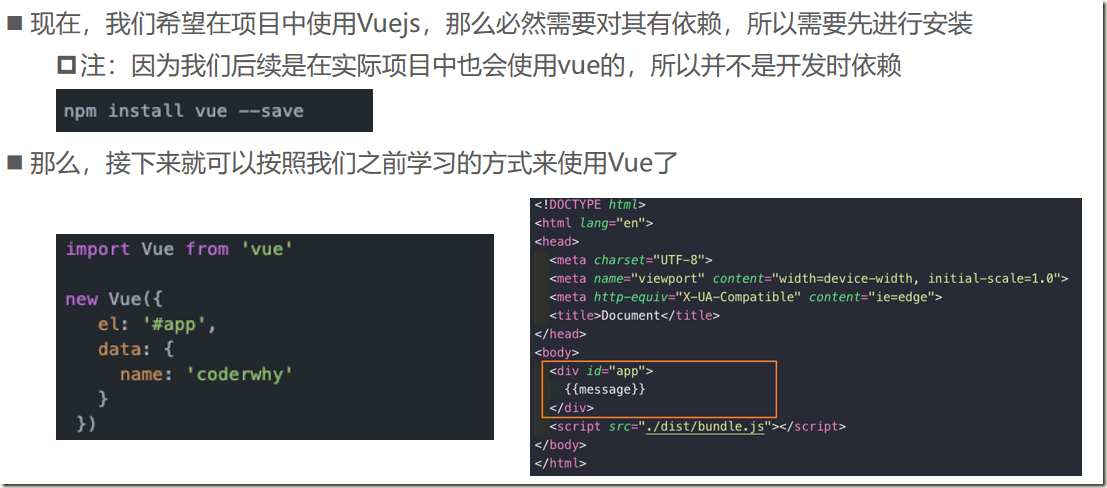
6.1、引入vue
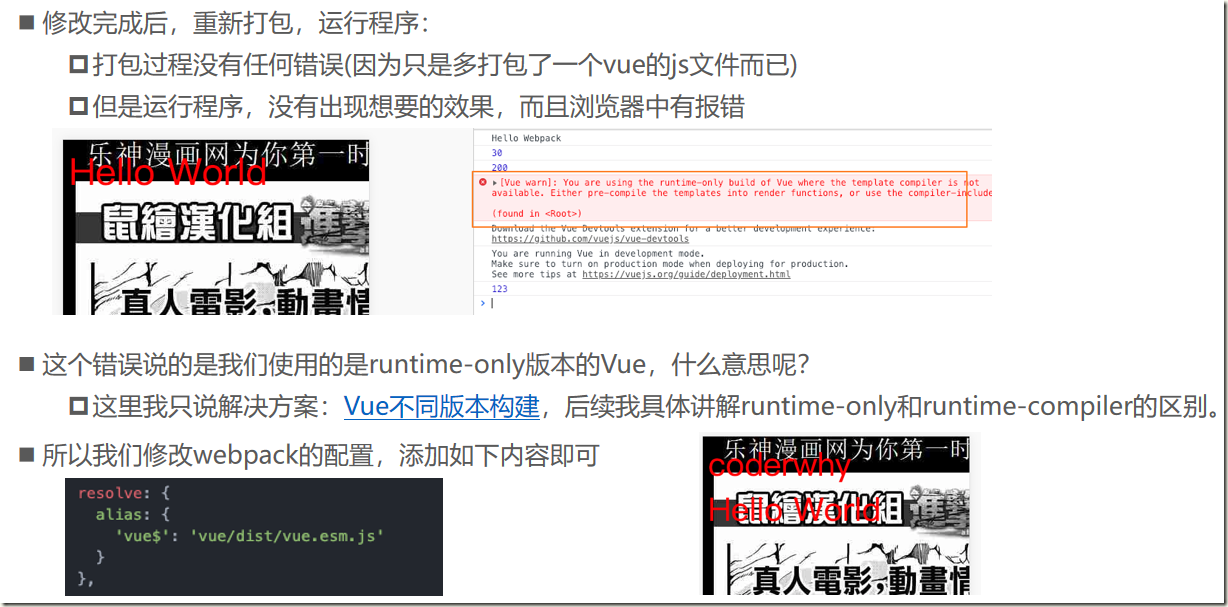
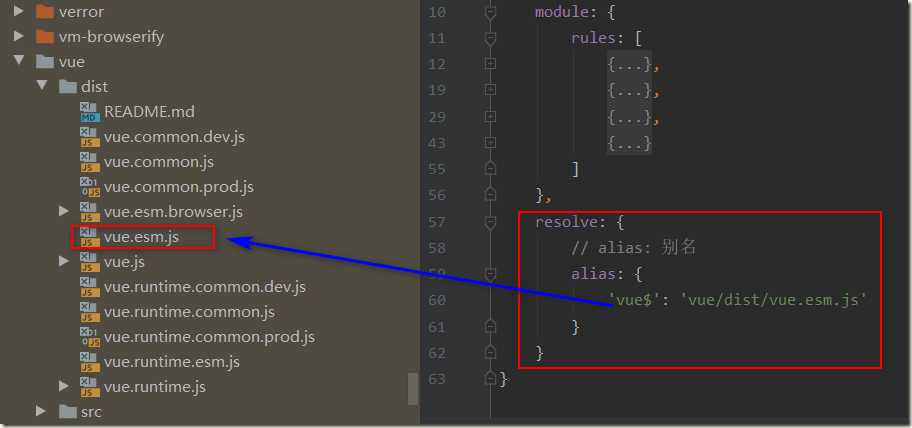
6.2、打包错误解决
在webpack.config.js中配置:
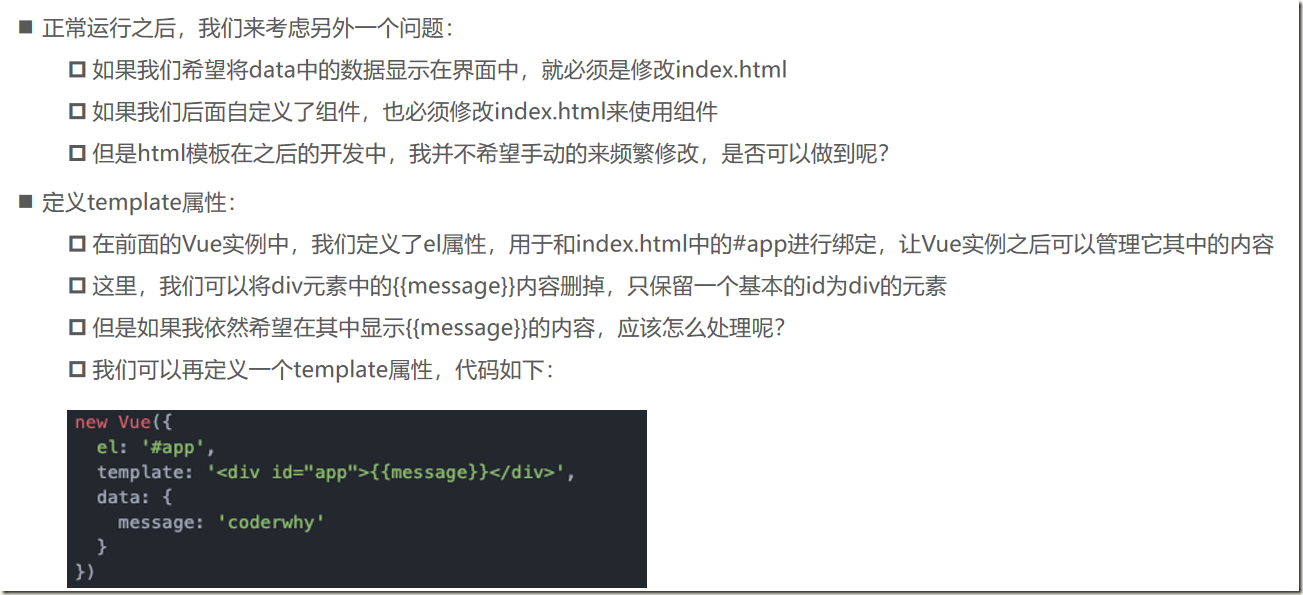
6.3、el和template区别
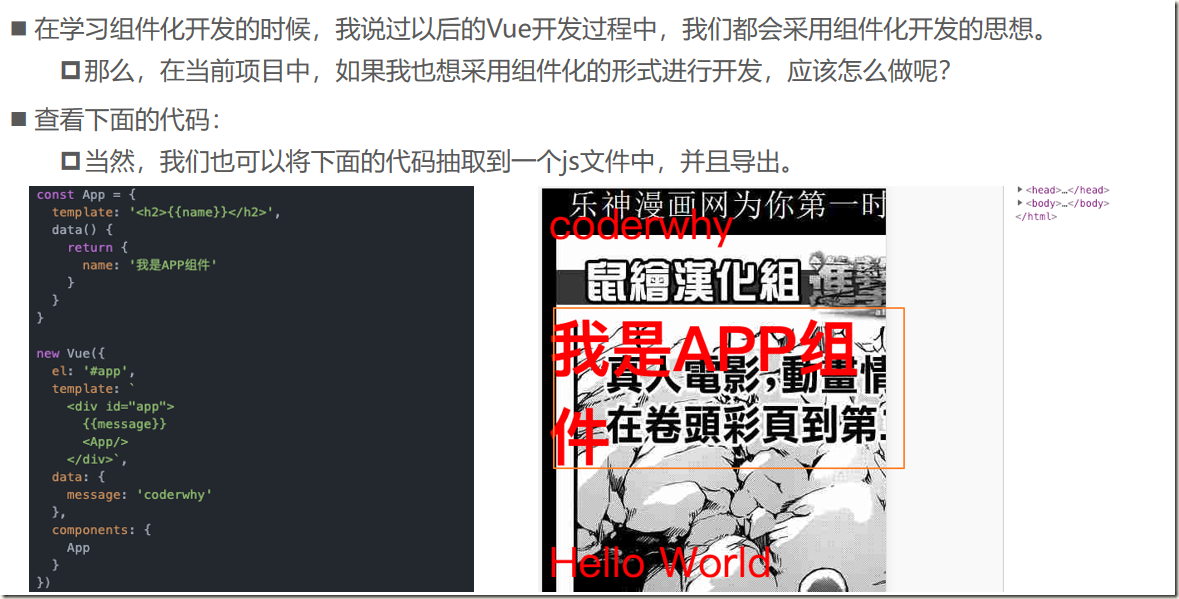
6.4、Vue组件化开发引入
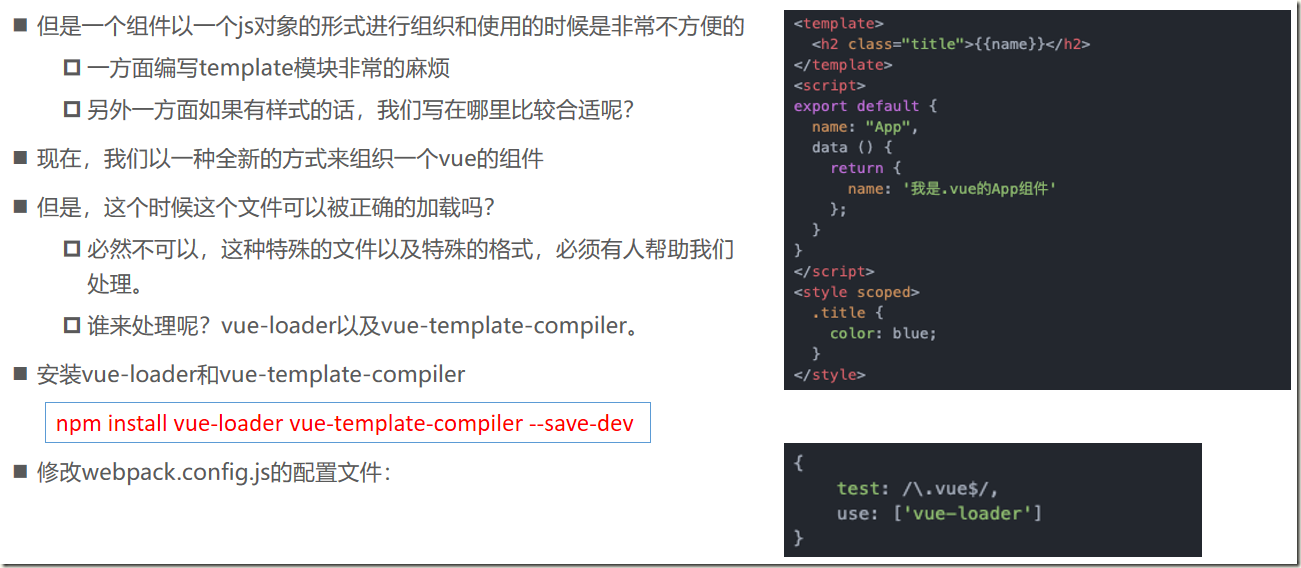
6.5、.vue文件封装处理
七、Plugin使用
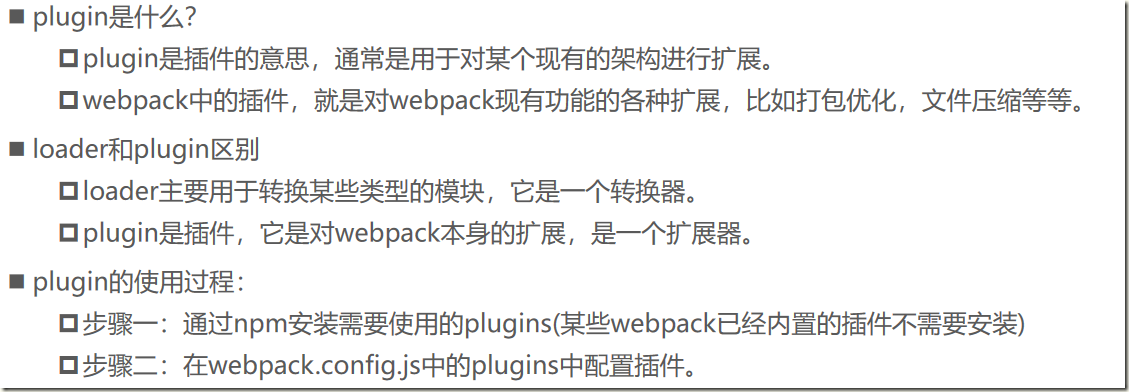
7.1、认识plugin
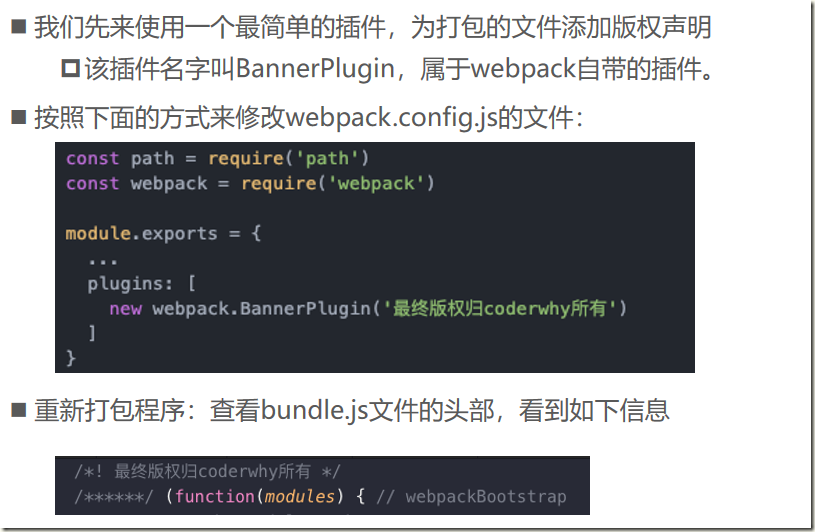
7.2、添加版权的Plugin
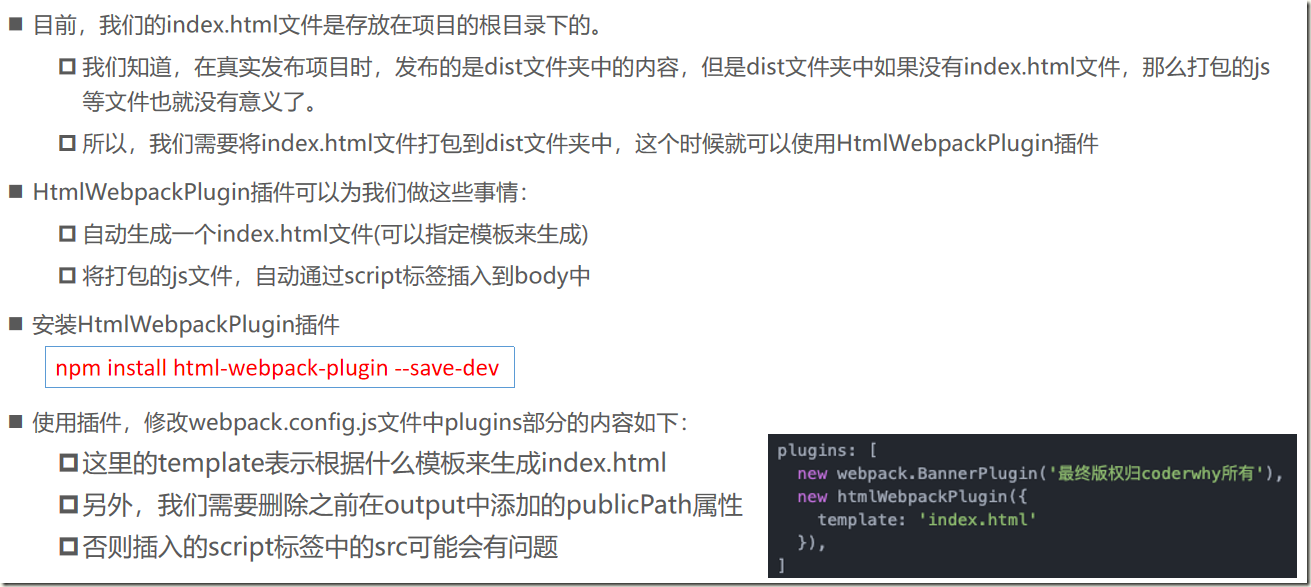
7.3、打包html的plugin
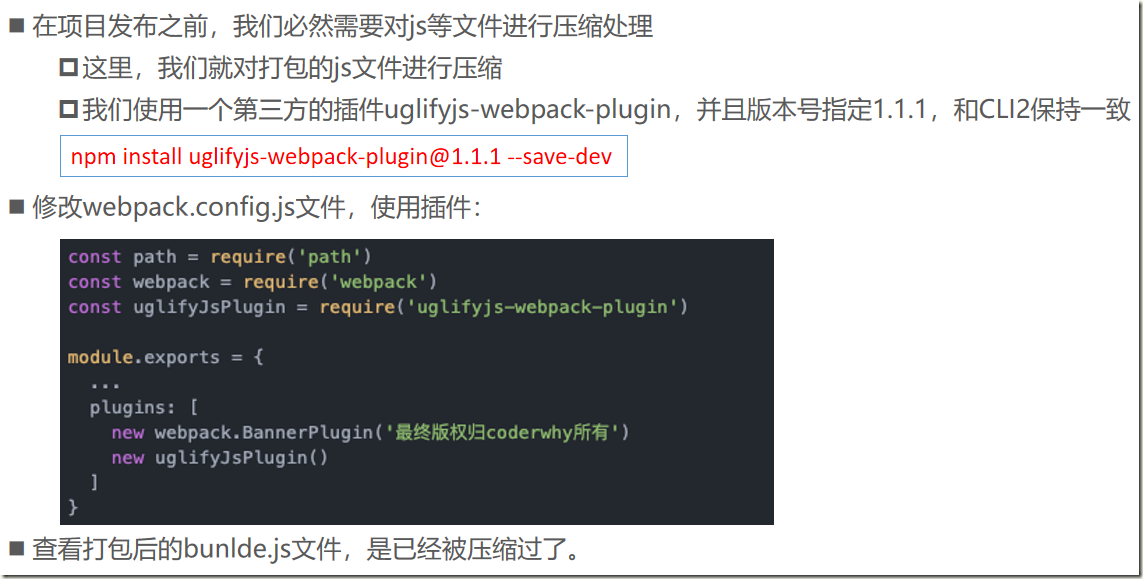
7.4、js压缩的Plugin
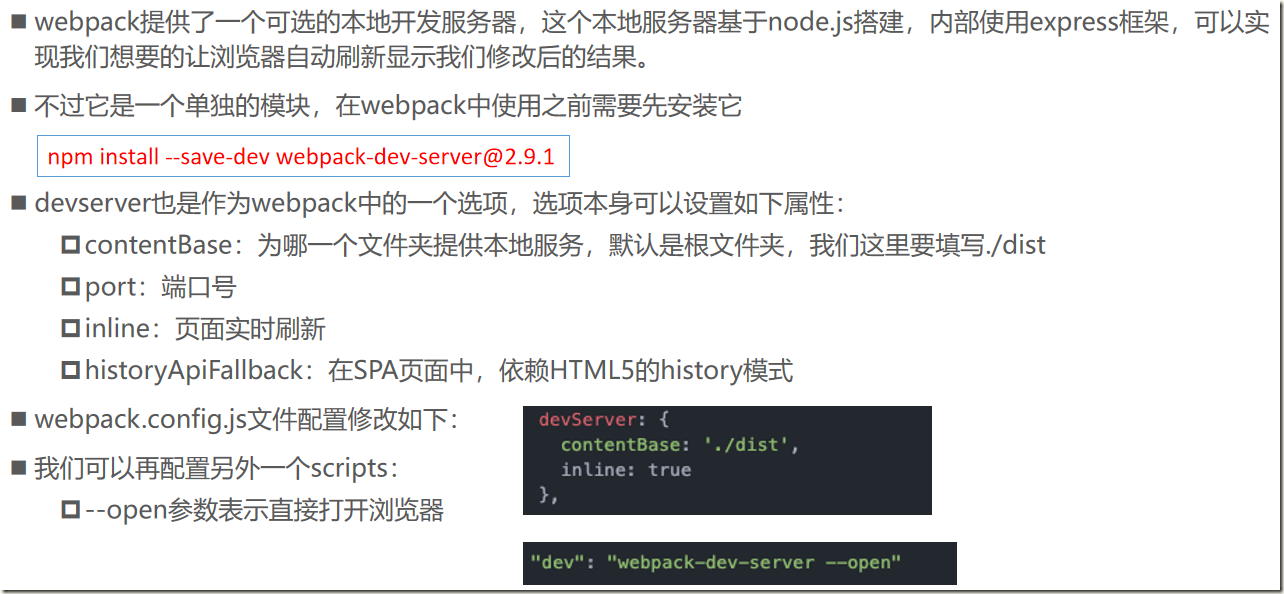
八、搭建本地服务器
九、配置文件分离
1)安装相关插件
npm install webpack-merge --save-dev
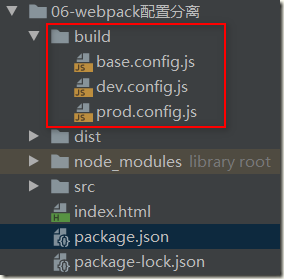
2)创建相关文件
base.config.js
注意要修改打包的path,否者会打包到build目录下

const path = require('path')
const webpack = require('webpack')
const HtmlWebpackPlugin = require('html-webpack-plugin')
const UglifyjsWebpackPlugin = require('uglifyjs-webpack-plugin')

module.exports = {
  entry: './src/main.js',
  output: {
    path: path.resolve(__dirname, '../dist'),
    filename: 'bundle.js',
    // publicPath: 'dist/'
  },
  module: {
    rules: [
      {
        test: /.css$/,
        // css-loader只负责将css文件进行加载
        // style-loader负责将样式添加到DOM中
        // 使用多个loader时, 是从右向左
        use: [ 'style-loader', 'css-loader' ]
      },
      {
        test: /.less$/,
        use: [{
          loader: "style-loader", // creates style nodes from JS strings
        }, {
          loader: "css-loader" // translates CSS into CommonJS
        }, {
          loader: "less-loader", // compiles Less to CSS
        }]
      },
      {
        test: /.(png|jpg|gif|jpeg)$/,
        use: [
          {
            loader: 'url-loader',
            options: {
              // 当加载的图片, 小于limit时, 会将图片编译成base64字符串形式.
              // 当加载的图片, 大于limit时, 需要使用file-loader模块进行加载.
              limit: 13000,
              name: 'img/[name].[hash:8].[ext]'
            },
          }
        ]
      },
      {
        test: /.js$/,
        exclude: /(node_modules|bower_components)/,
        use: {
          loader: 'babel-loader',
          options: {
            presets: ['es2015']
          }
        }
      },
      {
        test: /.vue$/,
        use: ['vue-loader']
      }
    ]
  },
  resolve: {
    extensions: ['.js', '.css', '.vue'],
    alias: {
      'vue$': 'vue/dist/vue.esm.js'
    }
  },
  plugins: [
    new webpack.BannerPlugin('最终版权归aaa所有'),
    new HtmlWebpackPlugin({
      template: 'index.html'
    })
  ]
}
dev.config.js

const webpackMerge = require('webpack-merge')
const baseConfig = require('./base.config')

module.exports = webpackMerge(baseConfig, {
  devServer: {
    contentBase: './dist',
    inline: true
  }
})
prod.config.js

const UglifyjsWebpackPlugin = require('uglifyjs-webpack-plugin')
const webpackMerge = require('webpack-merge')
const baseConfig = require('./base.config')

module.exports = webpackMerge(baseConfig, {
  plugins: [
    new UglifyjsWebpackPlugin()
  ]
})
