下载RabbitMQ镜像
docker pull hub.c.163.com/library/rabbitmq:3-management
docker run -d -p 5672:5672 -p 15672:15672 --name myrabbitmq fb11f4e0a6b6
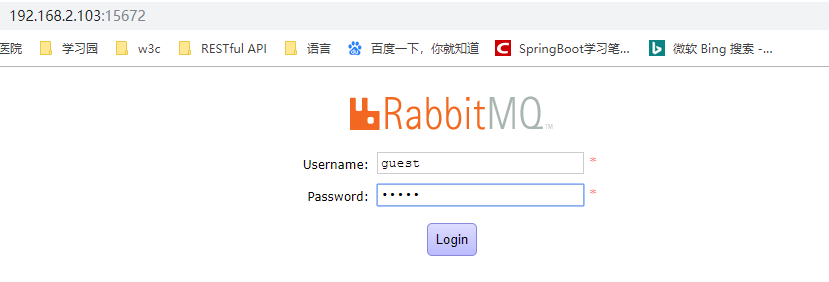
启动成功后访问:192.168.2.103:15672

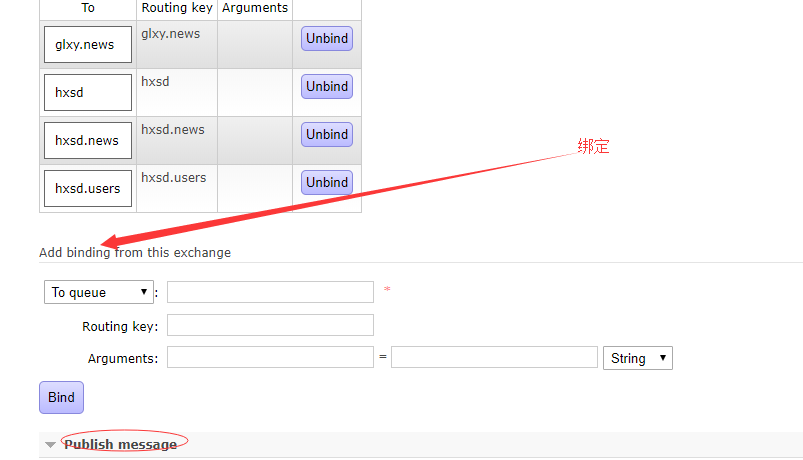
进入界面后,添加exchanges和queues,然后进行绑定

Spring Boot与RabbitMQ整合
1、引入 spring-boot-starter-amqp
<dependency>
	<groupId>org.springframework.boot</groupId>
	<artifactId>spring-boot-starter-amqp</artifactId>
</dependency>
2. application.yml配置
* 自动配置
* RabbitAutoConfiguration
* 又自动配置了连接工厂ConnectionFactory;
* RabbitProperties 封装了 RabbitMQ的配置:查看默认值,
private String host = "localhost";
private int port = 5672;
private String username = "guest";
private String password = "guest";
* RabbitTemplate :给RabbitMQ发送和接受消息;
3. 测试RabbitMQ
     /**
	 * 1、单播(点对点)
	 */
	@Test
	public void contextLoads() {
		//Message需要自己构造一个;定义消息体内容和消息头
		//rabbitTemplate.send(exchage,routeKey,message);

		//object默认当成消息体,只需要传入要发送的对象,自动序列化发送给rabbitmq;
		//rabbitTemplate.convertAndSend(exchage,routeKey,object);
		Map<String,Object> map = new HashMap<>();
		map.put("msg","这是第一个消息");
		map.put("data", Arrays.asList("helloworld",123,true));
		//对象被默认序列化以后发送出去
		rabbitTemplate.convertAndSend("exchange.direct","atguigu.news",new Book("西游记","吴承恩"));

	}

	//接受数据,如何将数据自动的转为json发送出去
	@Test
	public void receive(){
		Object o = rabbitTemplate.receiveAndConvert("atguigu.news");
		System.out.println(o.getClass());
		System.out.println(o);
	}

	/**
	 * 广播
	 */
	@Test
	public void sendMsg(){
		rabbitTemplate.convertAndSend("exchange.fanout","",new Book("红楼梦","曹雪芹"));
	}
json序列化配置(简单的配置如下)
@Configuration
public class MyAMQPConfig {

    @Bean
    public MessageConverter messageConverter(){
        return new Jackson2JsonMessageConverter();
    }
}
4、 监听测试(service层)@EnableRabbit + @RabbitListener 监听消息队列的内容
@Service
public class BookService {

    @RabbitListener(queues = "atguigu.news")
    public void receive(Book book){
        System.out.println("收到消息:"+book);
    }

    @RabbitListener(queues = "atguigu")
    public void receive02(Message message){
        System.out.println(message.getBody());
        System.out.println(message.getMessageProperties());
    }
}
5、AmqpAdmin : RabbitMQ系统管理功能组件;
AmqpAdmin:创建和删除 Queue,Exchange,Binding
@Autowired
	AmqpAdmin amqpAdmin;
	@Test
	public void createExchange(){

		//创建exchange
		amqpAdmin.declareExchange(new DirectExchange("amqpadmin.exchange"));
		//创建queue
		amqpAdmin.declareQueue(new Queue("amqpadmin.queue",true));
		//创建绑定规则
		amqpAdmin.declareBinding(new Binding("amqpadmin.queue", Binding.DestinationType.QUEUE,"amqpadmin.exchange","amqp.haha",null));
	}