该项目使用dotnet版本3.1 ,vs code创建
创建Web MVC项目
创建命令
dotnet new mvc --name WebMvc
修改./properties/launchSettings.json
"profiles": {
    "WebApi": {
      "commandName": "Project",
      "launchBrowser": true,
      "launchUrl": "weatherforecast",
      "applicationUrl": "http://localhost:5002",
      "environmentVariables": {
        "ASPNETCORE_ENVIRONMENT": "Development"
      }
    }
  }
添加登录验证
运行下面命令安装
dotnet add package Microsoft.AspNetCore.Authentication.JwtBearer --version 3.1.0
dotnet add package Microsoft.AspNetCore.Authentication.OpenIdConnect --version 3.1.0
在startup.cs中的ConfigureServices类中添加
JwtSecurityTokenHandler.DefaultInboundClaimTypeMap.Clear();     // 关闭了JWT的Claim 类型映射, 以便允许well-known claims.

services.AddAuthentication(options =>   // 将身份验证服务添加到DI
    {
        options.DefaultScheme = "Cookies";      // 使用cookie来登录用户
        options.DefaultChallengeScheme = "oidc";        // 登录时使用OpenID Connect
    })
    .AddCookie("Cookies")
    .AddOpenIdConnect("oidc", options =>    // 配置执行OpenID Connect
    {
        options.Authority = "http://localhost:5000";    // IdentityServer地址
        options.RequireHttpsMetadata = false;       // 是否需要HTTPS

        options.ClientId = "mvc";
        options.SaveTokens = true;
    });
在startup.cs中的Configure类中添加 认证中间件
app.UseAuthentication();
然后在HomeController中Privacy添加 Authorize属性
然后AuthServer程序中的config.cs文件中将client修改如下
new Client
{
    ClientId = "mvc",
    ClientName = "MVC Client",

    AllowedGrantTypes = GrantTypes.Implicit,
    // AllowedGrantTypes = GrantTypes.CodeAndClientCredentials,
    // RequirePkce = true,
    // ClientSecrets = { new Secret("49C1A7E1-0C79-4A89-A3D6-A37998FB86B0".Sha256()) },

    RedirectUris = { "http://localhost:5002/signin-oidc" },     // login
    // FrontChannelLogoutUri = "http://localhost:5003/signout-oidc",
    PostLogoutRedirectUris = { "http://localhost:5002/signout-callback-oidc" },     // logout

    AllowOfflineAccess = true,
    AllowedScopes = { "openid", "profile", "api1" }
},
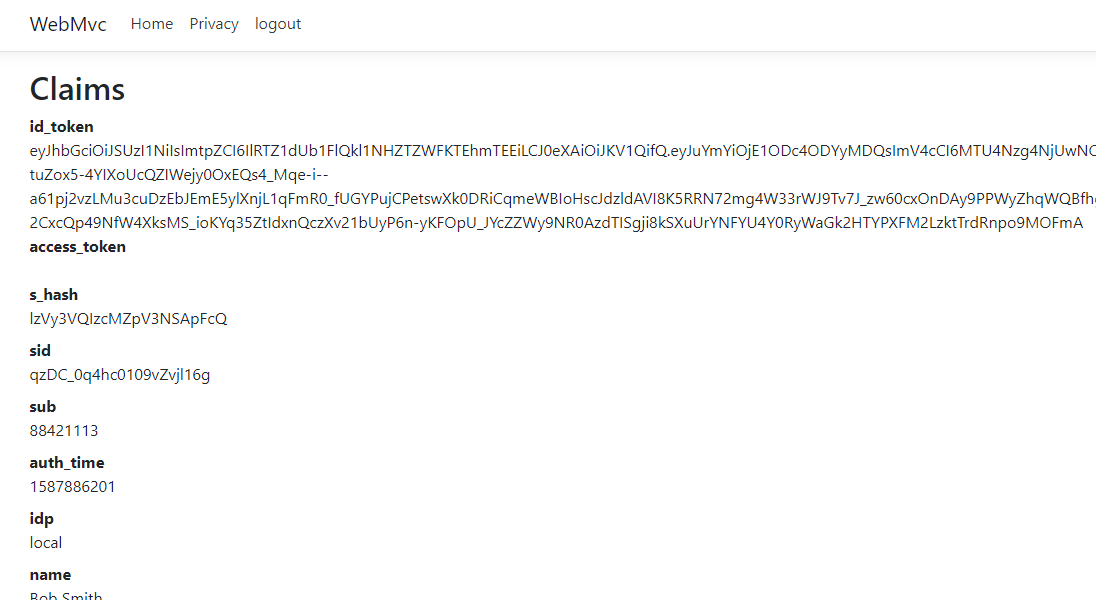
在./view/home/Privacy.cshtml添加如下代码来显示登录成功的用户信息
@using Microsoft.AspNetCore.Authentication
<h2>Claims</h2>
<div>
    <strong>id_token</strong>
    <span>@await ViewContext.HttpContext.GetTokenAsync("id_token")</span>
</div>
<div>
    <strong>access_token</strong>
    <span>@await ViewContext.HttpContext.GetTokenAsync("access_token")</span>
</div>
<dl>
    @foreach (var claim in User.Claims)
    {
        <dt>@claim.Type</dt>
        <dd>@claim.Value</dd>
    }
</dl>
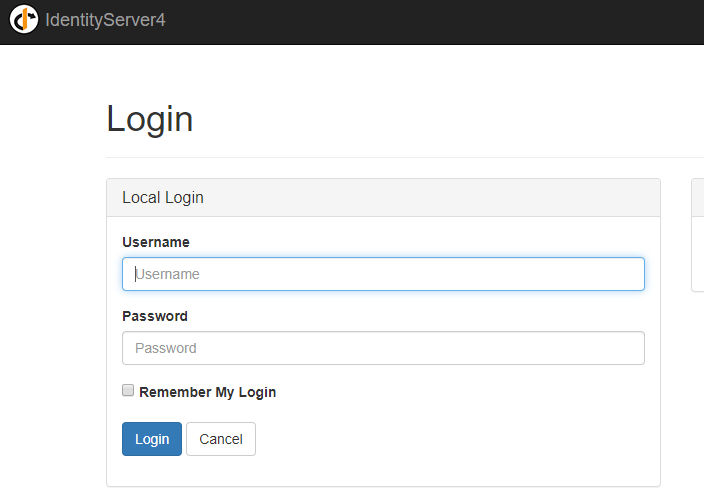
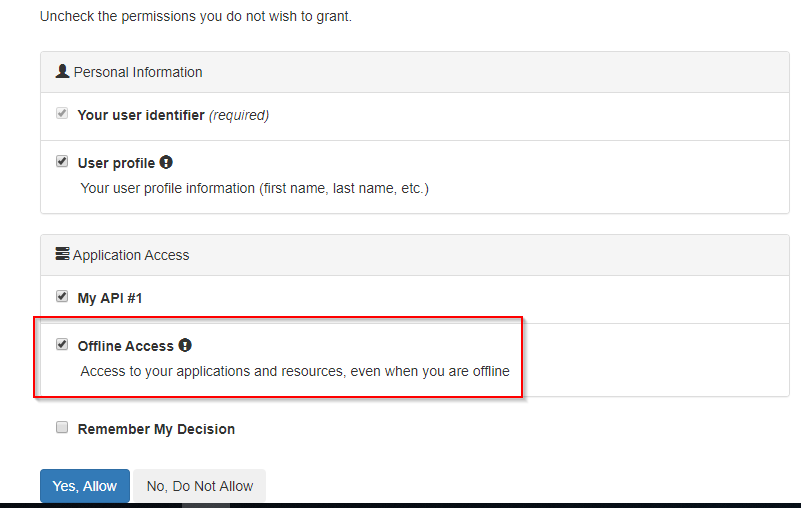
开启AuthServer 和 WebMvc 程序,访问 http://localhost:5002/ ,点击 Privacy 会跳到AuthServer的登录页面
输入账号 bob 密码 bob 后跳到如下页面
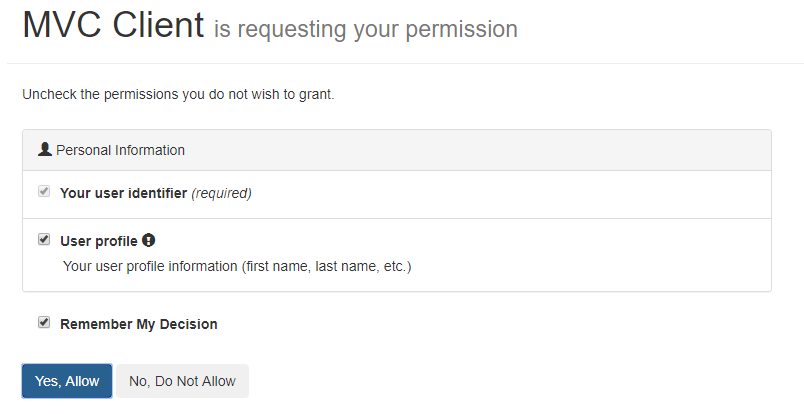
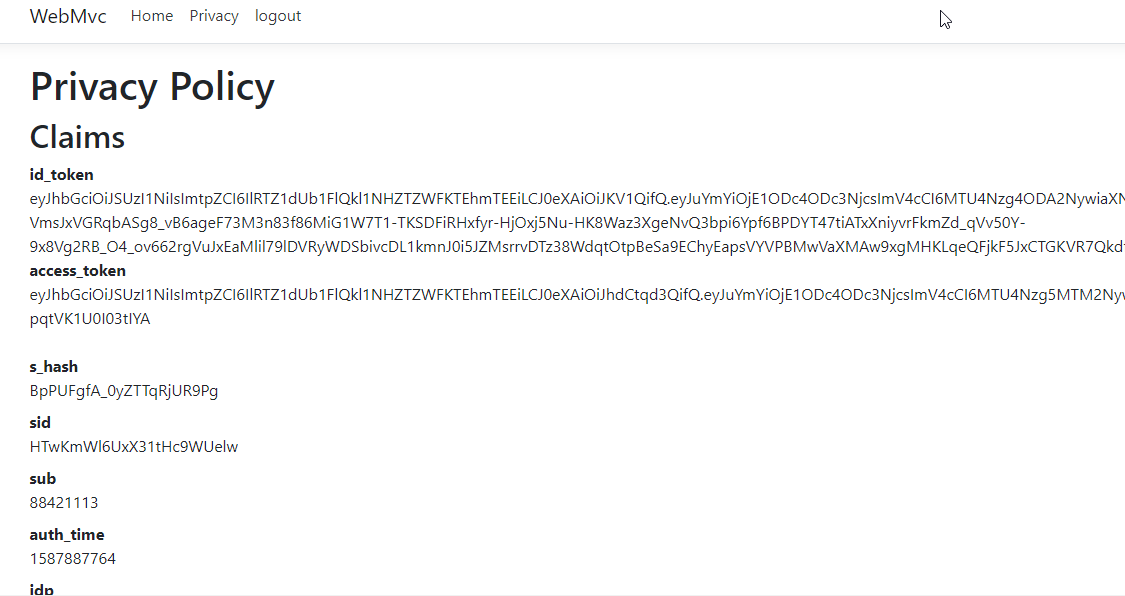
点击YES后重定向返回 Privacy 页面,可以看到返回的信息,但access_token没有返回
原因需要在上述修改的AuthServer文件中config的client加上
AllowAccessTokensViaBrowser = true
还要在WebMvc文件中的startup的 ConfigureServices 的 AddOpenIdConnect 加上
options.ResponseType = "id_token token";
重启两个程序,重新登录即可
登出
在HomeController类中添加
public IActionResult Logout()
{
    return SignOut("Cookies", "oidc");
}
在view/shared/_layout.cshtml添加
<li class="nav-item">
     <a class="nav-link text-dark" asp-area="" asp-controller="Home" asp-action="Logout">logout</a>
</li>
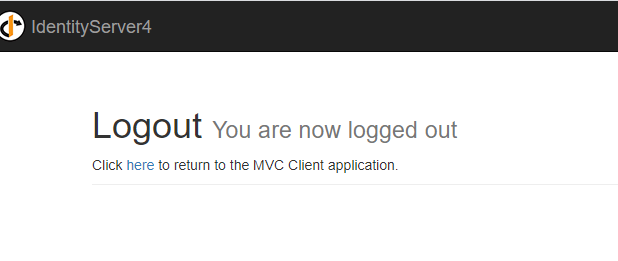
重启服务,登录后,点击logout,会跳到AuthServer的登出页面
提供access token和refresh tokens来访问api
使用refresh tokens来重新获取新的access token,确保会话不会断
首先,将AuthServer项目的config文件中client修改如下
new Client
{
    ClientId = "mvc",
    ClientName = "MVC Client",

    AllowedGrantTypes = GrantTypes.Hybrid,      // GrantTypes.HybridAndClientCredentials 也可以
    ClientSecrets = { new Secret("secret".Sha256()) },

    RedirectUris = { "http://localhost:5002/signin-oidc" },
    PostLogoutRedirectUris = { "http://localhost:5002/signout-callback-oidc" },

    AllowOfflineAccess = true,
    AllowedScopes = { "openid", "profile", "api1" },
    AllowAccessTokensViaBrowser = true
},
然后在WebMvc项目的startup文件中的ConfigureServices修改如下
.AddOpenIdConnect("oidc", options =>    // 配置执行OpenID Connect
{
    options.Authority = "http://localhost:5000";    // IdentityServer地址
    options.RequireHttpsMetadata = false;       // 是否需要HTTPS
    options.SignInScheme = "Cookies";

    options.ClientId = "mvc";
    options.SaveTokens = true;
    options.ResponseType = "id_token code";
    options.ClientSecret = "secret";
    options.GetClaimsFromUserInfoEndpoint = true;

    options.Scope.Add("api1");
    options.Scope.Add("offline_access");
});
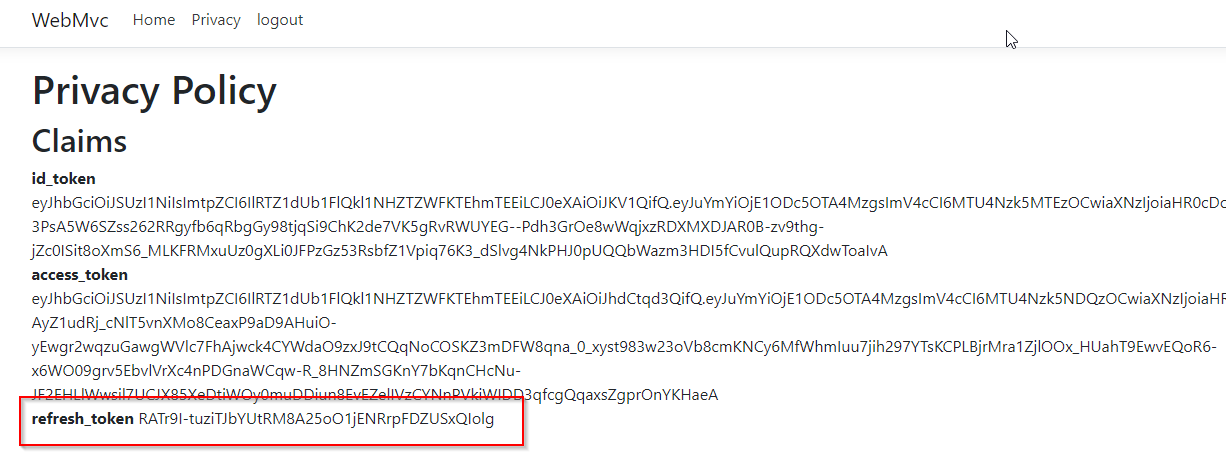
在WebMvc项目view/home/privacy.cshtml中添加
<div>
    <strong>refresh_token</strong>
    <span>@await ViewContext.HttpContext.GetTokenAsync("refresh_token")</span>
</div>
运行
登录后,显示多出refresh_token
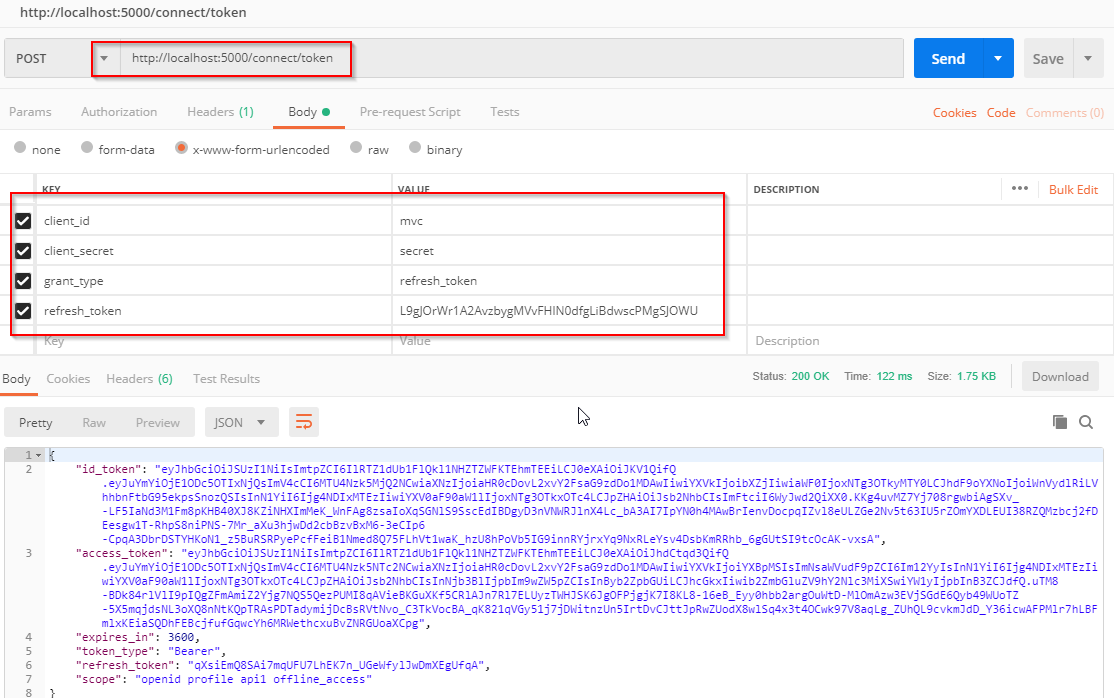
打开postman使用refresh_token(注意:只能使用一次)来重新获取access token
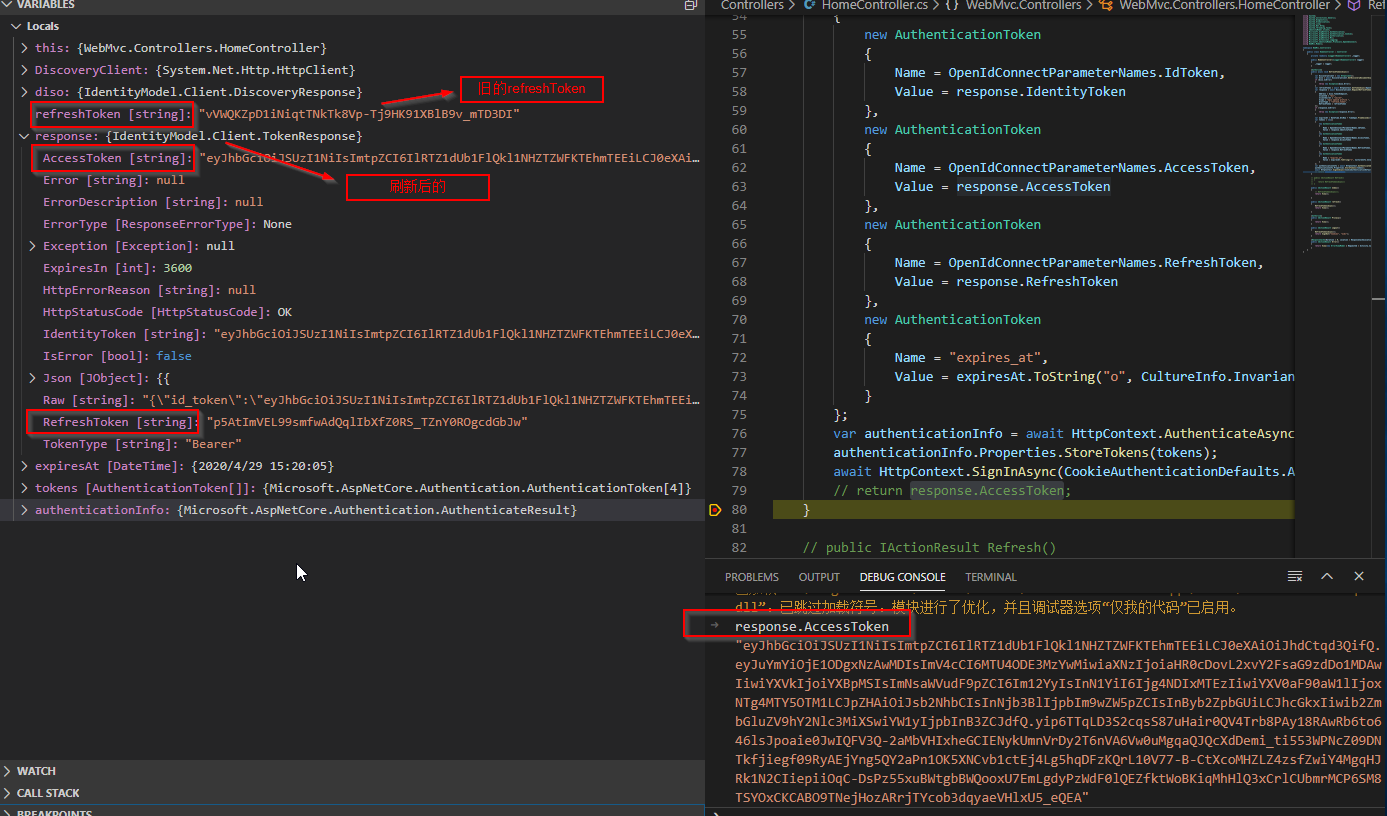
实现刷新Access Token
首先安装IdentityModel
dotnet add package IdentityModel --version 4.0.0
在WebMvc的HomeController添加RefreshTokens()方法
public async void RefreshTokensAsync()
{
    var DiscoveryClient = new HttpClient();
    var diso = await DiscoveryClient.GetDiscoveryDocumentAsync("http://localhost:5000/");
    if (diso.IsError)
    {
        throw new Exception(diso.Error);
    }
    var refreshToken = await HttpContext.GetTokenAsync(OpenIdConnectParameterNames.RefreshToken);
    var response = await DiscoveryClient.RequestRefreshTokenAsync(new RefreshTokenRequest
    {
        Address = diso.TokenEndpoint,
        ClientId = "mvc",
        ClientSecret = "secret",
        Scope = "api1 openid profile ",
        GrantType = "refresh_token",
        RefreshToken = refreshToken
    });
    if (response.IsError)
    {
        throw new Exception(response.Error);
    }

    var expiresAt = DateTime.UtcNow + TimeSpan.FromSeconds(response.ExpiresIn);
    var tokens = new[]
    {
        new AuthenticationToken
        {
            Name = OpenIdConnectParameterNames.IdToken,
            Value = response.IdentityToken
        },
        new AuthenticationToken
        {
            Name = OpenIdConnectParameterNames.AccessToken,
            Value = response.AccessToken
        },
        new AuthenticationToken
        {
            Name = OpenIdConnectParameterNames.RefreshToken,
            Value = response.RefreshToken
        },
        new AuthenticationToken
        {
            Name = "expires_at",
            Value = expiresAt.ToString("o", CultureInfo.InvariantCulture)
        }
    };
    var authenticationInfo = await HttpContext.AuthenticateAsync(CookieAuthenticationDefaults.AuthenticationScheme);  // 等于Cookies
    authenticationInfo.Properties.StoreTokens(tokens);
    await HttpContext.SignInAsync(CookieAuthenticationDefaults.AuthenticationScheme, authenticationInfo.Principal, authenticationInfo.Properties);
    // return response.AccessToken;
}