系统环境
rhel6.5
php5.3.6
mysql5.1.55
nginx1.0.8
第一步:解压sphinx扩展包
1 tar -zxvf sphinx-1.3.3.tgz
第二步,进入shpinx目录,生成configure文件
1 cd sphinx-1.3.3
2 /usr/local/php/bin/phpize
3 ./configure --with-php-config=/usr/local/php/bin/php-config --with-sphinx
执行完这一步报错"configure: error: Cannot find libsphinxclient headers",导致没有生成configure文件,编译不能继续
网上查找资料,解决办法如下
下载coreseek软件包
1 tar -zxvf coreseek-3.2.14.tar.gz
2
3 cd ./coreseek-3.2.14/csft-3.2.14/api/libsphinxclient
4 make && make install
再回到sphinx-1.3.3目录中继续执行
1 ./configure --with-php-config=/usr/local/php/bin/php-config --with-sphinx
2 make && make install
第三步修改php.ini文件添加sphinx扩展
在文件最后加上一行
1 extentsion=sphinx.so
重启服务器,访问phpinfo文件如下所示:

第四步安装mmseg和coreseek(都在coreseek包里面)
1 tar -zxvf coreseek-3.2.14.tar.gz
mmseg的安装
1 cd ./coreseek-3.2.14/mmseg-3.2.14
2
3 ./configure --prefix=/usr/local/mmseg
这一步报错config.status: error: cannot find input file: src/Makefile.in
解决办法如下
1 yum -y install libtool
2
3 aclocal
4 libtoolize --force
5 automake --add-missing
6 autoconf
7 autoheader
在重新执行./configure --prefix=/usr/local/mmseg就成功了。
1 make && make install
coreseek的安装
1 cd ../csft-3.2.14/
2 sh buildconf.sh
3 ./configure --prefix=/usr/local/coreseek --without-unixodbc --with-mmseg --with-mmseg-includes=/usr/local/mmseg/include/mmseg/ --with-mmseg-libs=/usr/local/mmseg/lib/ --with-mysql=/usr/local/mysql
4
5 make && make install
6
7 cd ..
8
9 cat ./testpack/var/test/test.xml
这时候看到的应该是中文文本
测试
1 cd testpack
2 /usr/local/mmseg/bin/mmseg -d /usr/local/mmseg/etc var/test/test.xml
如图下图所示

1 /usr/local/coreseek/bin/indexer -c etc/csft.conf --all #生成索引
这一步报错ERROR: index 'xml': failed to configure some of the sources, will not index.
重新编译coreseek,所以rm -rf /usr/local/coreseek
1 cd ../csft-3.2.14/
2 make clean
重新执行./configure,make,make install
重新编译后在生成索引时,报错如下
Unigram dictionary load Error
Segmentation fault (core dumped)
编辑csft.conf
1 vim ./etc/csft.conf
23行左右,将/usr/local/mmseg3/etc/改为/usr/local/mmseg/etc/
一般情况不会出现这种问题,是由于我将mmseg安装在/usr/local/mmseg目录中导致找不到词典
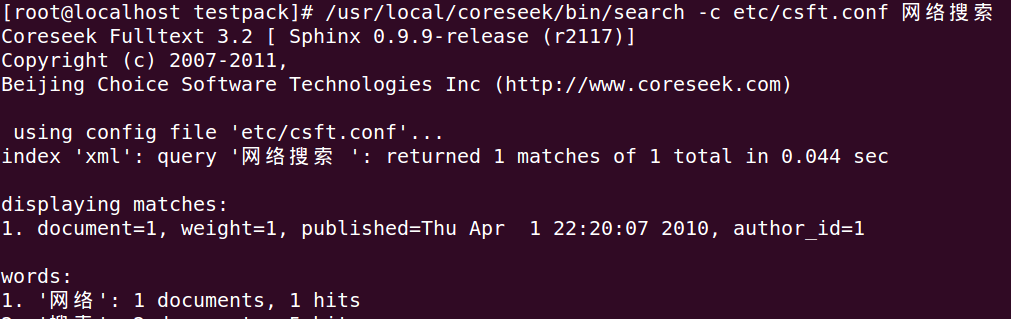
1 /usr/local/coreseek/bin/search -c etc/csft.conf 网络搜索
第五步:创建配置sphinx与mysql的文件
1 vim /usr/local/coreseek/etc/csft_mysql.conf
内容如下
 1 source main
 2 {
 3     type                    = mysql
 4     sql_host                = 127.0.0.1
 5     sql_user                = root
 6     sql_pass                = dbpassword
 7     sql_db                  = test
 8     sql_port                = 3306
 9     sql_query_info_pre      = SET NAMES utf8
10     sql_attr_uint           = id
11     sql_query_info          = SELECT id,article_title,article_content,article_time FROM articles where id=$id
12
13
14 }
15
16
17
18 index main{
19    source     = main
20    path       = /usr/local/coreseek/var/data/articles
21    docinfo    = extern
22    min_word_len = 1
23    html_strip = 0
24    charset_dictpath = /usr/local/mmseg/etc/
25    charset_type = zh_cn.utf-8
26
27 }
28 indexer{
29    mem_limit  = 128M
30
31 }
32
33
34 searchd{
35         listen                          = 9312
36         log                             = /usr/local/coreseek/var/log/searchd.log
37         query_log                       = /usr/local/coreseek/var/log/query.log
38         read_timeout                    = 5
39         max_children                    = 30
40         pid_file                        = /usr/local/coreseek/var/log/searchd.pid
41         max_matches                     = 1000
42         seamless_rotate                 = 1
43         preopen_indexes                 = 0
44         unlink_old                      = 1
45
46 }
保存文件退出
1 /usr/local/coreseek/bin/indexer -c /usr/local/coreseek/etc/csft_mysql.conf -rotate #生成索引
第六步,编写php代码测试中文搜索
1 vim /var/www/index.php
代码如下
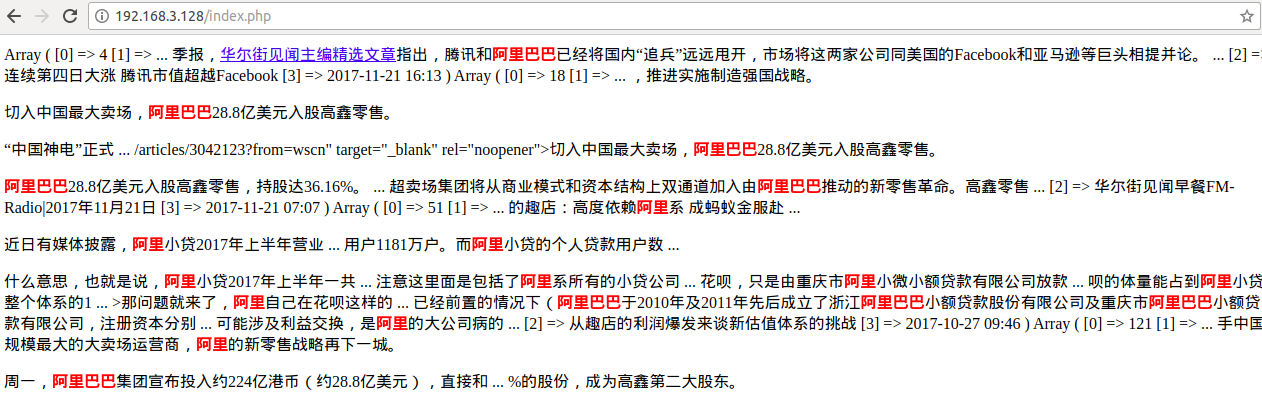
 1 <?php
 2 header("Content-type: text/html; charset=utf-8");
 3
 4 $sph = new SphinxClient();
 5
 6 $sph->setServer('127.0.0.1',9312);
 7
 8 $sph->setMatchMode(SPH_MATCH_PHRASE);
 9
10 $word = '阿里巴巴';
11
12 $result = $sph->query($word,'main');
13
14 $article_ids = implode(array_keys($result['matches']),',');
15
16 $link = mysql_connect('localhost','root','dbpassword') or die('链接失败');
17
18 mysql_select_db('test');
19
20 $sql = "select * from articles where id in ($article_ids)";
21
22 $article_res = mysql_query($sql);
23
24 $highlight = array(
25         'before_match'=>'<font style="font-weight:bold;color:#F00">',
26         'after_match'=>'</font>'
27
28 );
29
30 while($article = mysql_fetch_assoc($article_res)){
31
32         $a = $sph->buildExcerpts($article,'main',$word,$highlight);
33         print_r($a);
34 }
35
36 mysql_close($link);
打开浏览器访问测试,如下图所示
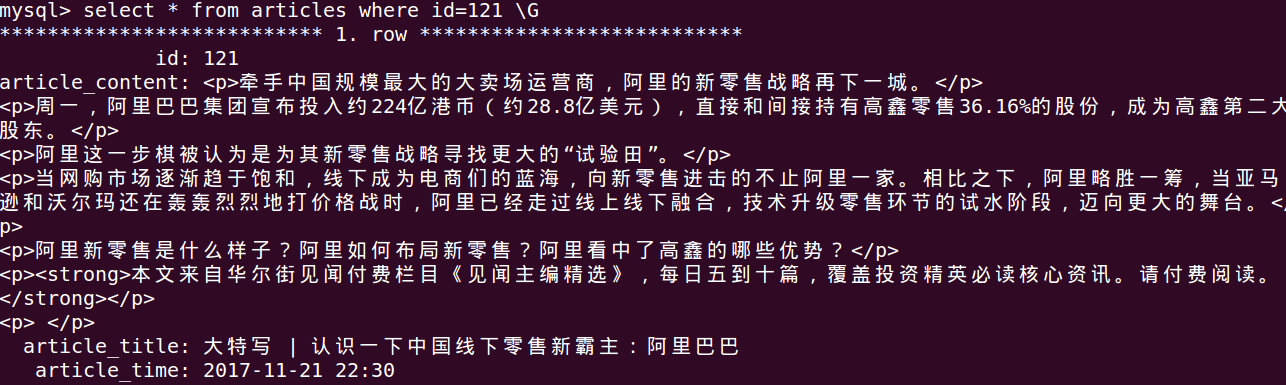
附上文章表articles建表语句及部分数据截图,数据是抓取来的,网站华尔街见闻。
 1 mysql> show create table articles G
 2 *************************** 1. row ***************************
 3        Table: articles
 4 Create Table: CREATE TABLE `articles` (
 5   `id` int(10) unsigned NOT NULL AUTO_INCREMENT,
 6   `article_content` text NOT NULL,
 7   `article_title` varchar(255) NOT NULL DEFAULT '',
 8   `article_time` varchar(64) NOT NULL DEFAULT '',
 9   PRIMARY KEY (`id`)
10 ) ENGINE=MyISAM AUTO_INCREMENT=5101 DEFAULT CHARSET=utf8
11 1 row in set (0.00 sec)
12
13 mysql>
部分数据如下