1.创建索引
PUT localhost:9200/customer?pretty

创建成功,返回:
{
 "acknowledged": true,
 "shards_acknowledged": true,
 "index": "avengers"
}
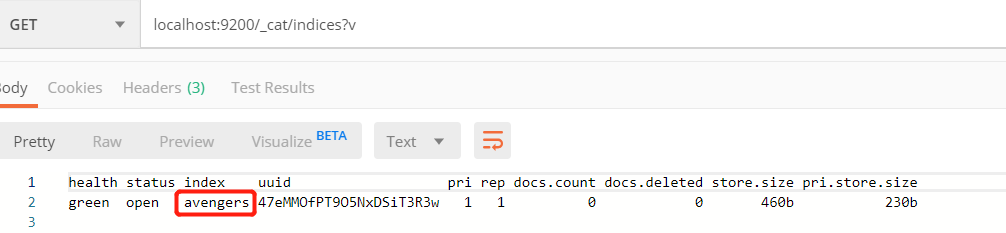
查看索引:
GET localhost:9200/_cat/indices?v
删除索引
  DELETE "localhost:9200/avengers?pretty"
  删除成功,返回:

2. 创建/更新文档
 PUT localhost:9200/avengers/_doc/1

{
  "name":"spider-man",
  "realName":"Peter Parker"
}
创建成功,返回:

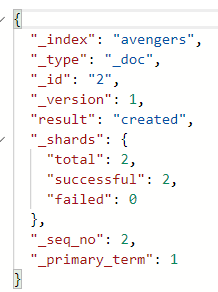
查看文档:GET localhost:9200/avengers/_doc/1 ,1为"_id"值.

上图中,_version为2 ,是因为之前我已经创建过id为1的文档(版本为1),所以此次操作相当于update,版本为2.
另一种新增文档的方式post: POST localhost:9200/avengers/_doc
其效果和put一样,但可以不带id,由系统默认。
{
"name":"StarLord",
"realName":"Queel"
}
删除文档:根据id删除文档:localhost:9200/avengers/_doc/2?pretty
删除成功,返回:
3.搜索文档: GET localhost:9200/anvengers/_search
{
  "query" :{
    "match" : { "字段名" : "值" },
    "_source" : ["要显示的字段名"]
  }
}

例:搜索name为星爵的复仇者
{
"query" : {"match": {"name" : "StarLord"}},
"_source":["name"]
}
啊哈,找到了:

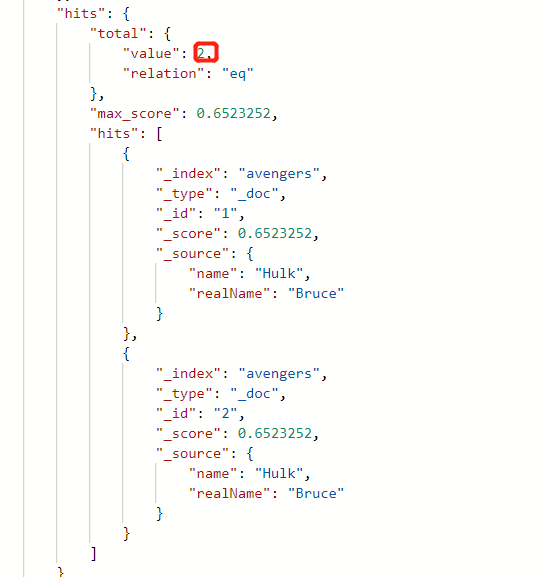
多字段搜索:搜索name为星爵,realName为奎尔的复仇者
{
	"query" :
	{
		"bool": {
	    	"should": [
				{"match" : {"name" : "StarLord"}},
				{"match" : {"realName" : "Queel"}}
			]
		}
	}
}
啊哈,搜到了2条: