前面画基本图形时,画四边形是由几条直线拼接成的,现在有更简便的方法。
一、关于矩阵操作
1.画一个四边形
通过设置两个端点(长和宽)来完成一个四边形的绘制。
代码:
 View Code
说明:通过这种方式画矩形有弱点:画出来的矩形永远都是正方形。如下图:
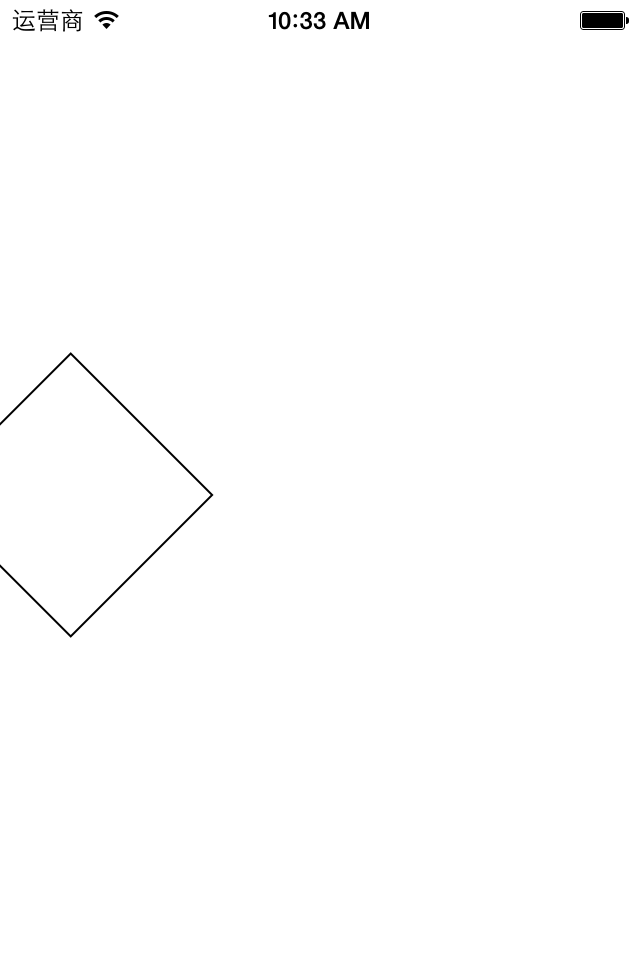
如何画一个歪的矩形?(通过矩阵操作来完成,和形变操作相似)
可以通过矩阵操作,把画出来的东西进行形变(旋转,缩放,平移)
方法:CGContextRotateCTM(<#CGContextRef c#>, <#CGFloat angle#>)该接受两个参数(图形上下文,弧度)
注意:设置矩阵操作必须要在添加图形之前,如果设置在添加图形之后的话,此时它已经画完了,无效。
代码:
View Code效果:
二、关于旋转
1.旋转演示
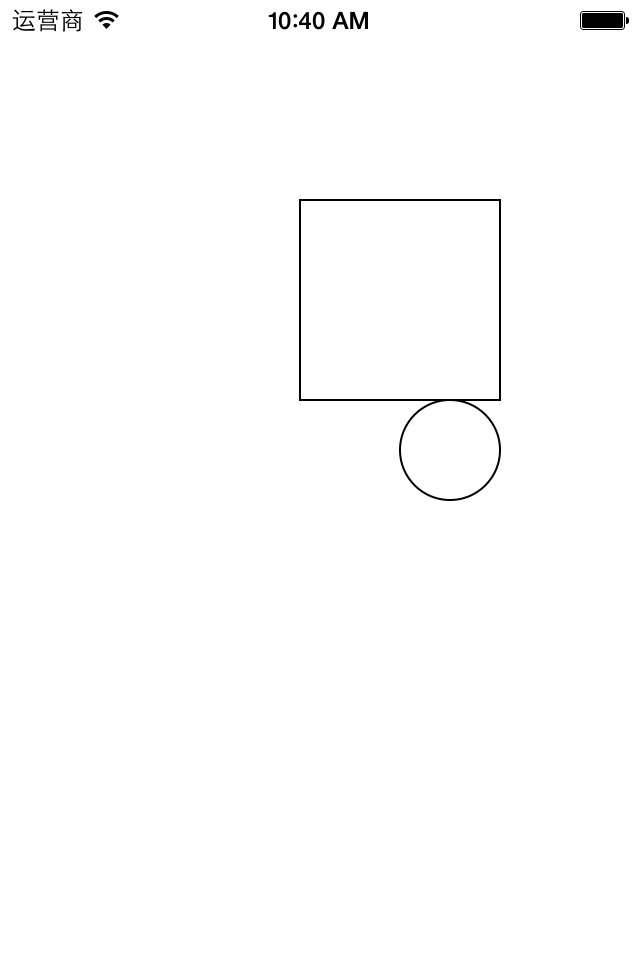
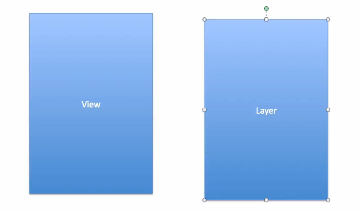
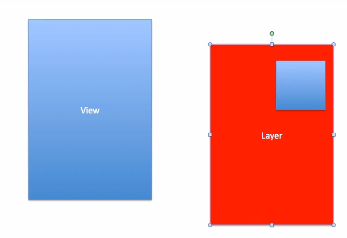
view之所以能够显示视图,是因为它的上面有layer,将来图形也是渲染到layer上面。
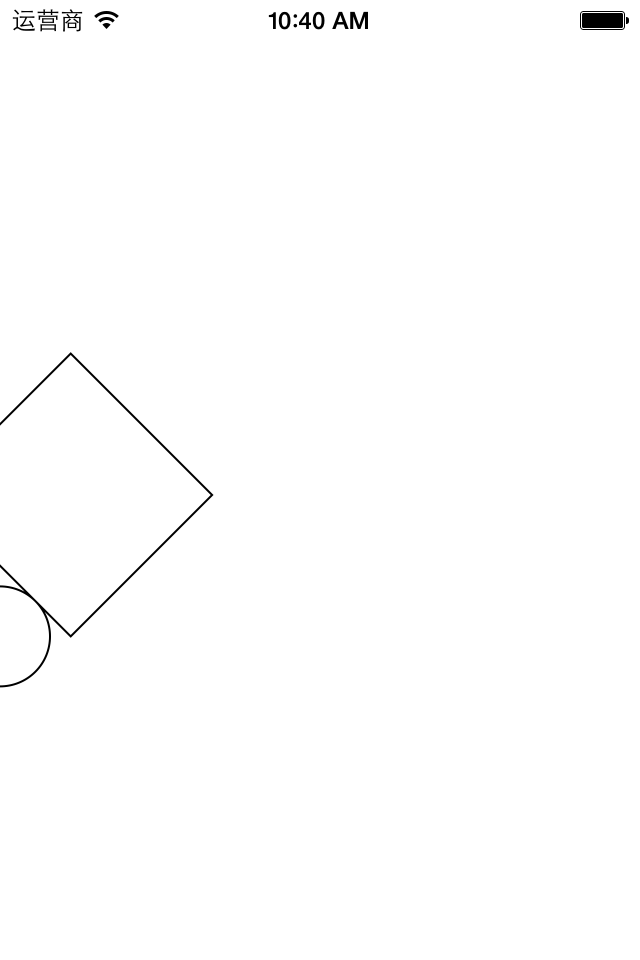
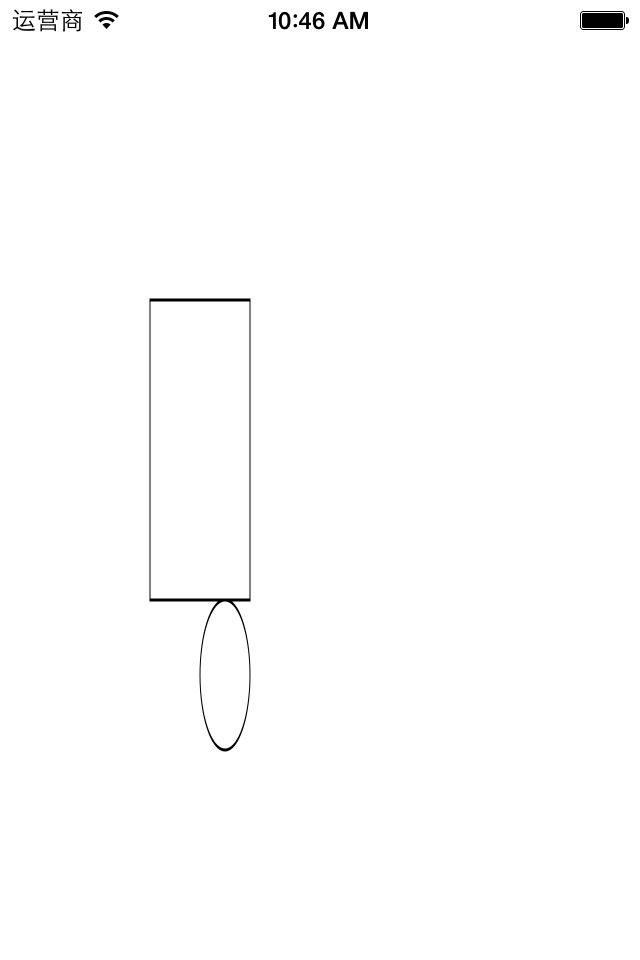
且,旋转的时候是整个layer都旋转了,可以再画一个圆进行验证。
代码1(未旋转):
View Code 效果:
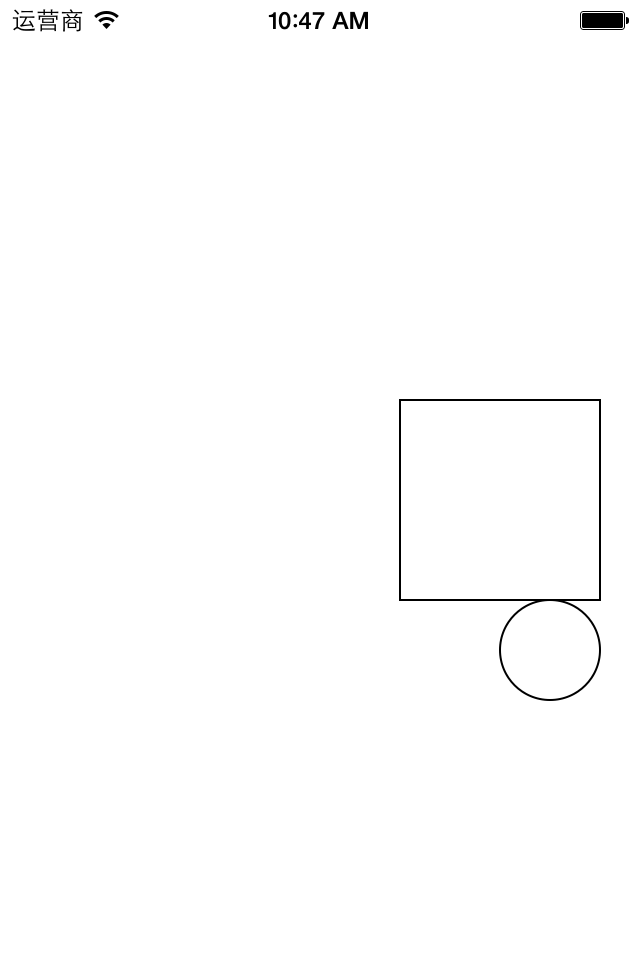
代码2(旋转):
View Code效果:
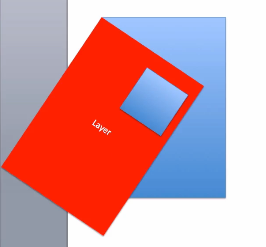
2.关于旋转的补充说明
提示:旋转的时候,是整个layer都旋转了。
三、缩放
方法:CGContextScaleCTM(<#CGContextRef c#>, <#CGFloat sx#>, <#CGFloat sy#>)
该方法接收三个参数(图形上下文,x方向的缩放比例,y方向上的缩放比例
代码示例: View Code
View Code效果:
四、平移
方法: CGContextTranslateCTM(<#CGContextRef c#>, <#CGFloat tx#>, <#CGFloat ty#>)
该方法接收三个参数(图形上下文,x方向的偏移量,y方向上的偏移量)
代码示例:
View Code效果:
提示:坐标原点为view的左上角。