!!!首先要做的就是关闭系统的防火墙以及selinux:
#systemctl stop firewalld
#systemctl disable firewalld
#sed -ri 's/^(SELINUX=).*/1disabled/g' /etc/selinux/config
#setenforce 0
一、安装Nginx:
1、创建nginx官方源:
\我用的是Centos7版本的,如果是Centos6版本的只需将baseuser=后面的数字7换成6即可//
#vim /etc/yum.repo.d/nginx.repo
    [nginx]
    name=nginx repo
    baseurl=http://nginx.org/packages/centos/7/$basearch/
    gpgcheck=0
    enabled=1
2、安装nginx:
#yum install –y nginx          \安装nginx
#systemctl start nginx         \启动nginx服务
#systemctl enable nginx        \开机自启
3、在/etc/nginx/conf.d/default.conf文件里面修改三处内容:
//添加:index.php
location / {
root /usr/share/nginx/html;
index index.php index.html index.htm; (红色是需要添加的内容)
}

//修改:①、将以下的内容去掉前面的注释“#” ;②、修改红的部分的内容
location ~ .php$ {
root      /usr/share/nginx/html; (此处的文件路径是绝对路径,要与nginx工作目录路径一致)
        fastcgi_pass   127.0.0.1:9000;
        fastcgi_index   index.php;
        fastcgi_param  SCRIPT_FILENAME   $document_root$fastcgi_script_name;
        include     fastcgi_params;
        }

 //保存退出,重启nginx服务即可
二、安装数据库(mariadb-server)
1、安装数据库(mariadb-server),并启动:
#yum install –y mariadb-server mariadb    \mariadb-server是服务端;mariadb是客户端
#systemctl start mariadb                  \启动mysql服务
#systemctl enable mariadb                 \开机自启
2、数据库初始化:
#mysql_secure_installation     \回车时候按Enter键,输入root密码,然后一直按Y即可
或者:
#mysqladmin –u root password ‘password’     \password是需要自己设置
3、创建一个数据库给wordpress并设置密码:
mysql -u root -p  #输入密码
MariaDB [(none)]> create database wordpressdb;
MariaDB [(none)]> create user wordpress@localhost identified by '123456';
MariaDB [(none)]> grant all privileges on wordpressdb.* to wordpress@localshot;
MariaDB [(none)]> flush privileges;
MariaDB [(none)]> exit
三、安装PHP:
1、安装扩展源epel-reldase和webtatic-release:
#rpm -Uvh https://mirror.webtatic.com/yum/el7/epel-release.rpm
#rpm -Uvh https://mirror.webtatic.com/yum/el7/webtatic-release.rpm
2、安装PHP7版本:
#yum install -y php70w.x86_64 php70w-cli.x86_64 php70w-common.x86_64 php70w-gd.x86_64 php70w-ldap.x86_64 php70w-mbstring.x86_64 php70w-mcrypt.x86_64 php70w-mysql.x86_64 php70w-pdo.x86_64 php70w-fpm
3、启动php-fpm:
#systemctl start php-fpm
#systemctl enable php-fpm
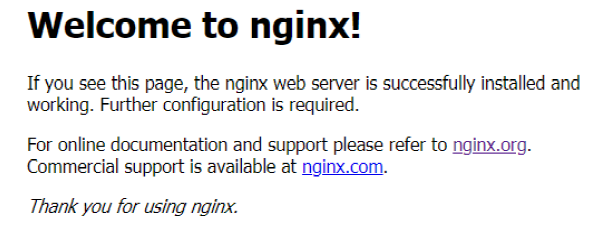
4、测试nginx是否安装成功
在浏览器的地址栏输入本地的IP地址:例如:192.168.1.1
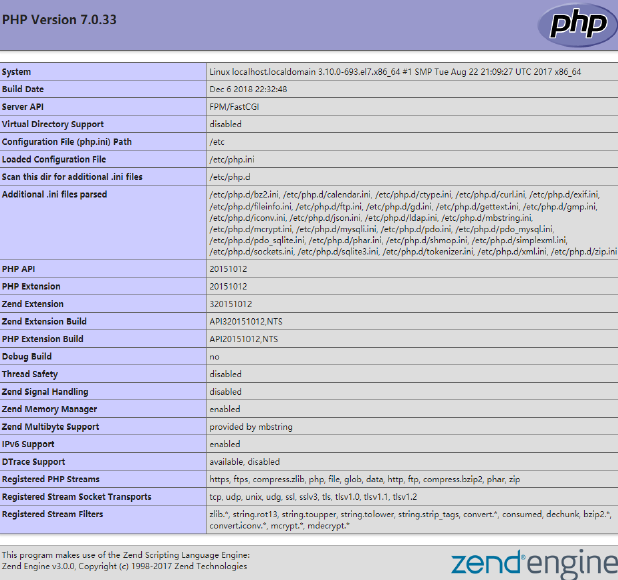
5、测试nginx是否支持PHP解析:
进入到nginx的工作目录下,编辑PHP测试文件test.php:
#cd /usr/share/nginx/html
#vim test.php
    <?php
        phpinfo();
    ?>
保存退出即可
6、测试:
在浏览器中输入:ip/test.php ;例如:192.168.1.1/test.php
四、、安装wordpress
1、下载wordpress并解压:
#wget https://wordpress.org/latest.tar.gz
#tar –zxvf latest.tar.gz
2、将latest里面所以的文件移动到/usr/share/nginx/html/下
#mv /root/wordpress/* /usr/share/nginx/html/
3、将wp-config-sample.php更换成 wp-config.php,并修改以下内容:
#cd /usr/share/nginx/html/
#mv wp-config-sample.php wp-config.php
#vim wp-config.php
    /** The name of the database for WordPress */
    define( 'DB_NAME', 'wordpressdb' );        \自己创建的wordpress数据库名
    /** MySQL database username */
    define( 'DB_USER', 'wordpress' );         \数据库管理员用户名
    /** MySQL database password */
    define( 'DB_PASSWORD', '123456' );        \数据库密码
4、将/usr/share/nginx/html/下的所有文件赋予全部权限,并设置所属主和所属组为root:
#chown -R root:root /usr/share/nginx/html/
5、在浏览器地址栏输入
ip/wp-admin;例如:192.168.1.1/wp-admin
