1. 安装环境:
Oracle linux 5.9
2. 下载安装:
Linux 下yum命令安装见:
http://blog.csdn.net/lichangzai/article/details/8453657
检测yum源是否有mongodb:
[root@bakdbserver ~]# yum info mongo-10gen
Loaded plugins: rhnplugin, security
This system is not registered with ULN.
You can use up2date --register to register.
ULN support will be disabled.
Error: No matching Packages to list
增加yumr的mongodb下载源:
[root@bakdbserver ~]# vi /etc/yum.repos.d/10gen.repo
#添加以下内容
[10gen]
name=10gen Repository
baseurl=http://downloads-distro.mongodb.org/repo/redhat/os/x86_64
gpgcheck=0
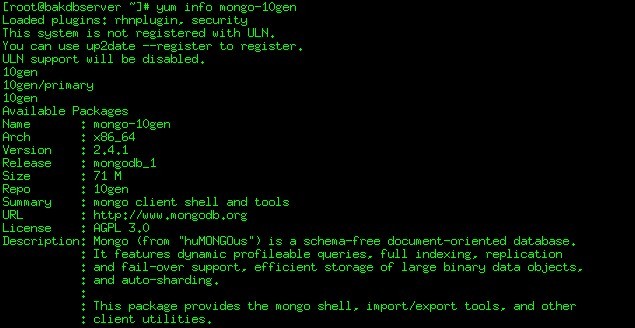
再次检测
[root@bakdbserver ~]# yum info mongo-10gen

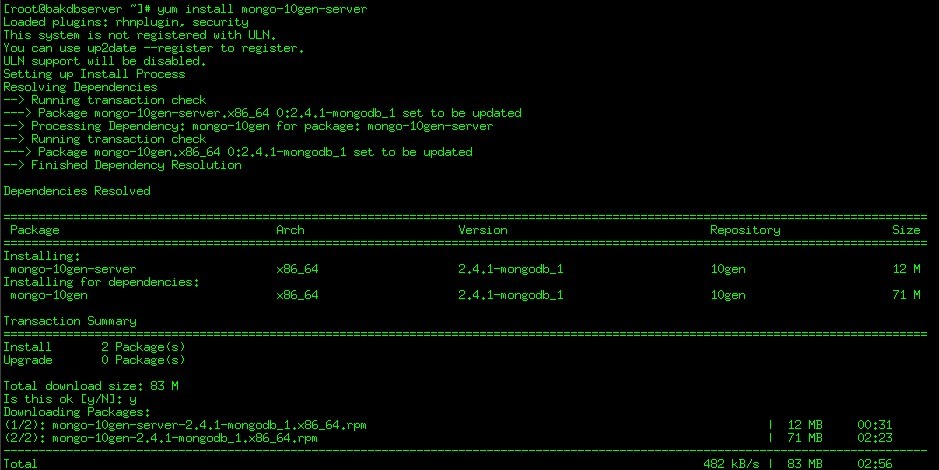
安装服务器与客户端:
[root@bakdbserver ~]# yum install mongo-10gen-server


3. 修改配置文件
[root@bakdbserver ~]# cat /etc/mongod.conf
# mongo.conf
#where to log
logpath=/var/log/mongo/mongod.log
logappend=true
# fork and run in background
fork = true
#port = 27017 默认端口号
dbpath=/var/lib/mongo
# location of pidfile
pidfilepath = /var/run/mongodb/mongod.pid
# Disables write-ahead journaling
# nojournal = true
# Enables periodic logging of CPU utilization and I/O wait
#cpu = true
# Turn on/off security. Off is currently the default
#noauth = true
#auth = true
# Verbose logging output.
#verbose = true
# Inspect all client data for validity on receipt (useful for
# developing drivers)
#objcheck = true
# Enable db quota management
#quota = true
# Set oplogging level where n is
# 0=off (default)
# 1=W
# 2=R
# 3=both
# 7=W+some reads
#diaglog = 0
# Ignore query hints
#nohints = true
# Disable the HTTP interface (Defaults to localhost:27018).
#nohttpinterface = true
# Turns off server-side scripting. This will result in greatly limited
# functionality
#noscripting = true
# Turns off table scans. Any query that would do a table scan fails.
#notablescan = true
# Disable data file preallocation.
#noprealloc = true
# Specify .ns file size for new databases.
# nssize = <size>
# Accout token for Mongo monitoring server.
#mms-token = <token>
# Server name for Mongo monitoring server.
#mms-name = <server-name>
# Ping interval for Mongo monitoring server.
#mms-interval = <seconds>
# Replication Options
# in replicated mongo databases, specify here whether this is a slave or master
#slave = true
#source = master.example.com
# Slave only: specify a single database to replicate
#only = master.example.com
# or
#master = true
#source = slave.example.com
注意:
也可以用不使用yum命令直接下载安装,可以先把rpm包软件下载来,再用rpm命令安装。
http://downloads-distro.mongodb.org/repo/redhat/os/x86_64/
4. 启动Mongodb server
[root@bakdbserver ~]# mongod -f /etc/mongod.conf
about to fork child process, waiting until server is ready for connections.
forked process: 710
all output going to: /var/log/mongo/mongod.log
child process started successfully, parent exiting
查看进程
[root@bakdbserver ~]# ps -ef|grep mongod
root 710 1 6 10:42 ? 00:00:05 mongod -f /etc/mongod.conf
root 758 30542 0 10:43 pts/1 00:00:00 grep mongod
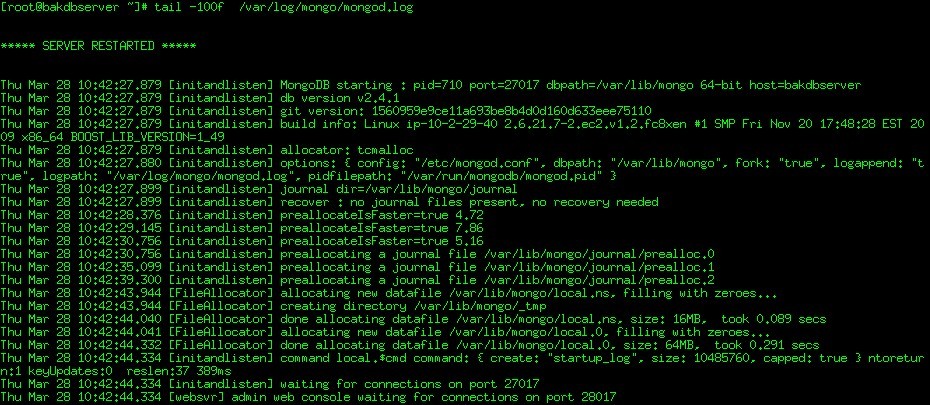
查看日志

5. 命令测试
[root@bakdbserver ~]# mongo
MongoDB shell version: 2.4.1
connecting to: test
> x=200
200
> y=300
300
> x+y
500
> a=x+y
500
> a/5
100
>
测试javascript
> Math.sin(Math.PI/2)
1
> new Date("2012/3/28")
ISODate("2012-03-27T16:00:00Z")
> "Hello World!".replace("World","MongoDB");
Hello MongoDB!
> function factorial (n) {
... if (n <= 1) return 1;
... return n * factorial(n-1);
... }
> factorial(10);
3628800
> factorial(6);
720
切换数据库
--和mysql\mssql命令一样,不同的是切换的数据库不存在也可以成功执行,如果数据库里插入数据这个库就会真正的存在了
> use lcz
switched to db lcz
> db
lcz
> use test
switched to db test
> db
test