今天看了下二维码感觉不错自己也都收弄个了demo,说是demo其实在基本功能的基础上进行修改而已。
1.环境搭建。所需的jar包有
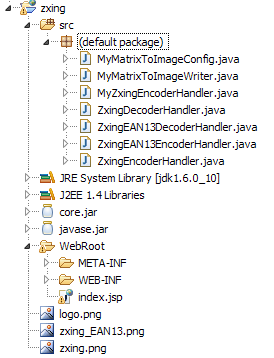
其中 为网上参考demo。
其中
为在原始及开源包下载的基础上进行修改。
2.二维码颜色修改介绍。
public class MyZxingEncoderHandler {

	/**
	 * @param contents 生成的图片的名称
	 * @param width    生成的图片的宽度
	 * @param height   生成的图片的高度
	 * @param imgPath  生成的图片路径
	 */
	public void encode(String contents, int width, int height, String imgPath,String logoPath) {
		Hashtable<EncodeHintType, Object> hints = new Hashtable<EncodeHintType, Object>();
		// 指定纠错等级
		hints.put(EncodeHintType.ERROR_CORRECTION, ErrorCorrectionLevel.L);
		// 指定编码格式
		hints.put(EncodeHintType.CHARACTER_SET, "GBK");
		try {
			//设置生成二维码的类型
			BitMatrix bitMatrix = new MultiFormatWriter().encode(contents,BarcodeFormat.QR_CODE, width, height, hints);
			//0xFFE30022 字体色,0xFFF4C2C2背景色
			MyMatrixToImageWriter.writeToFile(bitMatrix, "png", imgPath,new MyMatrixToImageConfig(0xFFE30022,0xFFF4C2C2),logoPath);
		} catch (Exception e) {
			e.printStackTrace();
		}
	}


	public static void main(String[] args) {
		String imgPath = "zxing.png";
		String logoPath = "logo.png";
		String contents = http://localhost:8080/demo;
		int width = 300, height = 300;
		MyZxingEncoderHandler handler = new MyZxingEncoderHandler();
		handler.encode(contents, width, height, imgPath,logoPath);
		System.out.println("Michael ,you have finished zxing encode.");
	}
}
  /**
   * 二维码添加自定义logo(关键部分)
   */
  public static void overlapImage(BufferedImage image,String imgPath, String logoPath){
   try {
          BufferedImage logo = ImageIO.read(new File(logoPath));
          Graphics2D g = image.createGraphics();
	 //logo宽高
          int width=image.getWidth()/5;
          int height=image.getHeight()/5;
	 //logo起始位置,此目的是为logo居中显示
          int x=(image.getWidth()-width)/2;
          int y=(image.getHeight()-height)/2;
          g.drawImage(logo, x, y, width, height, null);
          g.dispose();
          ImageIO.write(image, "png", new File(imgPath));
        } catch (Exception e) {
          e.printStackTrace();
        }
  }
其中详细代码可以参考MyMatrixToImageWriter.java类
logo:

最后效果图:

文中所用的资源连接为: