我在WebApi中使用swagger的时候发现会出现很多问题,搜索很多地方都没找到完全解决问题的方法,后面自己解决了,希望对于遇到同样问题朋友有帮助。我将先一步一步的演示项目中解决swagger遇到问题及解决方法。
首先我们新建一个api项目
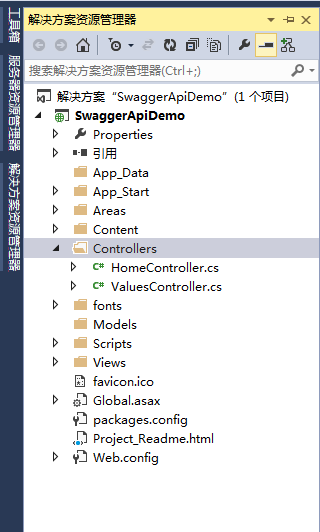
图1 (默认生成项目)
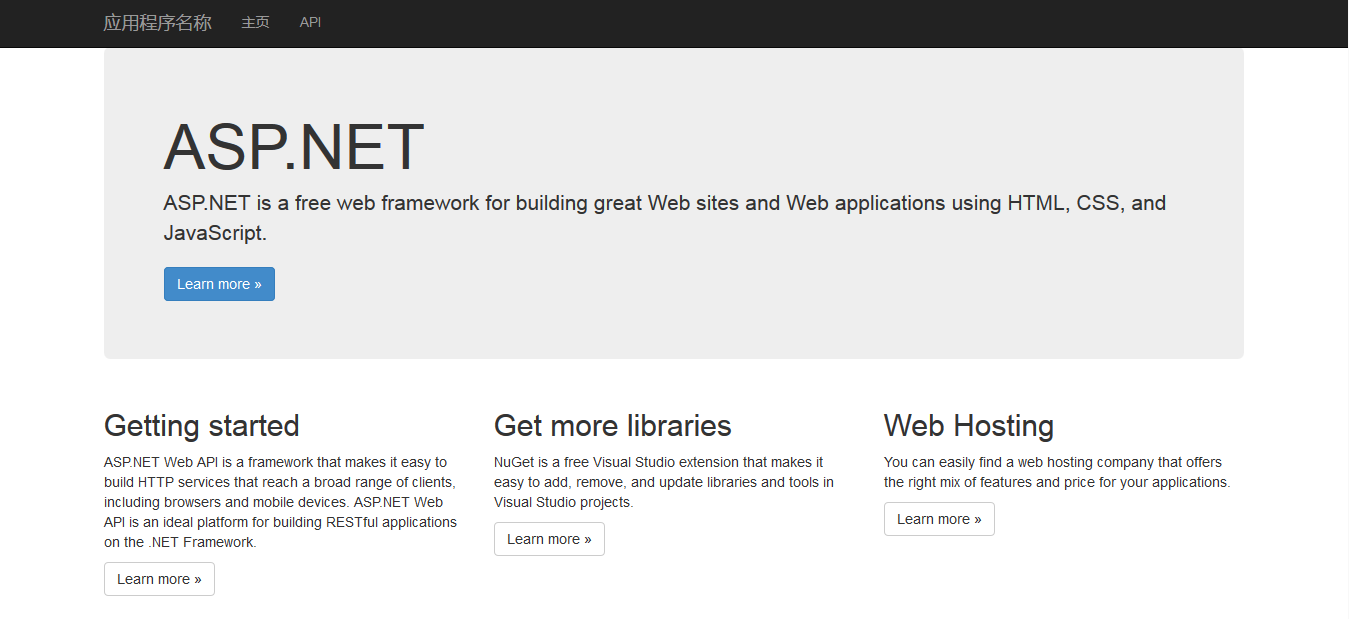
图2(运行首页)

图3(默认Api列表)
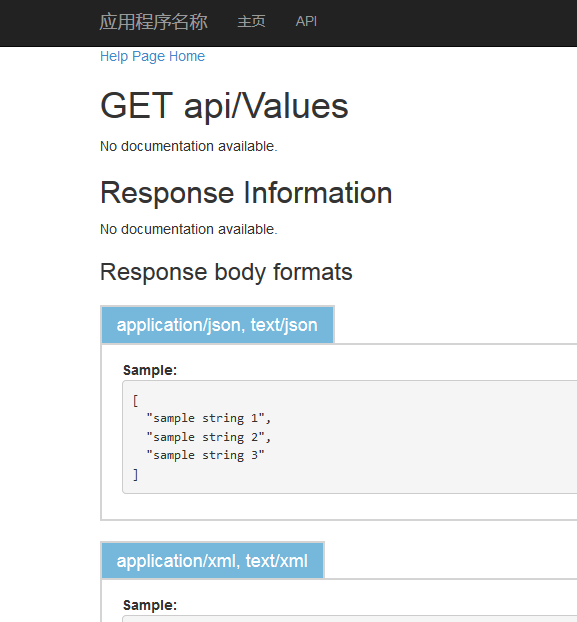
图4(默认Get的Api)
以上图1-4都是默认情况下生成页面看起来不是那么好看,而且测试也不方便,下面将介绍怎么使用swagger。
使用nuget包获取Swashbule、swagger的包并安装。
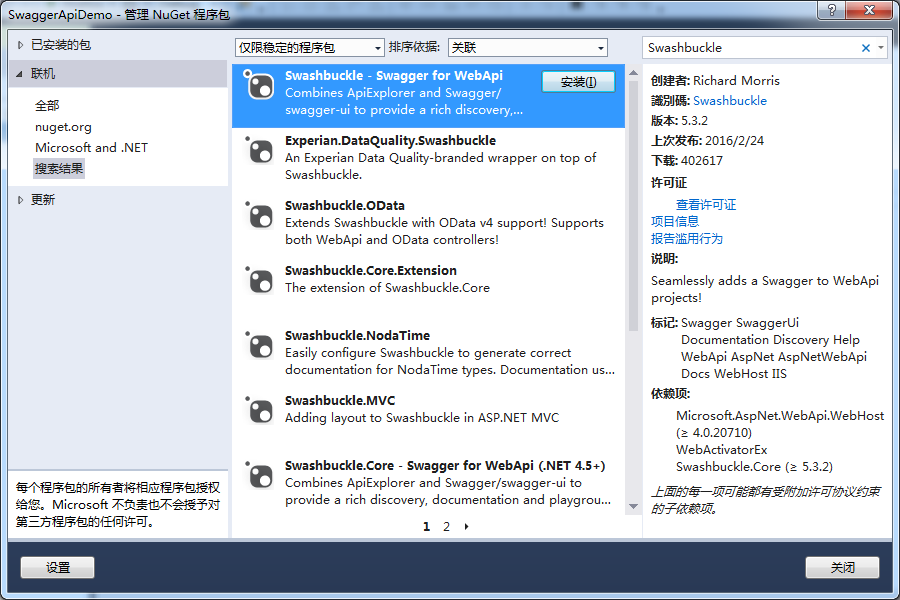
图5(Swashbule - swagger for Api)

图6(swagger UI for net)
一般安装到就应该可以正常运行了。但是运行后我们发现抛出异常

图7(异常1)
打开解决方案属性-->生成,勾选XML文档文件,保存就ok。

图8

图9(异常2)
出现该异常是由于没有增加依赖项,大家可以自行查看自己的dll文件版本,做出修改,把下面的代码插入到web.config中。
    <dependentAssembly>
        <assemblyIdentity name="System.Net.Http.Formatting" publicKeyToken="31bf3856ad364e35" culture="neutral" />
        <bindingRedirect oldVersion="0.0.0.0-5.0.0.0" newVersion="5.0.0.0" />
      </dependentAssembly>
      <dependentAssembly>
        <assemblyIdentity name="System.Web.Http" publicKeyToken="31bf3856ad364e35" culture="neutral" />
        <bindingRedirect oldVersion="0.0.0.0-5.0.0.0" newVersion="5.0.0.0" />
      </dependentAssembly>
      <dependentAssembly>
        <assemblyIdentity name="Newtonsoft.Json" publicKeyToken="30ad4fe6b2a6aeed" culture="neutral" />
        <bindingRedirect oldVersion="0.0.0.0-8.0.0.0" newVersion="8.0.0.0" />
      </dependentAssembly>
在把swagger.net中两行代码注释,估计是因为nuget包中的代码没有更新导致这个异常出现

图10(注释不需要代码)
好了现在我们来看看可以运行后的效果,在浏览器中输入URL:http://localhost:28129/swagger会自动跳转到http://localhost:28129/swagger/ui/index

图11
至此我们就能够正常运行swagger非常方便调试接口。
为了方便测试我们新建一个App的Model

    /// <summary>
    /// App信息
    /// </summary>
    public class App
    {
        /// <summary>
        /// App的ID号
        /// </summary>
        public int Id { get; set; }
        /// <summary>
        /// App的名称
        /// </summary>
        public string Name { get; set; }
        /// <summary>
        /// App的说明
        /// </summary>
        public string Remark { get; set; }
    }
返回消息ResultJson的Model
    /// <summary>
    /// 返回处理结果
    /// </summary>
    public class ResultJson
    {
        /// <summary>
        /// 返回代码
        /// </summary>
        public int Code { get; set; }
        /// <summary>
        /// 返回消息
        /// </summary>
        public string Message { get; set; }
    }
新增加一个AppController的Api
 public class AppController : ApiController
    {
        private List<App> GetApps()
        {
            List<App> list = new List<App>();
            list.Add(new App() { Id = 1, Name = "WeChat", Remark = "WeChat" });
            list.Add(new App() { Id = 2, Name = "FaceBook", Remark = "FaceBook" });
            list.Add(new App() { Id = 3, Name = "Google", Remark = "Google" });
            list.Add(new App() { Id = 4, Name = "QQ", Remark = "QQ" });
            return list;
        }

        /// <summary>
        /// 获取所有APP
        /// </summary>
        /// <returns>所有APP集合</returns>
        [HttpGet]
        public HttpResponseMessage Get()
        {
            return MyJson.ObjectToJson(GetApps());
        }

        /// <summary>
        /// 获取指定APP
        /// </summary>
        /// <param name="id">需要获取APP的id</param>
        /// <returns>返回指定APP</returns>
        [HttpGet]
        public HttpResponseMessage Get(int id)
        {
            var app = GetApps().Where(m => m.Id.Equals(id)).FirstOrDefault();
            return MyJson.ObjectToJson(app);
        }

        /// <summary>
        /// 增加App信息
        /// </summary>
        /// <param name="value"></param>
        /// <returns></returns>
        [HttpPost]
        public HttpResponseMessage Insert([FromBody]App value)
        {
            ResultJson json = new ResultJson() { Code = 200, Message = "Ok" };
            return MyJson.ObjectToJson(json);
        }

        /// <summary>
        /// 更新APP信息
        /// </summary>
        /// <param name="value">APP信息</param>
        /// <returns>更新结果</returns>
        [HttpPut]
        public HttpResponseMessage UpdateApp([FromBody]App value)
        {
            ResultJson json = new ResultJson() { Code = 200, Message = "Ok" };
            return MyJson.ObjectToJson(json);
        }

        /// <summary>
        /// 删除APP信息
        /// </summary>
        /// <param name="id">APP编号</param>
        /// <returns>删除结果</returns>
        [HttpDelete]
        public HttpResponseMessage DeleteApp(int id)
        {
            ResultJson json = new ResultJson() { Code = 200, Message = "Ok" };
            return MyJson.ObjectToJson(json);
        }
    }
为了满足使用中需要用到Json格式数据,提出一个类
    public class MyJson
    {
        public static HttpResponseMessage ObjectToJson(object obj)
        {
            JavaScriptSerializer js = new JavaScriptSerializer();
            string r = js.Serialize(obj);
            var result = new HttpResponseMessage(HttpStatusCode.OK)
            {
                Content = new StringContent(r, Encoding.UTF8, "text/json")
            };
            return result;
        }
        public static HttpResponseMessage ObjectToJson(List<object> objs)
        {
            JavaScriptSerializer js = new JavaScriptSerializer();
            string r = js.Serialize(objs);
            var result = new HttpResponseMessage(HttpStatusCode.OK)
            {
                Content = new StringContent(r, Encoding.UTF8, "text/json")
            };
            return result;
        }
    }
好了我们运行后可以看看效果

图12
点击 Try it out
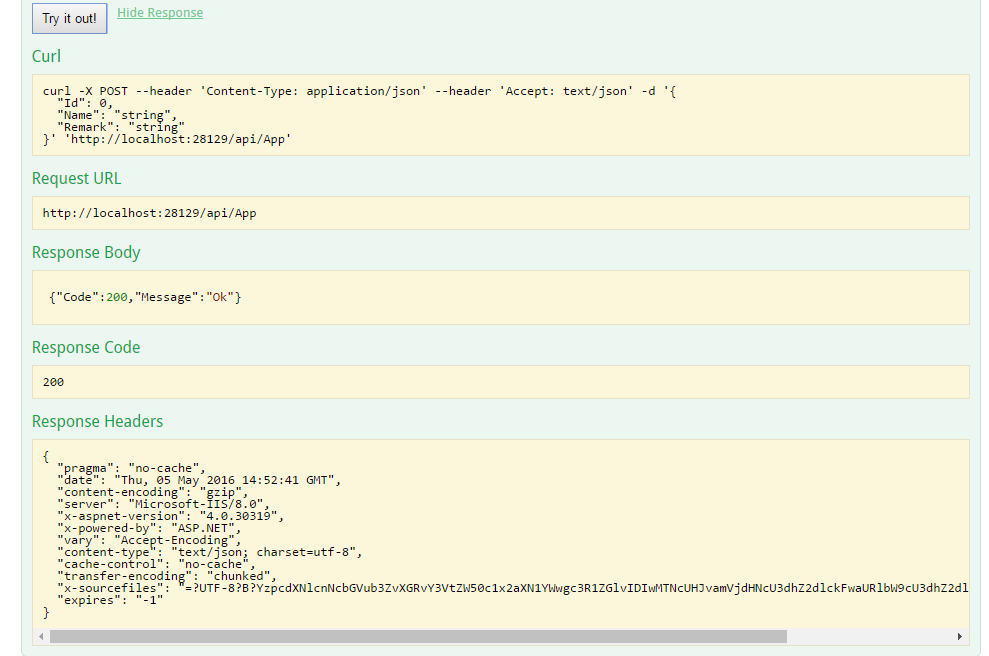
图13
我们还可以将注释打开,我们就可以在页面里面看到注释,方便调试接口时候调用人了解各参数信息。打开
public class SwaggerConfig
{
    public static void Register()
     {
            var thisAssembly = typeof(SwaggerConfig).Assembly;

            GlobalConfiguration.Configuration
                .EnableSwagger(c =>
                    {
                        c.SingleApiVersion("v1", "SwaggerApiDemo");
                        c.IncludeXmlComments(GetXmlCommentsPath());
                    })
                .EnableSwaggerUi(c =>
                    {
            });
        }
        private static string GetXmlCommentsPath()
        {
            return string.Format("{0}/bin/SwaggerApiDemo.XML", System.AppDomain.CurrentDomain.BaseDirectory);
        }
}
上面标记颜色为新增加内容,好了我们来看看最终效果
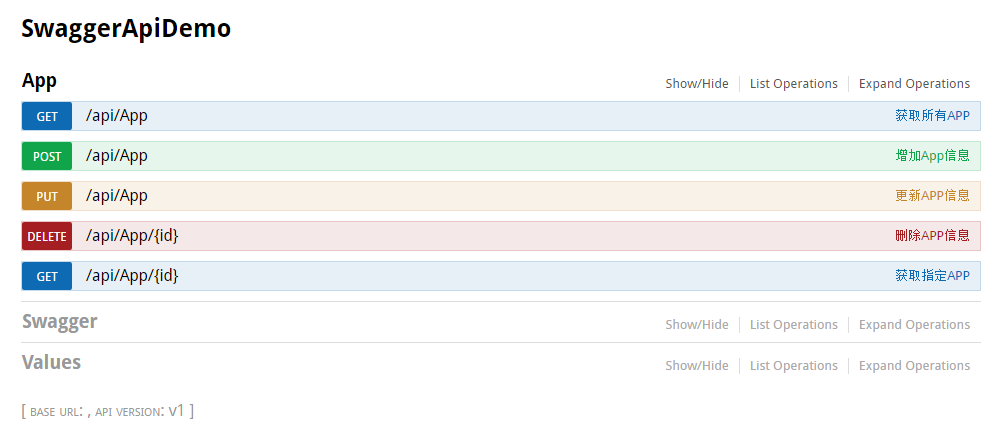
图14

图15
我们可以看到注释部分了,这样我们的swagger就完成了。
我把最终的代码发到此处,有需要代码的时候朋友可以直接下载。
http://pan.baidu.com/s/1mhFVZ4W
转自