Ubuntu单台安装harbor
docker镜像加速配置
docker镜像官方的下载站点是:https://hub.docker.com/
从国内下载官方的镜像站点有时候很慢,因此可以更改docker配置文件添加一个加速器,可以通过加速器达到加速下载镜像的目的。

国内有很多公司提供了加速服务,这里以阿里云为例。
其它公司还有:
网易云:http://hub-mirror.c.163.com
腾讯云:http://mirror.ccs.tencentyun.com
浏览器打开https://cr.console.aliyun.com,注册或登录阿里云账号,找到专属自己的加速地址
右侧有操作文档
sudo mkdir -p /etc/docker
sudo tee /etc/docker/daemon.json <<-'EOF'
{
  "registry-mirrors": ["阿里云镜像加速地址"]
}
EOF
sudo systemctl daemon-reload
sudo systemctl restart docker
Docker之分布式仓库Harbor
harbor官方网址:https://goharbor.io/
harbor官方文档:https://goharbor.io/docs/2.2.0/
harbor官方github地址:https://github.com/goharbor/harbor
harbor官方github文档:https://github.com/goharbor/harbor/tree/master/docs
Harbor功能官方介绍
Harbor组成

安装Harbor
下载地址:https://github.com/goharbor/harbor/releases
安装文档:https://goharbor.io/docs/2.2.0/install-config/
环境准备:共四台主机
-
两台主机harbor服
-
两台主机docker客户端上传和下载镜像
1 先安装docker compose
docker compose必须先于harbor安装,否则会报错
github地址:https://github.com/docker/compose/releases
利用pip安装docker-compose
root@root:~# sudo apt-get -y install python3-pip
root@root:~# pip3 install docker-compose
root@root:~# docker-compose --version
docker-compose version 1.29.2, build unknown
2 下载harbor包
harbor下载网址:https://github.com/goharbor/harbor/releases
最新包是 v2.1.5,下载地址如下:
https://github.com/goharbor/harbor/releases/download/v2.1.5/harbor-online-installer-v2.1.5.tgz
将下载的包解压到指定目录:
root@root:~# mkdir /apps
root@root:~# tar zxf /root/harbor-offline-installer-v2.1.5.tgz -C /apps/
root@root:~# ll /apps/harbor/
total 552808
drwxr-xr-x 2 root root      4096 May 14 09:53 ./
drwxr-xr-x 3 root root      4096 May 14 09:53 ../
-rw-r--r-- 1 root root      3361 Apr 22 09:28 common.sh
-rw-r--r-- 1 root root 566029331 Apr 22 09:29 harbor.v2.1.5.tar.gz
-rw-r--r-- 1 root root      8136 Apr 22 09:28 harbor.yml.tmpl
-rwxr-xr-x 1 root root      2523 Apr 22 09:28 install.sh*
-rw-r--r-- 1 root root     11347 Apr 22 09:28 LICENSE
-rwxr-xr-x 1 root root      1881 Apr 22 09:28 prepare*
root@root:~# cp /apps/harbor/harbor.yml.tmpl /apps/harbor/harbor.yml
root@root:~# ll /apps/harbor/
total 552816
drwxr-xr-x 2 root root      4096 May 14 09:57 ./
drwxr-xr-x 3 root root      4096 May 14 09:53 ../
-rw-r--r-- 1 root root      3361 Apr 22 09:28 common.sh
-rw-r--r-- 1 root root 566029331 Apr 22 09:29 harbor.v2.1.5.tar.gz
-rw-r--r-- 1 root root      8136 May 14 09:57 harbor.yml
-rw-r--r-- 1 root root      8136 Apr 22 09:28 harbor.yml.tmpl
-rwxr-xr-x 1 root root      2523 Apr 22 09:28 install.sh*
-rw-r--r-- 1 root root     11347 Apr 22 09:28 LICENSE
-rwxr-xr-x 1 root root      1881 Apr 22 09:28 prepare*
/apps/harbor/harbor.yml 的配置里边以下几处地方要注意:
hostname: harbor1.xingyu.com
......
certificate: /data/cert/server.crt
private_key: /data/cert/server.key
harbor_admin_password: Harbor12345
database:
password: root123
/apps/harbor/harbor.yml 全部配置如下:
hostname: harbor1.xingyu.com
http:
  port: 80
https:
  port: 443
  certificate: /data/cert/server.crt
  private_key: /data/cert/server.key
harbor_admin_password: Harbor12345
database:
  password: root123
  max_idle_conns: 50
  max_open_conns: 1000
data_volume: /data
clair:
  updaters_interval: 12
trivy:
  ignore_unfixed: false
  skip_update: false
  insecure: false
jobservice:
  max_job_workers: 10
notification:
  webhook_job_max_retry: 10
chart:
  absolute_url: disabled
log:
  level: info
  local:
    rotate_count: 50
    rotate_size: 200M
    location: /var/log/harbor
_version: 2.0.0
proxy:
  http_proxy:
  https_proxy:
  no_proxy:
  components:
    - core
    - jobservice
    - clair
    - trivy
安装python3环境:
sudo apt-get -y install python
配置对Harbor的HTTPS访问
https://goharbor.io/docs/2.2.0/install-config/configure-https/
3 生成证书颁发机构证书
在生产环境中,您应该从CA获得证书。在测试或开发环境中,您可以生成自己的CA。要生成CA证书,请运行以下命令。
-
生成CA证书私钥。
openssl genrsa -out server.key 4096 -
生成CA证书。
调整
-subj选项中的值以反映您的组织。如果使用FQDN连接Harbor主机,则必须将其指定为通用名称(CN)属性。openssl req -x509 -new -nodes -sha512 -days 3650 -subj "/C=CN/ST=Beijing/L=Beijing/O=example/OU=Personal/CN=yourdomain.com" -key server.key -out server.crt
证书位置如下:
root@root:~# ll /data/cert/
total 16
drwxr-xr-x 2 root root 4096 May 14 10:38 ./
drwxr-xr-x 9 root root 4096 May 14 10:39 ../
-rw-r--r-- 1 root root 2053 May 14 10:38 server.crt
-rw------- 1 root root 3247 May 14 10:38 server.key
4 harbor安装
/apps/harbor/install.sh
查看安装的容器:
root@root:/apps/harbor# docker ps
CONTAINER ID   IMAGE                                COMMAND                  CREATED          STATUS                             PORTS                                                                            NAMES
4ef391aeeee8   goharbor/harbor-jobservice:v2.1.5    "/harbor/entrypoint.…"   25 seconds ago   Up 24 seconds (health: starting)                                                                                    harbor-jobservice
b9a8b06f66c5   goharbor/nginx-photon:v2.1.5         "nginx -g 'daemon of…"   25 seconds ago   Up 24 seconds (health: starting)   0.0.0.0:80->8080/tcp, :::80->8080/tcp, 0.0.0.0:443->8443/tcp, :::443->8443/tcp   nginx
5acc2e942e5d   goharbor/harbor-core:v2.1.5          "/harbor/entrypoint.…"   25 seconds ago   Up 24 seconds (health: starting)                                                                                    harbor-core
a799c3bf0109   goharbor/redis-photon:v2.1.5         "redis-server /etc/r…"   27 seconds ago   Up 25 seconds (health: starting)                                                                                    redis
b953006e7771   goharbor/harbor-portal:v2.1.5        "nginx -g 'daemon of…"   27 seconds ago   Up 26 seconds (health: starting)                                                                                    harbor-portal
e5d46ae92408   goharbor/harbor-registryctl:v2.1.5   "/home/harbor/start.…"   27 seconds ago   Up 25 seconds (health: starting)                                                                                    registryctl
0a600373e9c1   goharbor/registry-photon:v2.1.5      "/home/harbor/entryp…"   27 seconds ago   Up 25 seconds (health: starting)                                                                                    registry
b7fea4d450e6   goharbor/harbor-db:v2.1.5            "/docker-entrypoint.…"   27 seconds ago   Up 25 seconds (health: starting)                                                                                    harbor-db
50eaf472c2c2   goharbor/harbor-log:v2.1.5           "/bin/sh -c /usr/loc…"   28 seconds ago   Up 27 seconds (health: starting)   127.0.0.1:1514->10514/tcp
5 实现开机自启动harbor
方法1:通过service文件实现
root@root:~# vim /lib/systemd/system/harbor.service
[Unit]
Description=Harbor
After=docker.service systemd-networkd.service systemd-resolved.service
Requires=docker.service
Documentation=http://github.com/vmware/harbor
[Service]
Type=simple
Restart=on-failure
RestartSec=5
ExecStart=/usr/local/bin/docker-compose -f /apps/harbor/docker-compose.yml up
ExecStop=/usr/local/bin/docker-compose -f /apps/harbor/docker-compose.yml down
[Install]
WantedBy=multi-user.target
设置开机启动
root@root:~# systemctl daemon-reload
root@root:~# systemctl enable harbor
Created symlink /etc/systemd/system/multi-user.target.wants/harbor.service → /lib/systemd/system/harbor.service.
方法2:通过rc.local实现
vim /etc/rc.local
#!/bin/bash
cd /apps/harbor
/usr/local/bin/docker-compose up
添加执行权限
chmod +x /etc/rc.local
找到一台windows客户端,修改hosts文件:

用浏览器访问:https://harbor1.xingyu.com/
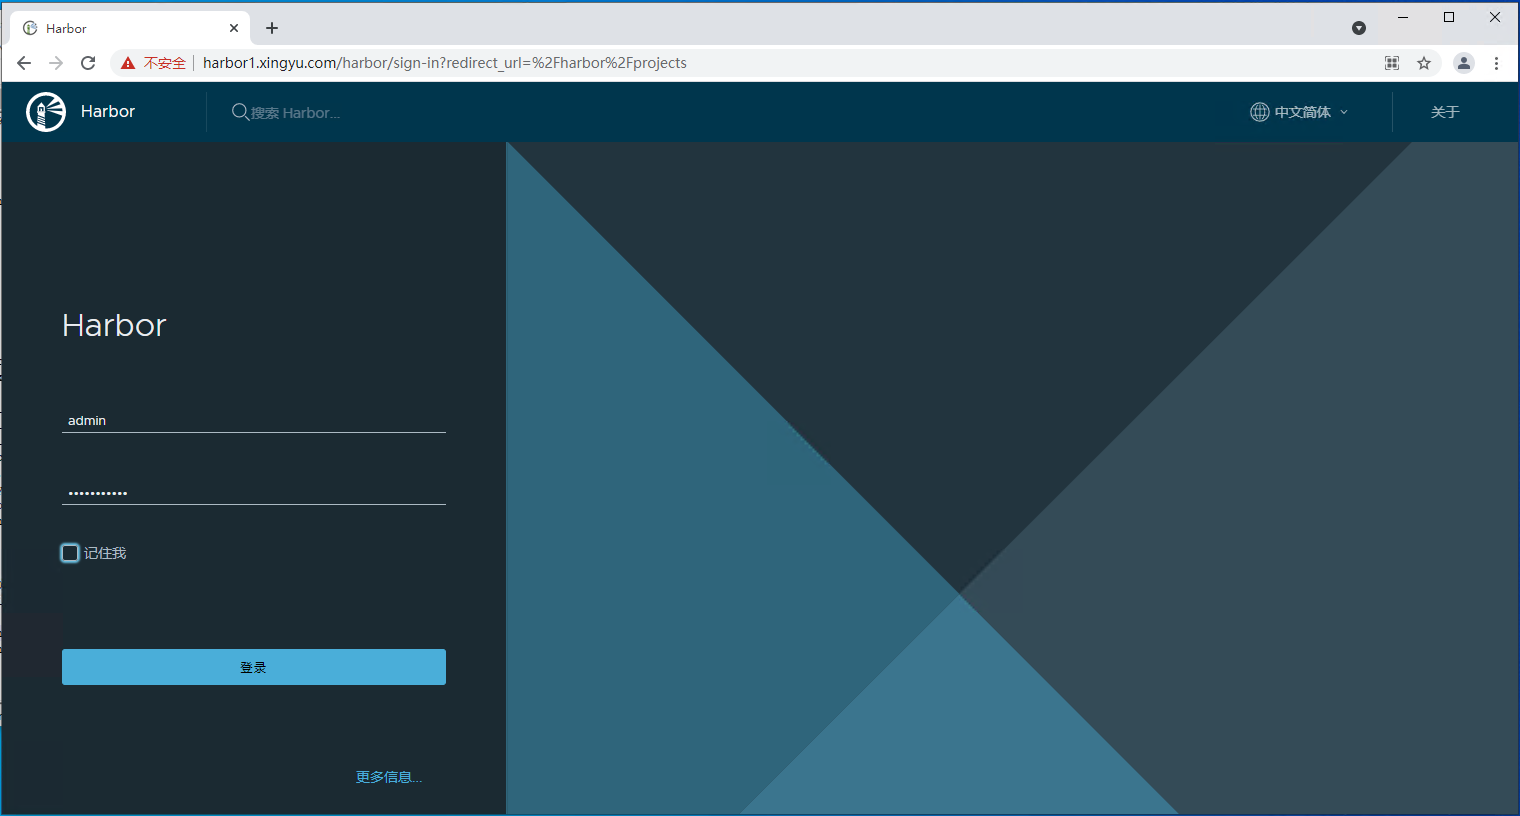
登录后的界面:
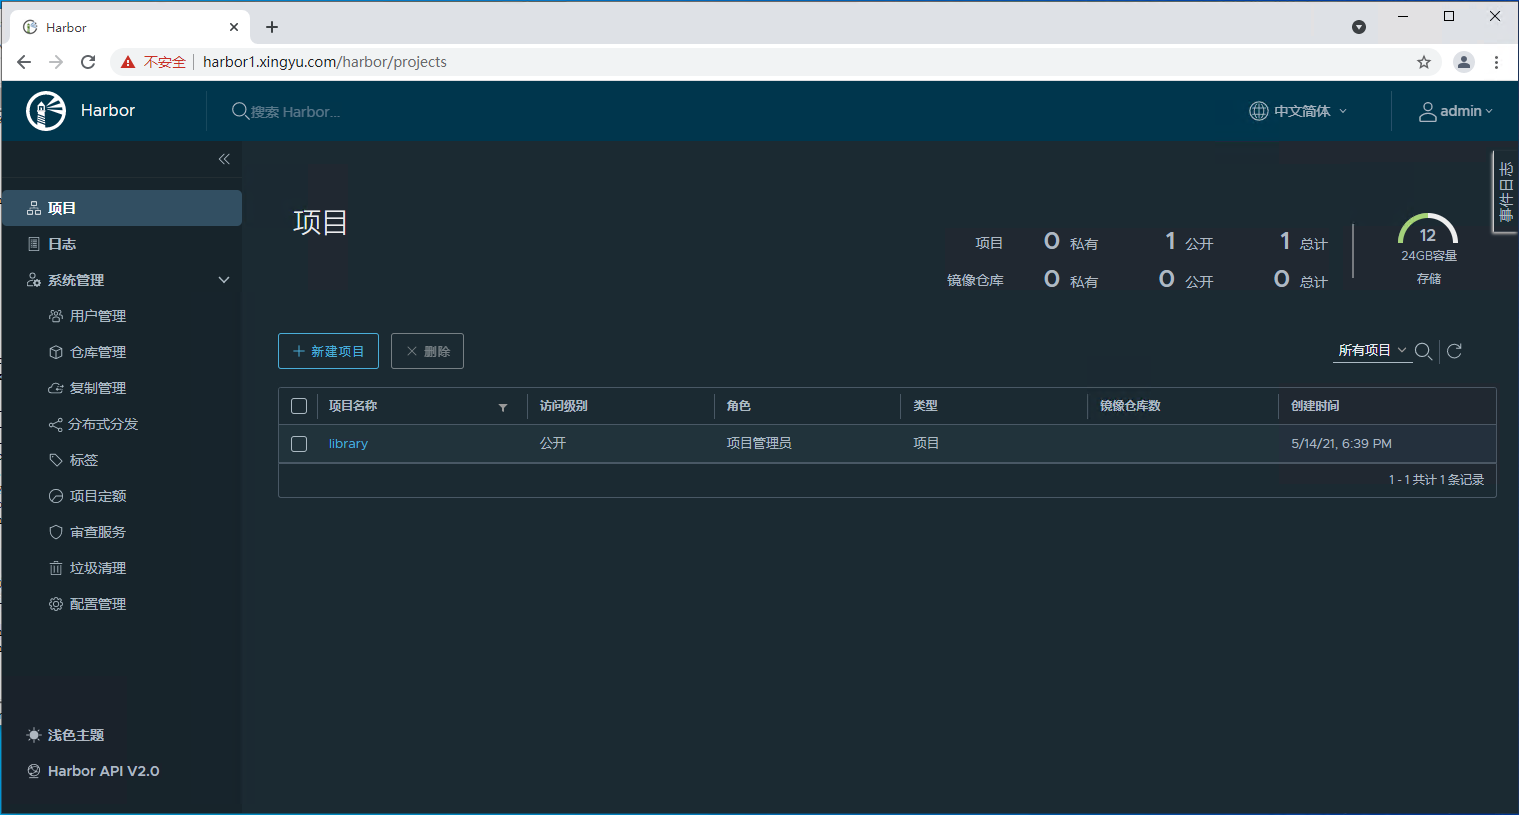
使用单主机harbor
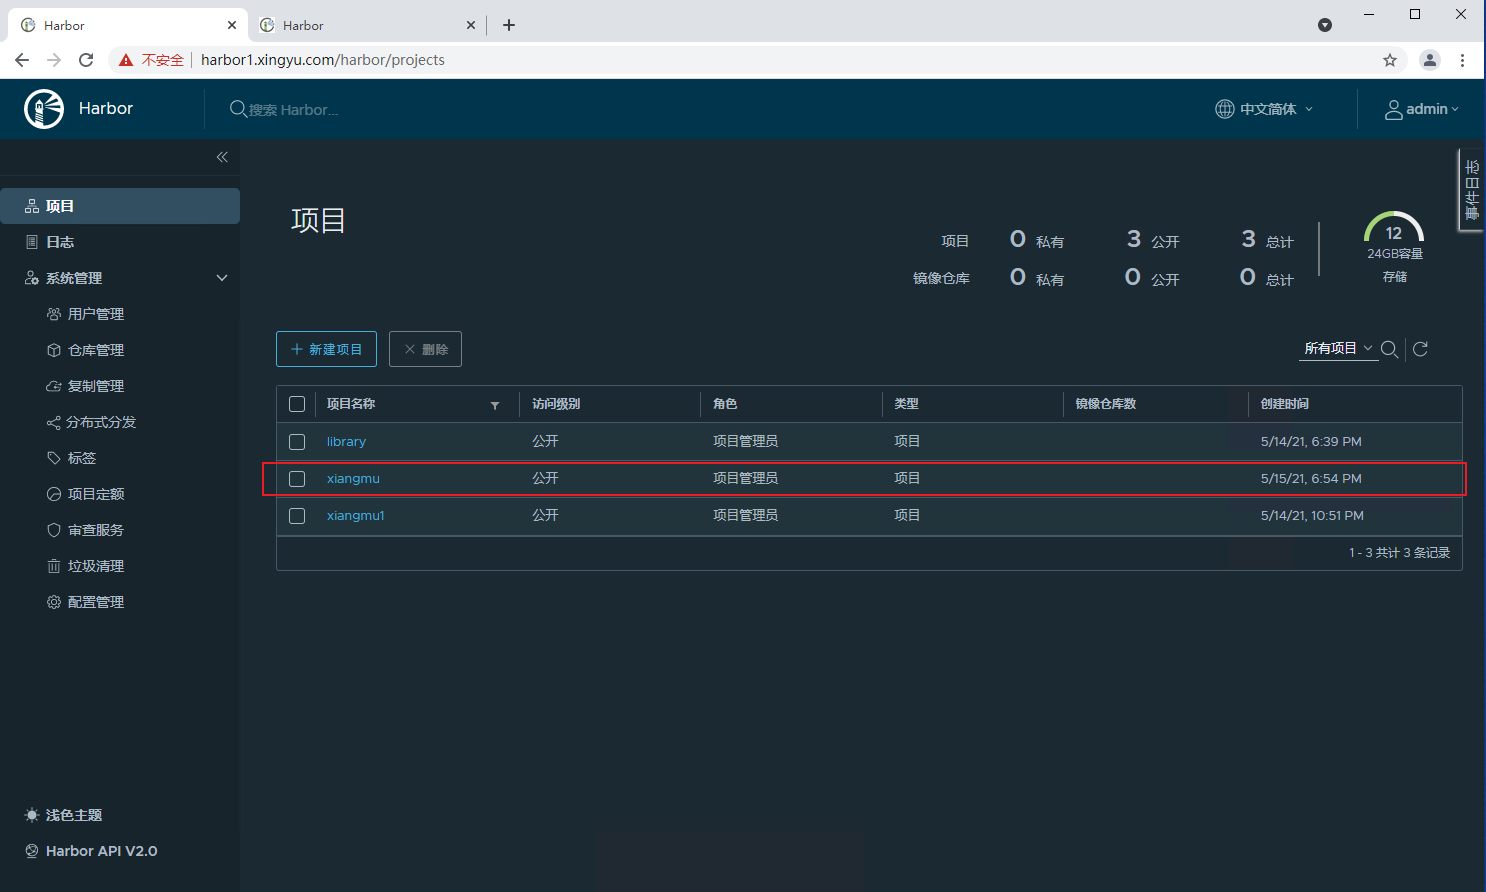
建立项目
harbor上必须先建立项目,才能上传镜像

在客户端用命令行登录harbor
在客户端1上,配置hosts文件:
vim /etc/hosts
192.168.1.114 harbor1.xingyu.com
192.168.1.116 harbor2.xingyu.com
在客户端1上,修改docker.service文件:
vim /lib/systemd/system/docker.service
ExecStart=/usr/bin/dockerd -H fd:// --containerd=/run/containerd/containerd.sock --insecure-registry harbor1.xingyu.com --insecure-registry harbor2.xingyu.com
重启docker服务:
root@root:~# systemctl daemon-reload
root@root:~# systemctl restart docker
先从docker官方镜像地址下载alpine:
docker官方镜像地址:https://hub.docker.com/
root@root:~# docker pull alpine:3.13.5
3.13.5: Pulling from library/alpine
540db60ca938: Pull complete
Digest: sha256:69e70a79f2d41ab5d637de98c1e0b055206ba40a8145e7bddb55ccc04e13cf8f
Status: Downloaded newer image for alpine:3.13.5
docker.io/library/alpine:3.13.5
root@root:~# docker images
REPOSITORY   TAG       IMAGE ID       CREATED       SIZE
alpine       3.13.5    6dbb9cc54074   4 weeks ago   5.61MB
用命令行登录harbor:
root@root:~# docker login harbor1.xingyu.com
Username: admin
Password:
WARNING! Your password will be stored unencrypted in /root/.docker/config.json.
Configure a credential helper to remove this warning. See
https://docs.docker.com/engine/reference/commandline/login/#credentials-store

Login Succeeded
查看进程是否添加上面设置
ps aux |grep dockerd
root@root:~# ps aux |grep dockerd
root      245989  0.0  2.2 1021000 90456 ?       Ssl  11:11   0:00 /usr/bin/dockerd -H fd:// --containerd=/run/containerd/containerd.sock --insecure-registry harbor1.xingyu.com --insecure-registry harbor2.xingyu.com
查看docker存储的密码文件:
root@root:~# cat /root/.docker/config.json
{
	"auths": {
		"harbor1.xingyu.com": {
			"auth": "YWRtaW46SGFyYm9yMTIzNDU="
		}
	}
}
从客户端上传镜像
给本地镜像打标签并上传到harbor
修改images的名称,不修改无法上传到harbor仓库
格式为:
harbor主机IP/项目名/image名字:版本
范例:
上传镜像前,必须先登录harbor
操作上边有
root@root:~# docker tag alpine:3.13.5 harbor1.xingyu.com/xiangmu/alpine:3.13.5
root@root:~# docker images
REPOSITORY                          TAG       IMAGE ID       CREATED       SIZE
alpine                              3.13.5    6dbb9cc54074   4 weeks ago   5.61MB
harbor1.xingyu.com/xiangmu/alpine   3.13.5    6dbb9cc54074   4 weeks ago   5.61MB
root@root:~# docker push harbor1.xingyu.com/xiangmu/alpine:3.13.5
The push refers to repository [harbor1.xingyu.com/xiangmu/alpine]
b2d5eeeaba3a: Pushed
3.13.5: digest: sha256:def822f9851ca422481ec6fee59a9966f12b351c62ccb9aca841526ffaa9f748 size: 528
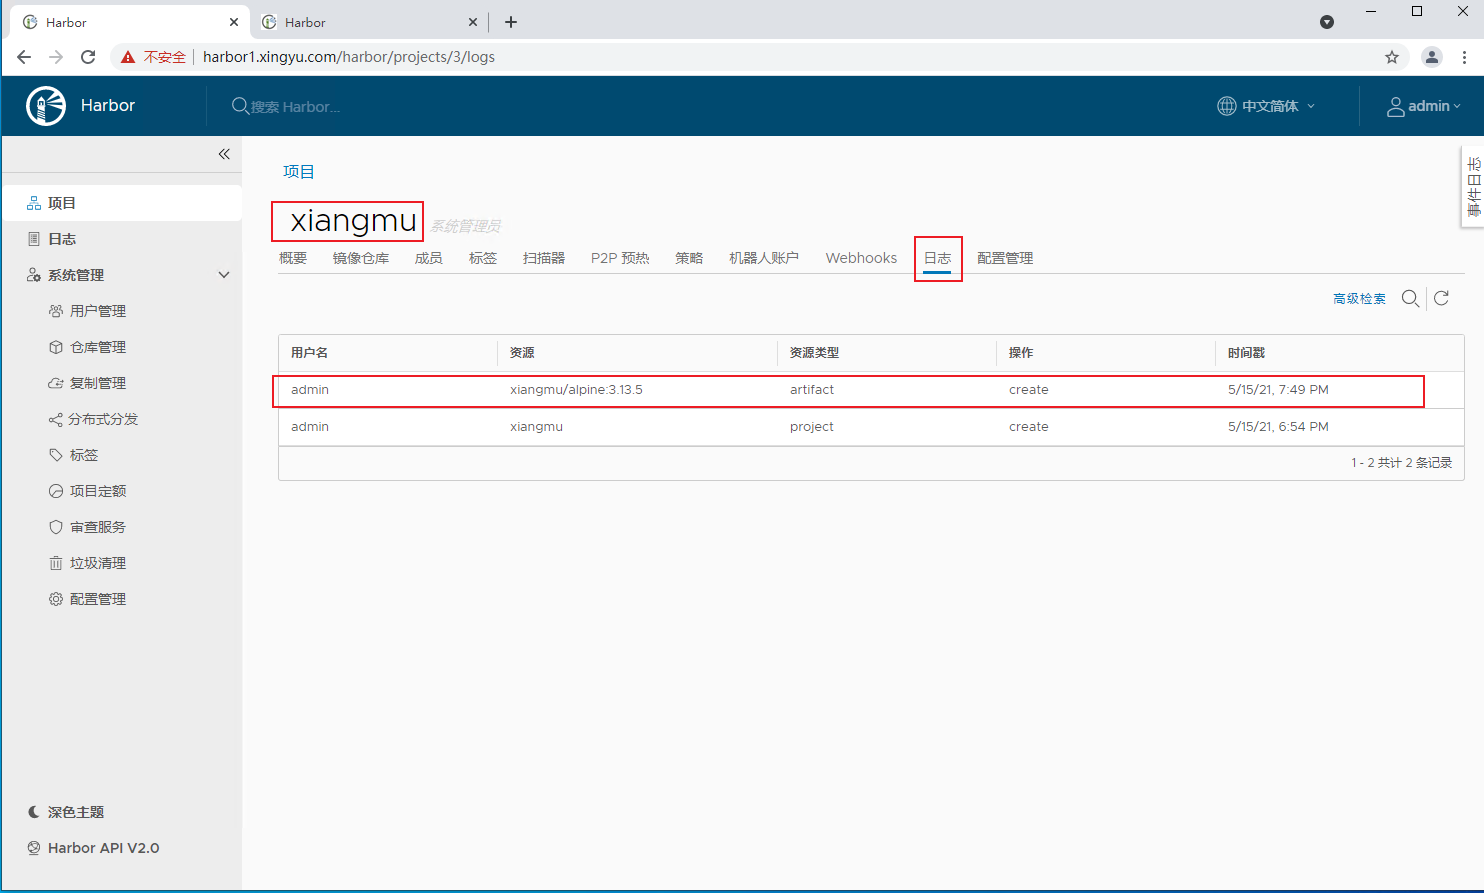
访问harbor网站验证上传镜像成功
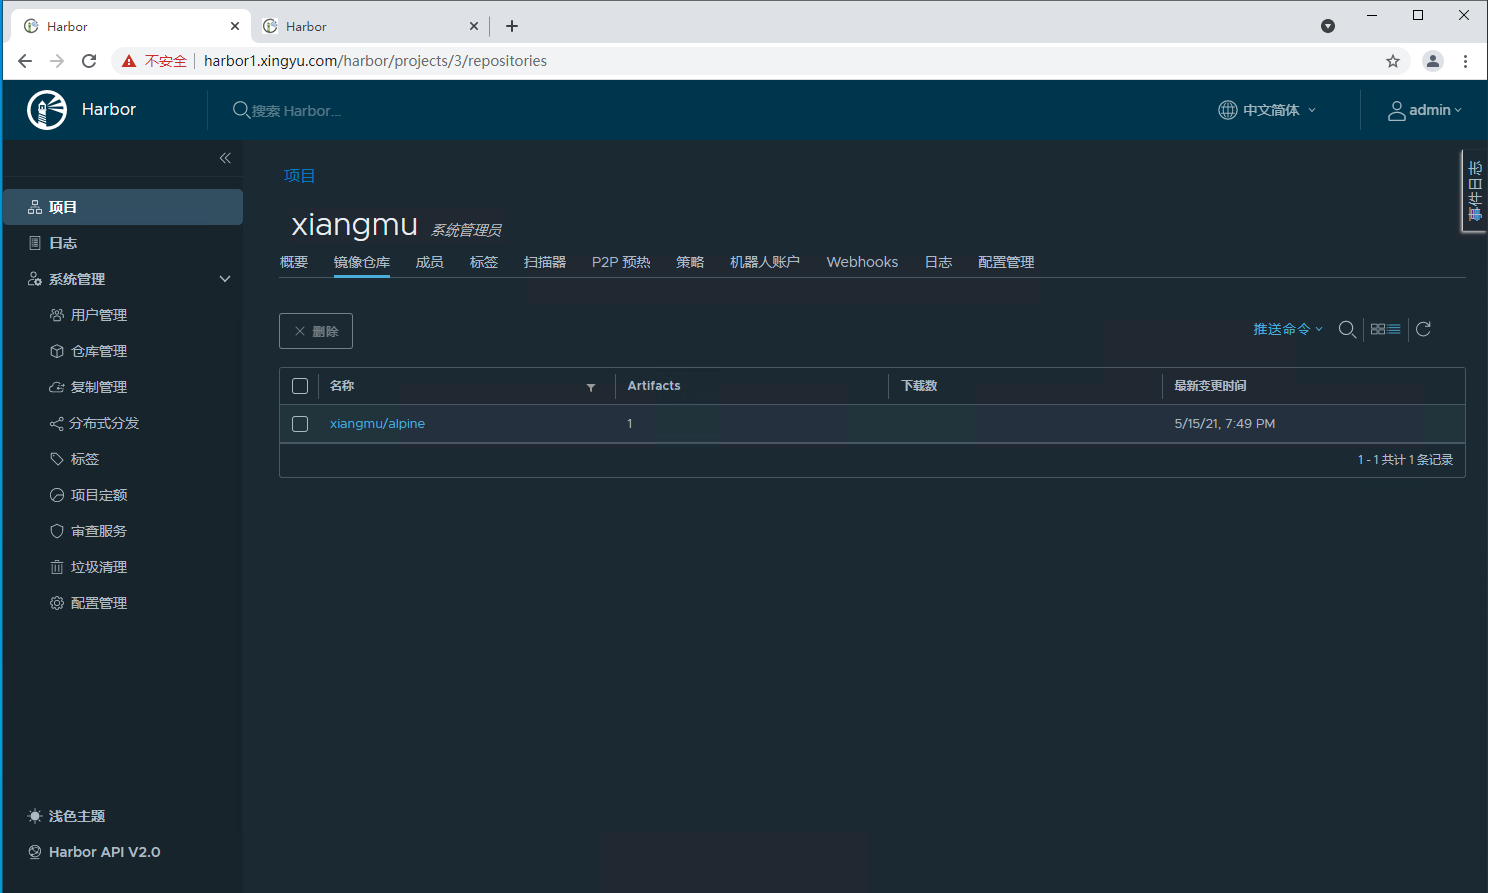
可看到操作的日志记录
从客户端下载镜像
在客户端2上无需登录,即可下载镜像
下载前必须修改docker的service文件,加入harbor服务器的地址才可以下载
在客户端2上,配置hosts文件:
vim /etc/hosts
192.168.1.114 harbor1.xingyu.com
192.168.1.116 harbor2.xingyu.com
在客户端2上,修改docker.service文件:
vim /lib/systemd/system/docker.service
ExecStart=/usr/bin/dockerd -H fd:// --containerd=/run/containerd/containerd.sock --insecure-registry harbor1.xingyu.com --insecure-registry harbor2.xingyu.com
重启docker服务:
root@root:~# systemctl daemon-reload
root@root:~# systemctl restart docker
root@root:~# docker images
REPOSITORY   TAG       IMAGE ID   CREATED   SIZE
从harbor仓库下载镜像:
root@root:~# docker pull harbor1.xingyu.com/xiangmu/alpine:3.13.5
3.13.5: Pulling from xiangmu/alpine
540db60ca938: Pull complete
Digest: sha256:def822f9851ca422481ec6fee59a9966f12b351c62ccb9aca841526ffaa9f748
Status: Downloaded newer image for harbor1.xingyu.com/xiangmu/alpine:3.13.5
harbor1.xingyu.com/xiangmu/alpine:3.13.5
root@root:~# docker images
REPOSITORY                          TAG       IMAGE ID       CREATED       SIZE
harbor1.xingyu.com/xiangmu/alpine   3.13.5    6dbb9cc54074   4 weeks ago   5.61MB