认识自定义指令
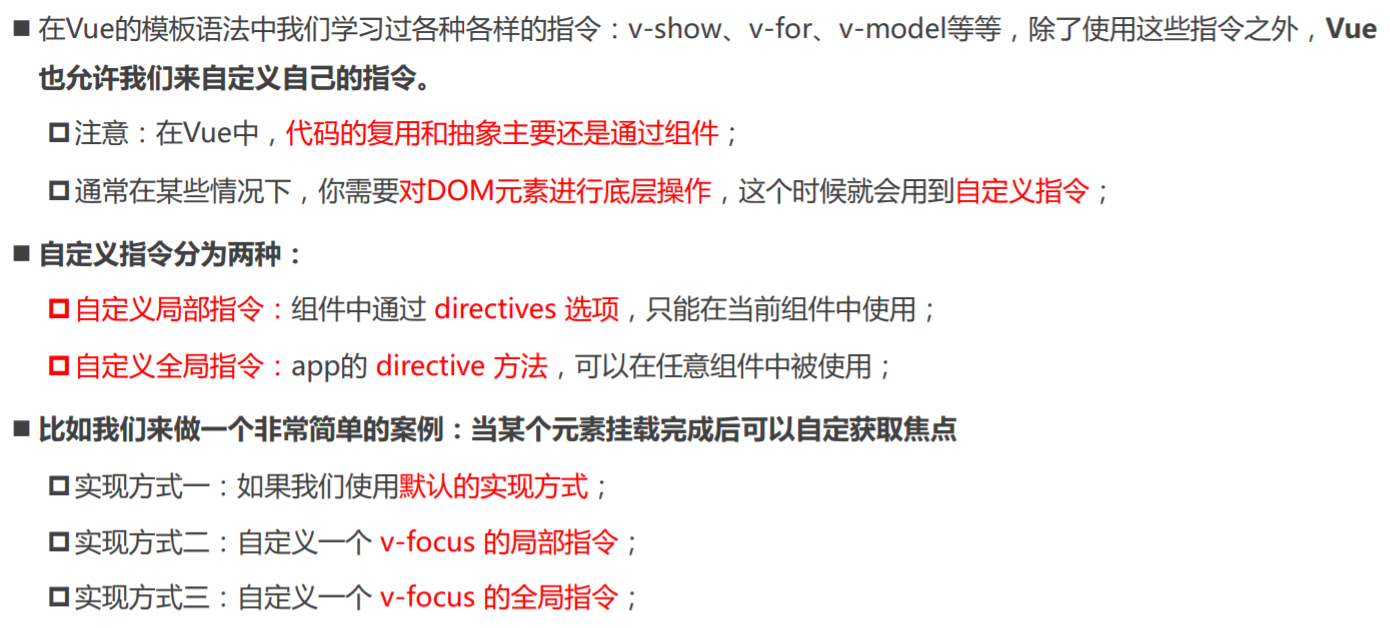
实现方式一:聚焦的默认实现
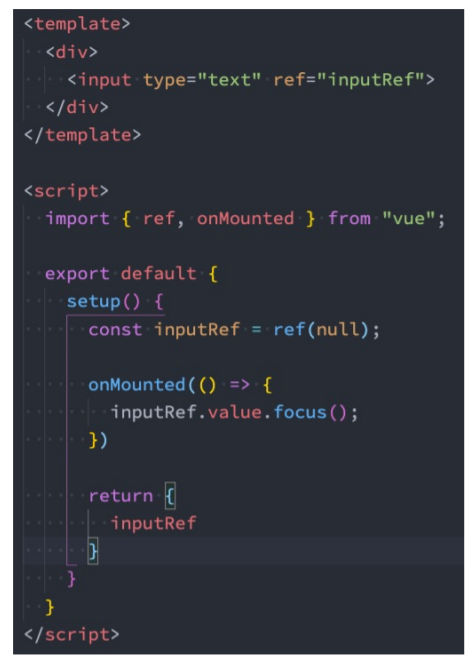
实现方式二:局部自定义指令
方式三:自定义全局指令

指令的生命周期

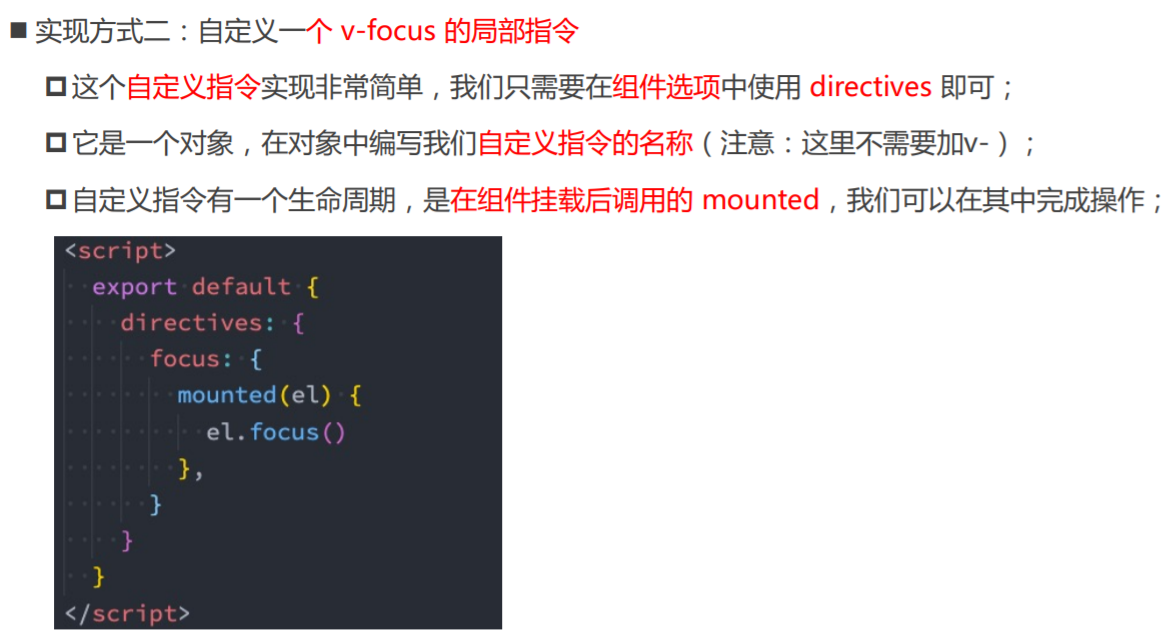
指令的参数和修饰符
自定义指令练习
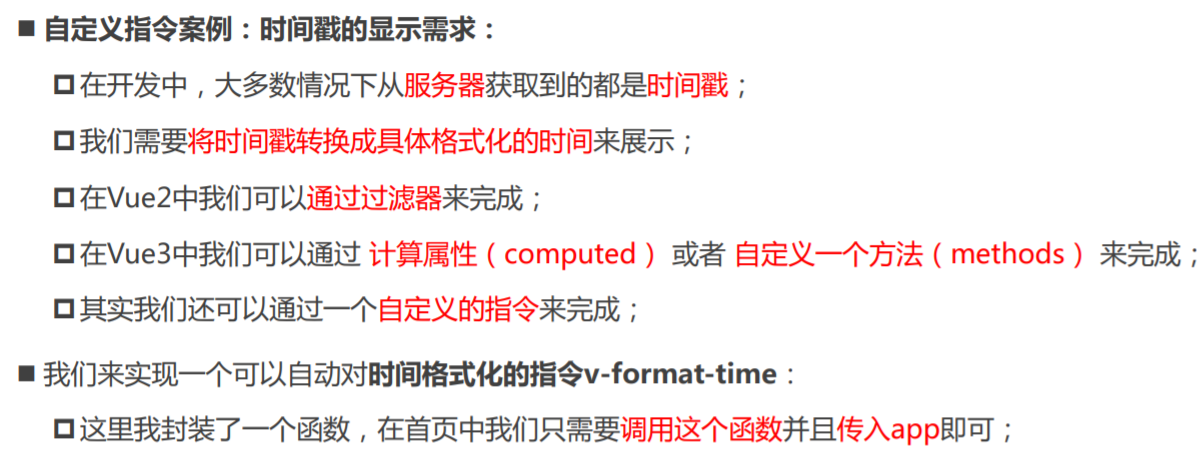
时间格式化指令

main.js
import { createApp } from 'vue'
import App from './04_teleport内置组件/App.vue'
import registerDirectives from './directives'
import pluginObject from './plugins/plugins_object'
import pluginFunction from './plugins/plugins_function'

const app = createApp(App)

registerDirectives(app)

// 使用插件,use传入插件对象即可自动安装,即内部执行插件对象pluginObject.install(app)
app.use(pluginObject)
app.use(pluginFunction)

app.directive('focus', {
  mounted(el, bindings, vnode, preVnode) {
    console.log('focus mounted')
    el.focus()
  },
})

app.mount('#app')
01_默认的实现.vue
<template>
  <div>
    <input type="text" ref="input" />
  </div>
</template>

<script>
  import { ref, onMounted } from 'vue'

  export default {
    setup() {
      // 开始传空值,最开始去里面取到的是空值,自动绑定后,元素就会作为它的值
      const input = ref(null)

      // onMounted是函数,需要导入,directives中的mounted是属性
      onMounted(() => {
        input.value.focus()
      })

      return {
        input,
      }
    },
  }
</script>

<style scoped></style>
02_局部自定义指令.vue
<template>
  <div>
    <input type="text" v-focus />
  </div>
</template>

<script>
  export default {
    // 局部指令
    directives: {
      // 指令名称,不需要在前面加-
      focus: {
        // 当上面的input挂载到DOM元素上,就会执行mounted生命周期
        // 参数是自动传入的,binding.value 是我们传递给指令的值
        // onMounted是函数,需要导入,directives中的mounted是属性
        mounted(el, bindings, vnode, preVnode) {
          console.log('focus mounted')
          el.focus()
        },
      },
    },
  }
</script>

<style scoped></style>
03_生命周期和参数-修饰符.vue
<template>
  <div>
    <!-- haha要用双层引号包裹 -->
    <button v-if="counter < 2" v-why.aaaa.bbbb="'haha'" @click="increment">
      当前计数: {{ counter }}
    </button>
  </div>
</template>

<script>
  import { ref } from 'vue'

  export default {
    // 局部指令
    directives: {
      why: {
        created(el, bindings, vnode, preVnode) {
          console.log('why created', el, bindings, vnode, preVnode)
          console.log(bindings.value)
          console.log(bindings.modifiers)
        },
        beforeMount() {
          console.log('why beforeMount')
        },
        mounted() {
          console.log('why mounted')
        },
        beforeUpdate(el) {
          console.log('why beforeUpdate')
          console.log(el.innerHTML)
        },
        updated(el) {
          console.log('why updated')
          console.log(el.innerHTML)
        },
        beforeUnmount() {
          console.log('why beforeUnmount')
        },
        unmounted() {
          console.log('why unmounted')
        },
      },
    },
    setup() {
      const counter = ref(0)
      const increment = () => counter.value++

      return {
        counter,
        increment,
      }
    },
  }
</script>

<style scoped></style>
04.时间格式化指令.vue
<template>
  <h2 v-format-time="'YYYY/MM/DD'">{{ timestamp }}</h2>
</template>

<script>
  export default {
    setup() {
      const timestamp = 1624452193

      return {
        timestamp,
      }
    },
    mounted() {
      console.log('app mounted')
    },
  }
</script>

<style scoped></style>
index.js
import registerFormatTime from './format-time';

export default function registerDirectives(app) {
  registerFormatTime(app);
}
import dayjs from 'dayjs'

export default function (app) {
  // DD:大写,否则显示星期几;HH:大写是24小时制,小写是12小时制
  let formatString = 'YYYY-MM-DD HH:mm:ss'

  app.directive('format-time', {
    // 初始化
    created(el, bindings) {
      if (bindings.value) {
        formatString = bindings.value
      }
    },
    mounted(el) {
      console.log('format mounted')
      const textContent = el.textContent
      let timestamp = parseInt(textContent)

      if (textContent.length === 10) {
        timestamp = timestamp * 1000
      }
      el.textContent = dayjs(timestamp).format(formatString)
    },
  })
}
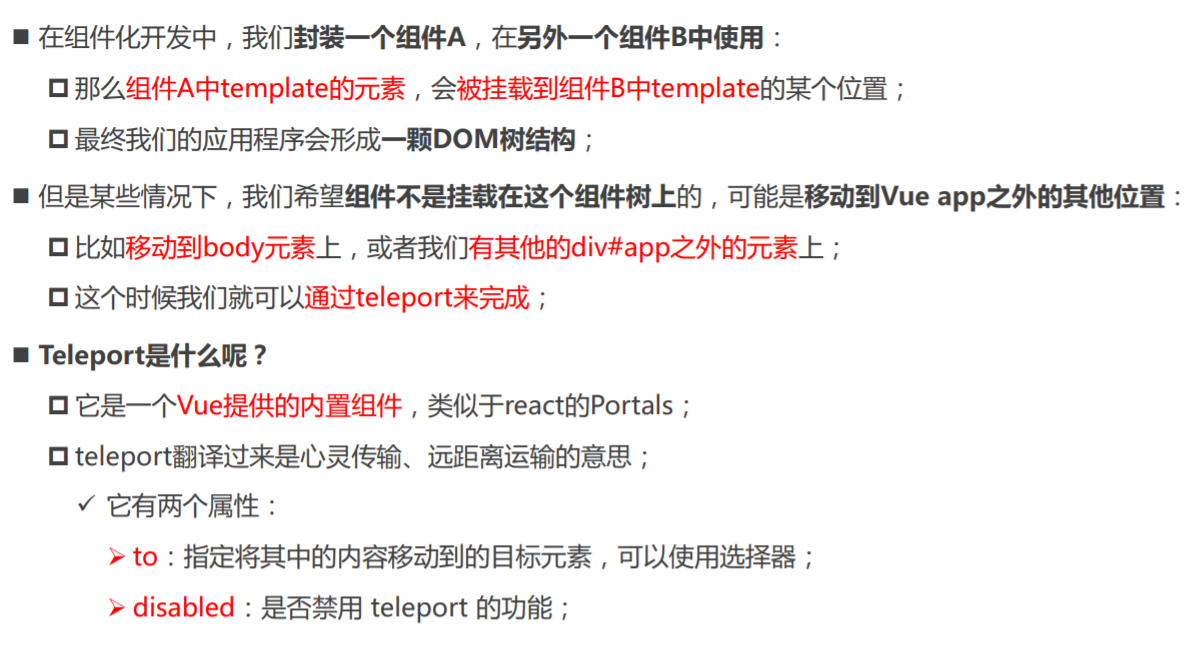
认识Teleport
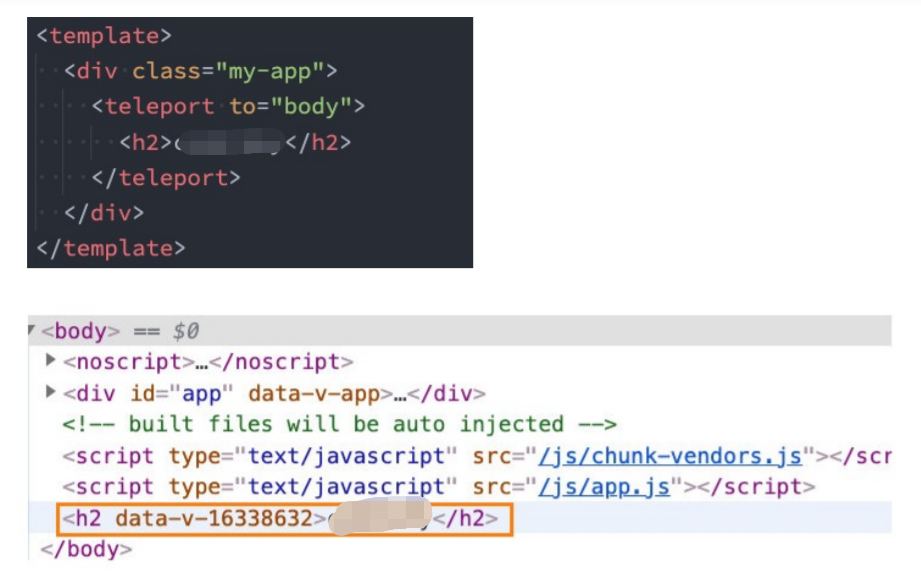
下面代码的效果
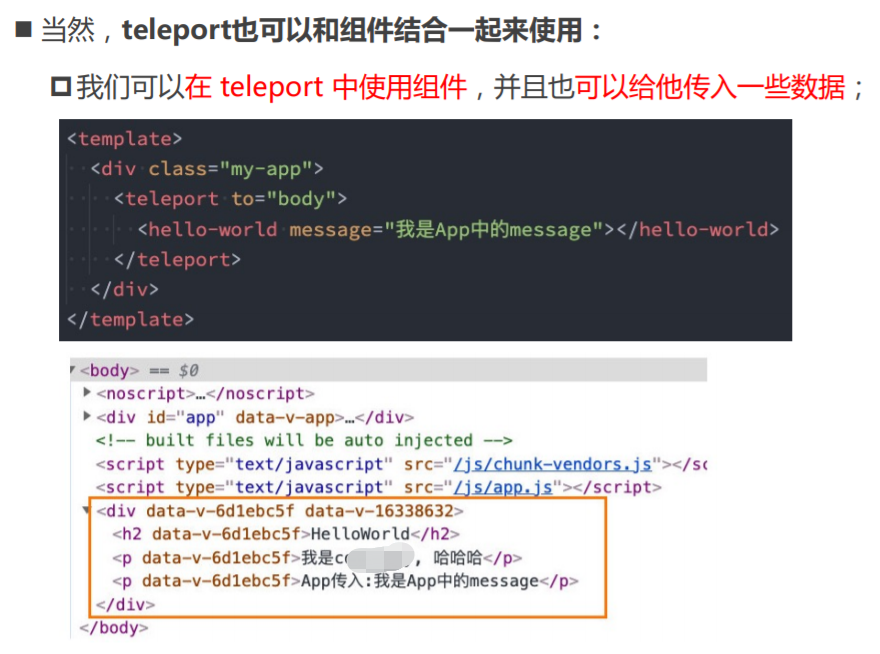
和组件结合使用
多个teleport
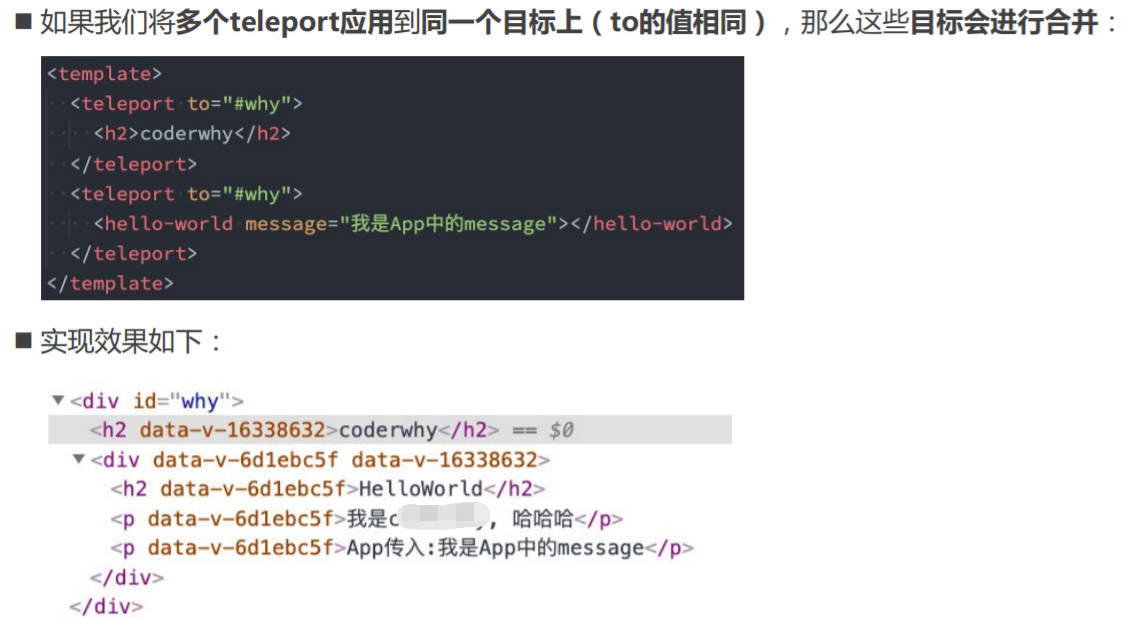
App.vue
<template>
  <div class="app">
    <teleport to="#why">
      <h2>当前计数</h2>
      <button>+1</button>
      <hello-world></hello-world>
    </teleport>

    <teleport to="#why">
      <span>呵呵呵呵</span>
    </teleport>
  </div>
</template>

<script>
  import { getCurrentInstance } from 'vue'

  import HelloWorld from './HelloWorld.vue'

  export default {
    components: {
      HelloWorld,
    },
    setup() {
      const instance = getCurrentInstance() // 拿到组件实例
      // appContext:app上下文,就相当于app了
      console.log(instance.appContext.config.globalProperties.$name)
    },
    mounted() {
      console.log(this.$name)
    },
    methods: {
      foo() {
        console.log(this.$name)
      },
    },
  }
</script>

<style scoped></style>
HelloWorld.vue
<template>
  <div>
    <h2>Hello World</h2>
  </div>
</template>

<script>
  export default {}
</script>

<style scoped></style>
认识Vue插件
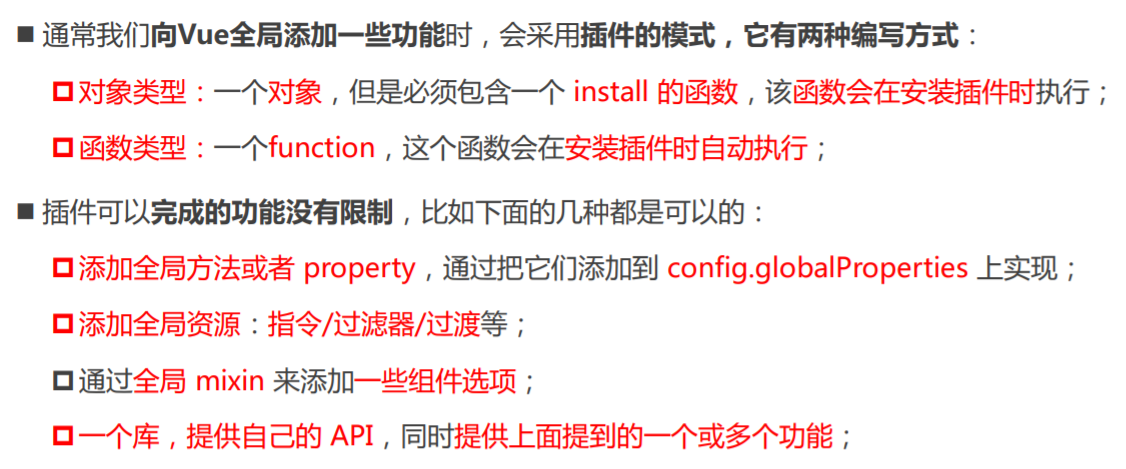
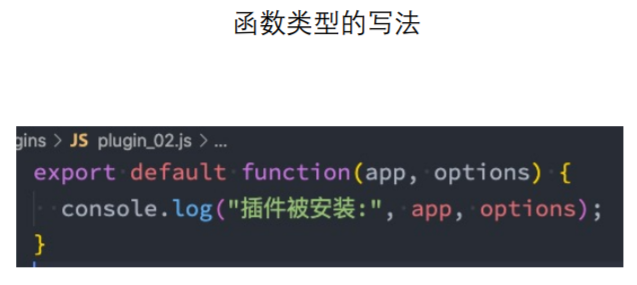
插件的编写方式
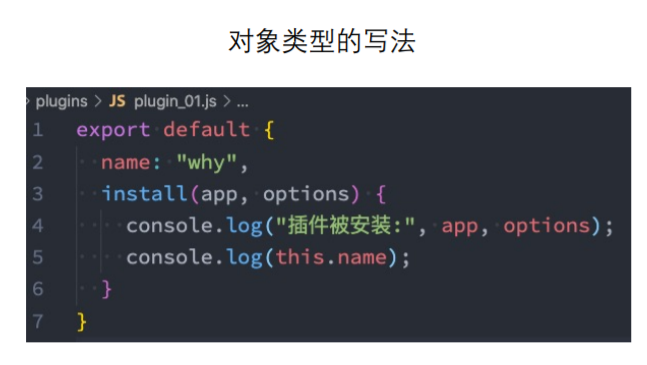
plugins_object.js
export default {
  // app是默认传递过来的参数
  install(app) {
    // 【这样的话,$name就全局可用。】
    app.config.globalProperties.$name = 'haha'
  },
}
plugins_function.js
export default function (app) {
  console.log(app)
}