启动Eureka注册中心之后,服务提供方就可以注册到Eureka上去(作为一个Eureka的客户端)
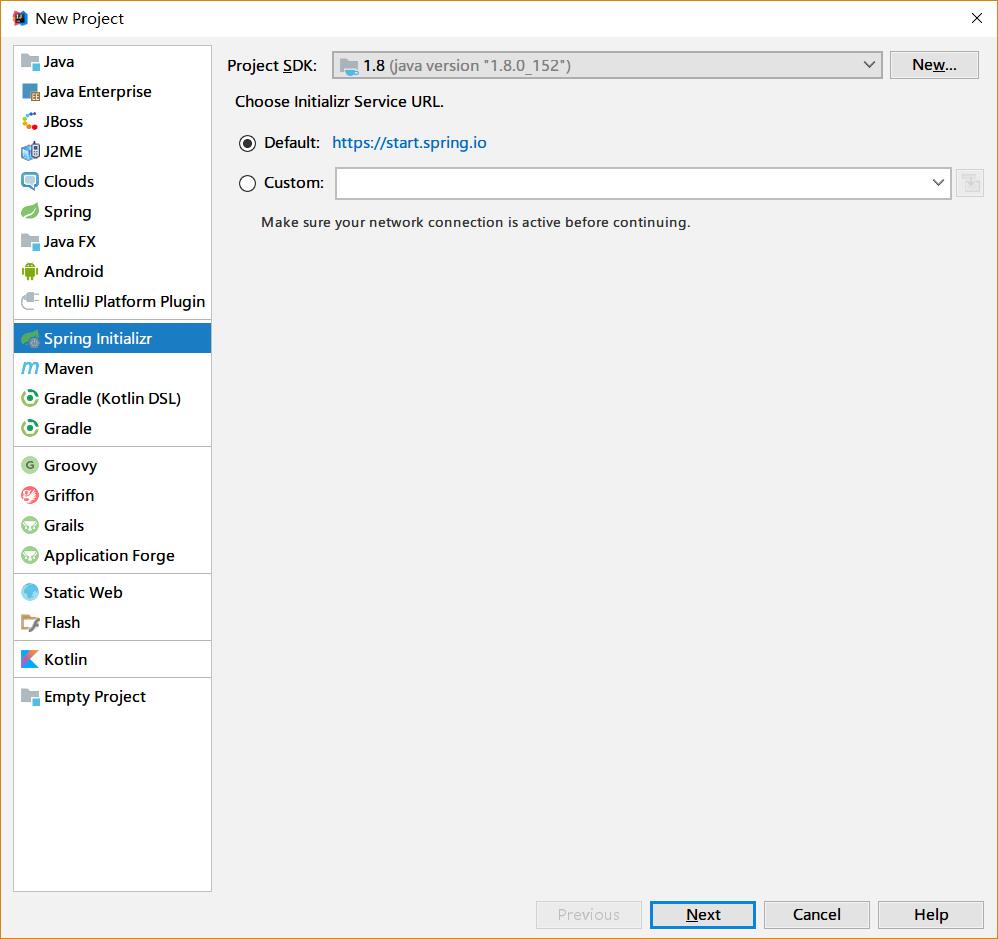
我们使用IDEA提供的spring initializer来新建一个springcloud项目
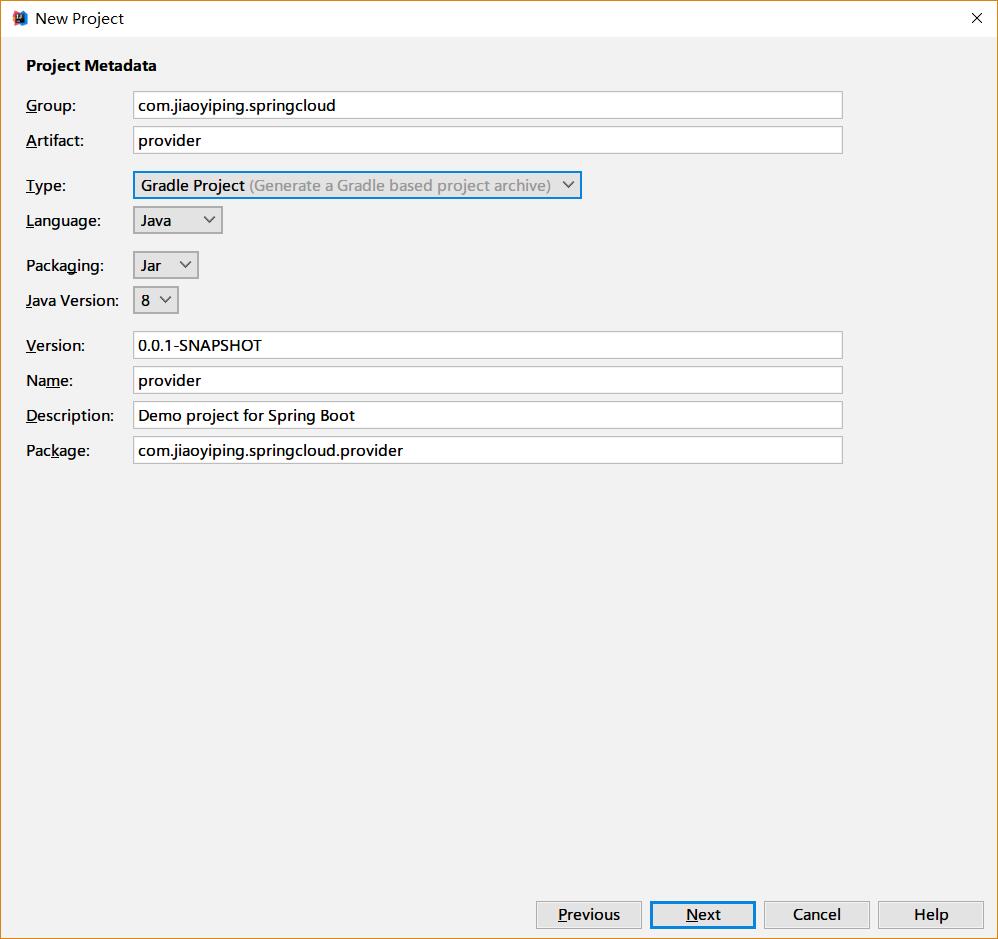
填写相关的包名等信息:
选择web和Erureka Discorvery
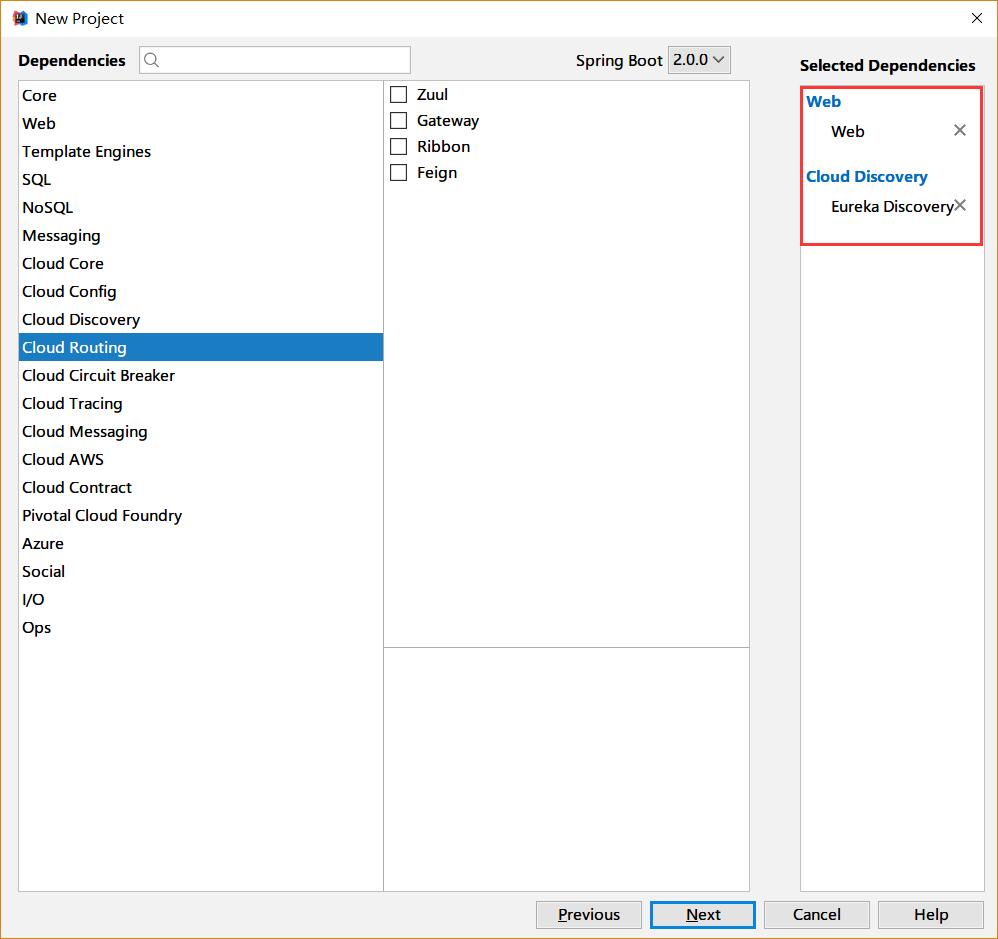
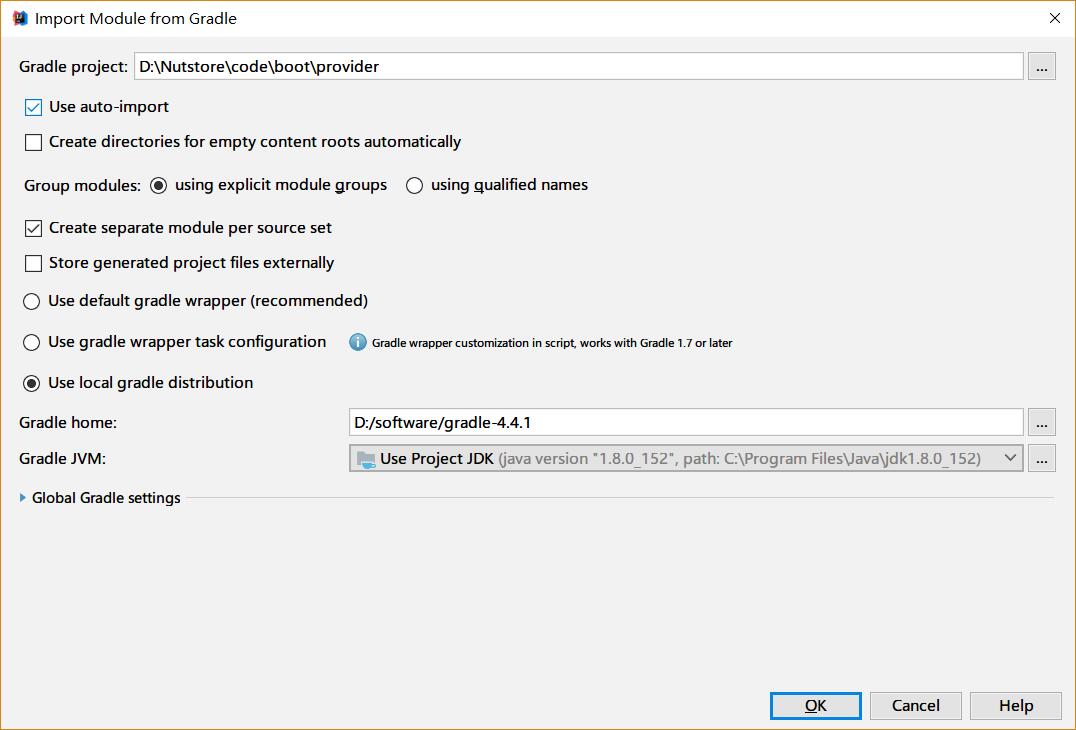
填写Gradle等相关信息完成创建
我们需要在启动类里边增加注解 @EnableDiscoveryClient 来标识这是一个Eureka客户端
启动类的代码如下:
package com.jiaoyiping.springcloud.provider;

import org.springframework.boot.SpringApplication;
import org.springframework.boot.autoconfigure.SpringBootApplication;
import org.springframework.cloud.client.discovery.EnableDiscoveryClient;

@SpringBootApplication
@EnableDiscoveryClient
public class ProviderApplication {

    public static void main(String[] args) {
	    SpringApplication.run(ProviderApplication.class, args);
    }
}
创建一个我们用来真正提供服务的Controller(在本例中,我们假设从路径中取到两个int值,将他们的和用字符形式返回,代码如下):
package com.jiaoyiping.springcloud.provider;

import org.springframework.web.bind.annotation.PathVariable;
import org.springframework.web.bind.annotation.RequestMapping;
import org.springframework.web.bind.annotation.RestController;

@RestController
public class ProductionController {
    //简单计算两个数字的和,转换为字符串返回
    @RequestMapping(value = "/add/{a}/{b}")
    public String add(@PathVariable("a") int a, @PathVariable("b") int b) {
        return (a + b) + "";
    }
}
修改应用的配置文件,指定服务的名称,网卡信息和eureka等相关信息:配置文件如下:
spring:
  application:
    name: provider
  cloud:
    inetutils:
      preferred-networks: 192.168.1.
server:
  port: 8082
eureka:
  client:
    service-url:
      defaultZone: http://127.0.0.1:8081/eureka
  instance:
    prefer-ip-address: true
    instance-id: 192.168.1.5:${server.port}
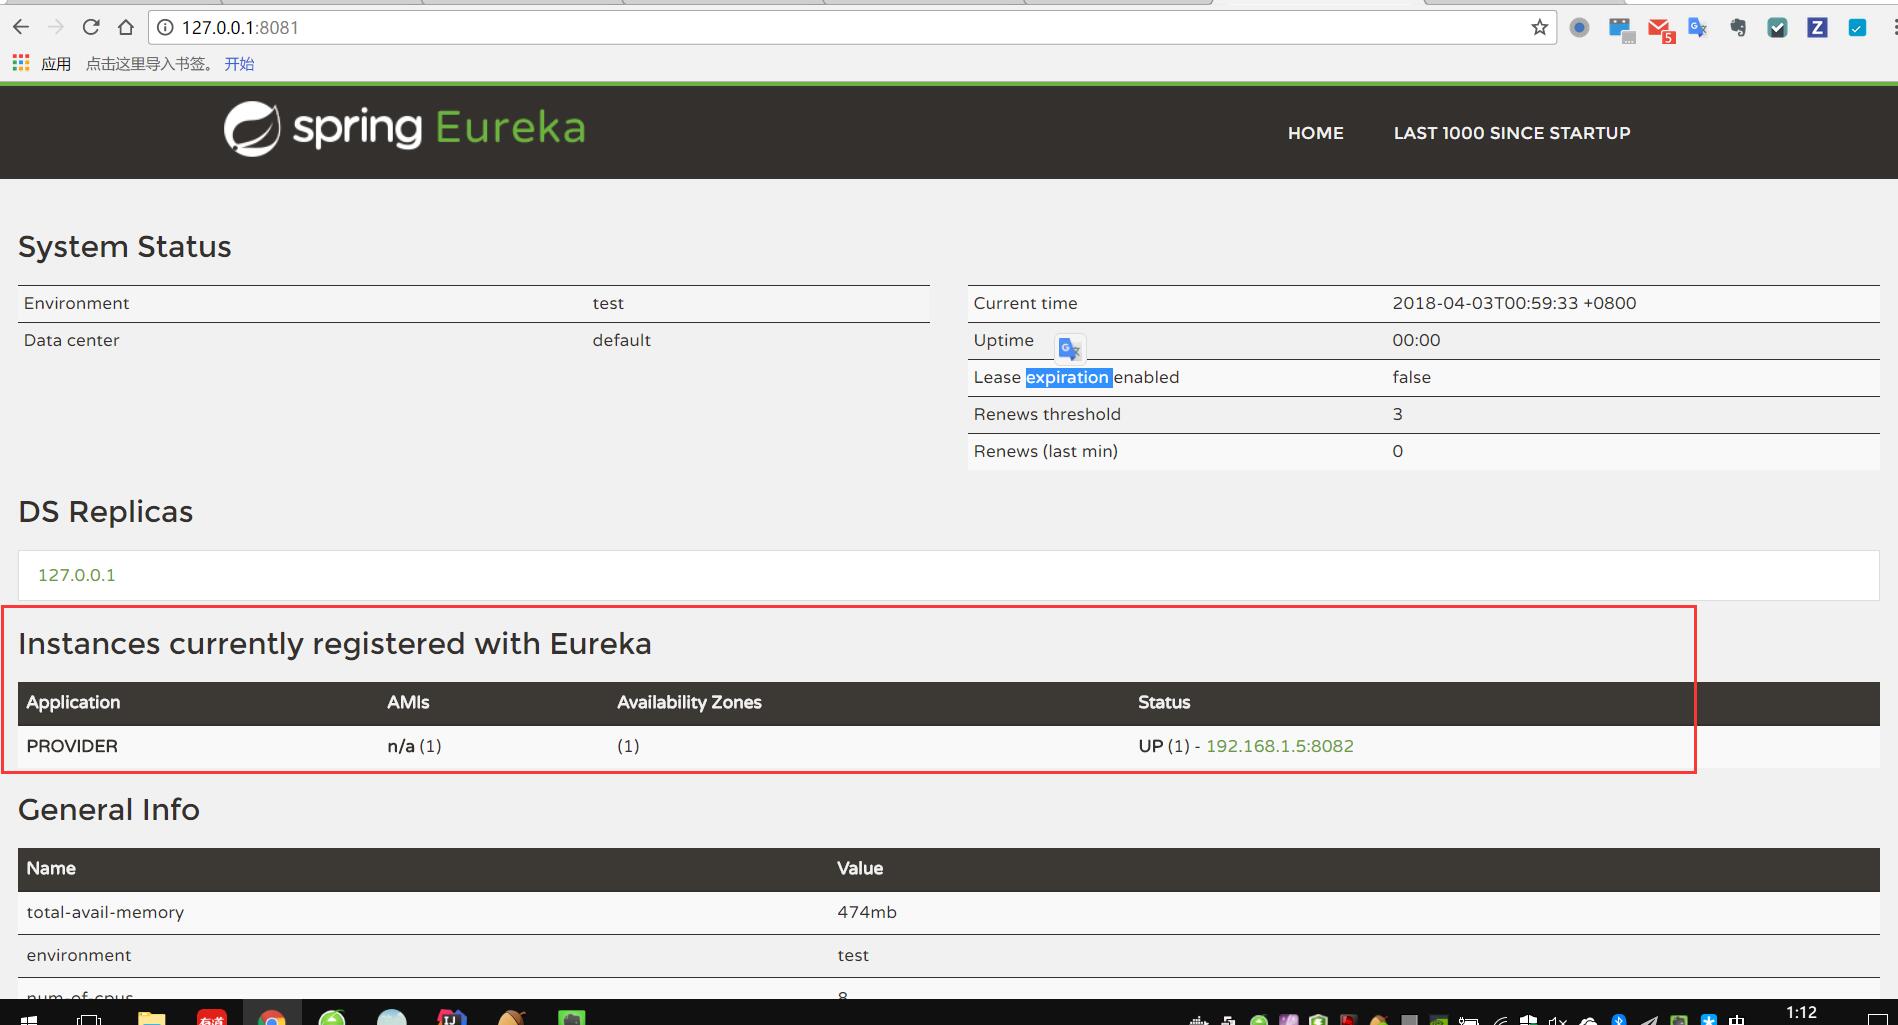
运行启动类,可以在eureka的页面上看到一个名为provider的服务已经注册上去了:
服务的消费方:
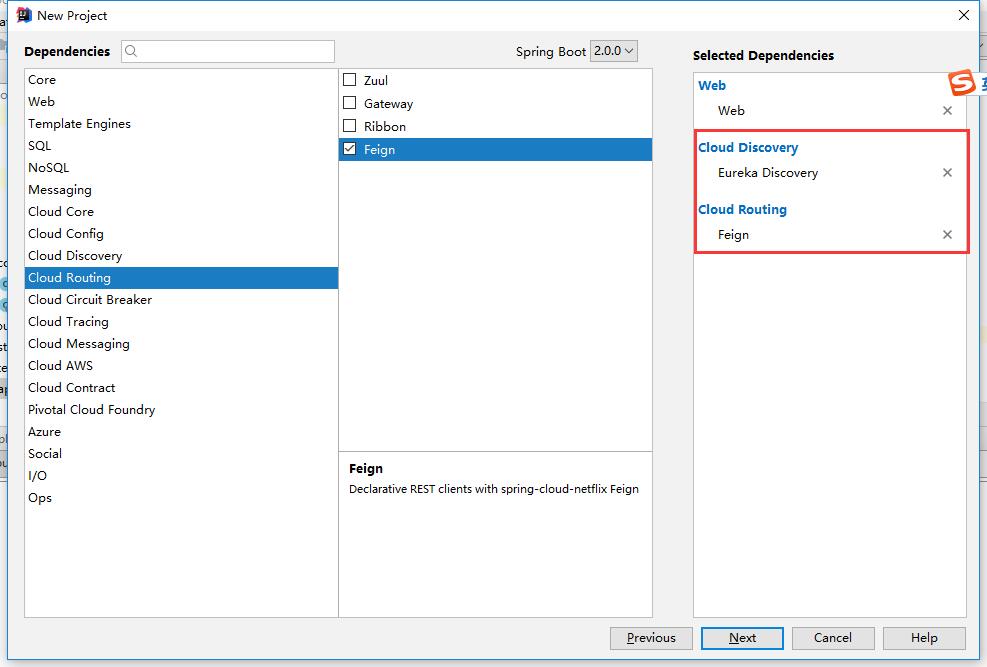
服务的消费方也是和服务提供方一样,也会到Eureka中去注册,按照上边的步骤,我们新建一个consumer项目,比前边的provider多加上Feign的依赖
在启动类上边,多加两个注解:
@EnableFeignClients
@EnableDiscoveryClient
启动类的代码如下:
package com.jiaoyiping.springcloud.consumer;

import org.springframework.boot.SpringApplication;
import org.springframework.boot.autoconfigure.SpringBootApplication;
import org.springframework.cloud.client.discovery.EnableDiscoveryClient;
import org.springframework.cloud.openfeign.EnableFeignClients;

@SpringBootApplication
@EnableFeignClients
@EnableDiscoveryClient
public class ConsumerApplication {

    public static void main(String[] args) {
        SpringApplication.run(ConsumerApplication.class, args);
    }
}
新建一个ProductControllerRemote接口,作为FeignClient,里边定义的方法和服务提供方的方法一致;
package com.jiaoyiping.springcloud.consumer;

import org.springframework.cloud.openfeign.FeignClient;
import org.springframework.web.bind.annotation.PathVariable;
import org.springframework.web.bind.annotation.RequestMapping;
@FeignClient(name = "provider")
public interface ProductControllerRemote {
    @RequestMapping(value = "/add/{a}/{b}")
    String add(@PathVariable("a") int a, @PathVariable("b") int b);
}
@FeignClient注解的name,指的是注册到eureka上的应用的名称(在服务提供方的spring的配置文件里配置) 接口的方法映射到服务提供方的相应的方法上,只需要定义,不需要实现,Feign会自动调用服务提供方的相应的方法
使用@FeignClient注解的这个类,可以作为一个spring的bean,注入到需要的地方去,直接调用相应的方法即可
作为例子,我们在消费方新定义一个Controller,来调用ProductControllerRemote:
package com.jiaoyiping.springcloud.consumer;

import org.springframework.beans.factory.annotation.Autowired;
import org.springframework.web.bind.annotation.PathVariable;
import org.springframework.web.bind.annotation.RequestMapping;
import org.springframework.web.bind.annotation.RestController;
@RestController
public class ConsumerController {
    @Autowired
    private ProductControllerRemote productControllerRemote;

    @RequestMapping("/getresult/{a}/{b}")
    public String getResult(@PathVariable("a") int a, @PathVariable("b") int b) {
        return productControllerRemote.add(a, b);
    }
}
然后是消费方的配置文件,需要配置Eureka的地址和服务的端口等信息:
spring:
  application:
    name: cunsumer
  cloud:
    inetutils:
      preferred-networks: 192.168.1.
server:
  port: 8083
eureka:
  client:
    service-url:
      defaultZone: http://127.0.0.1:8081/eureka/
  instance:
    prefer-ip-address: true
    instance-id: 192.168.1.5:${server.port}
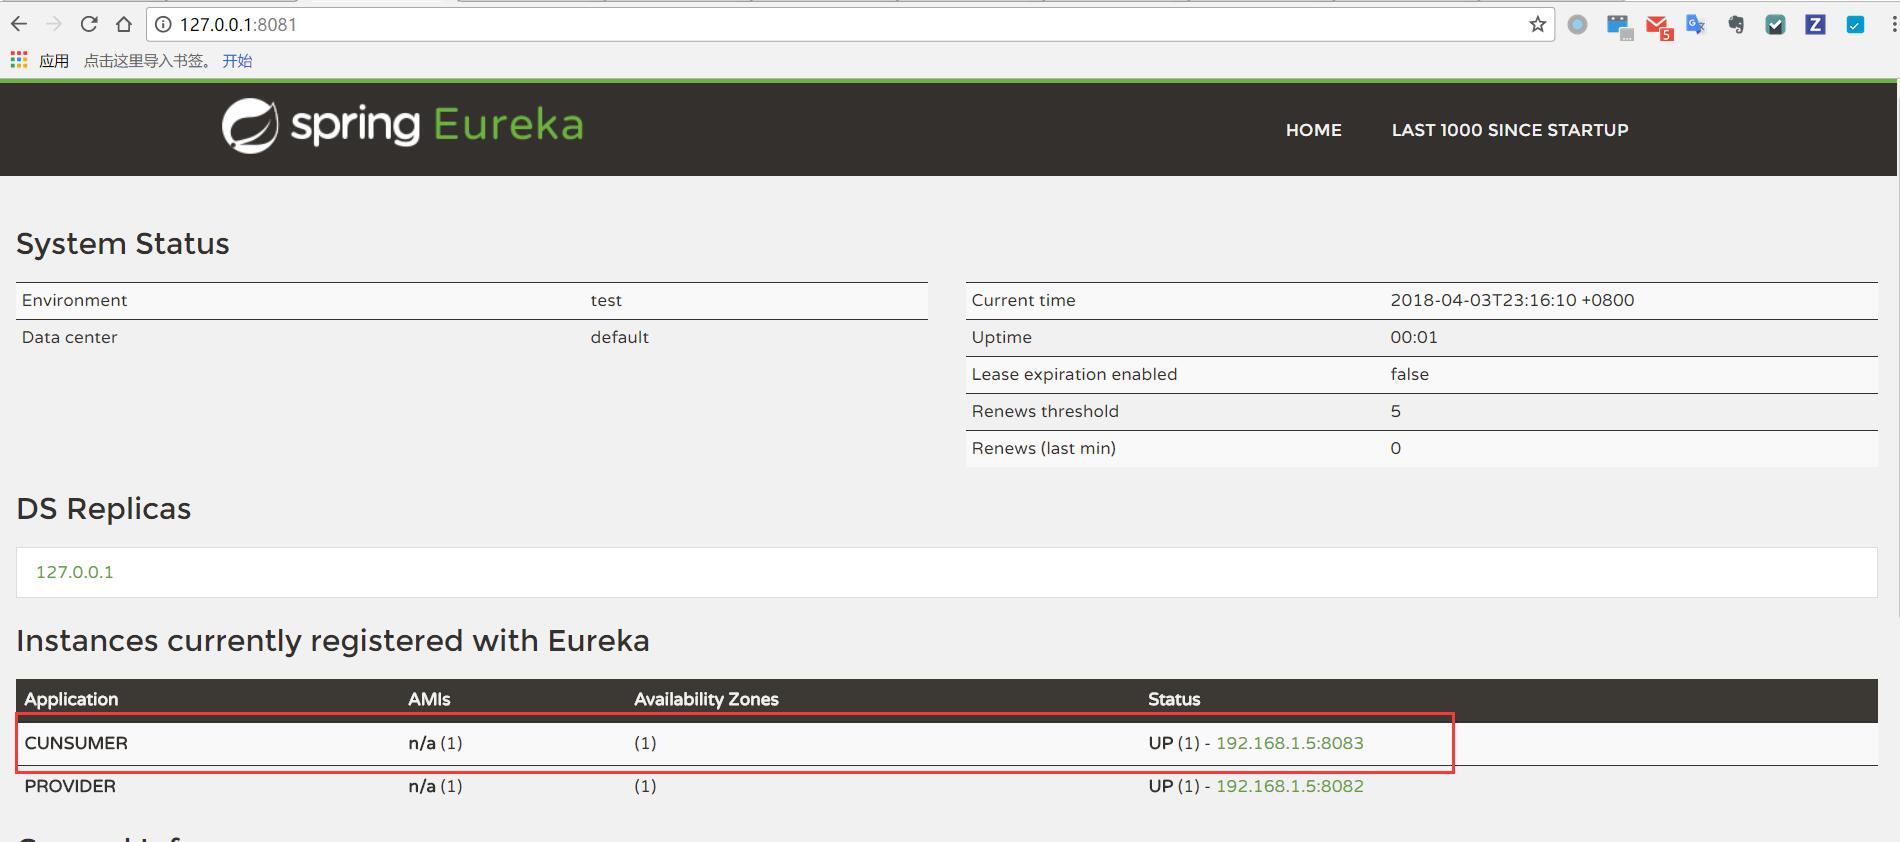
启动消费方的启动类,可以看到,消费方也被注册到Eureka中去了:
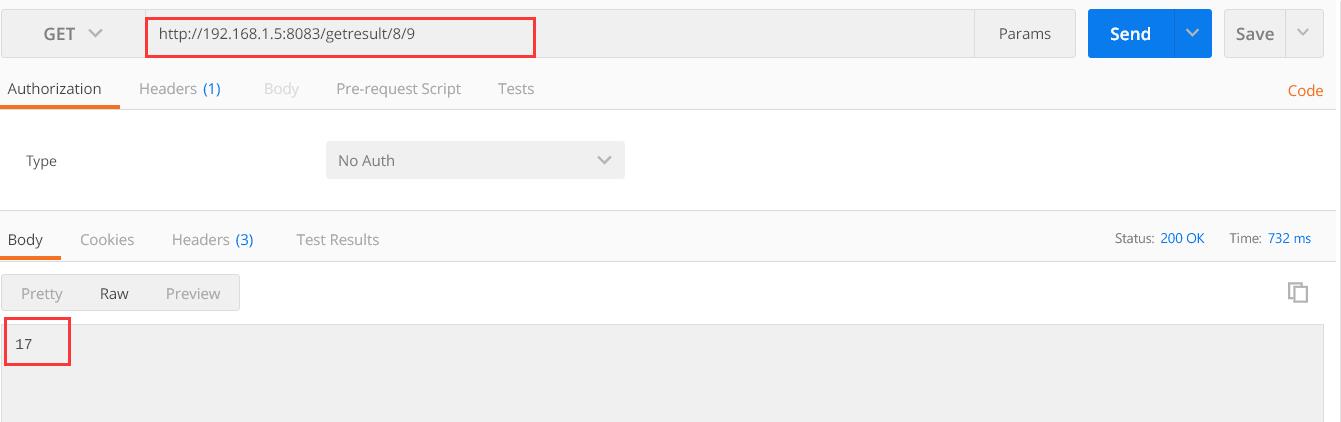
使用postman调用消费方对外提供的接口,我们可以看到,消费方调用了服务提供方提供的服务,正确的返回了结果: