一、添加pom文件依赖
 <!--rabbit mq-->
        <dependency>
            <groupId>org.springframework.boot</groupId>
            <artifactId>spring-boot-starter-amqp</artifactId>
        </dependency>
二、在.yml配置文件中对mq进行配置,如下所示
1 mq:
2   rabbit:
3     host: 192.168.10.70(换成自己的ip)
4     port: 5672
5     virtualHost: /
6     username: 用户名
7     password: 密码
三、相对用的配置类,具体的应用配置信息
 1 package com.zthl.mall.mini.mq.config;
 2
 3 import com.rabbitmq.client.ConnectionFactory;
 4 import org.springframework.amqp.core.Queue;
 5 import org.springframework.amqp.rabbit.connection.CachingConnectionFactory;
 6 import org.springframework.beans.factory.annotation.Value;
 7 import org.springframework.context.annotation.Bean;
 8 import org.springframework.context.annotation.Configuration;
 9 import org.springframework.stereotype.Component;
10
11 /**
12  * Created by qiuzhijie.
13  * Date: 2019-01-07
14  * 备注: mq config information
15  */
16 @Configuration
17 public class RabbitMQConfig {
18
19     @Value("${mq.rabbit.host}")
20     private String HOST;
21     @Value("${mq.rabbit.port}")
22     private Integer PORT;
23     @Value("${mq.rabbit.virtualHost}")
24     private String VIRTUALHOST;
25     @Value("${mq.rabbit.username}")
26     private String USERNAME;
27     @Value("${mq.rabbit.password}")
28     private String PASSWORD;
29
30     @Bean
31     public CachingConnectionFactory connectionFactory() {
32         CachingConnectionFactory connectionFactory = new CachingConnectionFactory(this.HOST,this.PORT);
33
34         connectionFactory.setUsername(this.USERNAME);
35         connectionFactory.setPassword(this.PASSWORD);
36         connectionFactory.setVirtualHost(this.VIRTUALHOST);
37
38         return connectionFactory;
39     }
40     @Bean
41     public Queue queue() {
42         return new Queue("mall.paied.order",true);
43     }
44
45 }
四、springboot默认给实现了AmqpTemplate,所以这里直接注入使用来发消息,这里简单使用测试一下,根据场景使用不同的模式,这里只做与一下最简单的demo
 1 package com.zthl.mall.mini.mq.controller;
 2
 3
 4 import org.springframework.amqp.core.AmqpTemplate;
 5 import org.springframework.beans.factory.annotation.Autowired;
 6 import org.springframework.stereotype.Component;
 7
 8
 9 /**
10  * Created by qiuzhijie.
11  * Date: 2019-01-07
12  * 备注:
13  */
14 @Component
15 public class MqSender {
16
17     @Autowired
18     private AmqpTemplate rabbitTemplate;
19
20     public void send()throws Exception{
21
22         rabbitTemplate.convertAndSend("mall.paied.order","hello,rabbit-");
23         System.out.println("Sender:"+"rabbit-");
24     }
25 }
五、测试发送消息
package com.zthl.mall.mini.mq.test;

import com.zthl.mall.mini.CloudHallMallMiniApplication;
import com.zthl.mall.mini.mq.controller.MqSender;
import org.springframework.beans.factory.annotation.Autowired;
import org.springframework.web.bind.annotation.RequestMapping;
import org.springframework.web.bind.annotation.RestController;

/**
 * Created by qiuzhijie.
 * Date: 2019-01-07
 * 备注:
 */
@RestController
@RequestMapping(value = "/api/mq")
public class TestRabbitMQ {

    @Autowired
    private MqSender mqSender;

    @RequestMapping("/send")
    public void testRabbit() throws Exception {
        mqSender.send();
    }


}
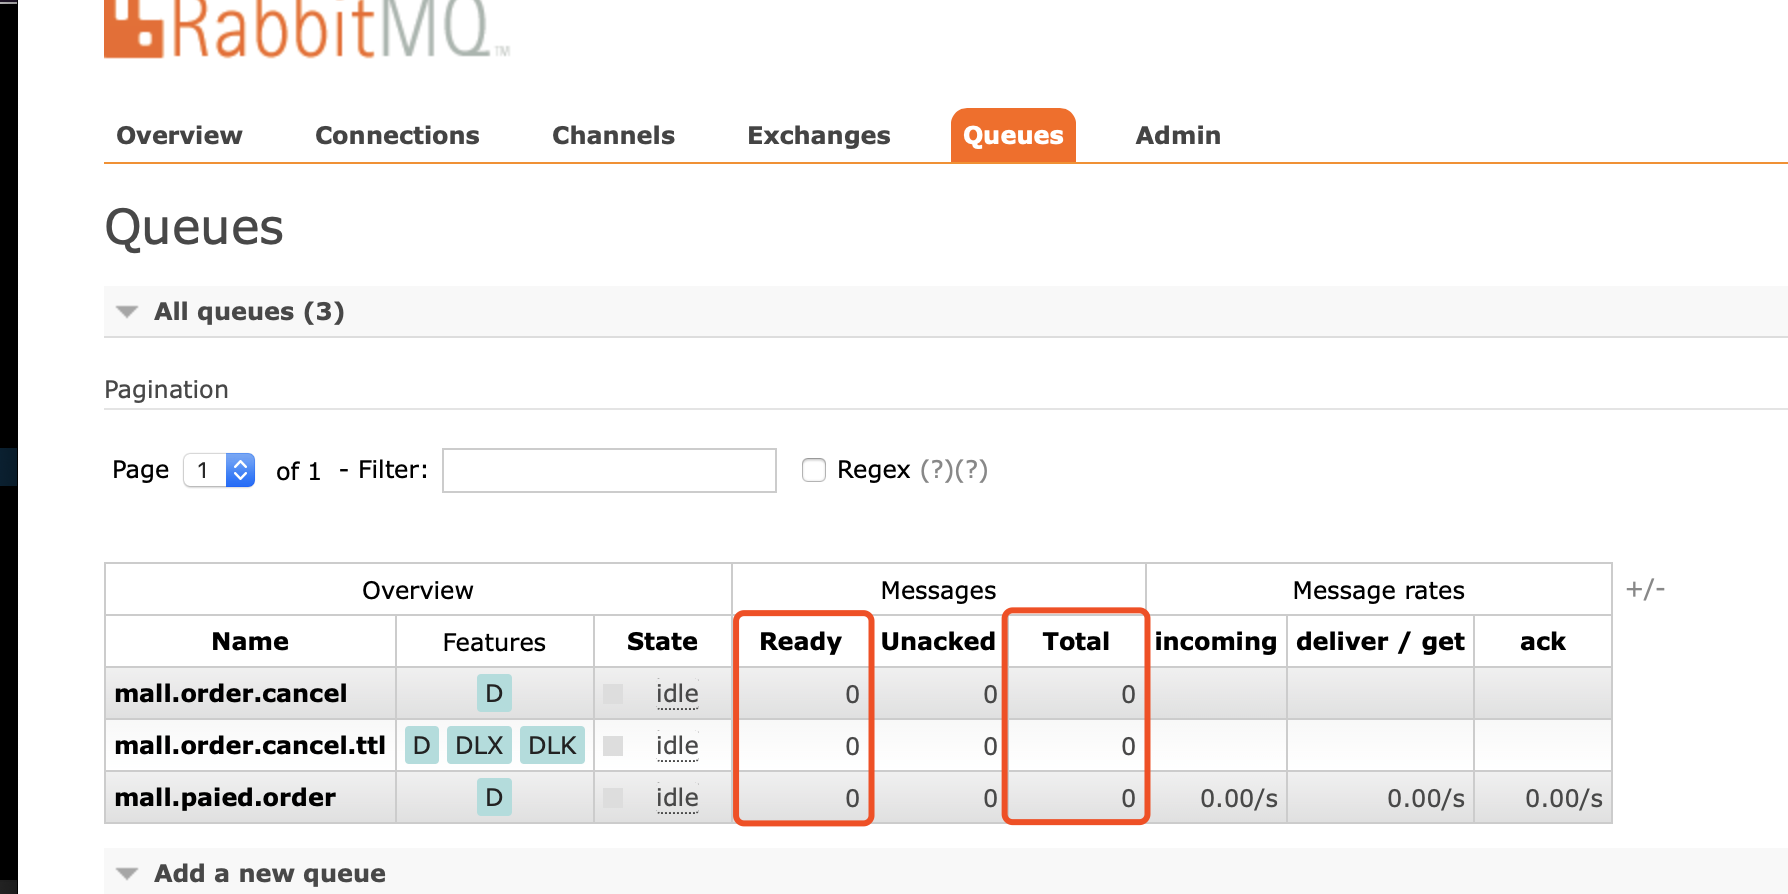
六、是否发送成功可以在网页查看Messages,成功的情况下,Ready与Total对应的数量变化
