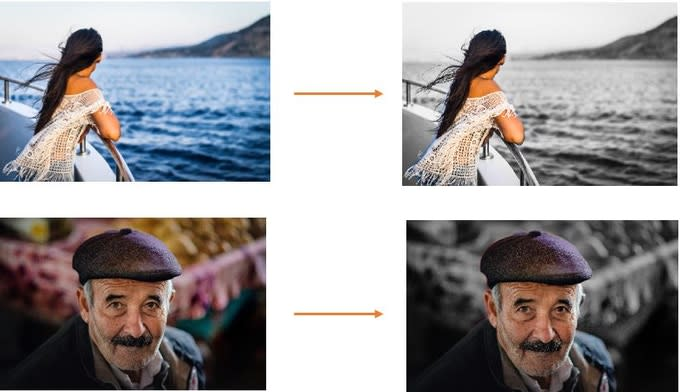
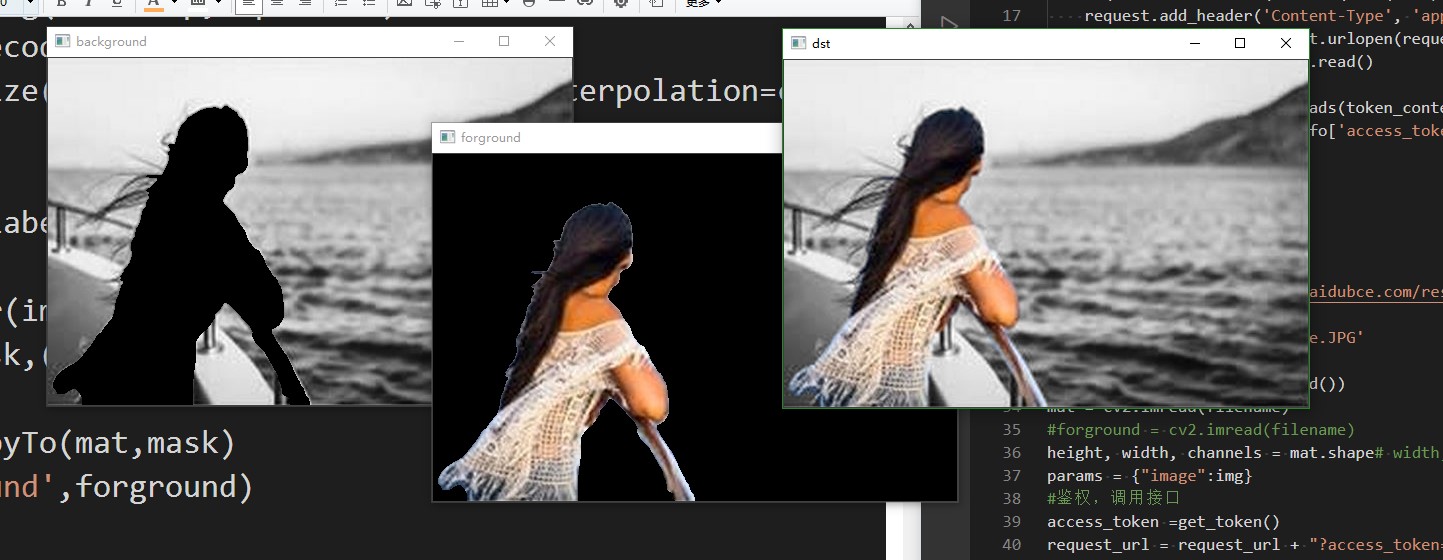
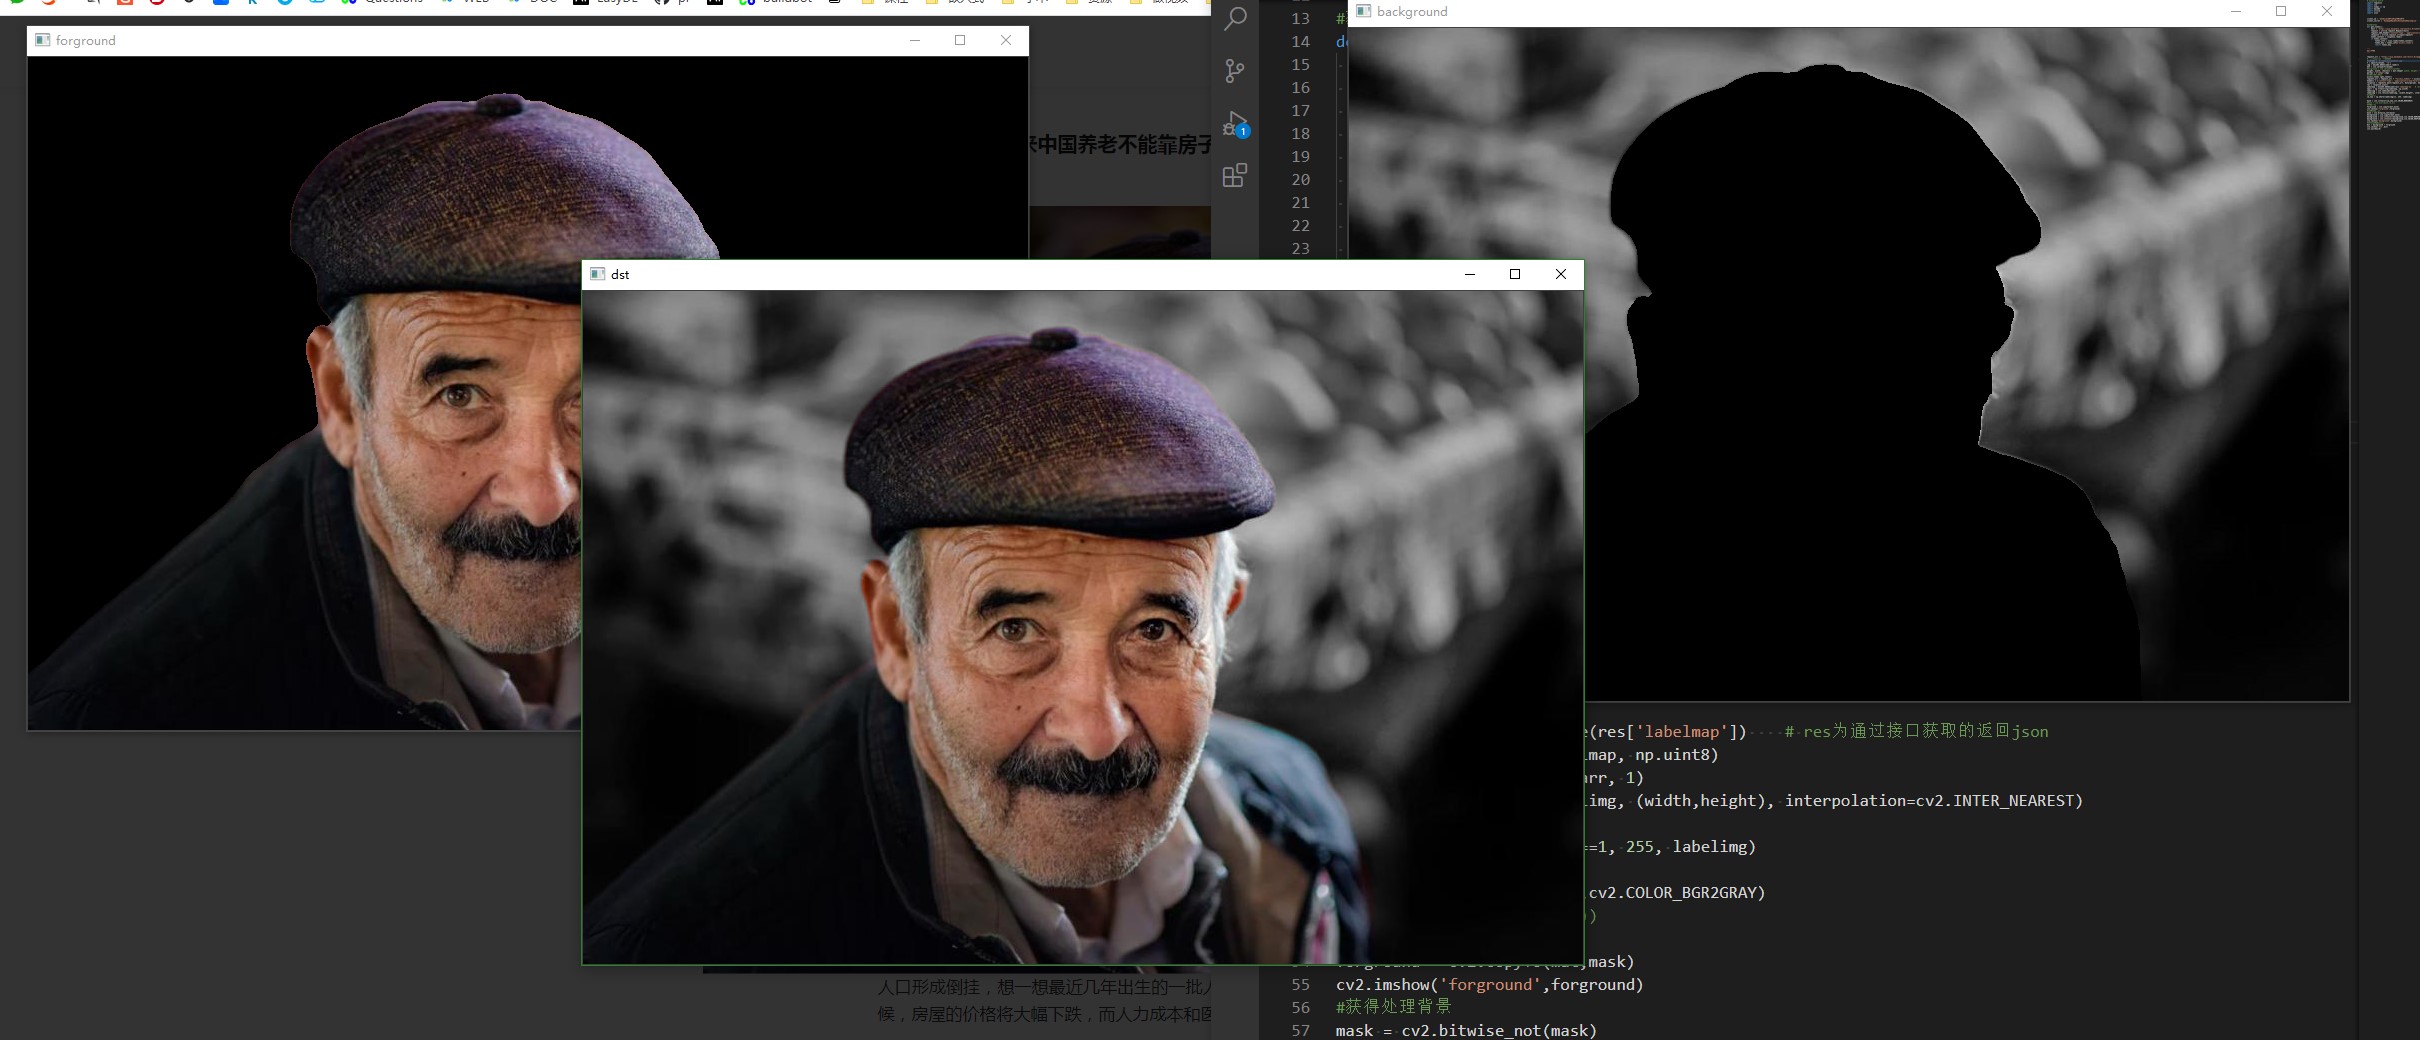
需求描述:实现人像前景的图片的背景分割,灰度化背景后重新放置回去。
一、实现分析
这个关键就是搭建工具链,将相关东西串起来。
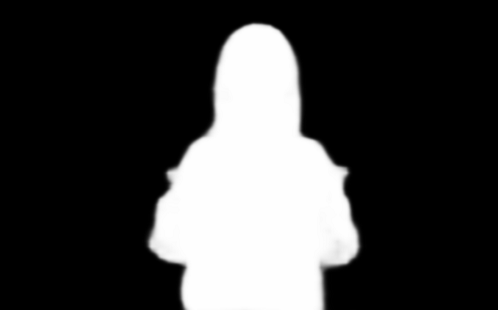
人体轮廓范围识别,与背景进行分离,适用于拍照背景替换、照片合成、身体特效等场景。输入正常人像图片,返回分割后的二值结果图、灰度图、透明背景的人像图(png格式);并输出画面中的人数、人体坐标信息,可基于此对图片进行过滤、筛选,如筛选出大于x人的图片进行特殊处理。
分割效果示意图:
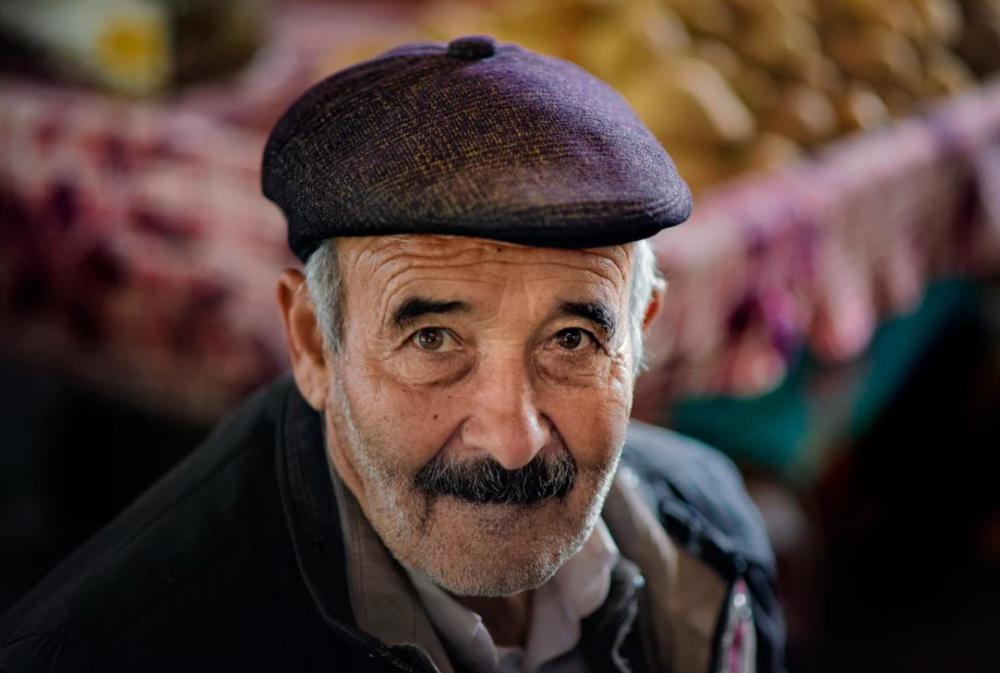
1)原图

2)二值图

3)灰度图
4)前景人像图(透明背景)

注:返回的二值图像需要进行二次处理才可查看分割效果,示例代码如下;灰度图和前景人像图不用处理,直接解码保存图片即可。
Python:
    import cv2
    import numpy as np
    import base64
    labelmap = base64.b64decode(res['labelmap'])    # res为通过接口获取的返回json
    nparr = np.fromstring(labelmap, np.uint8)
    labelimg = cv2.imdecode(nparr, 1)
    # width, height为图片原始宽、高
    labelimg = cv2.resize(labelimg, (width, height), interpolation=cv2.INTER_NEAREST)
    im_new = np.where(labelimg==1, 255, labelimg)
    cv2.imwrite('path/to/your/outputfile', im_new)
而灰度化方法,也就是一行代码。
二、实现过程
# encoding:utf-8
import requests
import cv2
import numpy as np
import base64
import urllib
import json
client_id = 'X'
client_secret = 'X'
#获取token
def get_token():
host = 'https://aip.baidubce.com/oauth/2.0/token?grant_type=client_credentials&client_id=' + client_id + '&client_secret=' + client_secret
request = urllib.request.Request(host)
request.add_header('Content-Type', 'application/json; charset=UTF-8')
response = urllib.request.urlopen(request)
token_content = response.read()
if token_content:
token_info = json.loads(token_content)
token_key = token_info['access_token']
return token_key
'''
人像分割
'''
request_url = "https://aip.baidubce.com/rest/2.0/image-classify/v1/body_seg"
# 二进制方式打开图片文件
filename = 'E:/sandbox/people.JPG'
f = open(filename, 'rb')
img = base64.b64encode(f.read())
mat = cv2.imread(filename)
#forground = cv2.imread(filename)
height, width, channels = mat.shape# width, height为图片原始宽、高
params = {"image":img}
#鉴权,调用接口
access_token =get_token()
request_url = request_url + "?access_token=" + access_token
headers = {'content-type': 'application/x-www-form-urlencoded'}
response = requests.post(request_url, data=params, headers=headers)
res = response.json()
labelmap = base64.b64decode(res['labelmap']) # res为通过接口获取的返回json
nparr = np.fromstring(labelmap, np.uint8)
labelimg = cv2.imdecode(nparr, 1)
labelimg = cv2.resize(labelimg, (width,height), interpolation=cv2.INTER_NEAREST)
#获得模板
im_new = np.where(labelimg==1, 255, labelimg)
mask = cv2.cvtColor(im_new,cv2.COLOR_BGR2GRAY)
mask = cv2.blur(mask,(3,3))
#分割前景
forground = cv2.copyTo(mat,mask)
cv2.imshow('forground',forground)
#获得处理背景
mask = cv2.bitwise_not(mask)
background = cv2.copyTo(mat,mask)
background = cv2.cvtColor(background,cv2.COLOR_BGR2GRAY)
background = cv2.cvtColor(background,cv2.COLOR_GRAY2BGR)
cv2.imshow('background',background)
#合并获得最后结果
dst = background + forground
cv2.imshow('dst',dst)
cv2.waitKey(0)
初步小结:
1、easyDL提供的丰富功能能够极大地增强图像处理的领域,是未来的道路;
2、python版本的OpenCV语法很不一样;
3、python版本的OpenCV是有效融合easyDL的天然方法,所以改变是必经之路。
参考资料:
1、官方材料:https://ai.baidu.com/ai-doc/BODY/Fk3cpyxua

