一:介绍
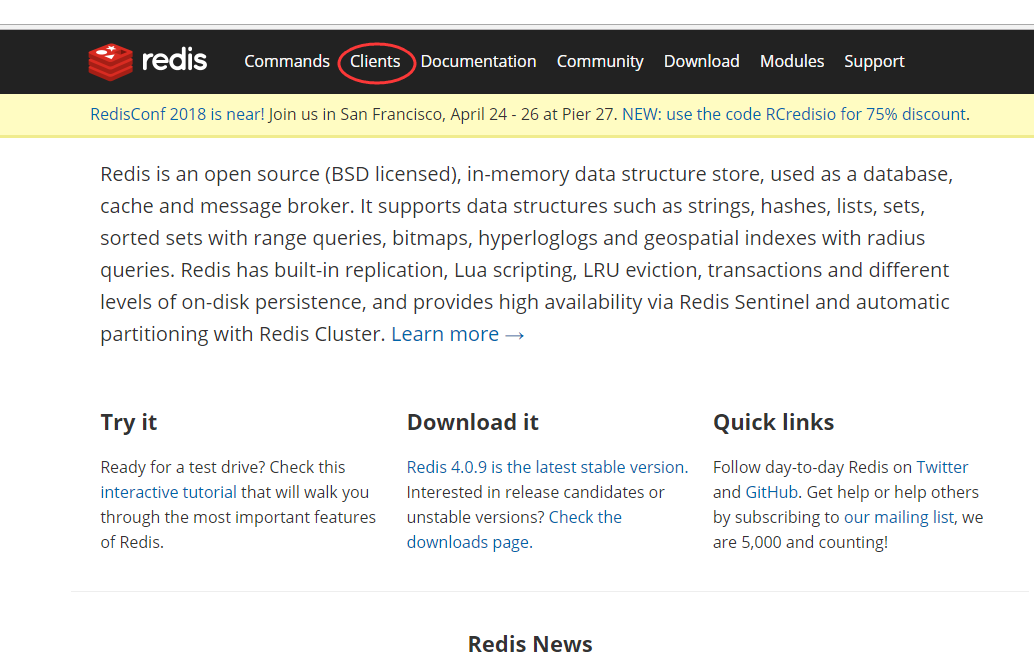
1.Jedis的官网
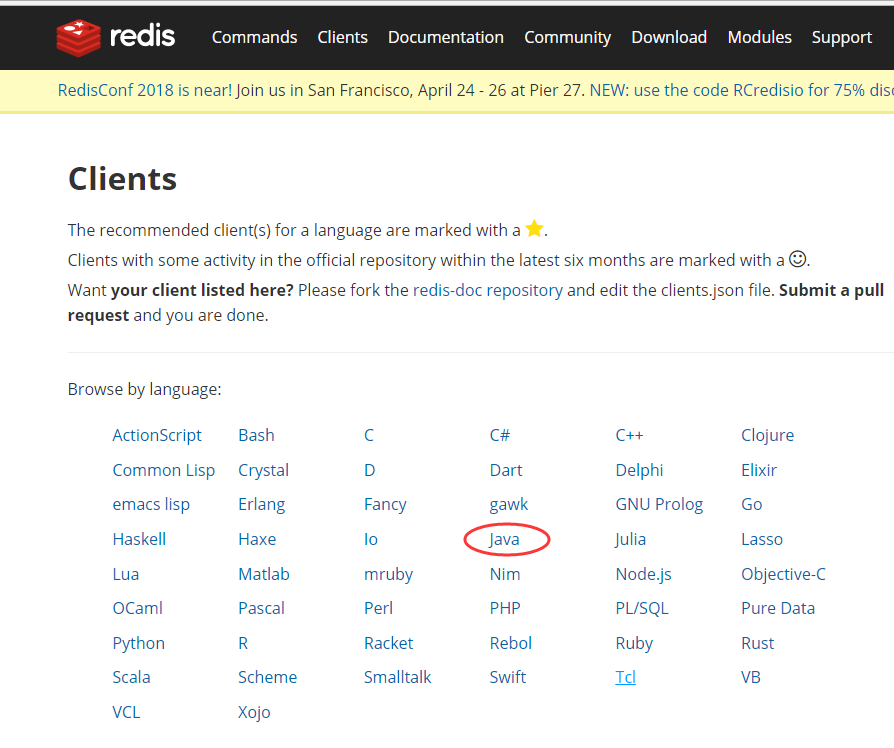
2.使用
这个可以从上面的连接进入github。
https://github.com/xetorthio/jedis
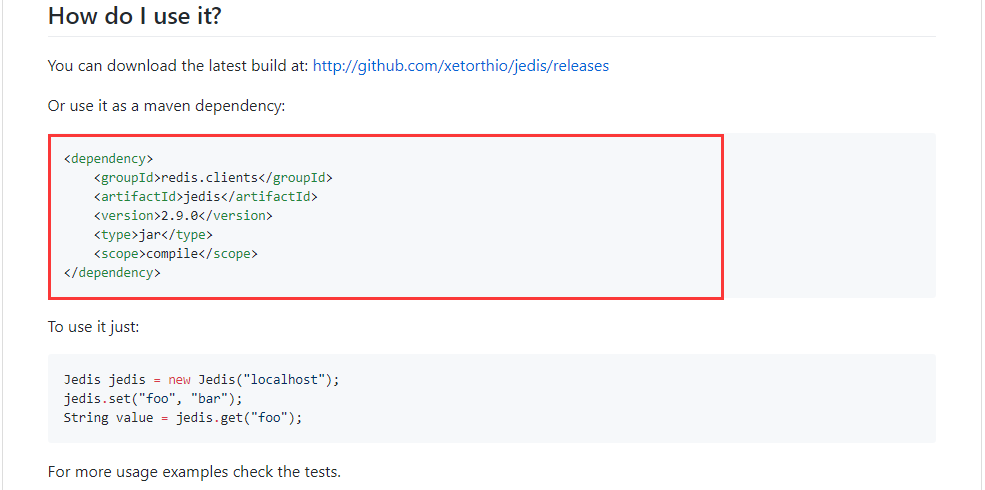
3.使用方式
或者使用jar包,不过这里我使用官网推荐的maven管理方式。
二:验证是否可以连接主机
1..先写一个小程序测试一下
 1 package top.it;
 2
 3 import org.junit.Test;
 4 import redis.clients.jedis.Jedis;
 5
 6 public class JedisDemo1 {
 7     @Test
 8     public void test(){
 9         //设置ip与端口
10         Jedis jedis=new Jedis("192.168.140.121",6379);
11         jedis.set("age","18");
12         String age=jedis.get("age");
13         System.out.println("age="+age);
14         jedis.close();
15     }
16 }
2.程序报错
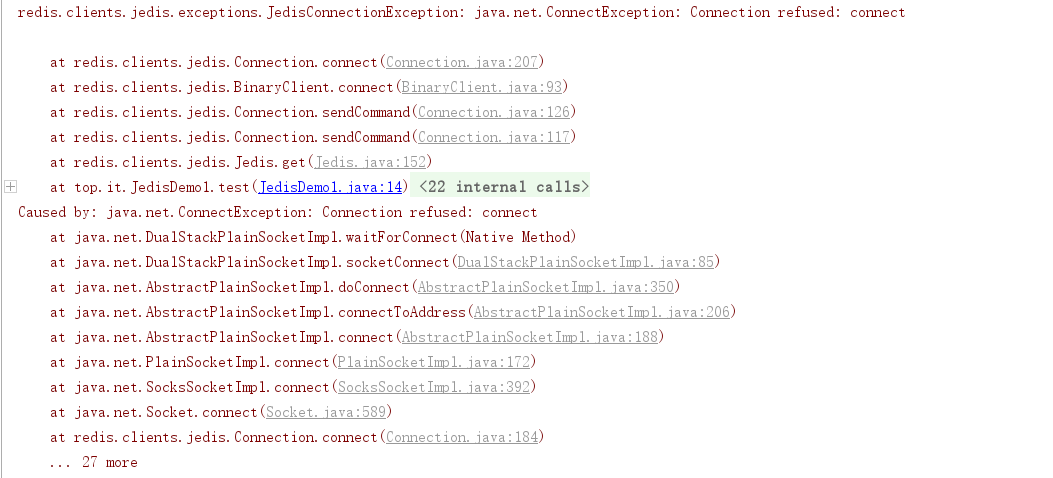
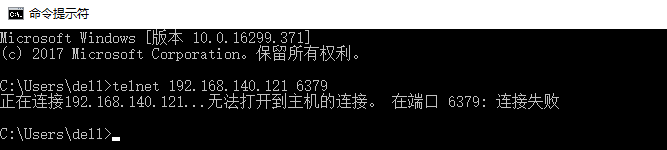
3.cmd下
telnet 192.168.140.121 6379
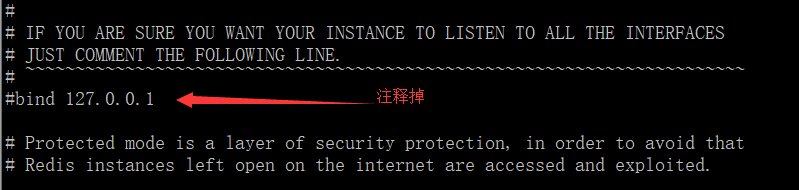
4.解决方式
在配置文件中注释。
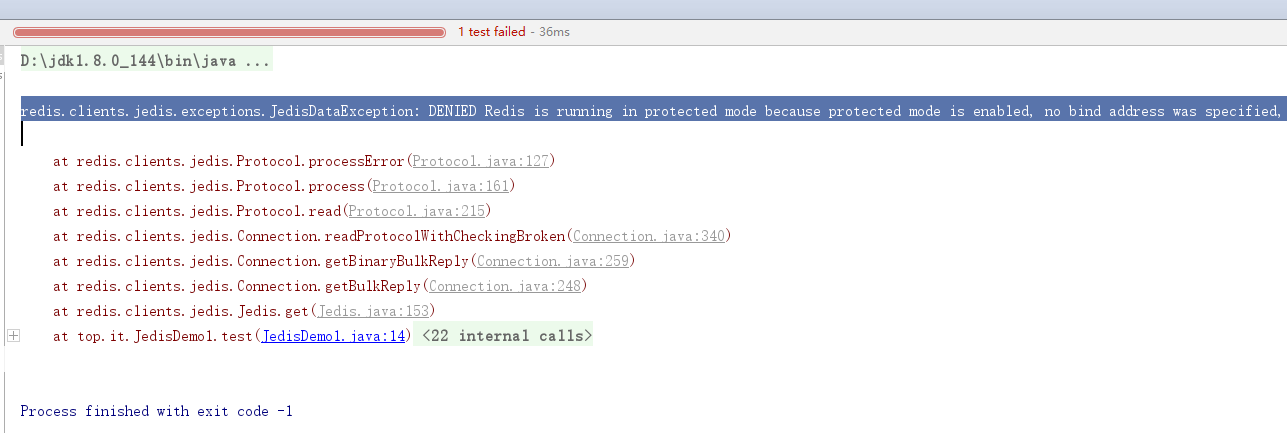
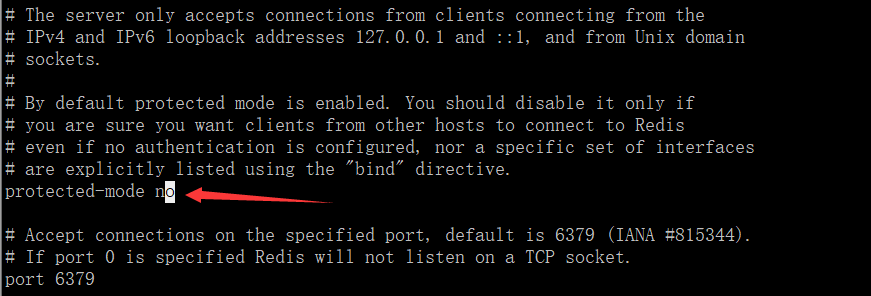
5.又出现的下一个问题
redis.clients.jedis.exceptions.JedisDataException: DENIED Redis is running in protected mode because protected mode is enabled, no bind address was specified, no authentication password is requested to clients. In this mode connections are only accepted from the loopback interface. If you want to connect from external computers to Redis you may adopt one of the following solutions: 1) Just disable protected mode sending the command 'CONFIG SET protected-mode no' from the loopback interface by connecting to Redis from the same host the server is running, however MAKE SURE Redis is not publicly accessible from internet if you do so. Use CONFIG REWRITE to make this change permanent. 2) Alternatively you can just disable the protected mode by editing the Redis configuration file, and setting the protected mode option to 'no', and then restarting the server. 3) If you started the server manually just for testing, restart it with the '--protected-mode no' option. 4) Setup a bind address or an authentication password. NOTE: You only need to do one of the above things in order for the server to start accepting connections from the outside.
6.解决方式
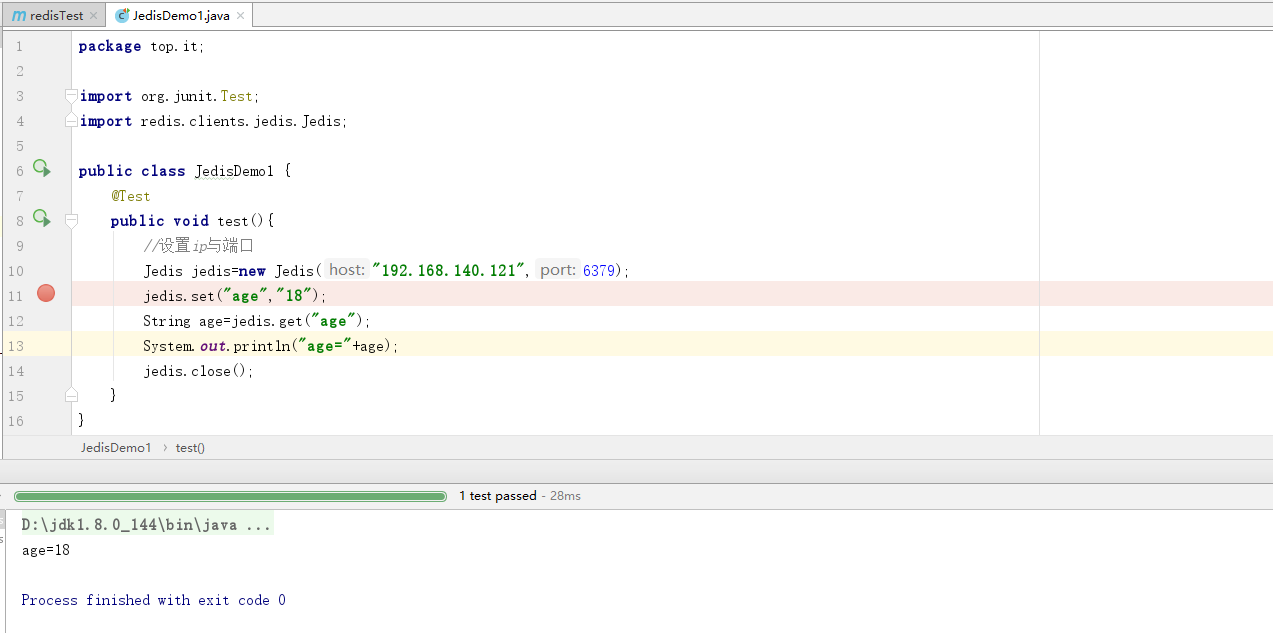
7.效果
三:验证项目
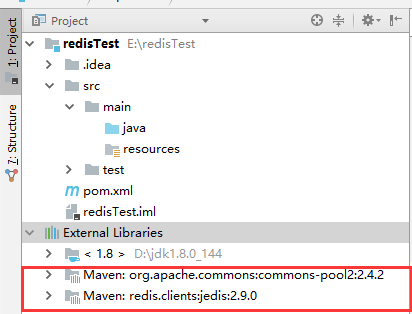
1.pom文件
 1 <?xml version="1.0" encoding="UTF-8"?>
 2 <project xmlns="http://maven.apache.org/POM/4.0.0"
 3          xmlns:xsi="http://www.w3.org/2001/XMLSchema-instance"
 4          xsi:schemaLocation="http://maven.apache.org/POM/4.0.0 http://maven.apache.org/xsd/maven-4.0.0.xsd">
 5     <modelVersion>4.0.0</modelVersion>
 6
 7     <groupId>top.redis.it</groupId>
 8     <artifactId>redisTest</artifactId>
 9     <version>1.0-SNAPSHOT</version>
10
11     <dependencies>
12         <dependency>
13             <groupId>redis.clients</groupId>
14             <artifactId>jedis</artifactId>
15             <version>2.9.0</version>
16             <type>jar</type>
17             <scope>compile</scope>
18         </dependency>
19     </dependencies>
20
21 </project>
2.出现了2个jar
3.程序一
 1 package top.it;
 2
 3 import org.junit.Test;
 4 import redis.clients.jedis.Jedis;
 5
 6 public class JedisDemo1 {
 7     @Test
 8     public void test(){
 9         //设置ip与端口
10         Jedis jedis=new Jedis("192.168.140.121",6379);
11         jedis.set("age","18");
12         String age=jedis.get("age");
13         System.out.println("age="+age);
14         jedis.close();
15     }
16 }
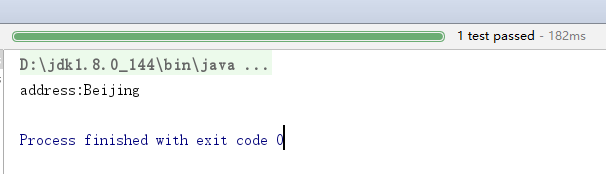
4.程序二----连接池
 1     @Test
 2     public void test2(){
 3         //设置ip与端口
 4         JedisPoolConfig jedisPoolConfig=new JedisPoolConfig();
 5         jedisPoolConfig.setMaxTotal(30);
 6         jedisPoolConfig.setMaxIdle(10);
 7         JedisPool jedisPool=new JedisPool(jedisPoolConfig,"192.168.140.121",6379);
 8         Jedis jedis=null;
 9         try {
10             jedis=jedisPool.getResource();
11             jedis.set("address","Beijing");
12             System.out.println("address:"+jedis.get("address"));
13         }catch (Exception e){
14             e.printStackTrace();
15         }finally {
16             if (jedis!=null){
17                 jedis.close();
18             }
19             if (jedisPool!=null){
20                 jedisPool.close();
21             }
22         }
23
24     }
5.效果