https://www.howtoforge.com/tutorial/debian-samba-server/
This tutorial explains the installation of a Samba fileserver on Debian 8 (Jessie) and how to configure it to share files over the SMB protocol as well as how to add users. Samba is configured as a standalone server, not as a domain controller. In the resulting setup, every user has his own home directory accessible via the SMB protocol and all users have a shared directory with read-/write access.
1 Preliminary Note
I'm using a Debian 8 system here with the hostname debian.example.com and the IP address 192.168.1.100.
I will use the nano editor in this tutorial to edit config files on the shell. Nano can be installed with the command:
apt-get install nano
If you have a different favorite shell editor like joe or vi, then use that instead.
To make the Linux server accessible by name from my Windows workstation, I will add a line to the hosts file on Windows. Run this command as Administrator user on Windows:
notepad C:WindowsSystem32driversetchosts
and add a line like this:
192.168.1.100 debian.example.com debian
at the end of the file. Replace the IP address with the server IP and the hostname with the hostname that you have chosen for your server.
2 Installing Samba
Connect to your server on the shell as root user and install the Samba packages:
apt-get install libcups2 samba samba-common cups
Move the current smb.conf file to smb.conf.bak:
mv /etc/samba/smb.conf /etc/samba/smb.conf.bak
And then create a new file smb.conf file:
nano /etc/samba/smb.conf
With the following content:
[global]
workgroup = WORKGROUP
server string = Samba Server %v
netbios name = debian
security = user
map to guest = bad user
dns proxy = no
Replace WORKGROUP with the workgroup name that is used on your Windows clients. If you don't know the name of the workgroup, run this command on the Windows client to get the workgroup name:
net config workstation
Then close the Samba configuration file on the server and restart Samba:
systemctl restart smbd.service
3 Adding Samba Shares
Now I will add a share that is accessible by all users.
Create the directory for sharing the files and change the group to the users group:
mkdir -p /home/shares/allusers
chown -R root:users /home/shares/allusers/
chmod -R ug+rwx,o+rx-w /home/shares/allusers/
mkdir -p /home/shares/anonymous
chown -R root:users /home/shares/anonymous/
chmod -R ug+rwx,o+rx-w /home/shares/anonymous/
At the end of the file /etc/samba/smb.conf add the following lines:
nano /etc/samba/smb.conf
3.1 Group share
This is a share that is accessible and writable for all members of our "users" group. Add the following config at the end of the smb.conf file.
[allusers]
  comment = All Users
  path = /home/shares/allusers
  valid users = @users
  force group = users
  create mask = 0660
  directory mask = 0771
  writable = yes
3.2 Home directories
If you want all users to be able to read and write to their home directories via Samba, add the following lines to /etc/samba/smb.conf (make sure you comment out or remove the existing [homes] section):
[homes]
   comment = Home Directories
   browseable = no
   valid users = %S
   writable = yes
   create mask = 0700
   directory mask = 0700
3.3 Anonymous share
You like to have a share were all users in your network can write to? Be careful, this share is open to anyone in the network, so use this only in local networks. Add an anonymous share like this:
[anonymous]
   path = /home/shares/anonymous
   force group = users
   create mask = 0660
   directory mask = 0771
   browsable =yes
   writable = yes
   guest ok = yes
Now we restart Samba:
systemctl restart smbd.service
4 Adding and Managing Users
In this example, I will add a user named tom. You can add as many users as you need, in the same way, just replace the username tom with the desired username in the commands.
useradd tom -m -G users
Set a password for tom in the Linux system user database. If the user tom should not be able to log into the Linux system, skip this step.
passwd tom
-> Enter the password for the new user.
Now add the user to the Samba user database:
smbpasswd -a tom
-> Enter the password for the new user.
Now you should be able to log in from your Windows workstation with the file explorer (address is \192.168.1.100 or \192.168.1.100 om for tom's home directory) using the username tom and the chosen password and store files on the Linux server either in tom's home directory or in the public shared directory.
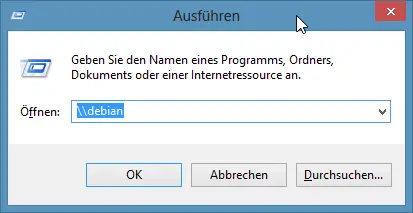
5 Accessing Samba from Windows
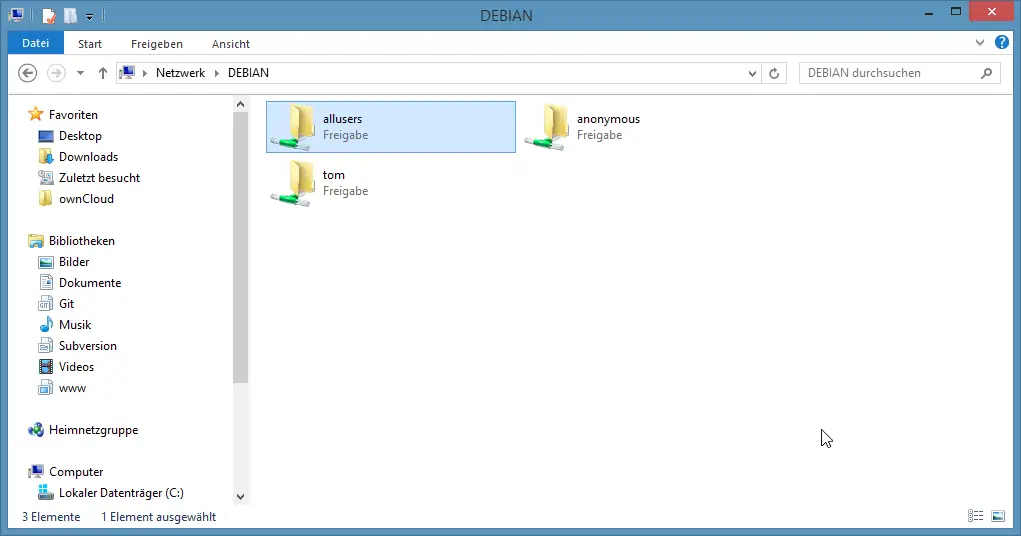
Now you can access the samba shares from your Windows Desktop. Open the command prompt and enter "//debian" to open a file explorer:
That shows the shares of our samba server.
6 Links
- Samba: http://www.samba.org/
- Debian: http://www.debian.org/