1.在pom.xml引入freemarker包
<dependency>
        <groupId>org.springframework.boot</groupId>
        <artifactId>spring-boot-starter-freemarker</artifactId>
</dependency>
2.在springboot的属性配置文件(application.properties)里面加入freemarker的相关属性配置
spring.freemarker.allow-request-override=false
spring.freemarker.cache=true
spring.freemarker.check-template-location=true
#spring.freemarker.charset=UTF-8
spring.freemarker.content-type=text/html
spring.freemarker.expose-request-attributes=false
spring.freemarker.expose-session-attributes=false
spring.freemarker.expose-spring-macro-helpers=false
spring.freemarker.prefix=
spring.freemarker.suffix=.ftl
ps:这里有个问题,spring.freemarker.charset=UTF-8 本人本机会报错,还不知道原因.
3.编写控制类
package com.test.springboot.control;

import java.util.Map;
import org.springframework.stereotype.Controller;
import org.springframework.web.bind.annotation.RequestMapping;
import org.springframework.web.servlet.ModelAndView;

@Controller
public class freemarkerControl {
    @RequestMapping(value="/hellofreemarker")//直接访问路径,不需要加项目名称
    public ModelAndView sayFreemarkerHello(Map<String,Object> map){
        ModelAndView mv = new ModelAndView("hello"); //实例化模板视图
        map.put("msg", "hello freemarker XXX");//给参数赋值
        return mv;//返回模板视图对象
    }
}
ps:@RequestMapping(value="/hellofreemarker")还可以写成@RequestMapping("/hellofreemarker")这样的方式
4.编写ftl页面
<!DOCTYPE html>
<html lang="zh">
<head>
    <meta charset="UTF-8">
    <title>Document</title>
</head>
<body>
    <div >
        <h2>${msg}</h2>
    </div>
</body>
5.启动springboot的启动文件,启动文件如下
package com.test.springboot;
import org.springframework.boot.SpringApplication;
import org.springframework.boot.autoconfigure.SpringBootApplication;

@SpringBootApplication
public class SpringbootApplication {

    public static void main(String[] args) {
        SpringApplication.run(SpringbootApplication.class,args);
    }

}
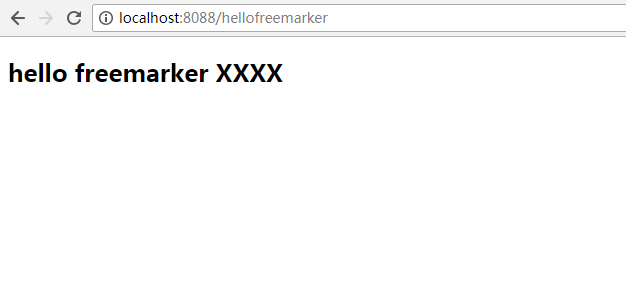
6.启动成功之后,访问路径
http://localhost:8088/hellofreemarker

到这里基本配置成功.
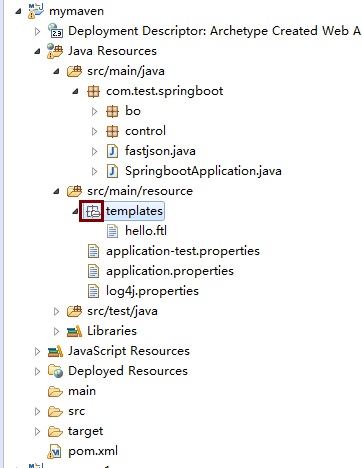
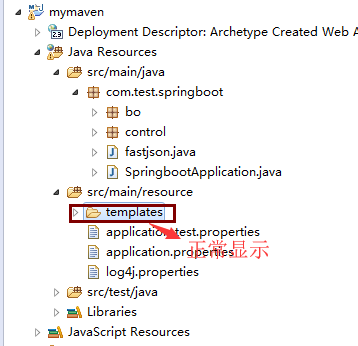
遇到一个问题:当目录结构如下左图所示,即白色包图标样式,参照https://blog.csdn.net/line_to_sea/article/details/44859223改方法正常显示如下右图


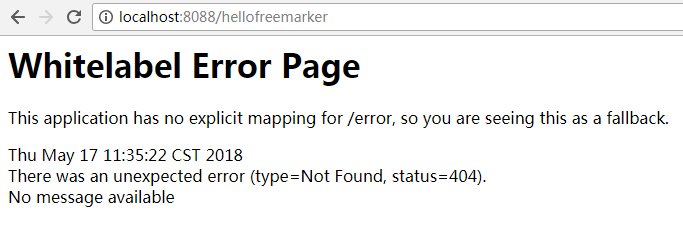
但是不能访问,总是404错误如下图所示,还没有找到原因,后续更新!!
