实验环境

CentOS-7-x86_64-Minimal-1708.iso
openstack_N.tar.gz

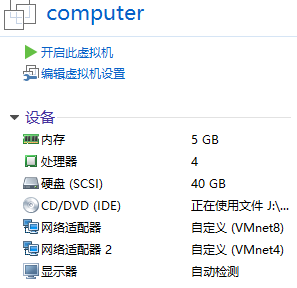
创建虚拟机
controller部署
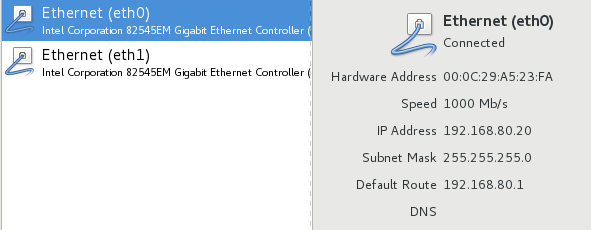
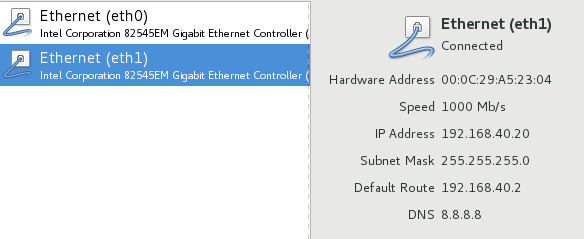
computer网络配置
OpenStack环境准备
controller节点和cpmputer节点执行相同过程
关闭/禁用firewalld


[root@controller ~]# systemctl stop firewalld
[root@controller ~]# systemctl disable firewalld
Removed symlink /etc/systemd/system/multi-user.target.wants/firewalld.service.
Removed symlink /etc/systemd/system/dbus-org.fedoraproject.FirewallD1.service.
关闭/禁用NetworkManager
[root@controller ~]# systemctl stop NetworkManager
[root@controller ~]# systemctl disable NetworkManager
Removed symlink /etc/systemd/system/multi-user.target.wants/NetworkManager.service.
Removed symlink /etc/systemd/system/dbus-org.freedesktop.NetworkManager.service.
Removed symlink /etc/systemd/system/dbus-org.freedesktop.nm-dispatcher.service.
禁用SELINUX
[root@controller ~]# cat /etc/selinux/config

# This file controls the state of SELinux on the system.
# SELINUX= can take one of these three values:
#     enforcing - SELinux security policy is enforced.
#     permissive - SELinux prints warnings instead of enforcing.
#     disabled - No SELinux policy is loaded.
SELINUX=disable
# SELINUXTYPE= can take one of three two values:
#     targeted - Targeted processes are protected,
#     minimum - Modification of targeted policy. Only selected processes are protected.
#     mls - Multi Level Security protection.
SELINUXTYPE=targeted
修改hosts
[root@controller ~]# cat /etc/hosts
127.0.0.1   localhost localhost.localdomain localhost4 localhost4.localdomain4
::1         localhost localhost.localdomain localhost6 localhost6.localdomain6
192.168.80.10 controller controller.cac.com
192.168.80.20 computer computer.cac.com
创建本地yum源
[root@controller yum.repos.d]# cat openstack.repo
[openstack]
name=openstack
enable=1
gpgcheck=0
baseurl=file:///openstack
OpenStack自动化部署
首先安装自动化软件openstack-packstack,利用openstack-packstack生成应答文件,修改应答文件,再依据应答文件进行安装
yum search centos
yum -y install centos-release-openstack-newton
安装完毕后,会在/etc/yum.repos.d/又生成几个repo文件,我们安装不需要联网,将新生成的repo移入bak
[root@controller yum.repos.d]# ls
bak  CentOS-Ceph-Jewel.repo  CentOS-OpenStack-newton.repo  CentOS-QEMU-EV.repo  openstack.repo
[root@controller yum.repos.d]# mv C* bak/
[root@controller yum.repos.d]# ls
bak  openstack.repo
安装openstack-packstack
yum -y install openstack-packstack
生成应答文件(只在controller节点执行)
[root@controller yum.repos.d]# packstack --gen-answer-file=openstack.txt
Packstack changed given value  to required value /root/.ssh/id_rsa.pub
修改应答文件
首先修改如下选项
CONFIG_DEFAULT_PASSWORD=111111

CONFIG_SWIFT_INSTALL=n

CONFIG_NAGIOS_INSTALL=n

CONFIG_COMPUTE_HOSTS=192.168.80.20

CONFIG_NETWORK_HOSTS=192.168.80.20

CONFIG_CINDER_VOLUMES_SIZE=1G

CONFIG_PROVISION_DEMO=n

CONFIG_LBAAS_INSTALL=y

CONFIG_NEUTRON_FWAAS=y

CONFIG_NEUTRON_VPNAAS=y
执行grep -vE "^#|^$" openstack.txt发现有很多密码设置,修改密码为111111。
sed -i -r 's/(.+_PW)=.+/1=111111/' openstack.txt
依据应答文件进行安装
packstack --answer-file=openstack.txt
安装过程中报错
failure: repodata/repomd.xml from centos-ceph-jewel: [Errno 256] No more mirrors to try.
http://mirror.centos.org/centos/7/storage/x86_64/ceph-jewel/repodata/repomd.xml: [Errno 14] curl#6 - "Could not resolve host: mirror.centos.org; Unknown error"
++ t
++ exit 1

Please check log file /var/tmp/packstack/20181003-012303-VTSG5d/openstack-setup.log for more information
Additional information:
 * Time synchronization installation was skipped. Please note that unsynchronized time on server instances might be problem for some OpenStack components.
原因:再computer节点上/etc/yum.repos.d目录下有生产了新的repo文件,将repo移入bak目录,再次安装
安装过程大约20min
tail -f /var/log/messages可以查看安装日志
查看是否安装rabbitmq
rpm -qa | grep rabbitmq-server
查看rabbitmq状态
systemctl status rabbitmq-server
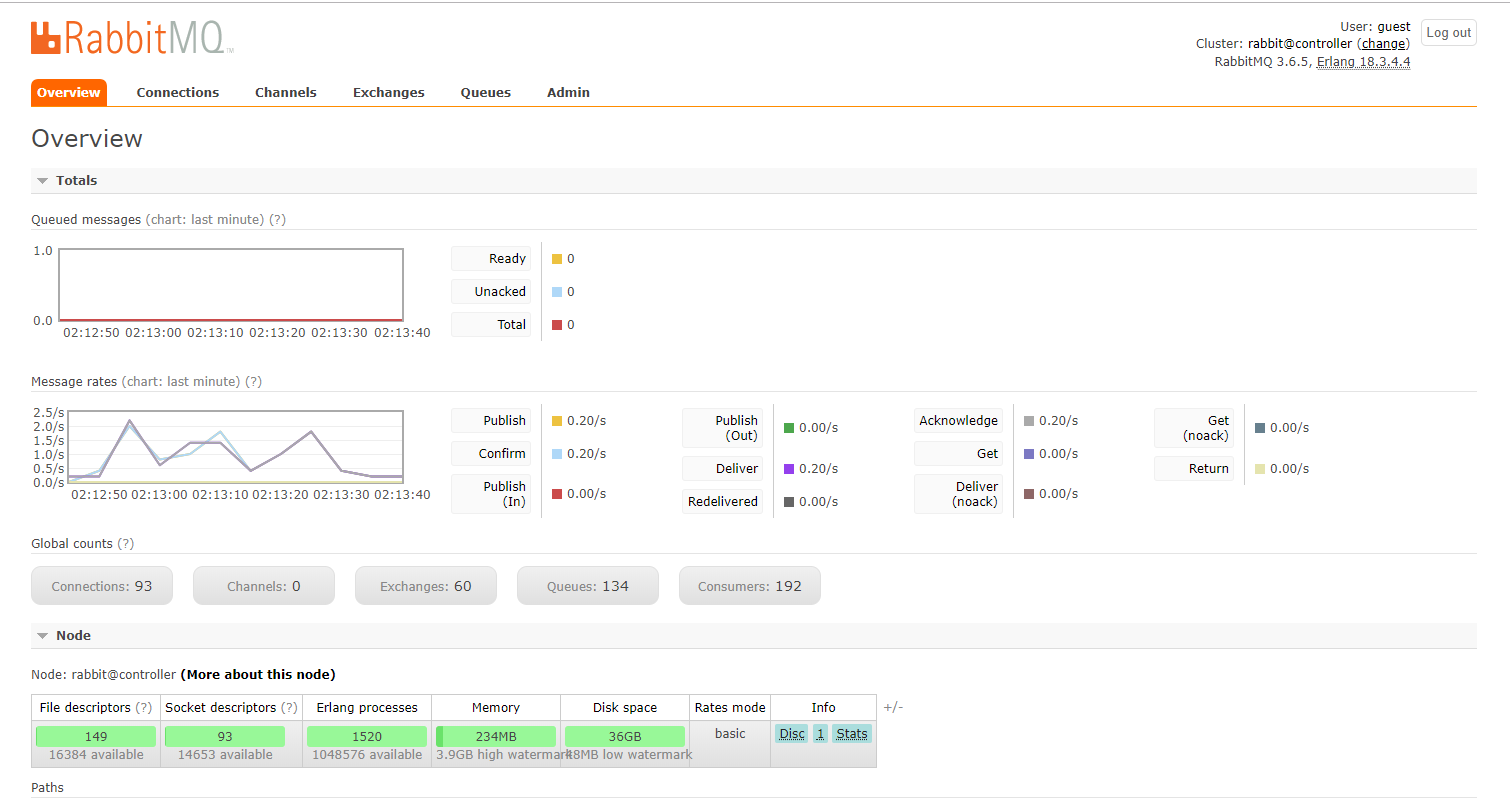
启用rabbitmq管理服务
rabbitmq-plugins list
rabbitmq-plugins enable rabbitmq_management
检查是否启动成功
netstat -antlp | grep 15672
安装完成
 **** Installation completed successfully ******

Additional information:
 * Time synchronization installation was skipped. Please note that unsynchronized time on server instances might be problem for some OpenStack components.
 * File /root/keystonerc_admin has been created on OpenStack client host 192.168.80.10. To use the command line tools you need to source the file.
 * To access the OpenStack Dashboard browse to http://192.168.80.10/dashboard .
Please, find your login credentials stored in the keystonerc_admin in your home directory.
 * The installation log file is available at: /var/tmp/packstack/20181003-012556-L2HCU0/openstack-setup.log
 * The generated manifests are available at: /var/tmp/packstack/20181003-012556-L2HCU0/manifests
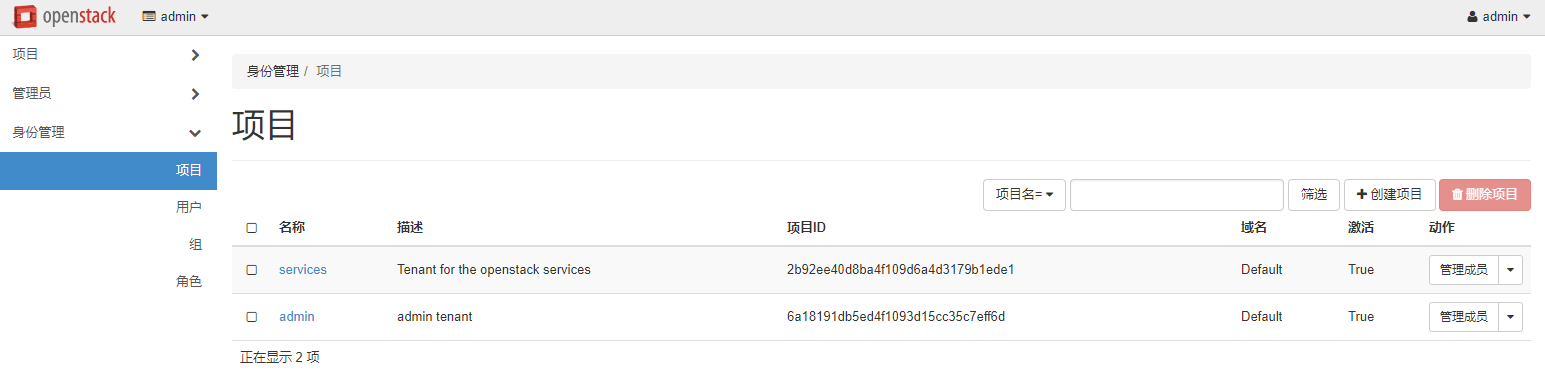
登陆RabbitMQ,dashboard
http://192.168.80.10/dashboard/