一、AactiveMQ的下载和安装
1. 下载ActiveMQ
地址:http://activemq.apache.org/activemq-5152-release.html
我这里下载的是window的版本
2. 下载后,解压

里面有win32位和win64两种文件夹,找到你电脑上对应的win版本,我这里用的win64

右击activemq.bat,并且以管理员身份运行
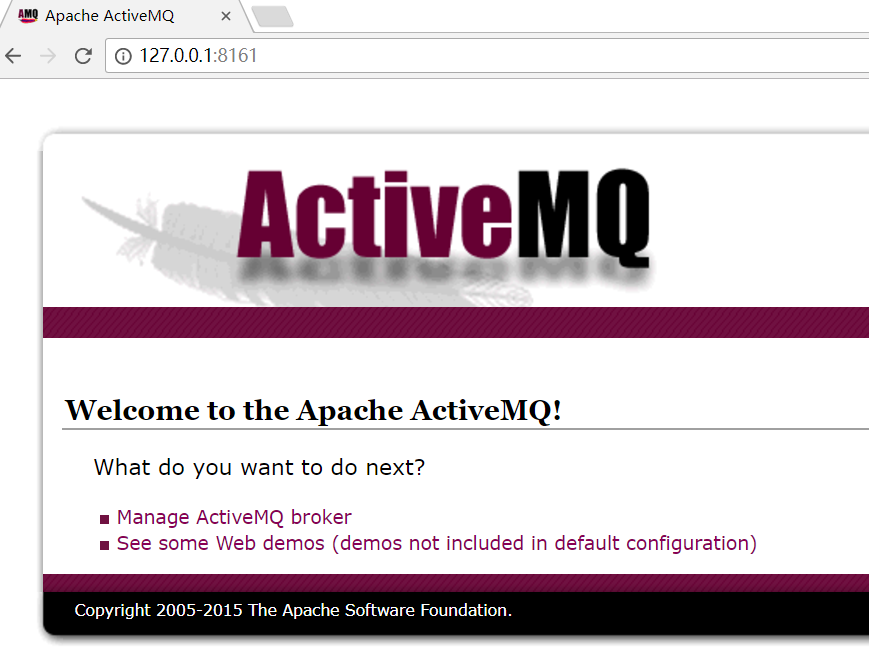
启动成功后,会打印http的地址

打开这个网址http://127.0.0.1:8186
二、代码的使用
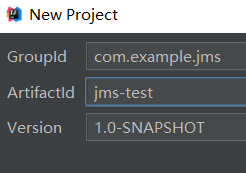
1. 创建工程
创建一个Maven工程,
2. 创建生产者
public class AppProducer
{
    private static final String url = "tcp://192.168.2.121:61616";

    private static final String queueName="queue-test";

    public static void  main(String[] args){
        //1. 创建ConnectionFactory
        ConnectionFactory connectionFactory = new ActiveMQConnectionFactory(url);


        try {
            //2. 创建Connection
            Connection connection = connectionFactory.createConnection();

            //3. 启动连接
             connection.start();

             //4. 创建会话
            Session session = connection.createSession(false, Session.AUTO_ACKNOWLEDGE);

            //5. 创建一个目标
            Destination destination = session.createQueue(queueName);

            //6.  创建一个目标
            MessageProducer producer = session.createProducer(destination);

            for(int i=0; i<100; i++){
                //7. 创建消息
                TextMessage textMessage = session.createTextMessage("test" + i);
                //8. 发布消息
                producer.send(textMessage);
                System.out.println("发送消息" + textMessage.getText());
            }
            //9.关闭连接
            connection.close();


        } catch (JMSException e) {
            e.printStackTrace();
        }


    }
3. 创建消费者
public class AppConsumer {
    private static final String url = "tcp://192.168.2.121:61616";

    private static final String queueName="queue-test";

    public static void  main(String[] args) throws JMSException{
        //1. 创建ConnectionFactory
        ConnectionFactory connectionFactory = new ActiveMQConnectionFactory(url);

        //2. 创建Connection
        Connection connection = connectionFactory.createConnection();

        //3. 启动连接
        connection.start();

        //4. 创建会话
        Session session = connection.createSession(false, Session.AUTO_ACKNOWLEDGE);

        //5. 创建一个目标
        Destination destination = session.createQueue(queueName);

        //6. 创建一个消费者
        MessageConsumer consumer = session.createConsumer(destination);

        //7. 创建一个监听器
        consumer.setMessageListener(new MessageListener() {
            public void onMessage(Message message) {
                TextMessage textMessage = (TextMessage)message;

                try {
                    System.out.println("接收消息" + textMessage.getText());
                } catch (JMSException e) {
                    e.printStackTrace();
                }
            }
        });

    }
}
三、主题模式下的消息
1. 消费者
public class AppConsumer {
    private static final String url = "tcp://192.168.2.121:61616";

    private static final String topicName="topic-test";

    public static void  main(String[] args) throws JMSException{
        //1. 创建ConnectionFactory
        ConnectionFactory connectionFactory = new ActiveMQConnectionFactory(url);

        //2. 创建Connection
        Connection connection = connectionFactory.createConnection();

        //3. 启动连接
        connection.start();

        //4. 创建会话
        Session session = connection.createSession(false, Session.AUTO_ACKNOWLEDGE);

        //5. 创建一个目标
        Destination destination = session.createTopic(topicName);

        //6. 创建一个消费者
        MessageConsumer consumer = session.createConsumer(destination);

        //7. 创建一个监听器
        consumer.setMessageListener(new MessageListener() {
            public void onMessage(Message message) {
                TextMessage textMessage = (TextMessage)message;
                try {
                    System.out.println("接收消息" + textMessage.getText());
                } catch (JMSException e) {
                    e.printStackTrace();
                }
            }
        });

    }
}
2. 创建生产者
public class AppProducer
{
    private static final String url = "tcp://192.168.2.121:61616";

    private static final String topicName="topic-test";

    public static void  main(String[] args){
        //1. 创建ConnectionFactory
        ConnectionFactory connectionFactory = new ActiveMQConnectionFactory(url);


        try {
            //2. 创建Connection
            Connection connection = connectionFactory.createConnection();

            //3. 启动连接
             connection.start();

             //4. 创建会话
            Session session = connection.createSession(false, Session.AUTO_ACKNOWLEDGE);

            //5. 创建一个目标
            Destination destination = session.createTopic(topicName);

            //6.  创建一个目标
            MessageProducer producer = session.createProducer(destination);

            for(int i=0; i<100; i++){
                //7. 创建消息
                TextMessage textMessage = session.createTextMessage("test" + i);
                //8. 发布消息
                producer.send(textMessage);
                System.out.println("发送消息" + textMessage.getText());
            }
            //9.关闭连接
            connection.close();


        } catch (JMSException e) {
            e.printStackTrace();
        }


    }
}