1、部署Redis
1.1、下载redis
[root@linux-node2 ~]# wget http://download.redis.io/releases/redis-4.0.6.tar.gz
[root@linux-node2 ~]# tar -zxvf redis-4.0.6.tar.gz
[root@linux-node2 ~]# mv redis-4.0.6 /usr/loca/src
[root@linux-node2 ~]# cd /usr/local/src/redis-4.0.6
[root@linux-node2 redis-4.0.6]# make
[root@linux-node2 redis-4.0.6]# ln -sv /usr/local/src/redis-4.0.6 /usr/local/redis
[root@linux-node2 redis-4.0.6]# cd /usr/local/redis
1.2、配置redis
[root@linux-node2 redis]# vim redis.conf
bind 192.168.56.12
daemonize yes
save ""
requirepass 123456    #开启认证
[root@linux-node2 redis]# cp /usr/local/src/redis-4.0.6/src/redis-server /usr/bin/
[root@linux-node2 redis]# cp /usr/local/src/redis-4.0.6/src/redis-cli /usr/bin/
[root@linux-node2 redis]# redis-server /usr/local/redis/redis.conf
26617:C 02 Jan 10:35:26.801 # oO0OoO0OoO0Oo Redis is starting oO0OoO0OoO0Oo
26617:C 02 Jan 10:35:26.801 # Redis version=4.0.6, bits=64, commit=00000000, modified=
26617:C 02 Jan 10:35:26.801 # Configuration loaded
1.3、测试redis
[root@linux-node2 ~]# netstat -tulnp |grep 6379
tcp        0      0 192.168.56.12:6379      0.0.0.0:*               LISTEN      26618/redis-server
[root@linux-node2 redis]# redis-cli -h 192.168.56.12
192.168.56.12:6379> KEYS *
(error) NOAUTH Authentication required.
192.168.56.12:6379> auth 123456
OK
192.168.56.12:6379> KEYS *
(empty list or set)
192.168.56.12:6379> quit
2、配置logstash将日志写入redis
2.1、配置logstash的system.conf
[root@linux-node1 conf.d]# vim system.conf
input {
  file {
        path => "/var/log/messages"
        type => "systemlog"
        start_position => "beginning"
        stat_interval => "2"
  }
}

output {
  if [type] == "systemlog" {
        redis {
                data_type => "list"
                host => "192.168.56.12"
                db => "1"
                port => "6379"
                password => "123456"
                key => "systemlog"
        }
  }

}
2.2、检测配置语法
[root@linux-node1 conf.d]# /usr/share/logstash/bin/logstash -f /etc/logstash/conf.d/sy
OpenJDK 64-Bit Server VM warning: If the number of processors is expected to increase CThreads=N
WARNING: Could not find logstash.yml which is typically located in $LS_HOME/config or
Could not find log4j2 configuration at path /usr/share/logstash/config/log4j2.properti
Configuration OK
[root@linux-node1 conf.d]# systemctl restart logstash
2.3、写入messages日志测试
[root@linux-node1 conf.d]# cat /etc/hosts >> /var/log/messages
[root@linux-node1 conf.d]# echo "helloword" >> /var/log/messages
2.4、登陆redis中查看
[root@linux-node2 ~]# redis-cli -h 192.168.56.12
192.168.56.12:6379> KEYS *
(error) NOAUTH Authentication required.
192.168.56.12:6379> AUTH 123456
OK
192.168.56.12:6379>
192.168.56.12:6379> select 1
OK
192.168.56.12:6379[1]> KEYS *
1) "systemlog"
192.168.56.12:6379[1]> LLEN systemlog      #查看key的长度
(integer) 248
192.168.56.12:6379[1]> LLEN systemlog
(integer) 249
192.168.56.12:6379[1]> LPOP systemlog    #展示一条记录会减少一条
"{"@version":"1","host":"linux-node1","path":"/var/log/messages","@timestamp":"2018-01-02T03:04:40.424Z","type":"systemlog","tags":["_geoip_lookup_failure"]}"
192.168.56.12:6379[1]> LLEN systemlog
(integer) 248
3、配置logstash从reids中取出数据到elasticsearch
3.1、使用linux-node2上的logstash从redis取数据
[root@linux-node2 conf.d]# vim redis-es.conf
input {
    redis {
        data_type => "list"
        host => "192.168.56.12"
        db => "1"
        port => "6379"
        key => "systemlog"
        password => "123456"
    }
}

output {
    elasticsearch {
        hosts => ["192.168.56.11:9200"]
        index => "redis-systemlog-%{+YYYY.MM.dd}"
    }
}
[root@linux-node2 conf.d]# /usr/share/logstash/bin/logstash -f /etc/logstash/conf.d/redis-es.conf -t
OpenJDK 64-Bit Server VM warning: If the number of processors is expected to increase from one, then you should configure the number of parallel GC threads appropriately using -XX:ParallelGCThreads=N
WARNING: Could not find logstash.yml which is typically located in $LS_HOME/config or /etc/logstash. You can specify the path using --path.settings. Continuing using the defaults
Could not find log4j2 configuration at path /usr/share/logstash/config/log4j2.properties. Using default config which logs errors to the console
Configuration OK
[root@linux-node2 conf.d]# systemctl restart logstash
3.2、从linux-node1上写入数据查看
[root@linux-node1 conf.d]# cat /etc/passwd >> /var/log/messages
[root@linux-node2 ~]# redis-cli -h 192.168.56.12
192.168.56.12:6379> KEYS *
(error) NOAUTH Authentication required.
192.168.56.12:6379> AUTH 123456
OK
192.168.56.12:6379> select 1
OK
192.168.56.12:6379[1]> KEYS *
1) "systemlog"
192.168.56.12:6379[1]> LLEN systemlog      #查看数据长度为38
(integer) 38
192.168.56.12:6379[1]> LLEN systemlog      #配置成功logstash从redis中取完数据,redis长度变成0
(integer) 0
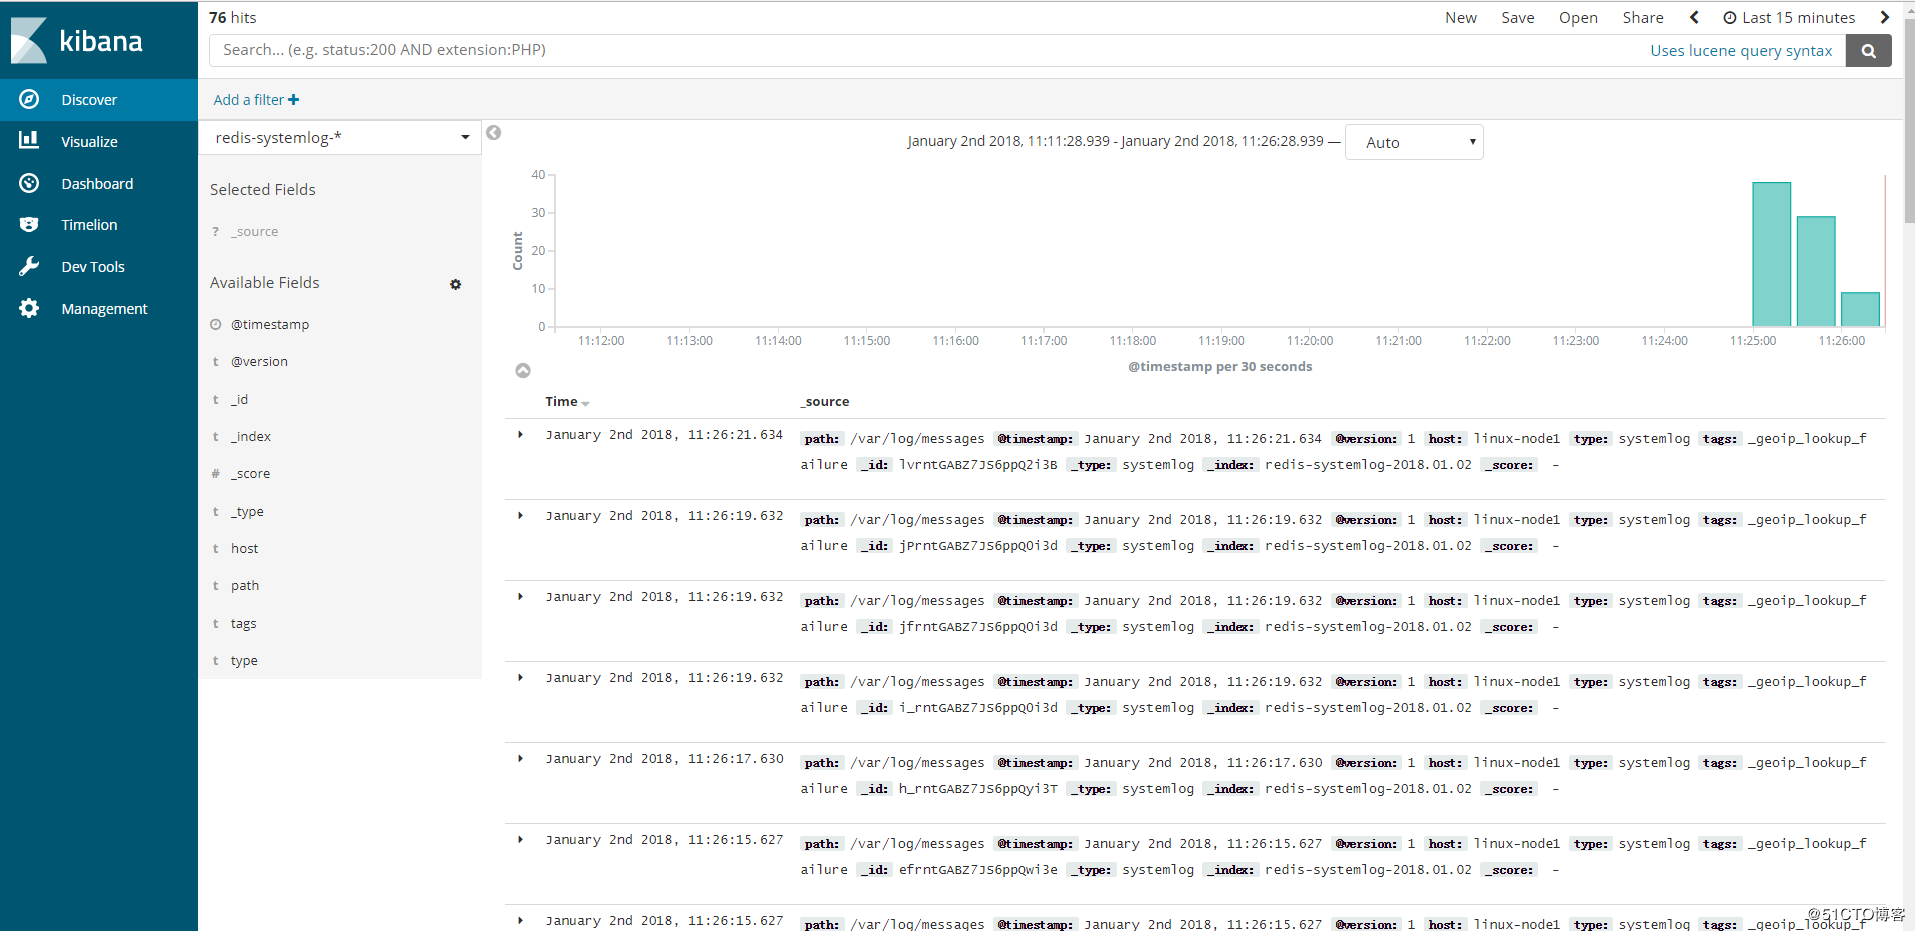
3.3、head插件和Kibana添加索引查看


