下载Nginx
wget nginx.tar.gz http://nginx.org/download/nginx-1.17.1.tar.gz
解压源码
tar -zxvf nginx-1.17.1.tar.gz

然后进入目录编译安装
cd nginx-1.11.3
./configure --prefix=/usr/local/nginx
--with-http_ssl_module --with-http_v2_module
--with-http_stub_status_module --with-pcre
--with-http_stub_status_module:支持nginx状态查询
--with-http_ssl_module:支持https
--with-http_v2_module:支持google的spdy,想了解请百度spdy,这个必须有ssl的支持
--with-pcre:为了支持rewrite重写功能,必须制定pcre
最后输出如下内容,表示configure OK了。
如果没有error信息,就可以执行下边的安装了:
make  //确定你的服务器有安装make,若没有安装,请执行 yum install make
make install
安装prce(重定向支持)和openssl(https支持,如果不需要https可以不安装。)
yum -y install pcre*
yum -y install openssl*
Nginx配置文件详情
 View Code
启动nginx
./usr/local/nginx/sbin/nginx

重启或关闭进程:
./usr/local/nginx/sbin/nginx -s reload
./usr/local/nginx/sbin/nginx -s stop
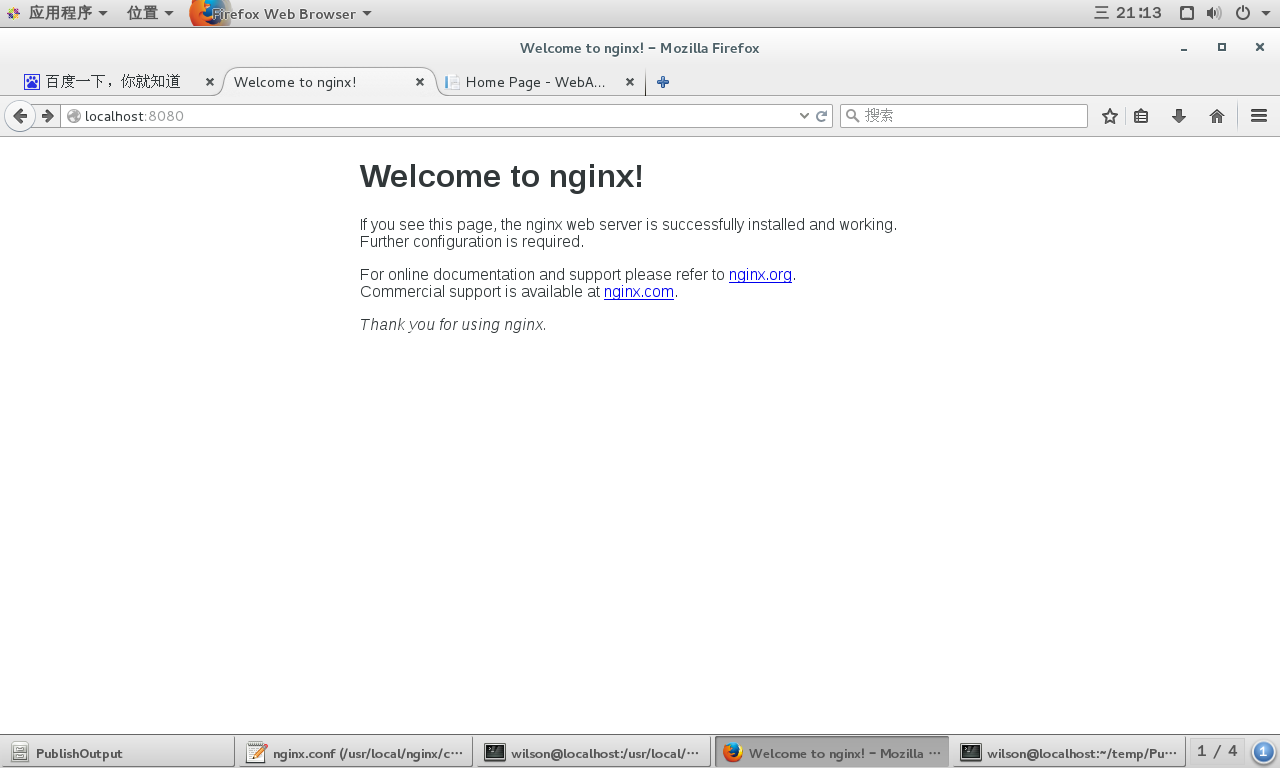
浏览器中输入http://localhost:80,效果如下
官方文档中的安装方法,设置源后直接安装,对于配置文件自动写入默认路径
1、设置安装源
To set up the yum repository for RHEL/CentOS, create the file named /etc/yum.repos.d/nginx.repo with the following contents:

[nginx]
name=nginx repo
baseurl=http://nginx.org/packages/OS/OSRELEASE/$basearch/
gpgcheck=0
enabled=1
Replace “OS” with “rhel” or “centos”, depending on the distribution used, and “OSRELEASE” with “5”, “6”, or “7”, for 5.x, 6.x, or 7.x versions, respectively.
具体文件内容为:
[nginx]
name=nginx repo
baseurl=http://nginx.org/packages/centos/7/$basearch/
gpgcheck=0
enabled=1
2、执行以下命令安装
sudo yum install nginx
3、启动、停止nginx服务
sudo nginx
sudo nginx -s stop
默认配置参数列表
Configure Arguments

Configure arguments common for nginx binaries from pre-built packages:

--prefix=/etc/nginx
--sbin-path=/usr/sbin/nginx
--conf-path=/etc/nginx/nginx.conf
--error-log-path=/var/log/nginx/error.log
--http-log-path=/var/log/nginx/access.log
--pid-path=/var/run/nginx.pid
--lock-path=/var/run/nginx.lock
--http-client-body-temp-path=/var/cache/nginx/client_temp
--http-proxy-temp-path=/var/cache/nginx/proxy_temp
--http-fastcgi-temp-path=/var/cache/nginx/fastcgi_temp
--http-uwsgi-temp-path=/var/cache/nginx/uwsgi_temp
--http-scgi-temp-path=/var/cache/nginx/scgi_temp
--user=nginx
--group=nginx
--with-http_ssl_module
--with-http_realip_module
--with-http_addition_module
--with-http_sub_module
--with-http_dav_module
--with-http_flv_module
--with-http_mp4_module
--with-http_gunzip_module
--with-http_gzip_static_module
--with-http_random_index_module
--with-http_secure_link_module
--with-http_stub_status_module
--with-http_auth_request_module
--with-threads
--with-stream
--with-stream_ssl_module
--with-http_slice_module
--with-mail
--with-mail_ssl_module
--with-file-aio
--with-http_v2_module
--with-ipv6