最近刚装了新系统CentOS7,想要把编码环境配置一下,使用Vim编写程序少不了使用自动补全插件,我以前用的是neocomplcache+code_complete+omnicppcomplete。但在网上搜索时,看到了YouCompleteMe,说YCM更好用一些。个人也喜欢新鲜事物,故决定安装YCM。但安装过程遇到了不少坑,网上的教程有不同的安装方法,基本都试遍了。最终在倒腾了一下午的情况下终于弄好了,现在把可行的安装配置方法贴出来,以供需要的人参考。
YouCompleteMe:一个随键而全的、支持模糊搜索的、高速补全的插件。YCM 由 google 公司搜索项目组的软件工程师 Strahinja Val Markovic 所开发,YCM 后端调用 libclang(以获取AST,当然还有其他语言的语义分析库)、前端由 C++ 开发(以提升补全效 率)、外层由 python 封装(以成为 vim 插件),它可能是我见过安装最复杂的 vim 插件了。
要安装YouCompleteMe ,vim须支持python。看是否支持,可以在vim中:version 查看, 如果python前有+号,就是支持,减号就是不支持。
如果不支持,需要以编译安装方式重新安装vim。编译配置选项:
./configure --with-features=huge --enable-pythoninterp --enable-python3interp --enable-luainterp --enable-multibyte --enable-sniff --enable-fontset
一、安装vundle插件
步骤一:
[zhupengfei@localhost ~]$ git clone https://github.com/gmarik/vundle.git ~/.vim/bundle/vundle^C
步骤二: 在.vimrc中配置
[zhupengfei@localhost ~]$ vim .vimrc
set nocompatible              " be iMproved, required
filetype off                  " required

" set the runtime path to include Vundle and initialize
set rtp+=~/.vim/bundle/vundle/
call vundle#rc()
" alternatively, pass a path where Vundle should install plugins
"let path = '~/some/path/here'
"call vundle#rc(path)

" let Vundle manage Vundle, required
Plugin 'gmarik/vundle'

" The following are examples of different formats supported.
" Keep Plugin commands between here and filetype plugin indent on.
" scripts on GitHub repos
Plugin 'tpope/vim-fugitive'
Plugin 'Lokaltog/vim-easymotion'
Plugin 'tpope/vim-rails.git'
" The sparkup vim script is in a subdirectory of this repo called vim.
" Pass the path to set the runtimepath properly.
Plugin 'rstacruz/sparkup', {'rtp': 'vim/'}
" scripts from http://vim-scripts.org/vim/scripts.html
Plugin 'L9'
Plugin 'FuzzyFinder'
" scripts not on GitHub
Plugin 'git://git.wincent.com/command-t.git'
" git repos on your local machine (i.e. when working on your own plugin)
Plugin 'file:///home/gmarik/path/to/plugin'
" ...

filetype plugin indent on     " required
Bundle 'Valloric/YouCompleteMe'
步骤三:保存退出,打开vim,输入 :BundleInstall 进行自动安装。
进程如下,+号表示已经安装,>表示正在安装。
[zhupengfei@localhost ~]$ vim
:BundleInstall
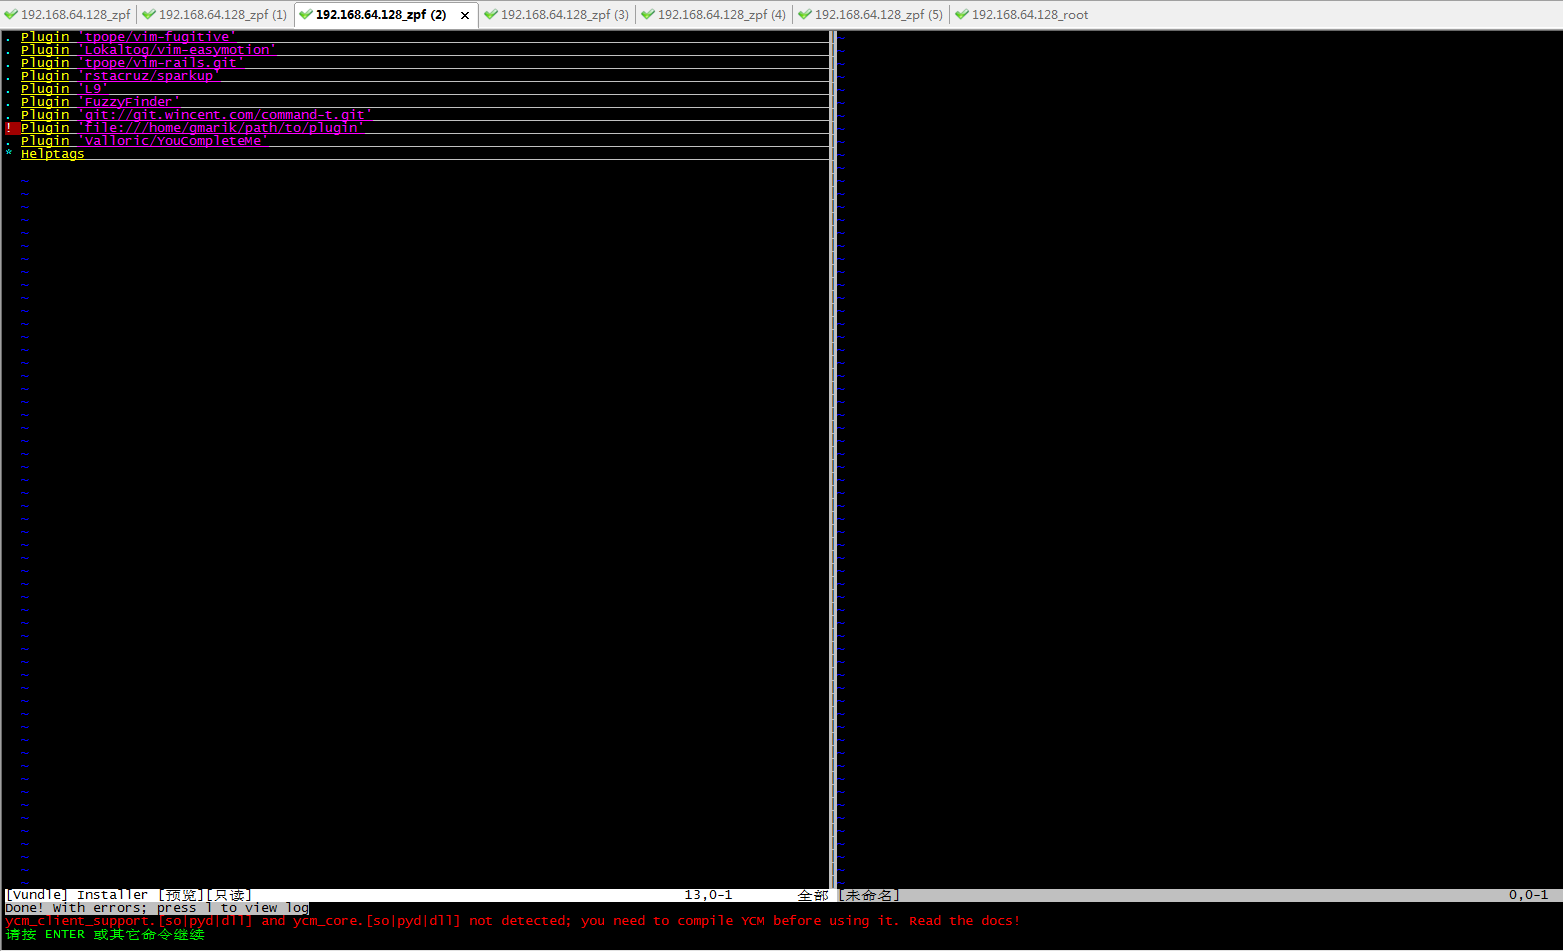
安装时有个错误,这是正常的,因为ycm需要手动编译出库文件。
Done! With errors; press l to view log
ycm_client_support.[so|pyd|dll] and ycm_core.[so|pyd|dll] not detected; you need to compile YCM before using it. Read the docs!
二、安装配置YouCompleteMe
步骤四: 然后到.vim/bundle/YouCompleteMe 下执行命令:
./install.sh --clang-completer
参数是为了支持c/c++的补全
[zhupengfei@localhost YouCompleteMe]$ ./install.sh --clang-complete
然后可能还会出现报错:
Some folders in /home/sky-tm/.vim/bundle/YouCompleteMe/third_party/ycmd/third_party are empty; you probably forgot to run: git submodule update --init --recursive
若出现此错误,则按照提示来,继续输入命令:
git submodule update --init --recursive
[zhupengfei@localhost YouCompleteMe]$git submodule update --init --recursive
等此命令更新完成后,再此执行命令:
./install.sh --clang-completer
[zhupengfei@localhost YouCompleteMe]$ ./install.sh --clang-complete
安装完成后,进行一些简单的配置就可以使用了。
YouCompleteMe进行补全时需要查找一个 ycm_global_ycm_extra_conf文件。可以每次在工作目录中放置这个文件,也可以设置全局。全局设置要在.vimrc中添加一行即可。
注:.ycm_extra_conf.py 是个隐藏文件,路径在~/.vim/bundle/YouCompleteMe/third_party/ycmd/cpp/ycm/.ycm_extra_conf.py
let g:ycm_global_ycm_extra_conf = '~/.vim/bundle/YouCompleteMe/third_party/ycmd/cpp/ycm/.ycm_extra_conf.py '
关于.vimrc的配置就不贴了,网上有很多,可以根据个人的喜好进行配置。