
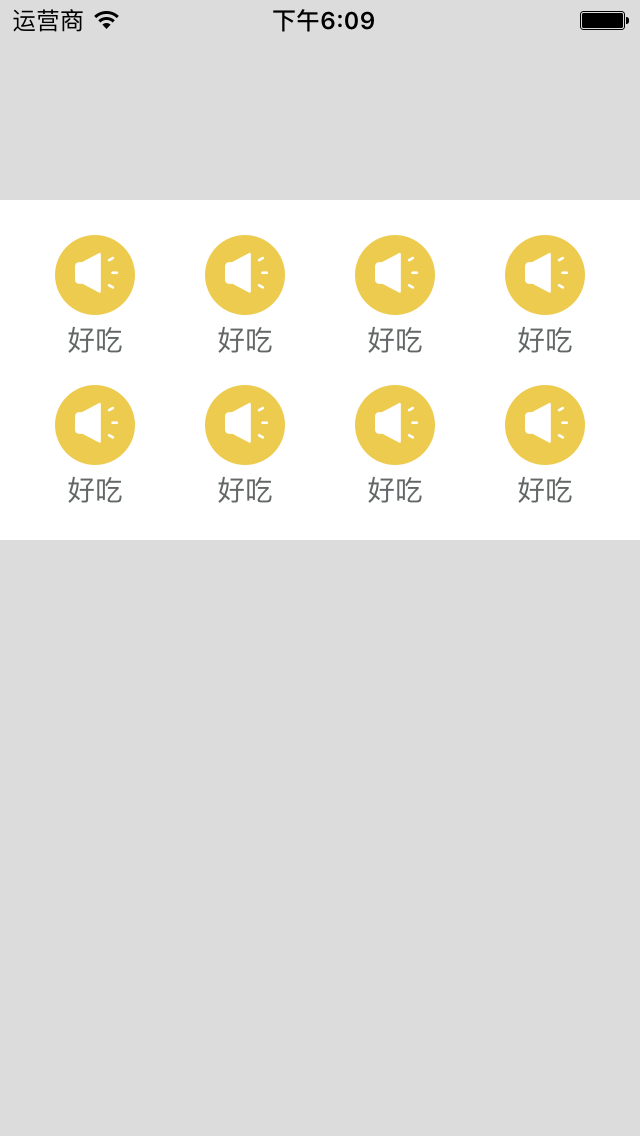
实现类似这样的效果,可以滚动大概有两种实现方案
1. 使用scrollview来实现
2. 使用UICollectionView来实现
第一种比较简单,而且相对于性能来说不太好,于是我们使用第二种方案
UICollectionView 的基础知识再次就不做说明了,在网上随便一搜都是一大把,我们就说说这个如何实现的吧,
其实很简单
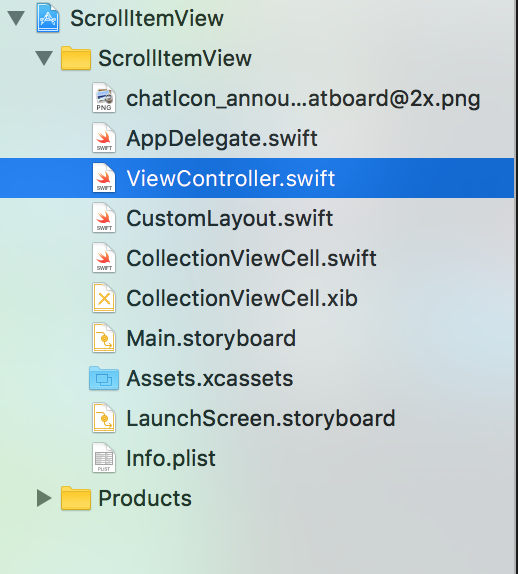
就这么几个文件。
先看看控制器里边的代码
 1 import UIKit
 2
 3 class ViewController: UIViewController,UICollectionViewDelegate,UICollectionViewDataSource {
 4
 5     var myCollectionView: UICollectionView!
 6
 7     override func viewDidLoad() {
 8         super.viewDidLoad()
 9         // Do any additional setup after loading the view, typically from a nib.
10
11         view.backgroundColor = UIColor(red: 220/255.0, green: 220/255.0, blue: 220/255.0, alpha: 1.0)
12
13         setupCollectionView()
14
15     }
16
17
18     // set up collection view
19     private func setupCollectionView() {
20
21         let screenW = UIScreen.mainScreen().bounds.size.width;
22         var rect = view.bounds
23         rect.size.height = (screenW - 15 * 2 - 10 * 3) / 2 + 30 + 10
24         rect.origin.y = 100
25         myCollectionView = UICollectionView(frame: rect, collectionViewLayout: collectionLayout())
26         myCollectionView.backgroundColor = UIColor.whiteColor()
27         myCollectionView.pagingEnabled = true
28         myCollectionView.showsHorizontalScrollIndicator = true
29         myCollectionView.delegate = self
30         myCollectionView.dataSource = self
31         view.addSubview(myCollectionView)
32
33
34       myCollectionView.registerClass(CollectionViewCell.self, forCellWithReuseIdentifier: "CollectionViewCell")
35
36     }
37
38     // set up layout
39     private func collectionLayout() -> UICollectionViewLayout {
40
41         let layout = CustomLayout()
42         return layout;
43     }
44
45
46     //MARK:- collection view data source
47     func numberOfSectionsInCollectionView(collectionView: UICollectionView) -> Int {
48
49         return 1
50     }
51     func collectionView(collectionView: UICollectionView, numberOfItemsInSection section: Int) -> Int {
52
53         return 26
54     }
55     func collectionView(collectionView: UICollectionView, cellForItemAtIndexPath indexPath: NSIndexPath) -> UICollectionViewCell {
56
57         let cell: UICollectionViewCell = collectionView.dequeueReusableCellWithReuseIdentifier("CollectionViewCell", forIndexPath: indexPath)
58
59         return cell
60     }
61
62     func collectionView(collectionView: UICollectionView, didSelectItemAtIndexPath indexPath: NSIndexPath) {
63         print(indexPath.row)
64     }
65
66 }
就是在控制器中见了一个UICollectionView 所有的设置跟我们平时使用的一模一样,唯一不同的地方就是我们自定义的布局
 1 import UIKit
 2
 3 let edgeMargin: CGFloat = 15   // 边界的间距
 4 let padding: CGFloat = 10     // 内部每个cell的间距
 5 let column: Int = 4      // 每页有多少列
 6 let row: Int = 2        // 每页有多少行
 7
 8
 9 class CustomLayout: UICollectionViewLayout {
10
11     private var layoutAttr: [UICollectionViewLayoutAttributes] = []
12
13     var totalCount: Int {  // 有多少cell
14         get {
15             return collectionView!.numberOfItemsInSection(0)
16         }
17     }
18
19     var page: Int {
20         get {
21             let numOfPage: Int = column * row
22             return totalCount / numOfPage + 1
23         }
24     }
25
26     // 重写此方法,自定义想要的布局
27     override func prepareLayout() {
28         super.prepareLayout()
29
30         // 这个方法最主要的任务是计算出每个cell的位置
31         layoutAttr = []
32         var indexPath: NSIndexPath
33         for index in 0..<totalCount {
34             indexPath = NSIndexPath(forRow: index, inSection: 0)
35             let attributes = layoutAttributesForItemAtIndexPath(indexPath)!
36
37             layoutAttr.append(attributes)
38         }
39     }
40
41     override func collectionViewContentSize() -> CGSize { // 返回滚动的Size,根据页数计算出来
42         return CGSizeMake(collectionView!.frame.size.width * CGFloat(page), collectionView!.frame.size.height)
43     }
44
45     override func shouldInvalidateLayoutForBoundsChange(newBounds: CGRect) -> Bool {
46         return true
47     }
48
49     override func layoutAttributesForItemAtIndexPath(indexPath: NSIndexPath) -> UICollectionViewLayoutAttributes? {
50
51         // 这个方法用来计算每一个cell的位置
52         let att: UICollectionViewLayoutAttributes = UICollectionViewLayoutAttributes(forCellWithIndexPath: indexPath)
53
54         let collectW: CGFloat = collectionView!.frame.size.width   // collection view 宽度
55         let numOfPage: Int = column * row
56         let pageIndex: Int = indexPath.row / numOfPage    // 当前cell处在哪一个页
57         let columnInPage: Int = indexPath.row % numOfPage % column   // 当前cell 在当前页的哪一列,用来计算位置
58         let rowInPage: Int = indexPath.row % numOfPage / column  // 当前cell 在当前页的哪一行,用来计算位置
59         // 计算宽度
60         let cellW: CGFloat = (collectW - edgeMargin * 2 - CGFloat(column - 1) * padding) / CGFloat(column)
61         // 高度
62         let cellH: CGFloat = cellW
63         // x
64         let cellX: CGFloat = collectW * CGFloat(pageIndex) + edgeMargin + (cellW + padding) * CGFloat(columnInPage)
65         // y
66         let cellY :CGFloat = edgeMargin + (cellH + padding) * CGFloat(rowInPage)
67
68         att.frame = CGRectMake(cellX, cellY, cellW, cellH)
69         return att
70     }
71
72     override func layoutAttributesForElementsInRect(rect: CGRect) -> [UICollectionViewLayoutAttributes]? {
73         return layoutAttr
74     }
75
76
77 }
prepareLayout 这个方法使我们自定义布局的方法
只要我们自定义了这几个方法就是实现了上边图片中的效果,

其实到这里,就跟使用scrollviewview 差不多了。效果图如下


下载地址 https://github.com/agelessman/ScrollItemView