一、简介
Spring Cloud Eureka 是 Spring Cloud Netflix 微服务套件中的一部分,它基于 Netflix Eureka 做了二次封装,主要负责完成微服务架构中的服务治理功能。
二、创建 eureka-service 工程
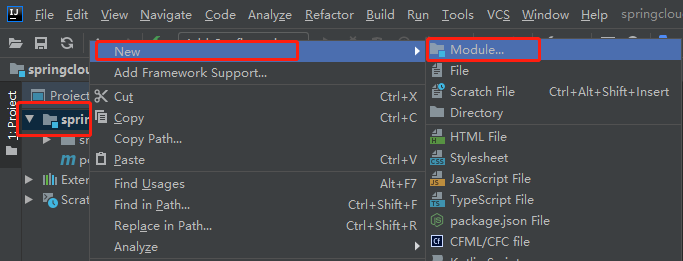
2.1 选中父工程,右键新建模块:
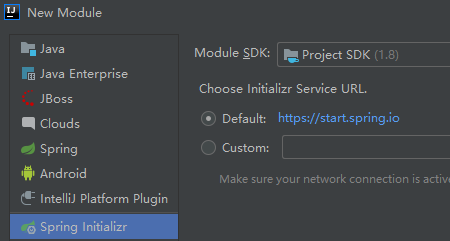
2.2 通过 Spring Initializer 来创建工程:
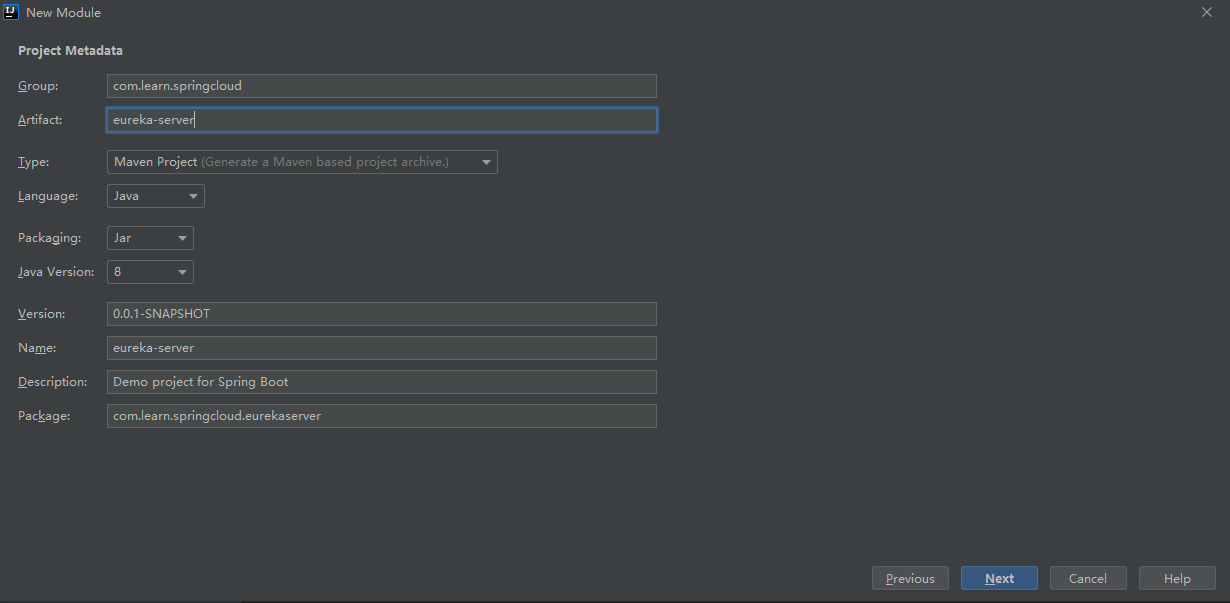
2.3填写 groupid 和 artifactid :
2.4 添加 Eureka Server 依赖
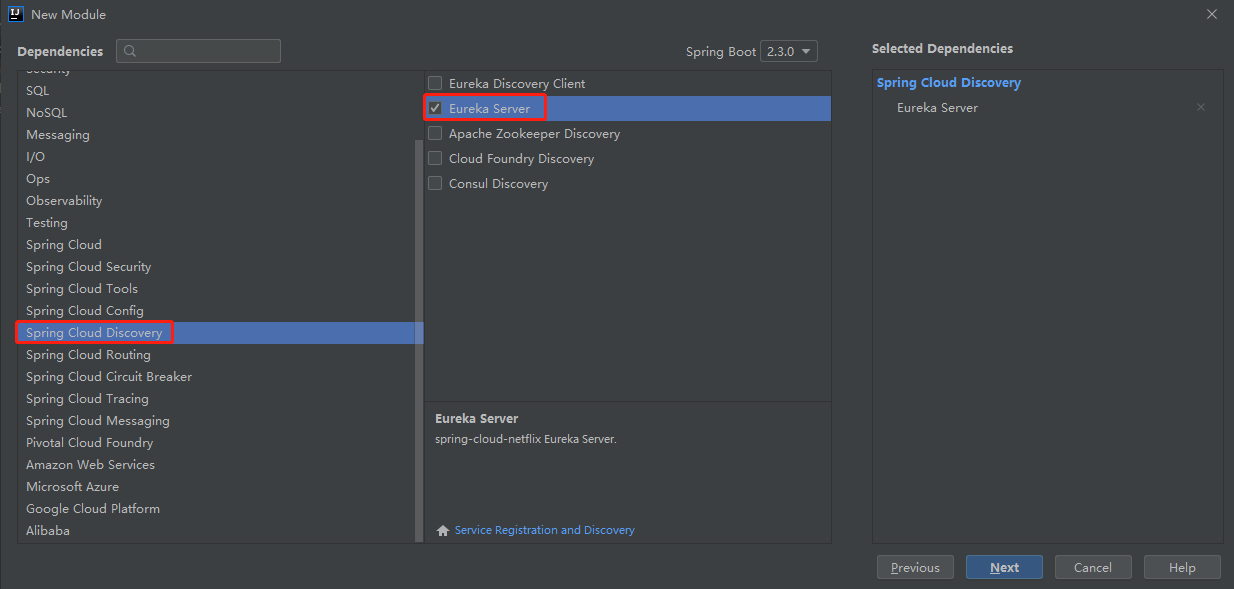
创建完工程后,可以看到在 POM 文件中已经引入 eureka-server 依赖
<dependency>
    <groupId>org.springframework.cloud</groupId>
    <artifactId>spring-cloud-starter-netflix-eureka-server</artifactId>
</dependency>
2.5 在启动类上添加 @EnableEurekaServer 注解来启用 Euerka 注册中心功能
@EnableEurekaServer
@SpringBootApplication
public class EurekaServerApplication {

    public static void main(String[] args) {
        SpringApplication.run(EurekaServerApplication.class, args);
    }

}
2.6 在配置文件 resources/application. yml 中添加 EurekaServer 相关配置
# 指定运行端口
server:
  port: 9000
# 指定服务名称
spring:
  application:
    name: eureka-server
eureka:
  instance:
    # 指定主机地址
    hostname: localhost
  client:
    # 指定是否从注册中心获取服务(注册中心不需要开启)
    fetch-registry: false
    # 指定是否将服务注册到注册中心(注册中心不需要开启)
    register-with-eureka: false
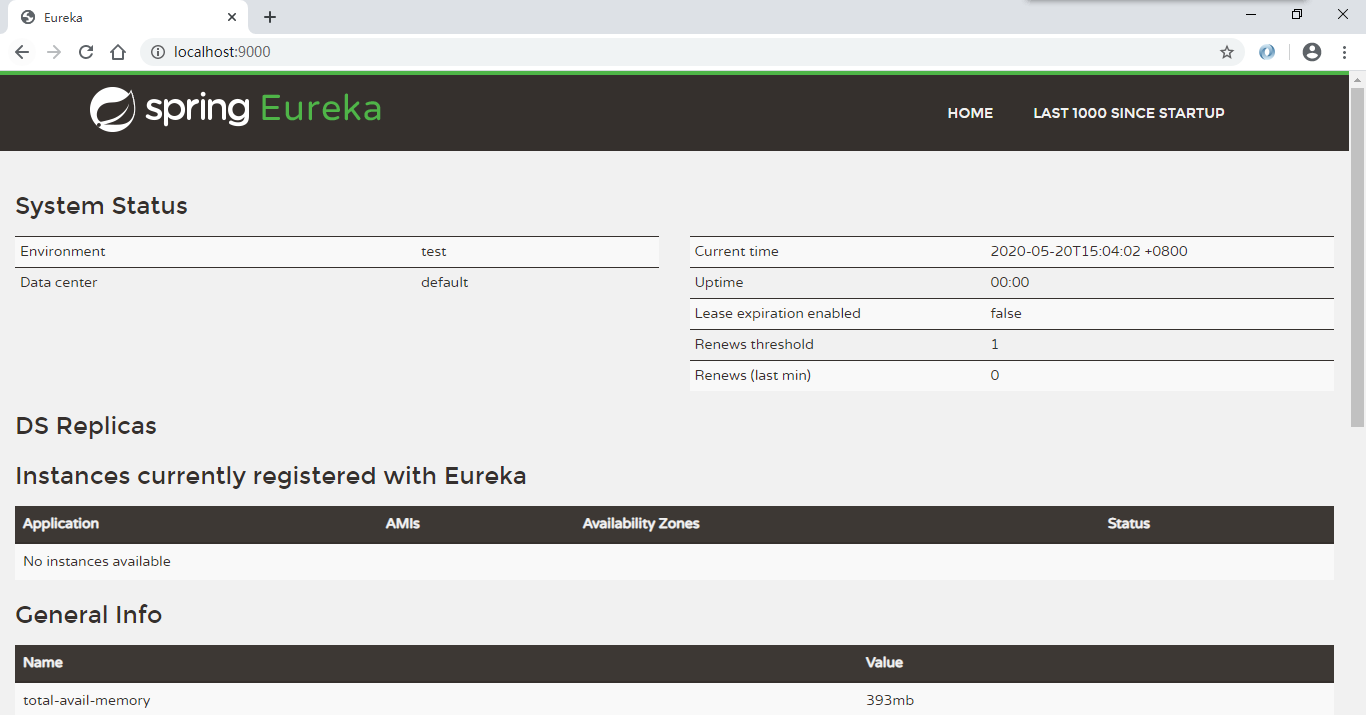
2.7启动项目后,访问 http://localhost:9000 ,可以看到 Eureka 注册中心界面:
三、创建 eureka-client 工程
3.1 重复 2.1 - 2.4 步骤,其中 groupid 和 artifactid 修改为:
<groupId>com.learn.springcloud</groupId>
<artifactId>eureka-client</artifactId>
3.2 替换依赖如下:
<dependency>
    <groupId>org.springframework.boot</groupId>
    <artifactId>spring-boot-starter-web</artifactId>
</dependency>

<dependency>
    <groupId>org.springframework.cloud</groupId>
    <artifactId>spring-cloud-starter-netflix-eureka-client</artifactId>
</dependency>
3.3 在启动类中使用 @EnableEurekaClient 注解,表明是一个 Eureka 客户端
@EnableEurekaClient
@SpringBootApplication
public class EurekaClientApplication {

    public static void main(String[] args) {
        SpringApplication.run(EurekaClientApplication.class, args);
    }

}
3.4 在配置文件 resources/application. yml 中添加 EurekaServer 相关配置
# 指定运行端口
server:
  port: 9000
# 指定服务名称
spring:
  application:
    name: eureka-server
eureka:
  instance:
    # 指定主机地址
    hostname: localhost
  client:
    # 指定是否从注册中心获取服务(注册中心不需要开启)
    fetch-registry: false
    # 指定是否将服务注册到注册中心(注册中心不需要开启)
    register-with-eureka: false
3.5 启动 eureka-client ,查看 eureka-service 页面
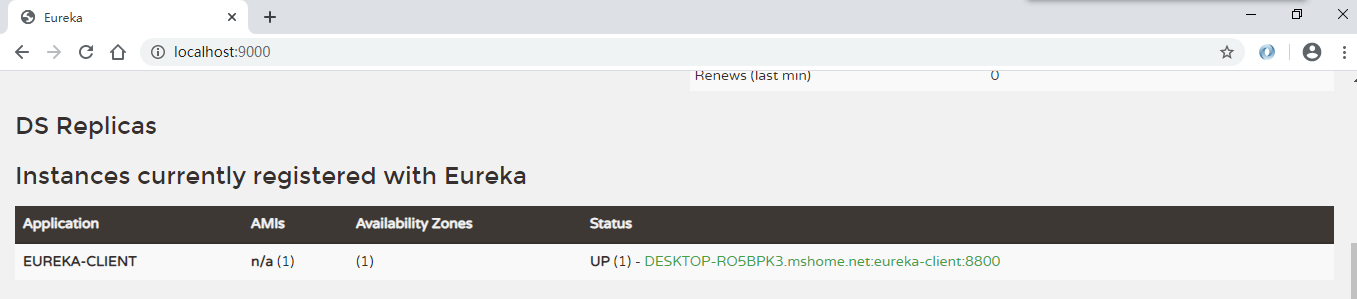
可以看到客户端已经成功注册了。
注:如果 eureka-service 没有先启动的话,eureka-client 项目将会抛出 ClientHandlerException 异常。
四、创建 eureka-service 集群
为了避免 eureka-service 宕机造成服务不可用,我们需要多个注册中心组成集群来提供服务。
4.1 在 eureka-service 项目中新建 application-replica01.yml 配置文件,内容如下:
# 指定运行端口
server:
  port: 9001
# 指定服务名称
spring:
  application:
    name: eureka-server
eureka:
  instance:
    # 指定主机地址
    hostname: replica1
  client:
    # 指定是否从注册中心获取服务(注册中心不需要开启)
    fetch-registry: true
    # 指定是否将服务注册到注册中心(注册中心不需要开启)
    register-with-eureka: true
    service-url:
      # 注册到另一个 Eureka 注册中心
      defaultZone: http://replica2:9002/eureka
  server:
    # 关闭自我保护机制
    enable-self-preservation: false
4.2 在 eureka-service 项目中新建 application-replica02.yml 配置文件,内容如下:
# 指定运行端口
server:
  port: 9002
# 指定服务名称
spring:
  application:
    name: eureka-server
eureka:
  instance:
    # 指定主机地址
    hostname: replica2
  client:
    # 指定是否从注册中心获取服务(注册中心不需要开启)
    fetch-registry: true
    # 指定是否将服务注册到注册中心(注册中心不需要开启)
    register-with-eureka: true
    service-url:
      # 注册到另一个 Eureka 注册中心
      defaultZone: http://replica1:9001/eureka
  server:
    # 关闭自我保护机制
    enable-self-preservation: false
注1:可以看到我们在配置文件将 fetch-registry 和 register-with-eureka 设为 true,这表示 service 也会进行注册操作。
注2:我们使用 replica1 这种域名的形式替代了 localhost ,是因为后者会出现一些问题,如无法同时注册到两个服务中去。
注3: replica1 需要修改本地 host 文件,windows 系统以管理员身份编辑 C:WindowsSystem32driversetc 文件:
127.0.0.1 replica1
127.0.0.1 replica2
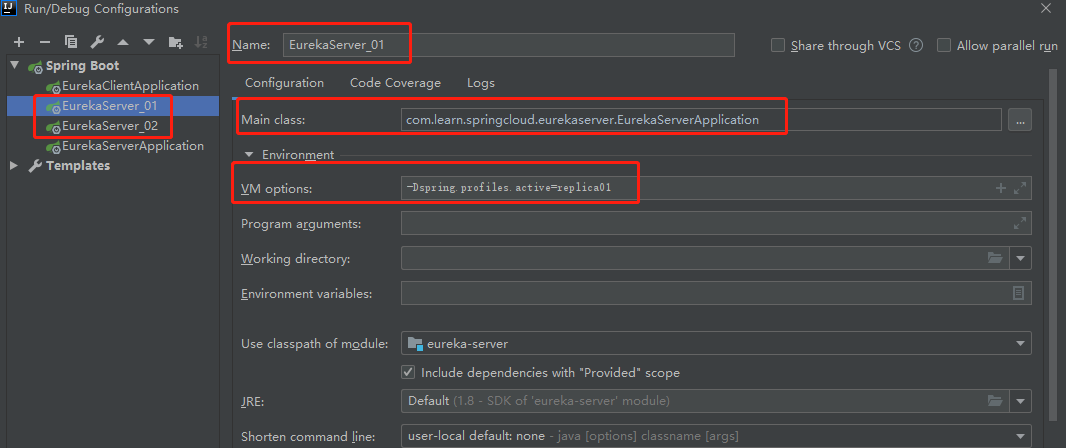
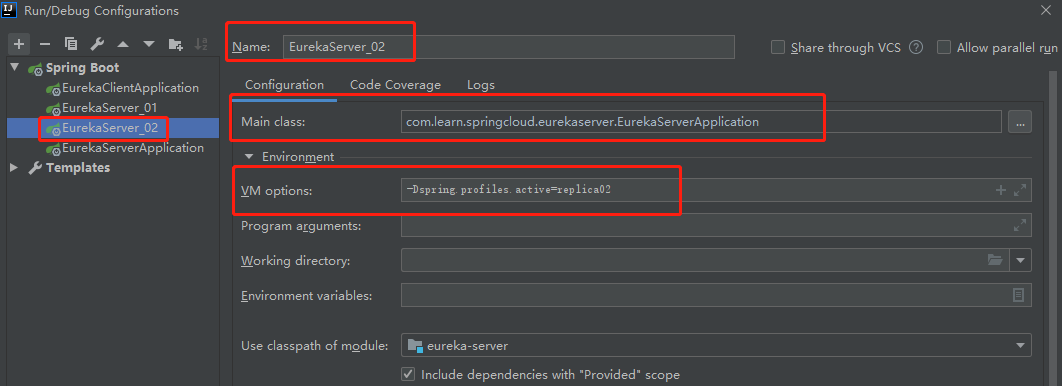
4.3 指定配置文件的形式分别运行两个 eureka-service


4.4 分别访问 http://localhost:9001 和 http://localhost:9002


可以看到两个 eureka-server 互相注册。
4.5 修改 Eureka-client 配置,连接到 eureka-server 集群
# 指定服务名称
spring:
  application:
    name: eureka-client

eureka:
  client:
    # 注册到Eureka的注册中心
    register-with-eureka: true
    # 获取注册实例列表
    fetch-registry: true
    service-url:
      # 同时注册到两个注册中心
      defaultZone: http://localhost:9001/eureka, http://localhost:9002/eureka
**4.6 启动 eureka-client ,查看任意一个 eureka-server ,将会出现如下所示: **

注:关闭 eureka-client 后,eureka-server 会在三分钟后将服务自动下线。