【前提情要】
Security学习地址:
https://www.bilibili.com/video/BV1KE411i7bC
狂神的微信笔记:
https://mp.weixin.qq.com/s?__biz=Mzg2NTAzMTExNg==&mid=2247483957&idx=1&sn=fc30511490b160cd1519e7a7ee3d4ed0&chksm=ce610496f9168d8082bf6cb2e54b0b8628a1db596c1d297d06e756e621569dc3047334b3062c&mpshare=1&scene=23&srcid=0729Qvgf1Lb6AstEnrABaRiH&sharer_sharetime=1595987265426&sharer_shareid=04a2988e19defb0bbbb3d27a02ec4289#rd
【演示案例搭建】
首先是新建一个SpringBoot工程,
不要勾选任何组件,直接添加依赖即可:
<dependency>
    <groupId>org.thymeleaf</groupId>
    <artifactId>thymeleaf-spring5</artifactId>
</dependency>

<dependency>
    <groupId>org.thymeleaf.extras</groupId>
    <artifactId>thymeleaf-extras-java8time</artifactId>
</dependency>

<dependency>
    <groupId>org.springframework.boot</groupId>
    <artifactId>spring-boot-starter-web</artifactId>
</dependency>
把静态资源文件和配置导入资源目录中:
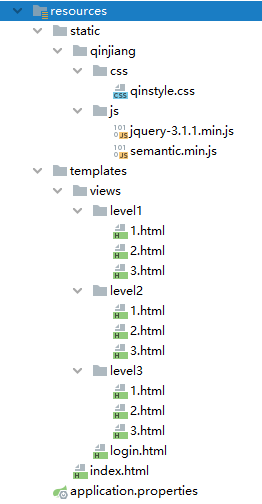
每个Level目录中的页面都一样的【空的,啥都没有】,只是为了代表不同的可访问级别的资源
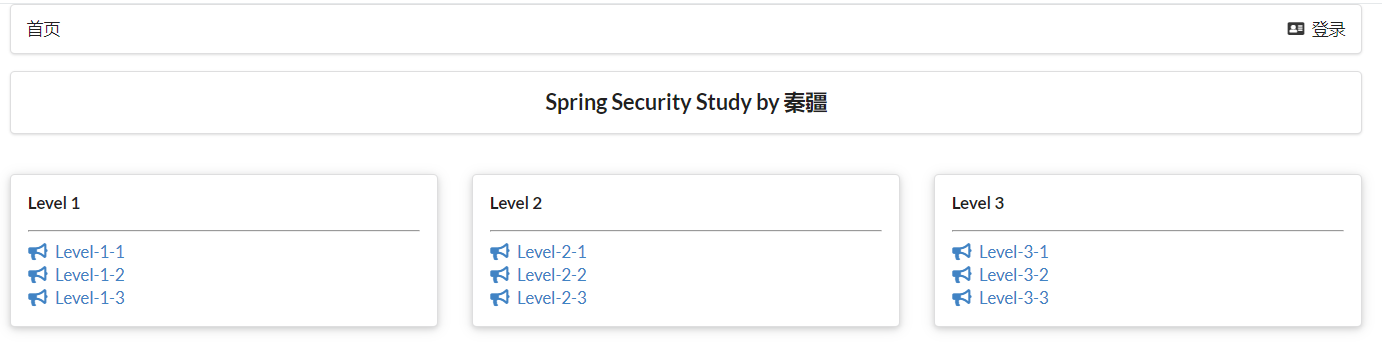
首页展示了所有可以访问的内容:
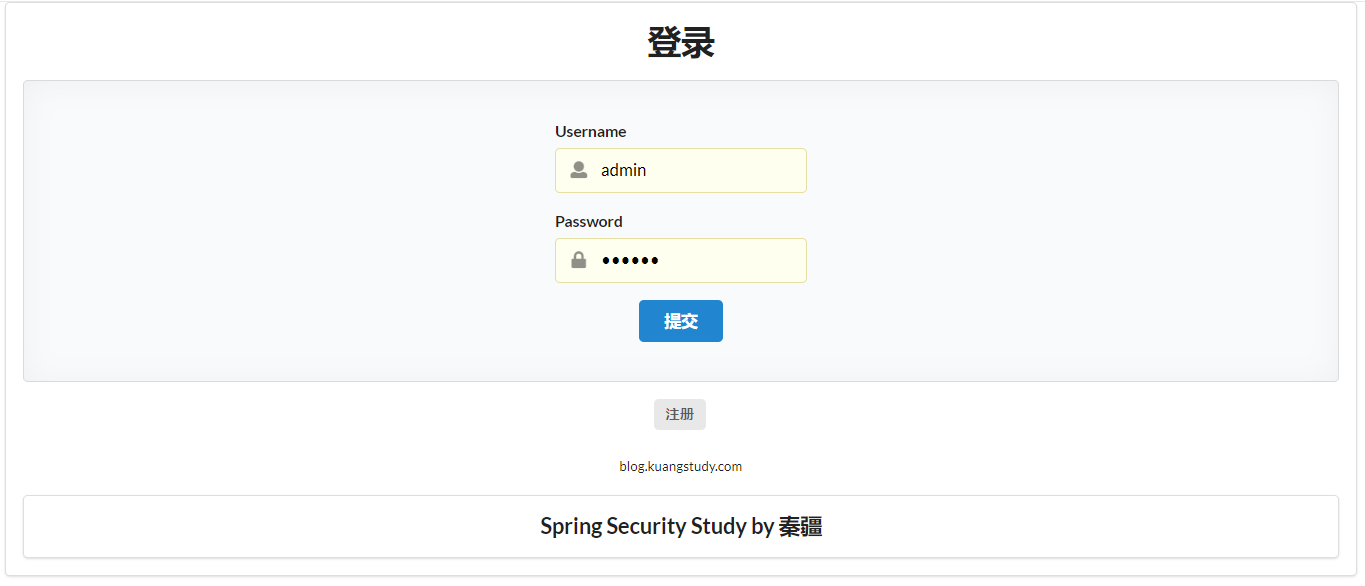
然后这是登陆页面:
编写一个路由控制器,实现页面之间的跳转访问:
package cn.echo42.controller;

import org.springframework.stereotype.Controller;
import org.springframework.web.bind.annotation.PathVariable;
import org.springframework.web.bind.annotation.RequestMapping;

/**
 * @author DaiZhiZhou
 * @file SpringSecurity
 * @create 2020-07-29 9:53
 */

@Controller
public class RouterController {

    @RequestMapping({"/","/index"})
    public String index(){
        return "index";
    }

    @RequestMapping("/toLogin")
    public String toLogin(){
        return "views/login";
    }

    @RequestMapping("/level1/{id}")
    public String level1(@PathVariable("id") int id){
        return "views/level1/" + id;
    }

    @RequestMapping("/level2/{id}")
    public String level2(@PathVariable("id") int id){
        return "views/level2/" + id;
    }

    @RequestMapping("/level3/{id}")
    public String level3(@PathVariable("id") int id){
        return "views/level3/" + id;
    }

}
在我们启动工程之后,所有的页面毫无阻拦的就可以被所有的访问者访问到
用户的隐私数据就可以被攻击者窃取。简而言之就是安全隐患
从这里引入安全的概念,然后就是SpringSecurity这样一个解决方案:
Spring Security是一个功能强大且高度可定制的身份验证和访问控制框架。
它实际上是保护基于spring的应用程序的标准。

Spring Security是一个框架,侧重于为Java应用程序提供身份验证和授权。
与所有Spring项目一样,Spring安全性的真正强大之处在于它可以轻松地扩展以满足定制需求

从官网的介绍中可以知道这是一个权限框架。
想我们之前做项目是没有使用框架是怎么控制权限的?
对于权限 一般会细分为功能权限,访问权限,和菜单权限。
代码会写的非常的繁琐,冗余。

怎么解决之前写权限代码繁琐,冗余的问题,
一些主流框架就应运而生而Spring Scecurity就是其中的一种。
首先引入安全框架组件坐标:
<dependency>
   <groupId>org.springframework.boot</groupId>
   <artifactId>spring-boot-starter-security</artifactId>
</dependency>
我们之前编写的内容不需要做出任何的改动:
【授权authorize】
编写一个SpringSecurity配置类:
package cn.echo42.config;

import org.springframework.security.config.annotation.web.builders.HttpSecurity;
import org.springframework.security.config.annotation.web.configuration.EnableWebSecurity;
import org.springframework.security.config.annotation.web.configuration.WebSecurityConfigurerAdapter;

/**
 * @author DaiZhiZhou
 * @file SpringSecurity
 * @create 2020-07-29 10:34
 */

@EnableWebSecurity // 注册为WebSecurity的一个Bean
public class SecurityConfiguration extends WebSecurityConfigurerAdapter {

    @Override // 注意重写的是这个HttpSecurity参数的configure方法
    protected void configure(HttpSecurity http) throws Exception {
        // 首页允许所有人访问,那些LEVEL页面只有对应具备的权限的用户才可以访问

        http.
                authorizeRequests(). // 对以下请求进行授权
                antMatchers("/"). // /表示我们的首页
                permitAll(). // 表示完全允许访问

                // 对相应的地址进行相应的角色设置
                antMatchers("/level1/**").hasRole("vip1").
                antMatchers("/level2/**").hasRole("vip2").
                antMatchers("/level3/**").hasRole("vip3");
    }
}
这时候运行工程:
虽然首页所有人均可以访问,但是点击下面的这些LEVEL页面就会被拒绝
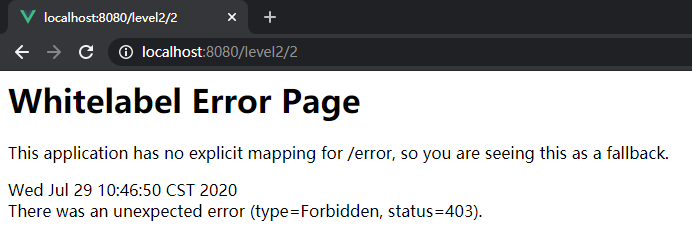
There was an unexpected error (type=Forbidden, status=403).
访问被禁止了,也就是我们Security起效了
但是如果访问禁止,按照业务流程,我们应该是将这个请求返回到登录页面:
所以需要进行下一步的设置:
        // 没有权限,重定向到登录页面
        http.formLogin();
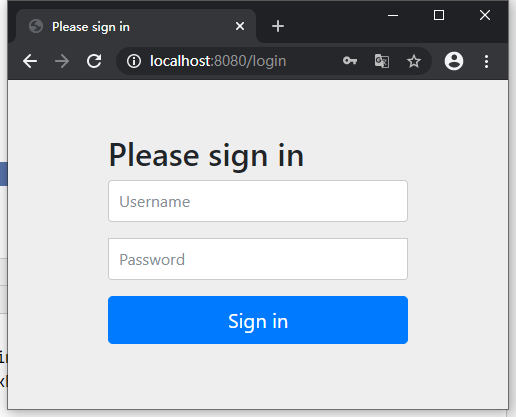
这时候再来访问就会跳转到登录页面:
不过这登陆页面并不是我们自己那个素材的登录页,而是Security提供的
【权限认证】
重写 重载的config方法,是参数为AuthenticationManagerBuilder的方法
    @Override
    protected void configure(AuthenticationManagerBuilder auth) throws Exception {
        super.configure(auth);
    }
但是我们这个案例没有涉及数据库,所以使用的是从内存中获取数据用以认证
    @Override
    protected void configure(AuthenticationManagerBuilder auth) throws Exception {

        auth.inMemoryAuthentication().
                // 认证角色  用户名称、密码、对应的多个角色

                // 超级管理员就直接赋值所有角色即可
                withUser("admin").password("admin").roles("vip1","vip2","vip3").
                // 如果是多个角色则使用and方法加上
                and().withUser("user1").password("123").roles("vip1").
                and().withUser("user2").password("123").roles("vip2").
                and().withUser("user3").password("123").roles("vip3");
    }
然后再次访问:
当访问被拒绝重定向到登录页面
然后输入我们在Security设置的权限信息之后。。。
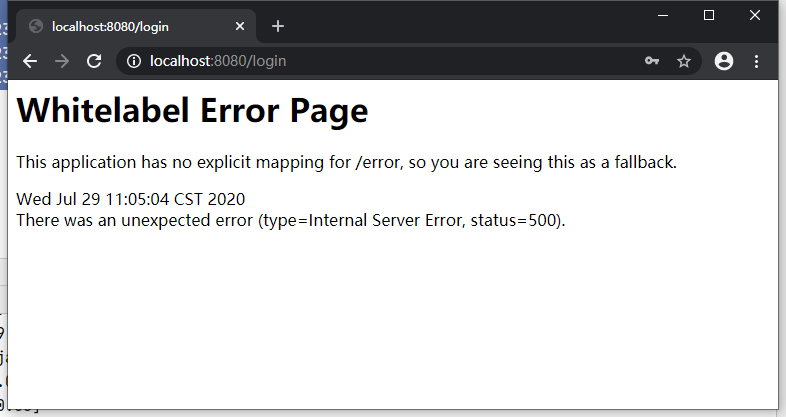
我这里看不出来,只有一个500,Security的要求意思是说,密码没有加密也不能访问
所以我们需要做的是就是对密码再加密即可:
    @Override
    protected void configure(AuthenticationManagerBuilder auth) throws Exception {

        auth.inMemoryAuthentication().passwordEncoder(new BCryptPasswordEncoder()).
                // 认证角色  用户名称、密码、对应的多个角色

                // 超级管理员就直接赋值所有角色即可
                withUser("admin").password(new BCryptPasswordEncoder().encode("admin")).roles("vip1","vip2","vip3").
                // 如果是多个角色则使用and方法加上
                and().withUser("user1").password(new BCryptPasswordEncoder().encode("123")).roles("vip1").
                and().withUser("user2").password(new BCryptPasswordEncoder().encode("123")).roles("vip2").
                and().withUser("user3").password(new BCryptPasswordEncoder().encode("123")).roles("vip3");
    }
再次访问:
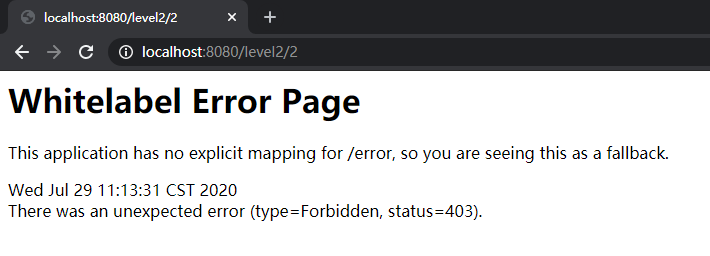
使用user1访问level1目录的资源是可以的

但是访问level2就没办法了
【注销功能】
    @Override // 注意重写的是这个HttpSecurity参数的configure方法
    protected void configure(HttpSecurity http) throws Exception {
        // 首页允许所有人访问,那些LEVEL页面只有对应具备的权限的用户才可以访问

        http.
                authorizeRequests(). // 对以下请求进行授权
                antMatchers("/"). // /表示我们的首页
                permitAll(). // 表示完全允许访问

                // 对相应的地址进行相应的角色设置
                antMatchers("/level1/**").hasRole("vip1").
                antMatchers("/level2/**").hasRole("vip2").
                antMatchers("/level3/**").hasRole("vip3");

        // 没有权限,重定向到登录页面
        http.formLogin();

        // 注销,退出
        http.logout();
    }
在首页中插入一个注销标签:
<a class="item" th:href="@{/logout}">
    <i class="sign-out icon"></i> 注销
</a>
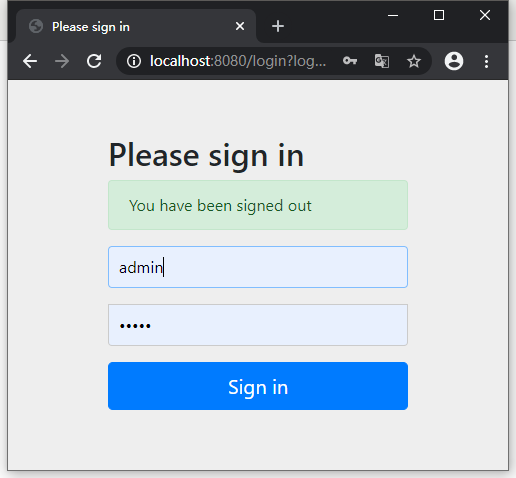
测试退出:
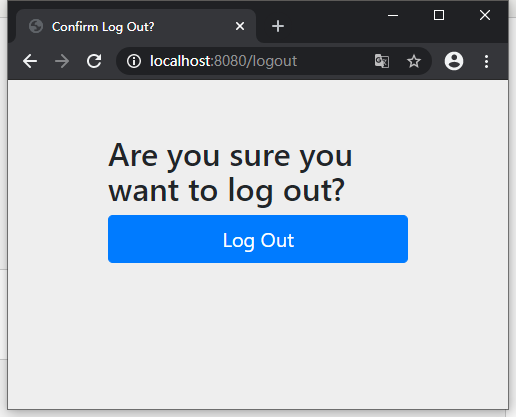
点击之后自动回到登录页面,并且标注了是注销回到登录页的
如果不是跳转到登录页,而是首页,则可以:
http.logout().logoutSuccessUrl("/");
即追加一个注销成功的重定向地址