提示: MySQL InnoDB Cluster底层依赖Group Replication模式,至少3台机器
1. 准备3台 CentOS Linux 7 (Core), 修改各主机名:db-host1, db-host2, db-host3 然后配置各台机器 hosts 映射, 对应如下
cat << EOF >> /etc/hosts
192.168.50.181 db-host1
192.168.50.182 db-host2
192.168.50.183 db-host3
EOF
2. 确保3台服务器要互相访问正常,为了保险期间请关闭防火墙,firewalld常用命令 如:
# 启动
systemctl start firewalld

# 关闭
systemctl stop firewalld

# 查看状态
systemctl status firewalld

# 开机禁用
systemctl disable firewalld

# 开机启用
systemctl enable firewalld

# 查看所有打开的端口
 firewall-cmd --zone=public --list-ports
3. 确保互访使用ssh 共享,这里使用root 账户 如:在db-host1 执行,其它以此类推:
ssh-keygen -t rsa
ssh-copy-id -i ~/.ssh/id_rsa.pub 192.168.50.182

ssh-keygen -t rsa
ssh-copy-id -i ~/.ssh/id_rsa.pub 192.168.50.183
4. 准备安装 mysql-community-server,mysql-shell,mysql-router 在3台机器安装,注意版本:
wget https://dev.mysql.com/get/mysql80-community-release-el7-3.noarch.rpm
rpm -ivh mysql80-community-release-el7-3.noarch.rpm
yum install mysql-community-server
wget https://dev.mysql.com/get/Downloads/MySQL-Shell/mysql-shell-8.0.18-1.el7.x86_64.rpm
rpm -ivh mysql-shell-8.0.18-1.el7.x86_64.rpm
yum install mysql-shell
wget https://dev.mysql.com/get/Downloads/MySQL-Router/mysql-router-community-8.0.18-1.el7.x86_64.rpm
rpm -ivh mysql-router-community-8.0.17-1.el7.x86_64.rpm
yum install mysql-router
5. 安装完MysqlServer 后,依次每台初始化mysql,步骤如下:#初始化:
mysqld --initialize;


#赋访问权限:
chown mysql:mysql /var/lib/mysql -R


#启动mysql服务:
systemctl start mysqld.service;


#设置mysql开机自启
mysql systemctl enable mysqld;


#命令查看数据库的密码:
cat /var/log/mysqld.log | grep password


#进入mysql命令行:
mysql -uroot -p (输入上述查看的数据库密码进入mysql命令行)

#命令来修改密码:
ALTER USER 'root'@'localhost' IDENTIFIED WITH mysql_native_password BY  '密码';

#创建远程访问权限:
create user 'root'@'%' identified with mysql_native_password by  '密码';

GRANT ALL PRIVILEGES ON *.* TO 'root'@'%' WITH GRANT OPTION;

flush privileges;
6. 由于依赖组复制,在host1 修改 /etc/my.cnf
server_id = 4000000161
loose-group_replication_group_name="a38e32fd-5fb6-11e8-ad7a-00259015d941"
loose-group_replication_local_address= "192.168.50.181:3306"
loose-group_replication_group_seeds= "192.168.50.181:3306,192.168.50.182:3306,192.168.50.183:3306"
loose-group_replication_single_primary_mode=TRUE
然后拷贝 /etc/my.cnf到另外2台机器
rsync -e "ssh -p22" -avpgolr /etc/my.cnf root@192.168.50.182:/etc/
rsync -e "ssh -p22" -avpgolr /etc/my.cnf root@192.168.50.183:/etc/
确保各自 server_id 和 address
host1 server_id = 4000000161
loose-group_replication_local_address= "192.168.50.181:3306"
host2 server_id = 4000000162
loose-group_replication_local_address= "192.168.50.182:3306"
host3 server_id = 4000000163
loose-group_replication_local_address= "192.168.50.183:3306"
7. 3台mysql server 启动组复制
start group_replication
8. 检查实例配置, 使用 mysqlsh
dba.checkInstanceConfiguration('root@db-host1:3306')
dba.checkInstanceConfiguration('root@db-host2:3306')
dba.checkInstanceConfiguration('root@db-host3:3306')
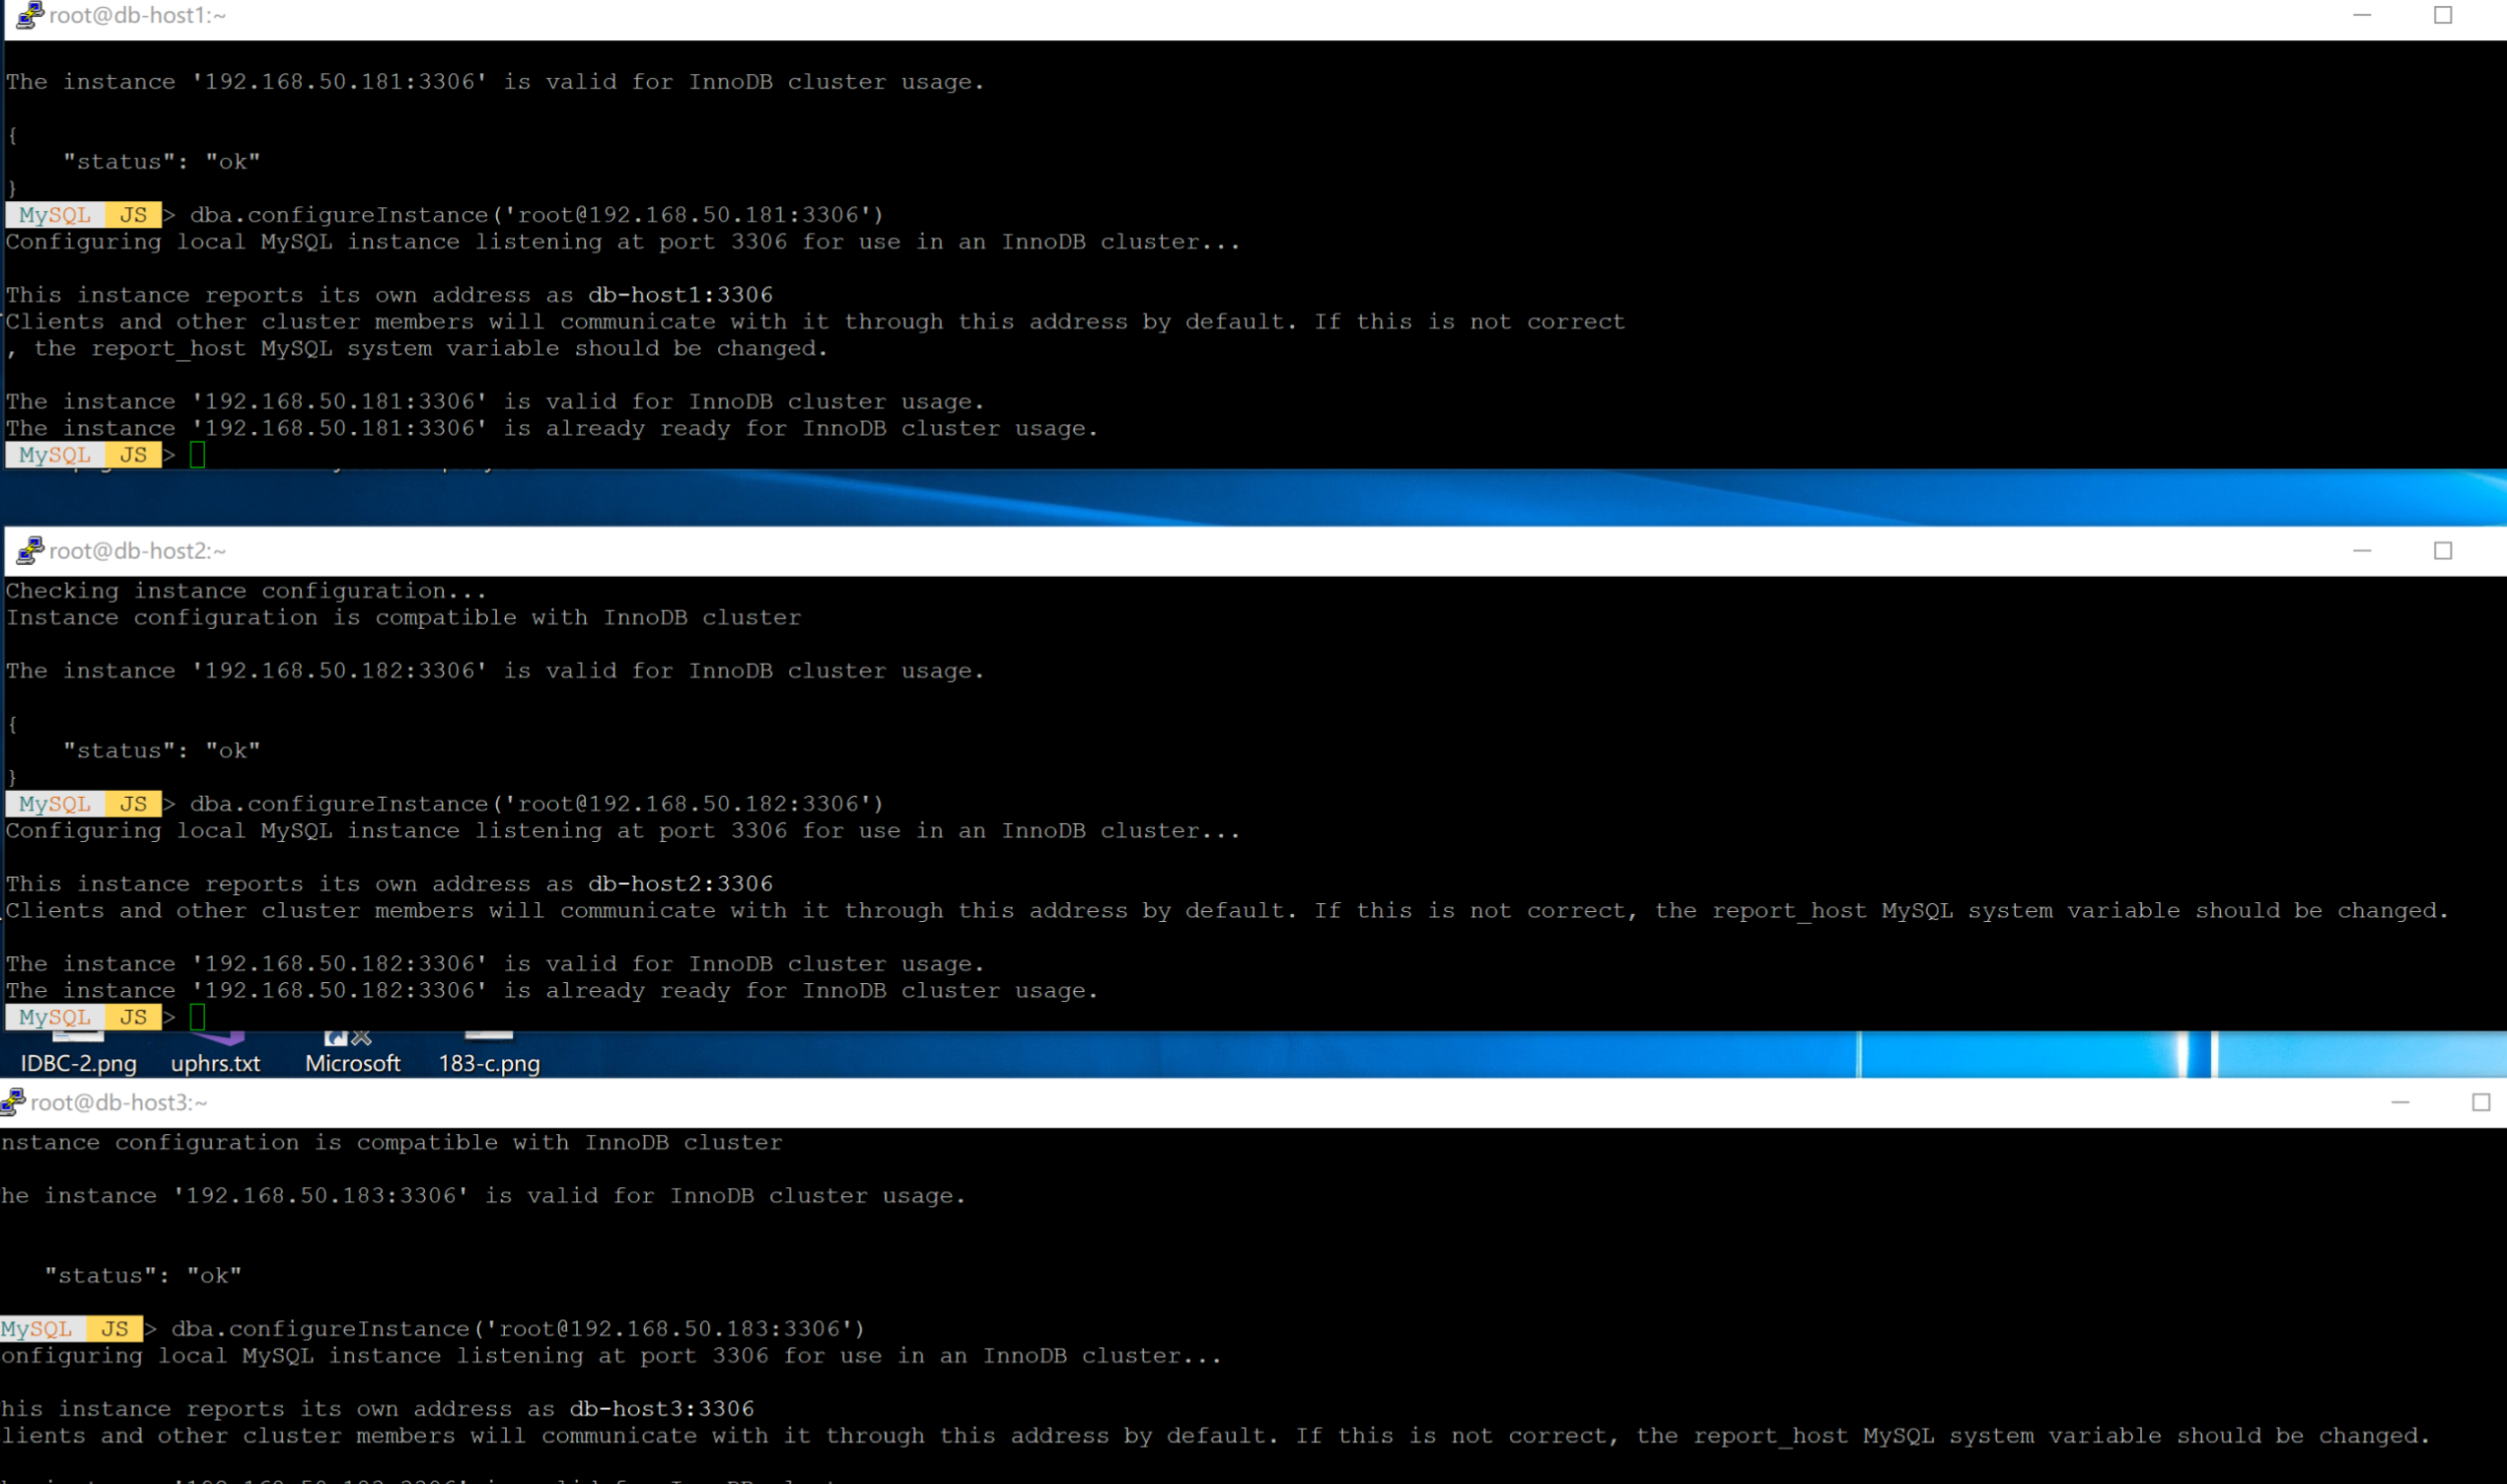
8. 配置实例
dba.configureInstance('root@db-host1:3306',{'restart': true})
dba.configureInstance('root@db-host2:3306',{'restart': true})
dba.configureInstance('root@db-host3:3306',{'restart': true})

9. 创建添加实例
var cluster = dba.createCluster('mycluster');
var cluster=dba.getCluster('mycluster')
cluster.addInstance('root@db-host2:3306');
cluster.addInstance('root@db-host3:3306');
10. 登录主服务器 ,查看,配置成功
mysql> select * from performance_schema.replication_group_members;

注意:由于8.0 中的一些变化和5.X配置有所配置不同,按照以前的配置容易出错,要善于对应分析日志进行排错
推荐参考资料:
https://blog.csdn.net/wzy0623/article/details/100779450
https://www.jianshu.com/p/6e2918845ec8
https://lefred.be/content/mysql-8-0-innodb-cluster-the-quick-hands-on-manual/