安装环境:
CentOS Linux release 7.9.2009 (Core)
所需软件包:
elasticsearch-6.8.1.rpm
elasticsearch-head.tar.gz
jdk-8u211-linux-x64.rpm
kibana-6.8.10-x86_64.rpm
logstash-6.8.10.rpm
安装步骤
1)配置epel源
[root@elk ~]# wget -O /etc/yum.repos.d/epel.repo http://mirrors.aliyun.com/repo/epel-7.repo
[root@elk ~]# yum clean all
[root@elk ~]# yum makecache
2)安装JDK
[root@elk ~]# yum -y localinstall jdk-8u211-linux-x64.rpm
[root@elk ~]# java -version
java version "1.8.0_211"
Java(TM) SE Runtime Environment (build 1.8.0_211-b12)
Java HotSpot(TM) 64-Bit Server VM (build 25.211-b12, mixed mode)
[root@elk ~]#
3)安装elasticsearch
[root@elk ~]# yum -y localinstall elasticsearch-6.8.1.rpm
修改配置文件
[root@elk ~]# vim /etc/elasticsearch/elasticsearch.yml
#cluster.name: my-application ->cluster.name: elk-application
#node.name: node-1 ->node.name: node-1
path.data: /var/lib/elasticsearch ->path.data: /elk/data
path.logs: /var/log/elasticsearch->path.logs: /elk/logs
#bootstrap.memory_lock: true ->bootstrap.memory_lock: true
#network.host: 192.168.0.1 ->network.host: 10.158.1.20
#http.port: 9200 ->http.port: 9200
#discovery.zen.ping.unicast.hosts: ["host1", "host2"] ->discovery.zen.ping.unicast.hosts: ["10.158.1.20"]
修改配置文件 [root@elk ~]# vim /usr/lib/systemd/system/elasticsearch.service
在Services下增加如下内容:
LimitMEMLOCK=infinity
[root@elk ~]# systemctl daemon-reload
修改内存限制
[root@elk ~]# vim /etc/elasticsearch/jvm.options
-Xms4g
-Xmx4g
创建目录
[root@elk ~]# mkdir -p /elk/{data,logs}
[root@elk ~]# chown elasticsearch.elasticsearch /elk/ -R
增加host记录
[root@elk ~]# vim /etc/hosts
10.158.1.20 node-1
设置开机启动并启动服务
[root@elk ~]# systemctl enable elasticsearch.service
[root@elk ~]# systemctl start elasticsearch.service
检查服务是否启动成功


备注:启动稍慢
4)安装elasticsearch插件head
[root@elk ~]# yum -y install npm git
[root@elk ~]# tar zxvf elasticsearch-head.tar.gz -C /usr/local/src/
[root@elk ~]# cd /usr/local/src/elasticsearch-head/
[root@elk elasticsearch-head]# npm run start &
修改elasticsearch服务配置文件,开启跨域访问支持,然后重启elasticsearch服务
[root@elk elasticsearch-head]# vim /etc/elasticsearch/elasticsearch.yml
末尾增加如下内容:
http.cors.enabled: true
http.cors.allow-origin: "*"
重启elasticsearch服务
[root@elk elasticsearch-head]# systemctl restart elasticsearch.service
编写elasticsearch-head启动脚本
[root@elk elasticsearch-head]# vim /usr/bin/elasticsearch-head
#!/bin/bash
#desc: elasticsearch-head service manager
#date: 2019
data="cd /usr/local/src/elasticsearch-head/; nohup npm run start > /dev/null 2>&1 & "
function START (){
eval $data && echo -e "elasticsearch-head start�33[32m ok�33[0m"
}
function STOP (){
ps -ef |grep grunt |grep -v "grep" |awk '{print $2}' |xargs kill -s 9 > /dev/null && echo -e "elasticsearch-head stop�33[32m ok�33[0m"
}
case "$1" in
start)
START
;;
stop)
STOP
;;
restart)
STOP
sleep 3
START
;;
*)
echo "Usage: elasticsearch-head (start|stop|restart)"
;;
esac
[root@elk elasticsearch-head]# chmod +x /usr/bin/elasticsearch-head
启动服务

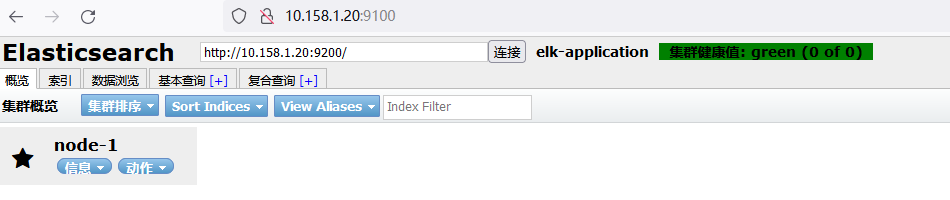
web登录连接es数据库如下图:
5)安装Logstash
[root@elk ~]# yum -y localinstall logstash-6.8.10.rpm
启动服务
[root@elk ~]# systemctl enable logstash.service
[root@elk ~]# systemctl start logstash.service
5)安装kibana
[root@elk ~]# yum -y localinstall kibana-6.8.10-x86_64.rpm
修改配置文件
[root@elk ~]# vim /etc/kibana/kibana.yml
#server.port: 5601 ->server.port: 5601
#server.host: "localhost"->server.host: "10.158.1.20"
#elasticsearch.hosts: ["http://localhost:9200"] ->elasticsearch.hosts: ["http://10.158.1.20:9200"]
#i18n.locale: "en"->i18n.locale: "zh-CN"
启动服务
[root@elk ~]# systemctl enable kibana.service
[root@elk ~]# systemctl start kibana.service
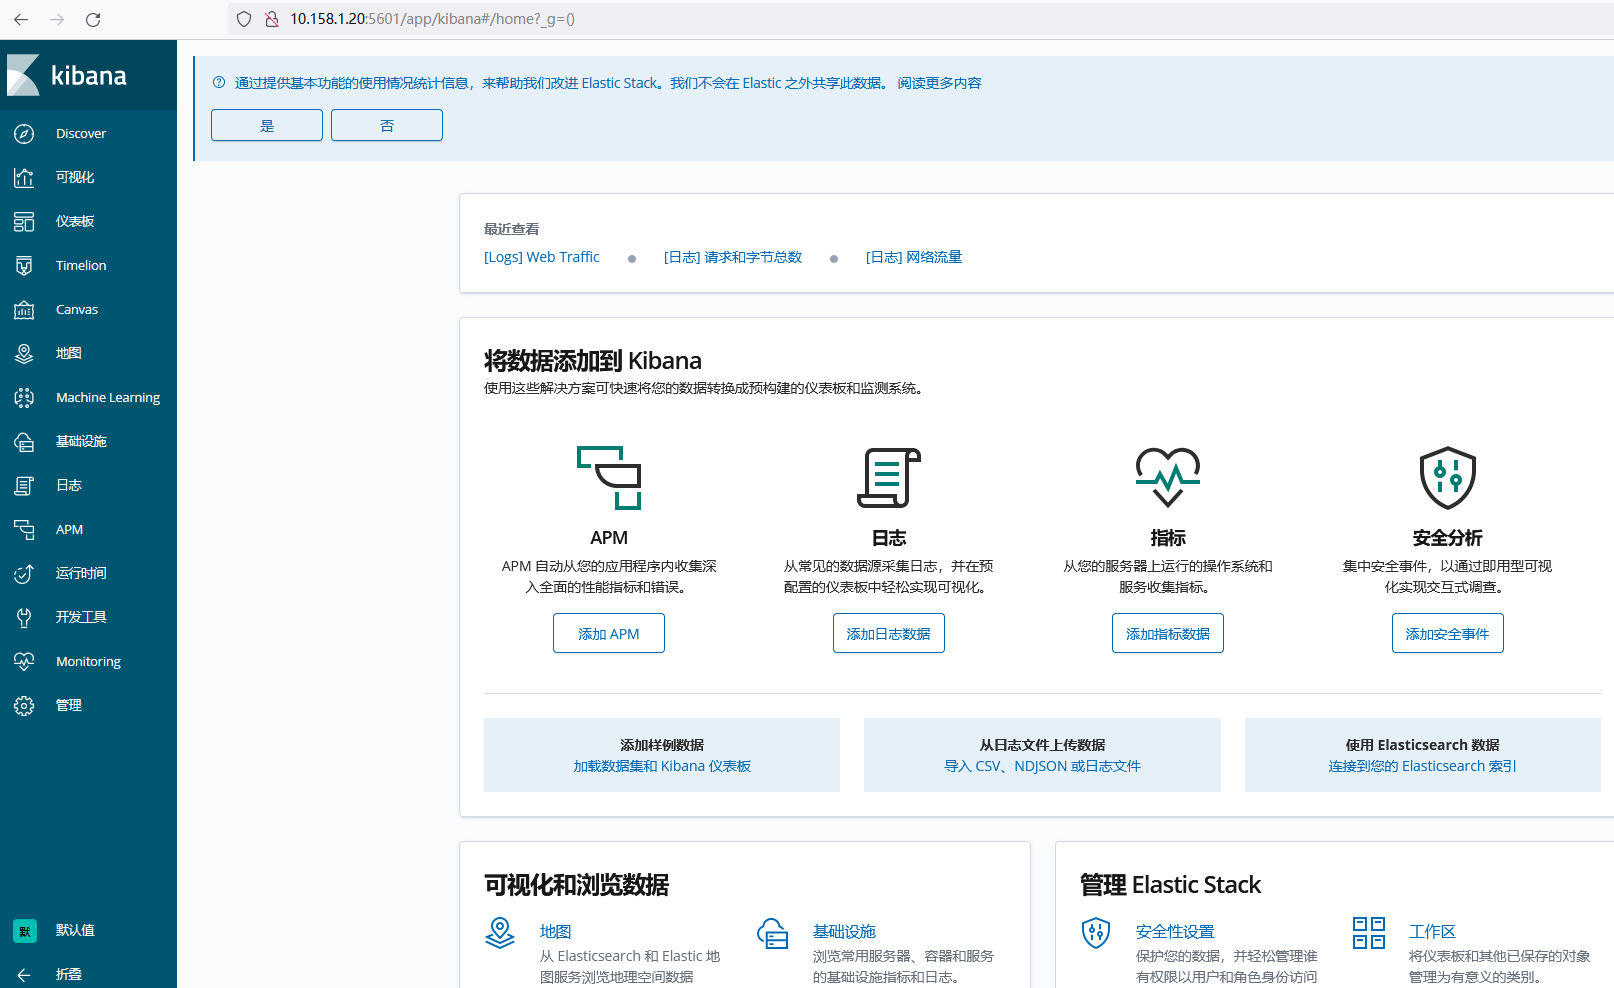
使用浏览器打开页面如下:
6)nginx安装fileneat测试
[root@web ~]# curl -L -O https://artifacts.elastic.co/downloads/beats/filebeat/filebeat-6.8.10-x86_64.rpm
[root@web ~]# sudo rpm -vi filebeat-6.8.10-x86_64.rpm
[root@web ~]# vim /etc/filebeat/filebeat.yml
hosts: ["localhost:9200"]->hosts: ["10.158.1.20:9200"]
#host: "localhost:5601" ->host: "10.158.1.20:5601"
[root@web ~]# sudo filebeat modules enable nginx
[root@web ~]# sudo filebeat setup
[root@web ~]# sudo service filebeat start
7)访问nginx页面刷新日志后,在kibana查看日志如下图:
