PostgreSQL13
install
本机环境
[root@sonarqube02 ~]# cat /etc/redhat-release
CentOS Linux release 7.8.2003 (Core)
[root@sonarqube02 ~]# cat /proc/version
Linux version 3.10.0-1127.19.1.el7.x86_64 (mockbuild@kbuilder.bsys.centos.org) (gcc version 4.8.5 20150623 (Red Hat 4.8.5-39) (GCC) ) #1 SMP Tue Aug 25 17:23:54 UTC 2020
1.通过清华大学源yum安装
Index of /postgresql/ | 清华大学开源软件镜像站 | Tsinghua Open Source Mirror
1.创建repo文件
[root@sonarqube02 ~]# cat /etc/yum.repos.d/postgresql.repo
[postgresql]
name=postgresql
baseurl=https://mirrors.tuna.tsinghua.edu.cn/postgresql/repos/yum/13/redhat/rhel-7-x86_64/
gpgcheck=1
gpgkey=https://mirrors.tuna.tsinghua.edu.cn/postgresql/repos/yum/RPM-GPG-KEY-PGDG-13
报错1:
Downloading packages:
warning: /var/cache/yum/x86_64/7/postgresql/packages/postgresql13-libs-13.3-1PGDG.rhel7.x86_64.rpm: Header V4 DSA/SHA1 Signature, key ID 442df0f8: NOKEY
Public key for postgresql13-libs-13.3-1PGDG.rhel7.x86_64.rpm is not installed
解决1:
指定gpgkey即可
gpgkey=https://mirrors.tuna.tsinghua.edu.cn/postgresql/repos/yum/RPM-GPG-KEY-PGDG-13
2.安装postgresql13-server
[root@sonarqube02 ~]# yum list|grep postgresql13
postgresql13.x86_64                        13.3-1PGDG.rhel7           @postgresql
postgresql13-libs.x86_64                   13.3-1PGDG.rhel7           @postgresql
postgresql13-server.x86_64                 13.3-1PGDG.rhel7           @postgresql
postgresql13-contrib.x86_64                13.3-1PGDG.rhel7           postgresql
postgresql13-devel.x86_64                  13.3-1PGDG.rhel7           postgresql
postgresql13-docs.x86_64                   13.3-1PGDG.rhel7           postgresql
postgresql13-llvmjit.x86_64                13.3-1PGDG.rhel7           postgresql
postgresql13-odbc.x86_64                   13.00.0000-1PGDG.rhel7     postgresql
postgresql13-plperl.x86_64                 13.3-1PGDG.rhel7           postgresql
postgresql13-plpython3.x86_64              13.3-1PGDG.rhel7           postgresql
postgresql13-pltcl.x86_64                  13.3-1PGDG.rhel7           postgresql
postgresql13-test.x86_64                   13.3-1PGDG.rhel7           postgresql

yum makecache
yum -y install postgresql13-server.x86_64
3.启动服务
/usr/pgsql-13/bin/postgresql-13-setup initdb

systemctl enable postgresql-13
systemctl start postgresql-13
4.验证
[root@sonarqube02 ~]# ps -ef|grep postgres
postgres   2384      1  0 Jul30 ?        00:00:00 /usr/pgsql-13/bin/postmaster -D /var/lib/pgsql/13/data/
postgres   2386   2384  0 Jul30 ?        00:00:00 postgres: logger
postgres   2388   2384  0 Jul30 ?        00:00:00 postgres: checkpointer
postgres   2389   2384  0 Jul30 ?        00:00:00 postgres: background writer
postgres   2390   2384  0 Jul30 ?        00:00:00 postgres: walwriter
postgres   2391   2384  0 Jul30 ?        00:00:00 postgres: autovacuum launcher
postgres   2392   2384  0 Jul30 ?        00:00:00 postgres: stats collector
postgres   2393   2384  0 Jul30 ?        00:00:00 postgres: logical replication launcher
2.通过官方二进制包安装
PostgreSQL: Linux downloads (Red Hat family)
1.选择安装包版本

2.Copy, paste and run the relevant parts of the setup script:
# Install the repository RPM:
sudo yum install -y https://download.postgresql.org/pub/repos/yum/reporpms/EL-7-x86_64/pgdg-redhat-repo-latest.noarch.rpm

# Install PostgreSQL:
sudo yum install -y postgresql13-server

# Optionally initialize the database and enable automatic start:
sudo /usr/pgsql-13/bin/postgresql-13-setup initdb
sudo systemctl enable postgresql-13
sudo systemctl start postgresql-13
test
安装完毕后,系统会创建一个数据库超级用户 postgres,密码为空
1.切换用户
[root@sonarqube02 ~]# cat /etc/passwd|grep postgres
postgres:x:26:26:PostgreSQL Server:/var/lib/pgsql:/bin/bash

[root@sonarqube02 ~]# sudo -iu postgres
-bash-4.2$
[root@sonarqube02 ~]# sudo --help
sudo - execute a command as another user
Options:
-i, --login run login shell as the target user; a command may also be specified
-u, --user=user run command (or edit file) as specified user name or ID
2.使用以下命令进入 postgres,输出以下信息,说明安装成功:
-bash-4.2$ psql
psql (13.3)
Type "help" for help.

postgres=#
3.输入以下命令退出 PostgreSQL 提示符:
postgres=# q

-bash-4.2$ exit
logout
[root@sonarqube02 ~]#
1.用户管理
PostgreSQL:十三. PostgreSQL的用户管理_崔永华的博客-CSDN博客_postgresql13 创建用户
1.修改默认用户密码
以默认用户名postgres登录,默认密码为空,修改默认密码
ALTER USER postgres PASSWORD 'postgres';
2.创建删除用户
## 创建用户
创建用户名称为postgre02,并具有创建数据库和创建角色的权限
CREATE USER postgre02 PASSWORD '123456789'
CREATEDB CREATEROLE  ;

## 删除用户
使用DROP USER删除账户“postgre02”

DROP USER postgre02;
安装pgAdmin
几款好用的PostgreSQL的客户端 - 程序新视界 (choupangxia.com)
pgAdmin是首款PostgreSQL GUI工具。它支持所有的PostgreSQL操作与功能,而且是免费且开源的
1.安装web端
## 下载库文件
wget https://ftp.postgresql.org/pub/pgadmin/pgadmin4/yum/pgadmin4-redhat-repo-2-1.noarch.rpm

## 安装
rpm -ivh pgadmin4-redhat-repo-2-1.noarch.rpm

[root@sonarqube01 ~]# rpm -qpl pgadmin4-redhat-repo-2-1.noarch.rpm
/etc/pki/rpm-gpg/PGADMIN_PKG_KEY
/etc/yum.repos.d/pgadmin4.repo            ## 添加了pgadmin的repo

## 安装pgadmin web端
# Install for web mode only.
sudo yum -y install pgadmin4-web
## 启动web端平台
sudo /usr/pgadmin4/bin/setup-web.sh
2.配置数据库连接
1.修改postgresql监听地址
[root@sonarqube01 ~]# ps -ef|grep postgre
postgres 5981 1 0 16:09 ? 00:00:00 /usr/pgsql-13/bin/postmaster -D /var/lib/pgsql/13/data/ ## postgresql相关数据文件在此路径
[root@sonarqube01 ~]# cd /var/lib/pgsql/13/data/
[root@sonarqube01 data]# ls
base              pg_commit_ts   pg_logical    pg_serial     pg_subtrans  pg_wal                postmaster.opts
current_logfiles  pg_dynshmem    pg_multixact  pg_snapshots  pg_tblspc    pg_xact               postmaster.pid
global            pg_hba.conf    pg_notify     pg_stat       pg_twophase  postgresql.auto.conf
log               pg_ident.conf  pg_replslot   pg_stat_tmp   PG_VERSION   postgresql.conf
[root@sonarqube01 data]# vim postgresql.conf
# - Connection Settings -

#listen_addresses = 'localhost'         # what IP address(es) to listen on;
listen_addresses = '10.1.10.74'         # what IP address(es) to listen on;
                                        # comma-separated list of addresses;
                                        # defaults to 'localhost'; use '*' for all
                                        # (change requires restart)
#port = 5432                            # (change requires restart)
2.修改postgresql连接安全策略 pg_hba.conf
PostgreSQL的 pg_hba.conf 配置参数详解_将臣三代的博客-CSDN博客_pg_hba.conf
PostgreSQL的pg_hba.conf文件讲解 - 玄同太子 - 博客园 (cnblogs.com)
[root@sonarqube01 data]# pwd
/var/lib/pgsql/13/data
[root@sonarqube01 data]# vim pg_hba.conf
## 添加以下参数
host all all 0.0.0.0/0 md5
3.设置用户密码
##
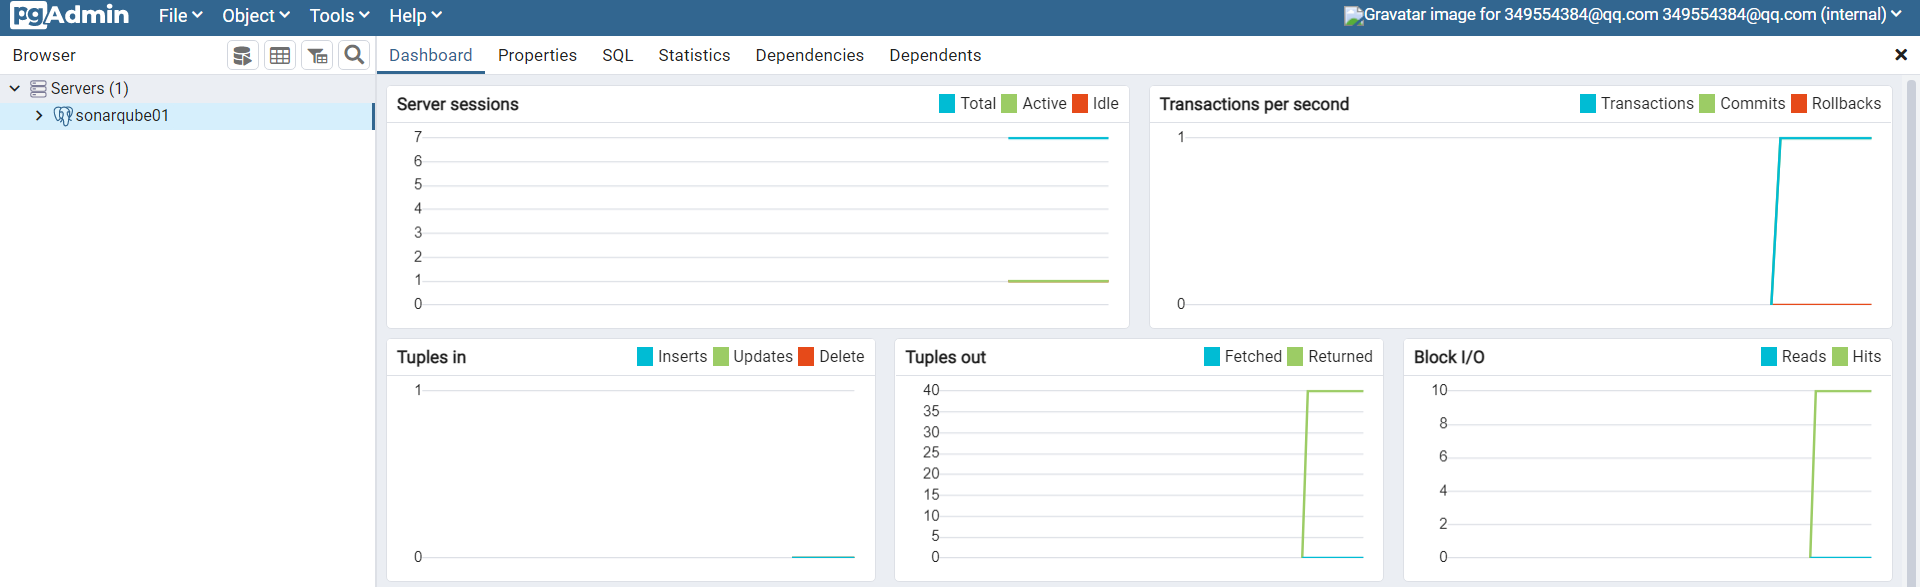
4.在web端连接数据库
## 演示图片参考以下
sonarqube配置postgresql数据库 - Huny - 博客园 (cnblogs.com)
静态代码扫描工具 - (六)sonarQube配置数据库为postgresql - 简---- - 博客园 (cnblogs.com)