chapter1 视频学习笔记
ps.这个部分由于我在看视频的时候用纸笔记笔记了,没想写到博客里面= =。但是觉得还是应该放上来用于复习。暂时先用照片放上来,等代码都看完了有空再整理成文本。
chapter2 进程控制部分视频代码实践
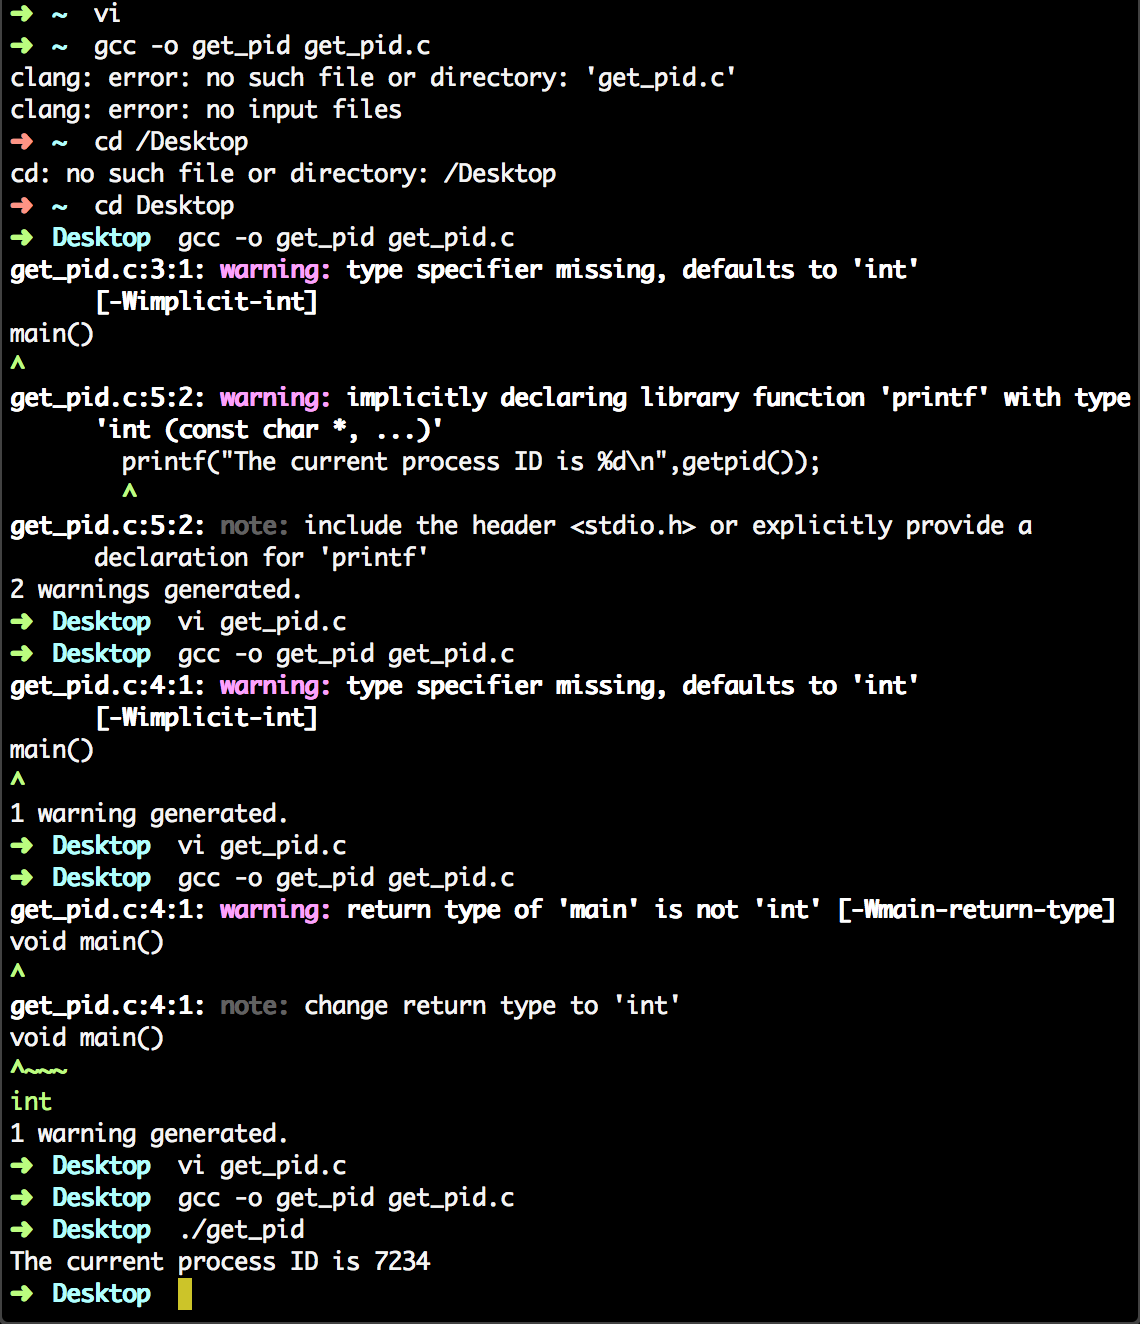
1.get_pid.c的操作
(1)gcc编译试行:
get_pid.c代码如下:
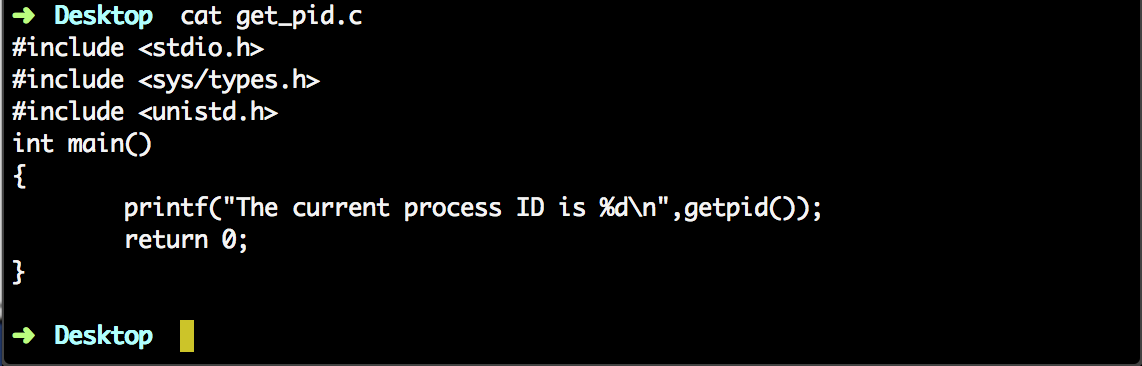
该代码与视频中的代码不同,起初实践时编译不能通过,我加以修改:
①printf语句缺少预编译指令#include <stdio.h>,这句是视频中代码缺少的。
②Mac中gcc编译需要函数都包含返回值说明,即main函数不能没有int。于是我将main函数修改了。这也是视频中代码所没有的。
最后编译通过,并打印出当前执行的进程的ID号:7234。
结论:该函数用于打印当前执行进程的ID号。
(2)连续运行ge_pid.c输出进程号:
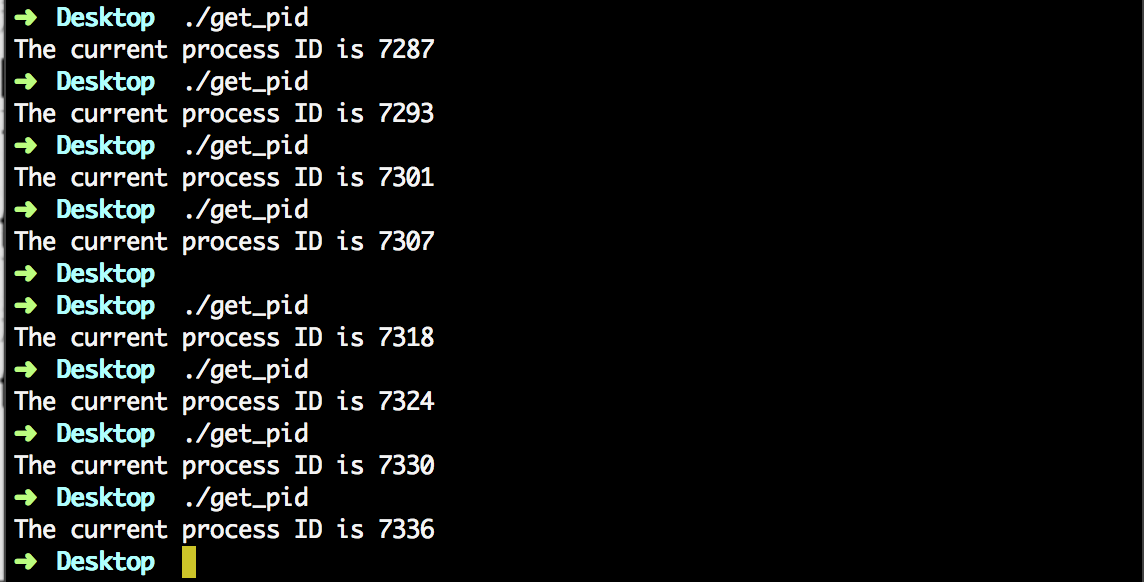
此处,在视频中连续运行两次输出的进程号只差1,而我输出则相差16、6不等。
我猜测是因为我的系统中后台运行的程序太多了= =。
结论:不同时刻运行同一个程序输出的进程号不同,因为这是不同的进程。
2.fork_test.c的操作
(1)gcc的编译试行

(2)fork_test.c的代码如下:
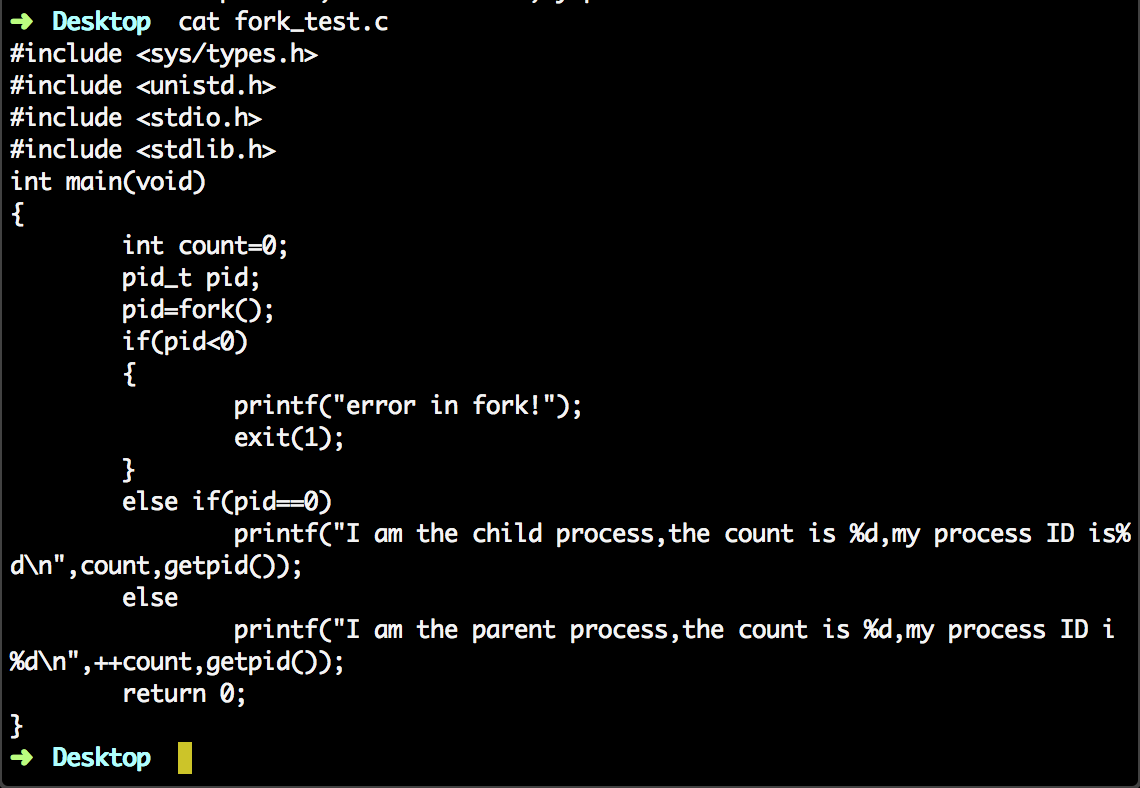
这个代码的实践中也出现了编译问题:
exit(1)需要有预编译指令#include <stdlib.h>,否则编译无法通过,这个也是视频代码中没有的。
代码运行之后,成功打印出父子进程的id号。且count值一者为1,一者为0。
结论:父子进程的执行顺序是由不同的操作系统决定的。是可变的。
3.vfork_test1.c的操作
(1)gcc编译试行:

(2)vfork_test1.c的代码如下:
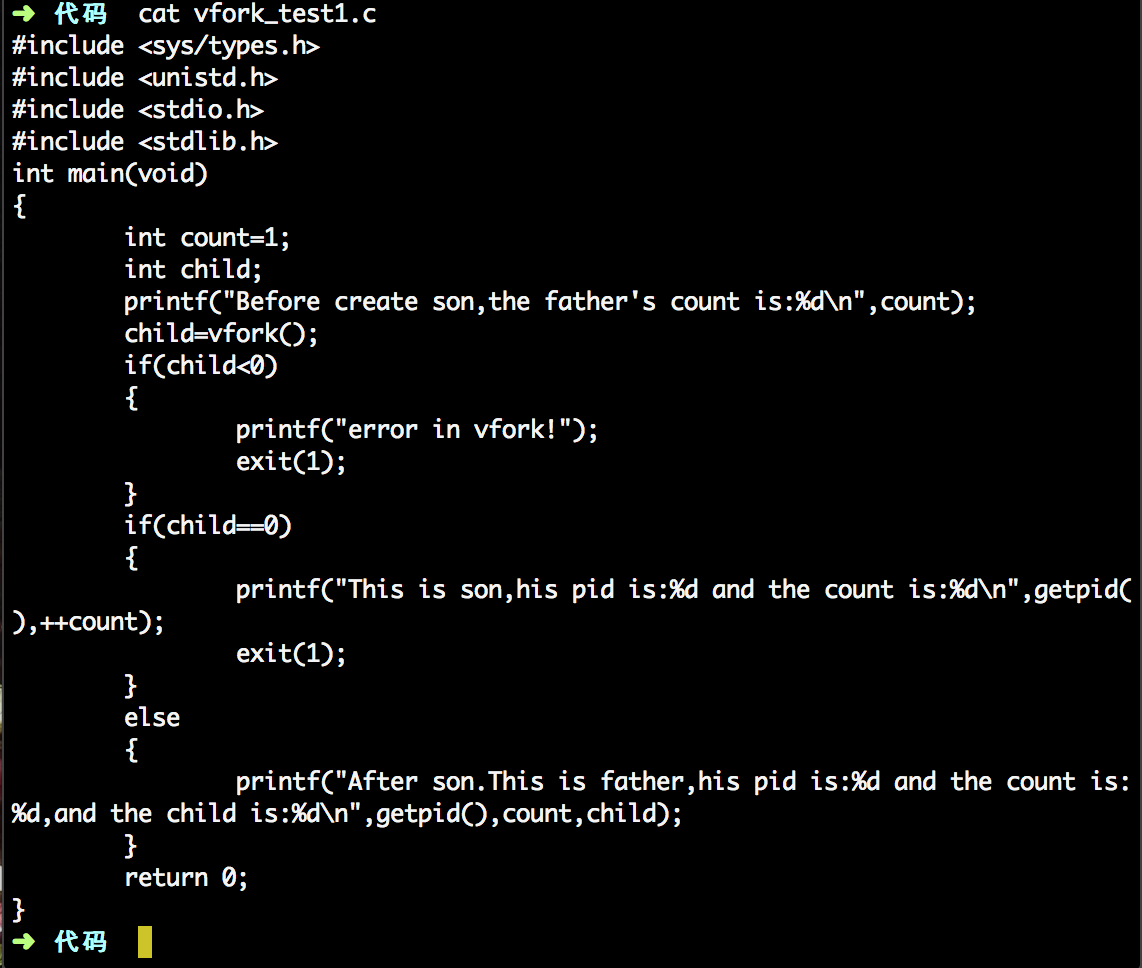
这个代码目的在于体现由vfork函数创建的子进程与父进程是共享数据段的,因此在执行子进程之后再执行父进程的时候输出的count是在子进程count值加一以后的值,即2。
结论:该代码用于说明由vfork函数创建的子进程与父进程是共享数据段的。
4.vfork_test2.c的操作
(1)gcc编译试行:
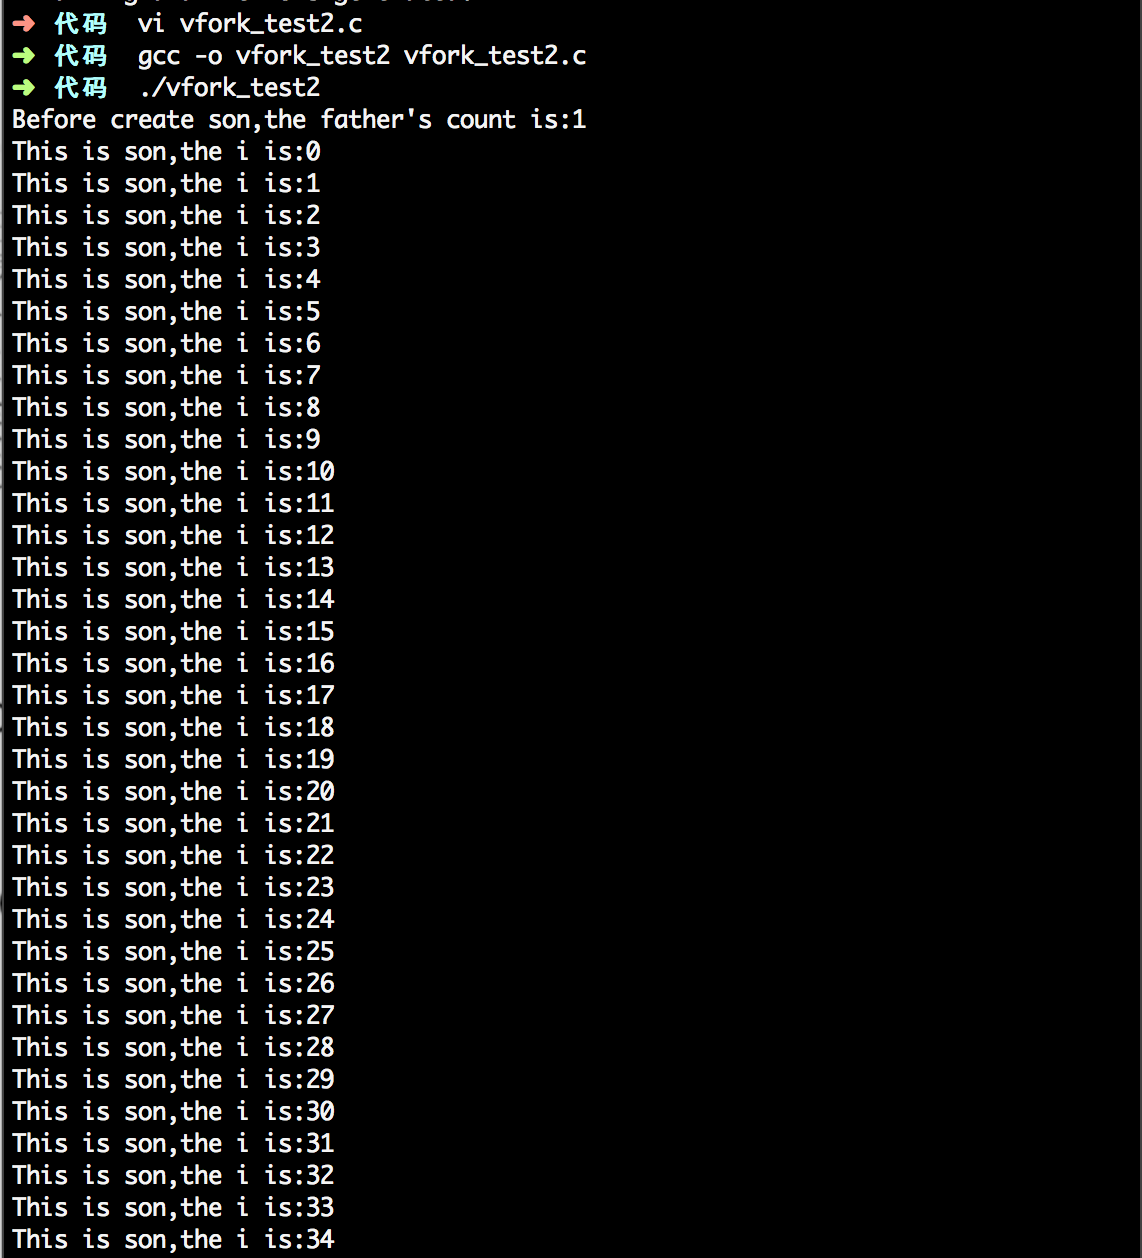
(2)vfork_test2.c的代码如下:
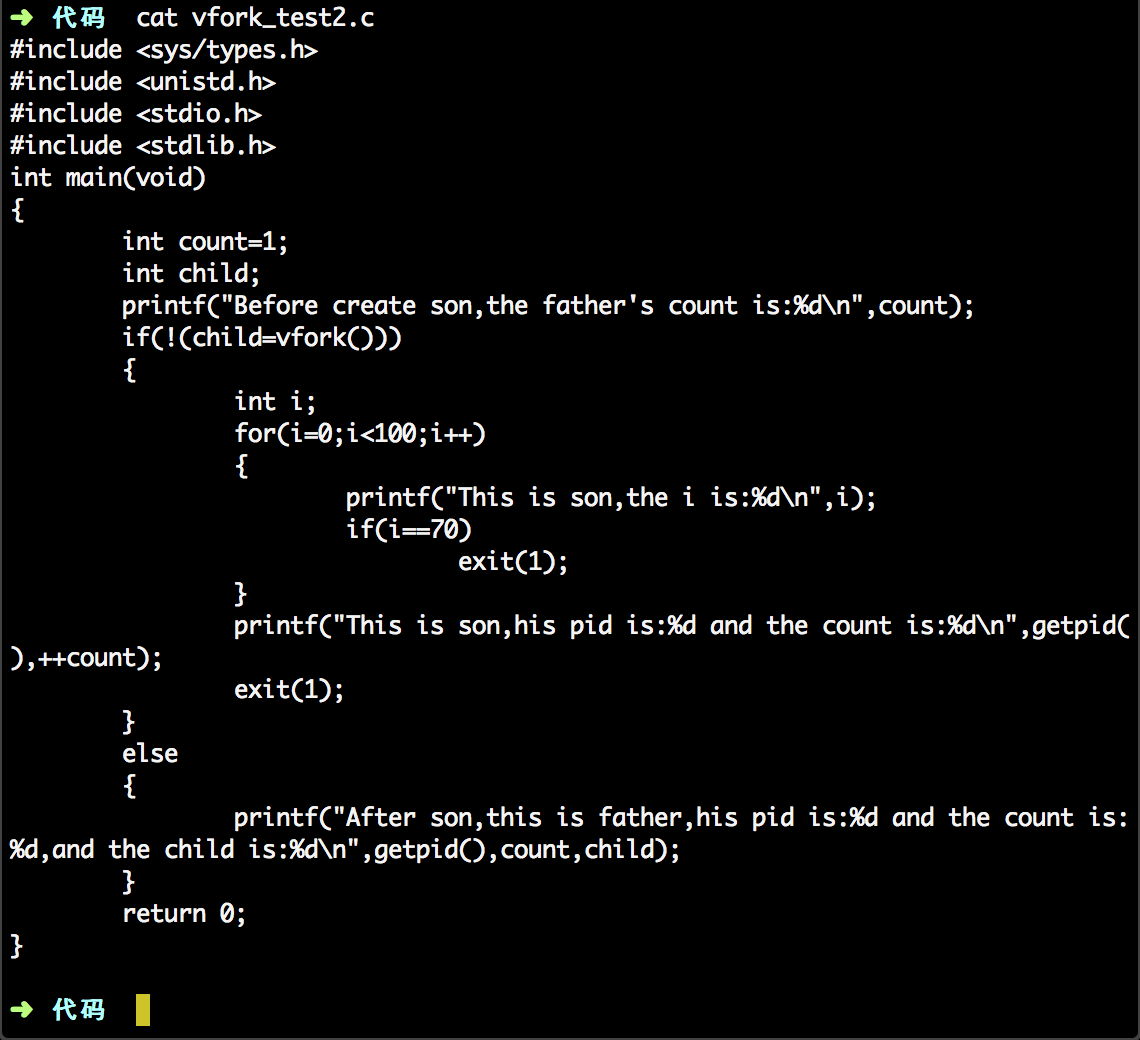
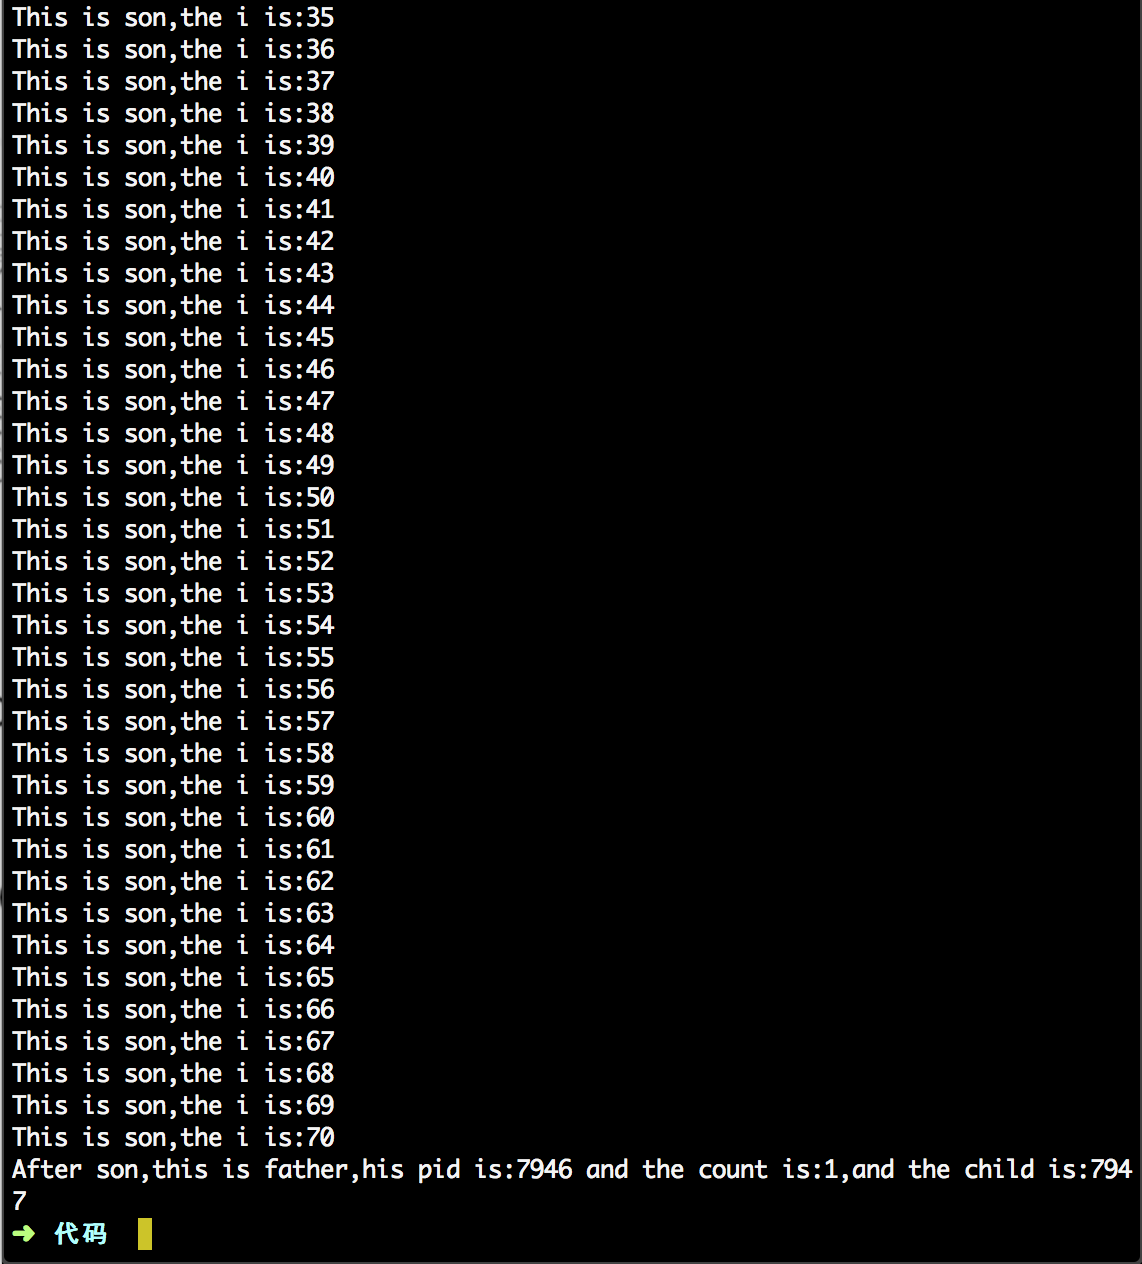
结论:用vfork创建子进程时,在子进程执行的过程中,父进程被挂起的特点。
<<<<附加:我将代码进行修改尝试
修改如下(在子进程执行部分for循环if结束之前加入count++):
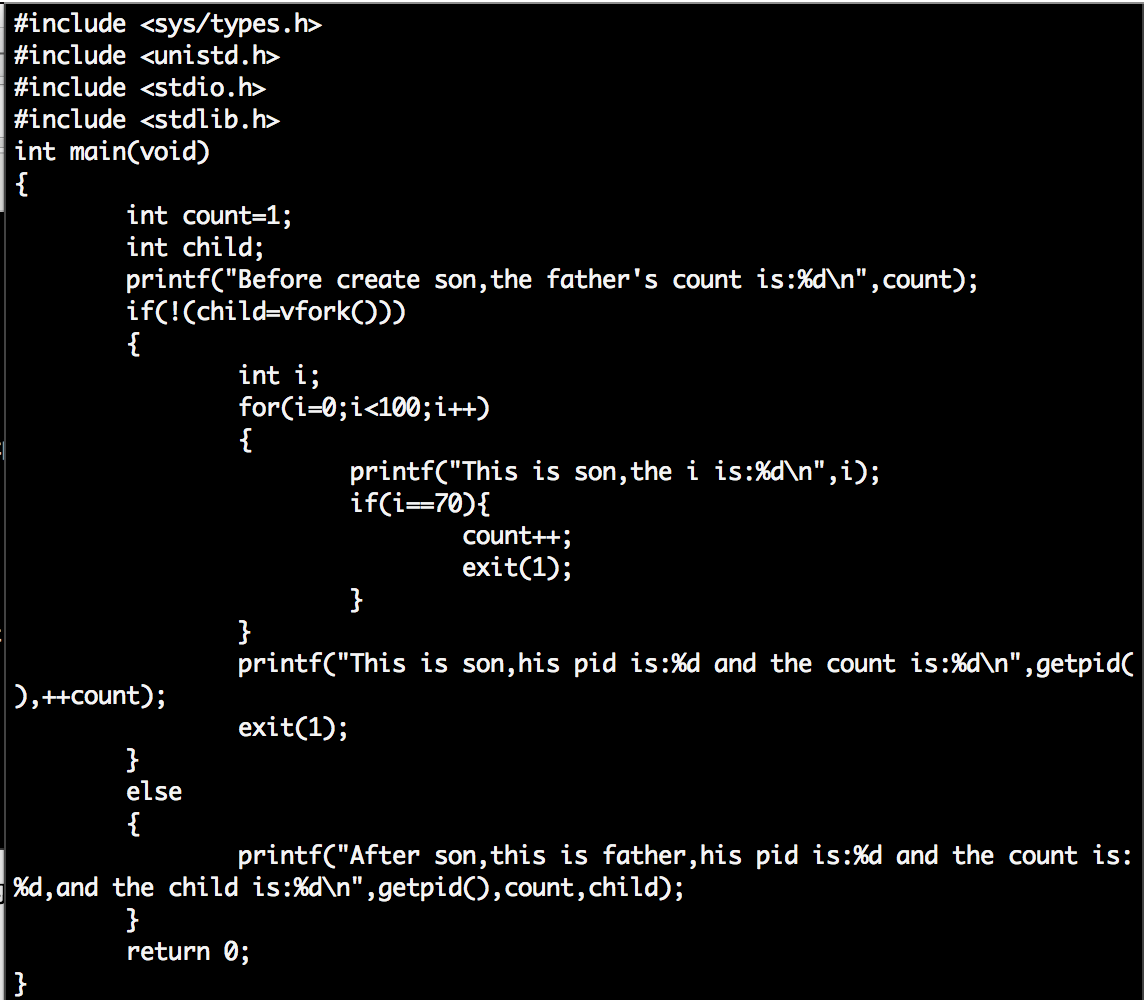
输出结果为:

count值变为2。再次说明了子进程与父进程拥有共享数据段这一特点。
chapter3 process代码包实践
1.forkdemo1.c的操作

代码如下:
#include  <stdio.h>
#include   <sys/types.h>
#include   <unistd.h>
int main()
{
	int ret_from_fork, mypid;
	mypid = getpid();
	printf("Before: my pid is %d
", mypid);
	ret_from_fork = fork();
	sleep(1);
	printf("After: my pid is %d, fork() said %d
",getpid(), ret_from_fork);
	return 0;
}
2.forkdemo2.c的操作
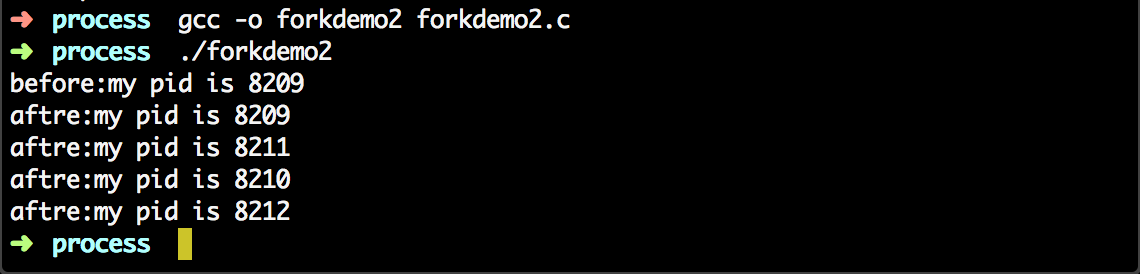
代码如下:
#include <stdio.h>
#include <unistd.h>
int main()
{
	printf("before:my pid is %d
", getpid() );
	fork();
	fork();
	printf("aftre:my pid is %d
", getpid() );
	return 0;
}
3.forkdemo3.c的操作

代码如下:
#include  <stdio.h>
#include   <stdlib.h>
#include   <unistd.h>
int main()
{
	int	fork_rv;
	printf("Before: my pid is %d
", getpid());
	fork_rv = fork();		/* create new process	*/
	if ( fork_rv == -1 )		/* check for error	*/
		perror("fork");
	else if ( fork_rv == 0 )
        {
		printf("I am the child.  my pid=%d
", getpid());
		exit(0);
	}
	else
        {
		printf("I am the parent. my child is %d
", fork_rv);
		exit(0);
	}
	return 0;
}
4.forkdemo4.c的操作
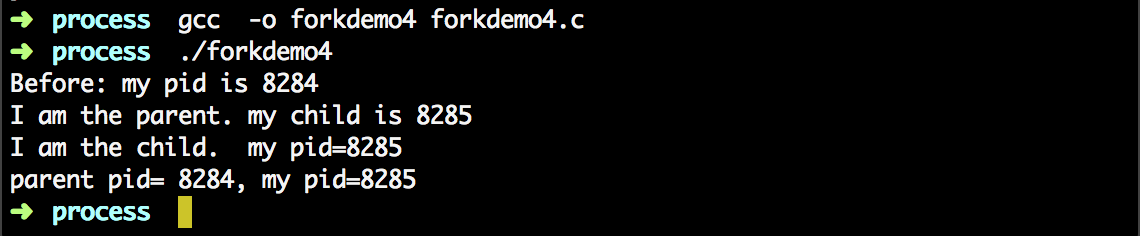
代码如下:
#include  <stdio.h>
#include   <stdlib.h>
#include   <unistd.h>
int main()
{
	int	fork_rv;
	printf("Before: my pid is %d
", getpid());
	fork_rv = fork();		/* create new process	*/
	if ( fork_rv == -1 )		/* check for error	*/
		perror("fork");
	else if ( fork_rv == 0 )
        {
		printf("I am the child.  my pid=%d
", getpid());
		printf("parent pid= %d, my pid=%d
", getppid(), getpid());
		exit(0);
	}
	else
        {
		printf("I am the parent. my child is %d
", fork_rv);
		sleep(10);
		exit(0);
	}
	return 0;
}
5.forkgdb.c的操作
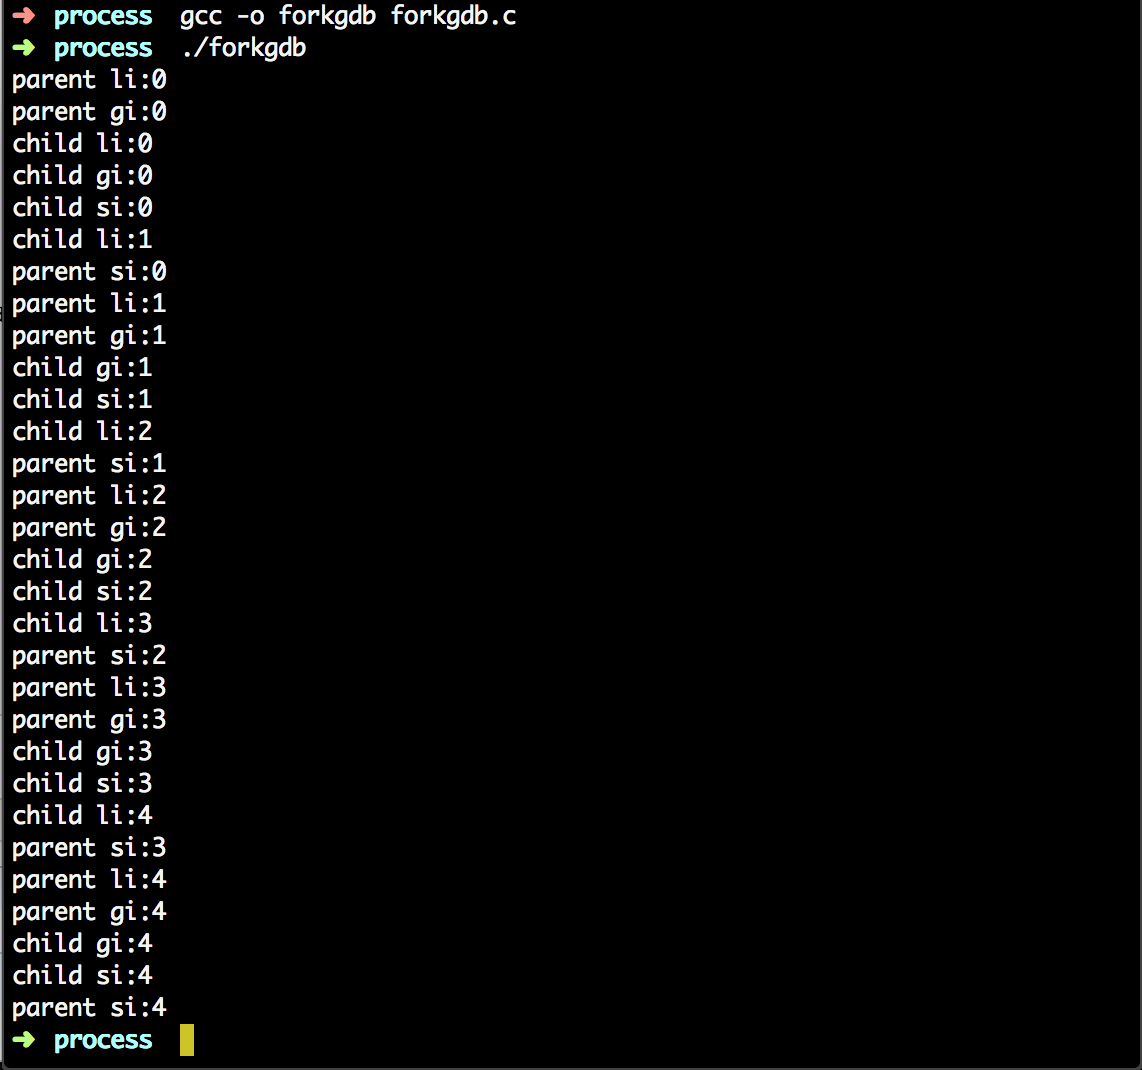
代码如下:
#include <stdio.h>
#include <stdlib.h>
#include <unistd.h>
int  gi=0;
int main()
{
	int li=0;
	static int si=0;
	int i=0;
	pid_t pid = fork();
	if(pid == -1)
        {
		exit(-1);
	}
	else if(pid == 0)
        {
		for(i=0; i<5; i++)
                {
			printf("child li:%d
", li++);
			sleep(1);
			printf("child gi:%d
", gi++);
			printf("child si:%d
", si++);
		}
		exit(0);
	}
	else
        {
		for(i=0; i<5; i++)
                {
			printf("parent li:%d
", li++);
			printf("parent gi:%d
", gi++);
			sleep(1);
			printf("parent si:%d
", si++);
		}
	exit(0);
	}
	return 0;
}
6.psh1.c的操作
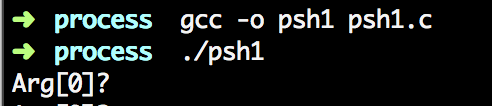
代码如下:
#include <stdio.h>
#include <stdlib.h>
#include <string.h>
#include <unistd.h>
#define MAXARGS 20
#define ARGLEN 100
int execute( char *arglist[] )
{
execvp(arglist[0], arglist);
perror("execvp failed");
exit(1);
}
char * makestring( char *buf )
{
char *cp;
buf[strlen(buf)-1] = '�';
cp = malloc( strlen(buf)+1 );
if ( cp == NULL ){
fprintf(stderr,"no memory
");
exit(1);
}
strcpy(cp, buf);
return cp;
}
int main()
{
char *arglist[MAXARGS+1];
int numargs;
char argbuf[ARGLEN];
numargs = 0;
while ( numargs < MAXARGS )
{
printf("Arg[%d]? ", numargs);
if ( fgets(argbuf, ARGLEN, stdin) && *argbuf != '
' )
arglist[numargs++] = makestring(argbuf);
else
{
if ( numargs > 0 ){
arglist[numargs]=NULL;
execute( arglist );
numargs = 0;
}
}
}
return 0;
}
7.psh2.c的操作
![]()
代码如下:
#include <stdio.h>
#include <stdlib.h>
#include <string.h>
#include <sys/types.h>
#include <sys/wait.h>
#include <unistd.h>
#include <signal.h>
#define MAXARGS 20
#define ARGLEN 100
char *makestring( char *buf )
{
char *cp;
buf[strlen(buf)-1] = '�';
cp = malloc( strlen(buf)+1 );
if ( cp == NULL ){
fprintf(stderr,"no memory
");
exit(1);
}
strcpy(cp, buf);
return cp;
}
void execute( char *arglist[] )
{
int pid,exitstatus;
pid = fork();
switch( pid ){
case -1:
perror("fork failed");
exit(1);
case 0:
execvp(arglist[0], arglist);
perror("execvp failed");
exit(1);
default:
while( wait(&exitstatus) != pid )
;
printf("child exited with status %d,%d
",
exitstatus>>8, exitstatus&0377);
}
}
int main()
{
char *arglist[MAXARGS+1];
int numargs;
char argbuf[ARGLEN];
numargs = 0;
while ( numargs < MAXARGS )
{
printf("Arg[%d]? ", numargs);
if ( fgets(argbuf, ARGLEN, stdin) && *argbuf != '
' )
arglist[numargs++] = makestring(argbuf);
else
{
if ( numargs > 0 ){
arglist[numargs]=NULL;
execute( arglist );
numargs = 0;
}
}
}
return 0;
}
8.exec1.c的操作

代码如下:
#include <stdio.h>
#include <unistd.h>
int main()
{
	char	*arglist[3];
	arglist[0] = "ls";
	arglist[1] = "-l";
	arglist[2] = 0 ;//NULL
	printf("* * * About to exec ls -l
");
	execvp( "ls" , arglist );
	printf("* * * ls is done. bye");
	return 0;
}
由于代码包中内容很多。就不一一展示。大致过程都是gcc编译后运行。具体功能和代码含义还需深入理解。其中我认为的重点是fork函数的几个示例和exec族函数的示例。这些代码的含义与视频中所强调的有所重复。即重点用于体会子进程和父进程的执行顺序等。
chapter4 遇到的问题及解决方法
遇到的问题主要还是代码的理解吧。我觉得还有不少看不明白。解决方法应该就是多多运行多多体会吧。看样子也没别的方法了。
还有的就是视频里的问题吧,有一个我在群里提问了,等待回复中。其他的问题我都在上面chapter3的代码操作中提到了。修改解决的方法也都注明了,后来就都调通了。
我还在继续努力!
chapter5 学习心得
这周任务是学习代码(process压缩包里的代码)。我事先先跟了几天的教学视频,打算先学好进程控制、进程通信的内容,学得扎实一点,因为我上周的看书学习自我感觉学得不好,看书看得很混乱,代码执行得也少。本周的代码包很好地给了我实践理解得机会!于是我就把视频里的代码顺手执行了一下。感觉学到了不少的内容。特别是fork这类函数的特点都在代码的执行中感受到了它的原理。做完的时候真的很感动!!!!
因为最近同时进行的还有这个课程的项目,上网也搜了很多进程间通信的资料,简直是将这部分知识贯穿于日常学习。每天的学习都是管道、fork、信号量等等。我希望同时多方的感悟,材料多能够弥补一些认知上的漏洞。
process包里的代码很多。而且很多确实也看不明白,觉得还有很长的路要走= =。博客交了以后还是要不断地进阶...继续看吧。。。